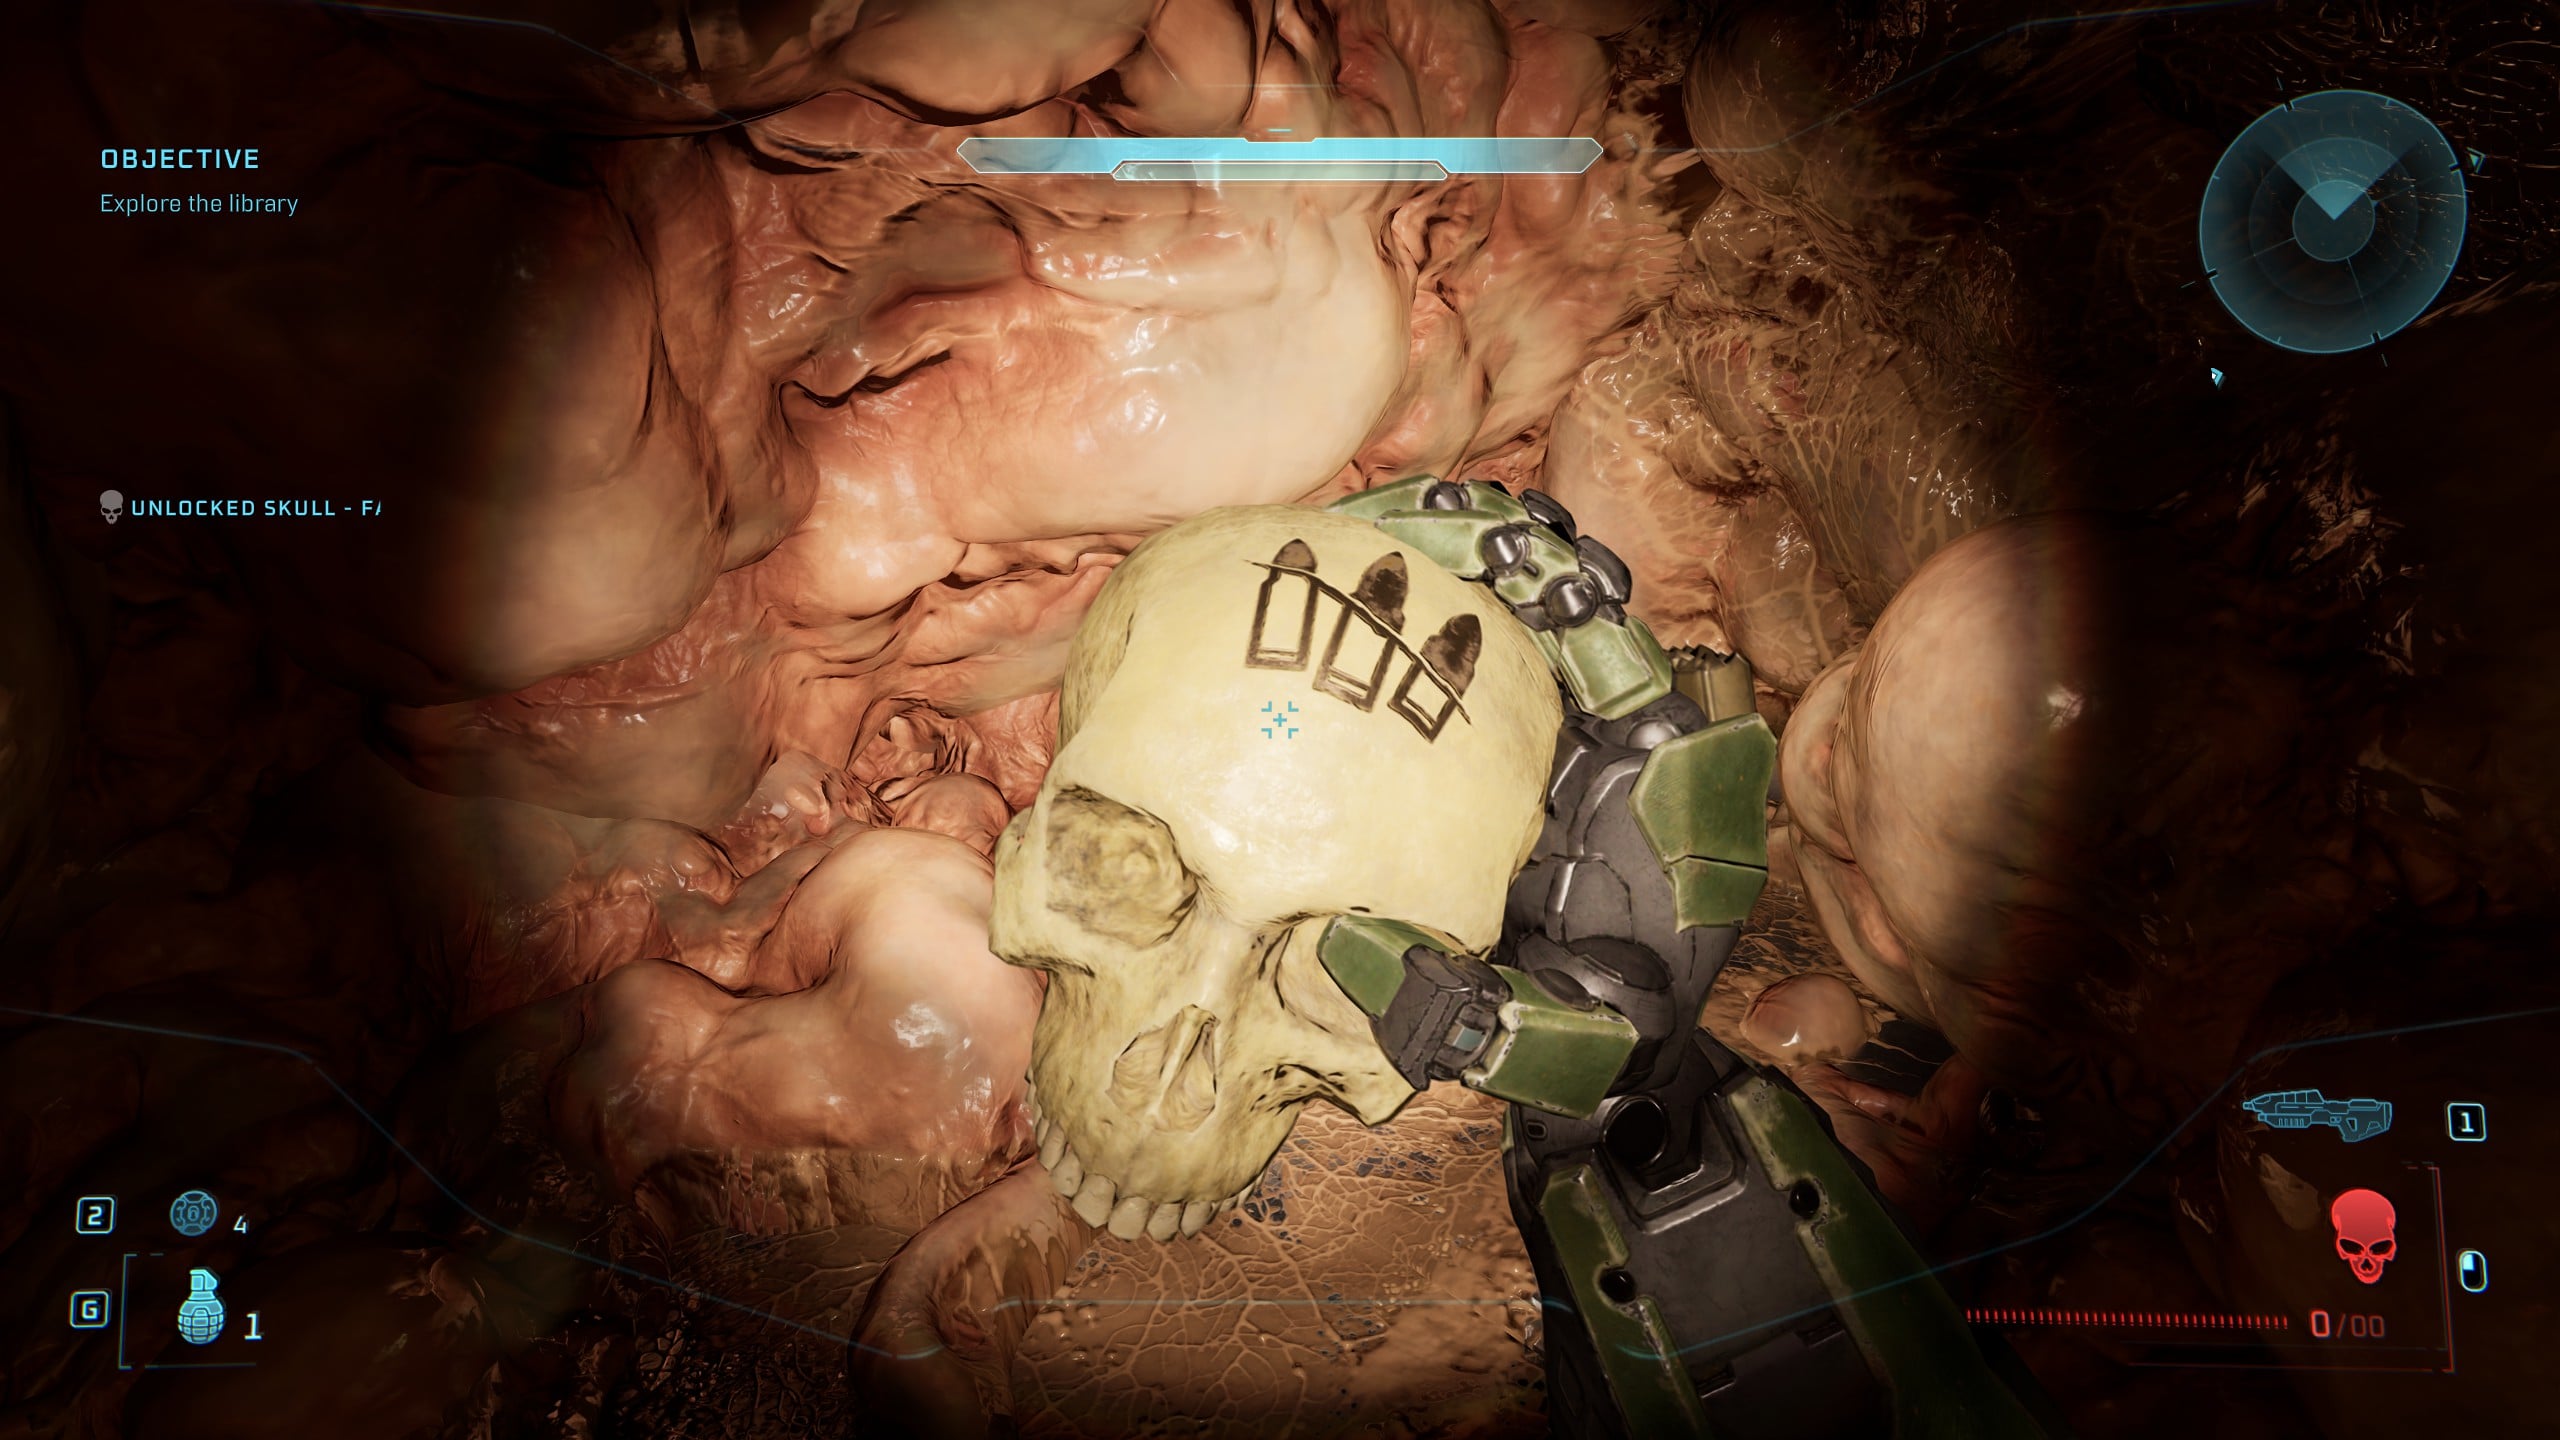
Halo Campaign Evolved: All Skulls and Terminal locations
All Skulls and Terminal locations in Halo: Campaign Evolved in order
Halo Campaign Evolved: All Skulls and Terminal locations
Halo: Campaign Evolved adds a surprising number of new features to the classic Halo campaign, but some of the classic secrets were so well hidden you probably never found all of them.
Skulls were always in the original Halo: Combat Evolved, but Terminals were later added in Halo: Combat Evolved Anniversary. Now, with Halo: Campaign Evolved, you can find more Skulls and Terminals than ever before thanks to the addition of three new Bonus Missions.
Each mission in Halo: Campaign Evolved is hiding three Skulls and one Terminal, and that includes the Bonus Missions. In this guide, we’re breaking down where to find every Skull and Terminal in the game, both in the main Campaign and the new Bonus Missions.
We’re breaking down each mission by Rally Points to make it easy to go back from chapter select, but we’re also listing each Skull and Terminal in the order that you can find them, so you can also follow this guide through a new playthrough. If you ever get lost, double-check your current Objective and ensure it matches the ones in this guide. There’s a grand total of 39 Skulls and 13 Terminals to find, so get to work, Spartan.
You’ll earn the Cranial, Making a Necklace, Headhunter, and Collector’s Addition trophies and achievements for finding all Skulls and Terminals in the game, in addition to a trophy for finding all optional items in each stage.
This guide is a work-in-progress, but will be completed soon, so make sure to check back!
While you’re here, make sure to redeem any valid codes on Halo Waypoint for new unlockables in Campaign Evolved.
Full mission list (click to jump to the mission you need):
- The Pillar of Autumn Skull and Terminal locations
- Halo Skull and Terminal locations
- The Truth and Reconciliation Skull and Terminal locations
- The Silent Cartographer Skull and Terminal locations
- Assault on the Control Room Skull and Terminal locations
- 343 Guilty Spark Skull and Terminal locations
- The Library Skull and Terminal locations
All Skulls and Terminals in the Campaign – Halo CE
There are a total of 30 Skulls in the Campaign, along with 10 Terminals. We’re breaking them all down by mission and Rally Point below.
The Pillar of Autumn Skull and Terminal locations
There are a total of 30 Skulls in the Campaign, along with 10 Terminals. We’re breaking them all down by mission and Rally Point below.
Rally Point Alpha
Skull 1 – Speed Limit
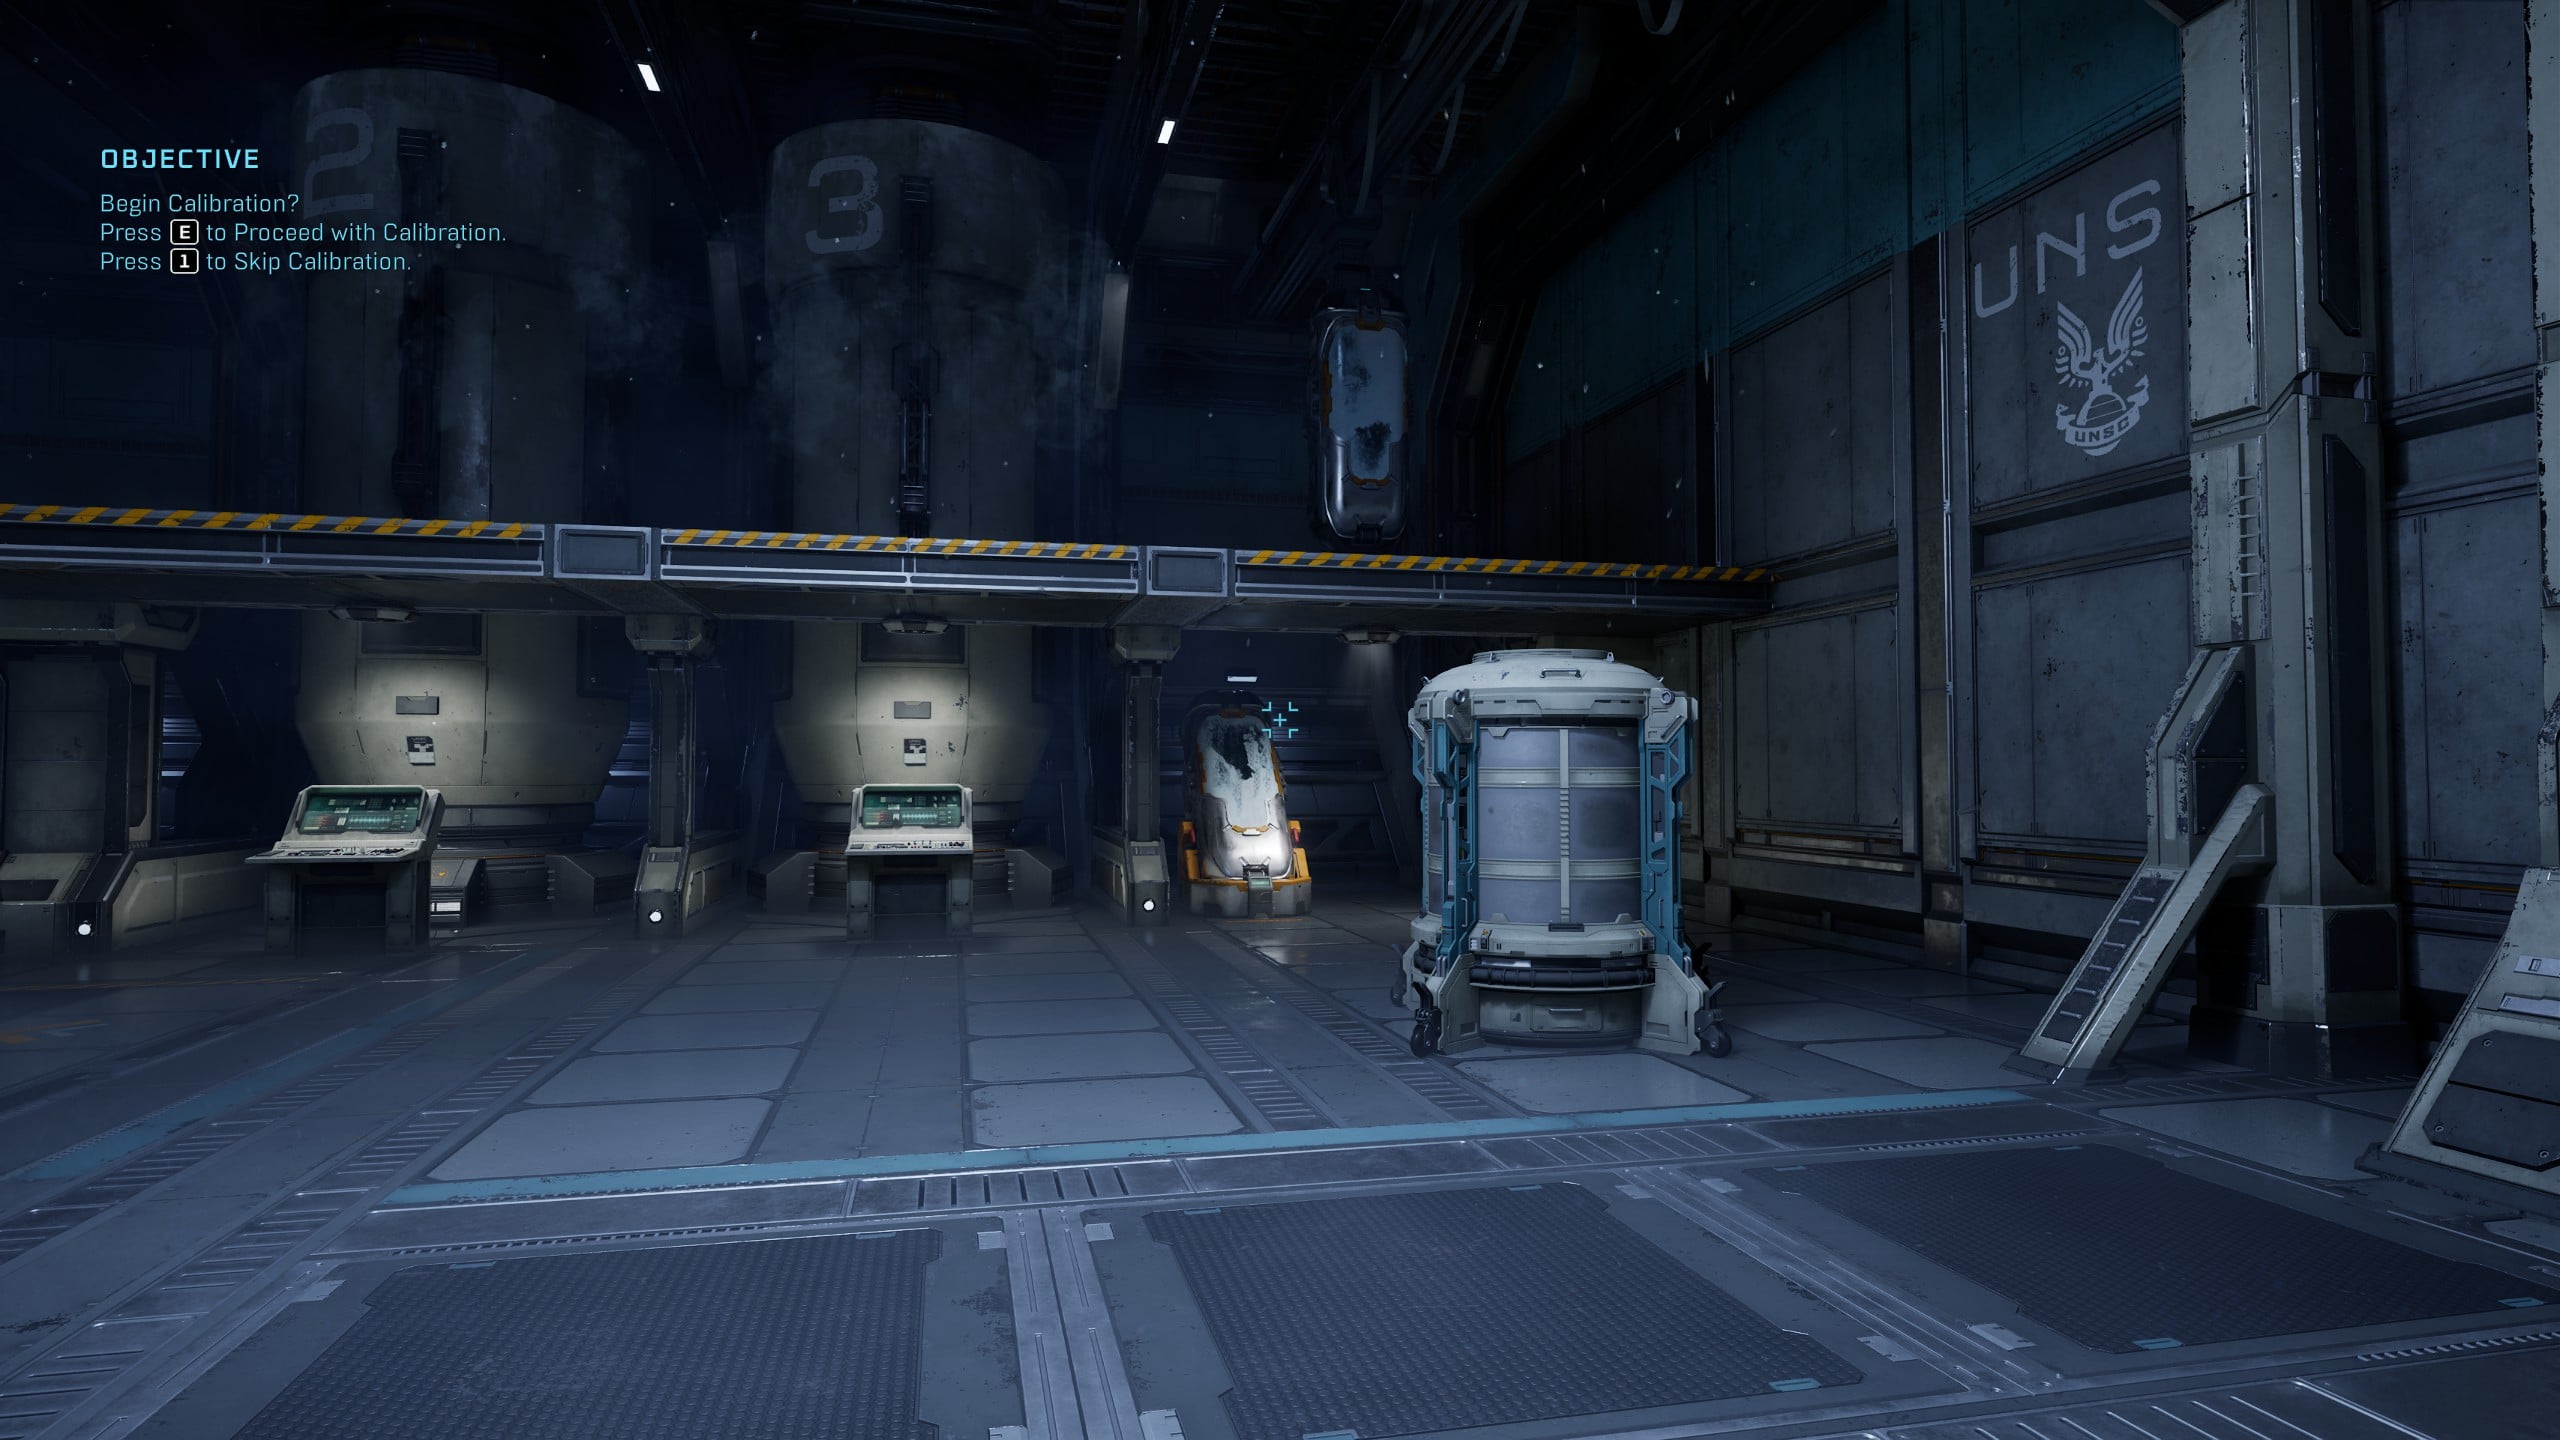
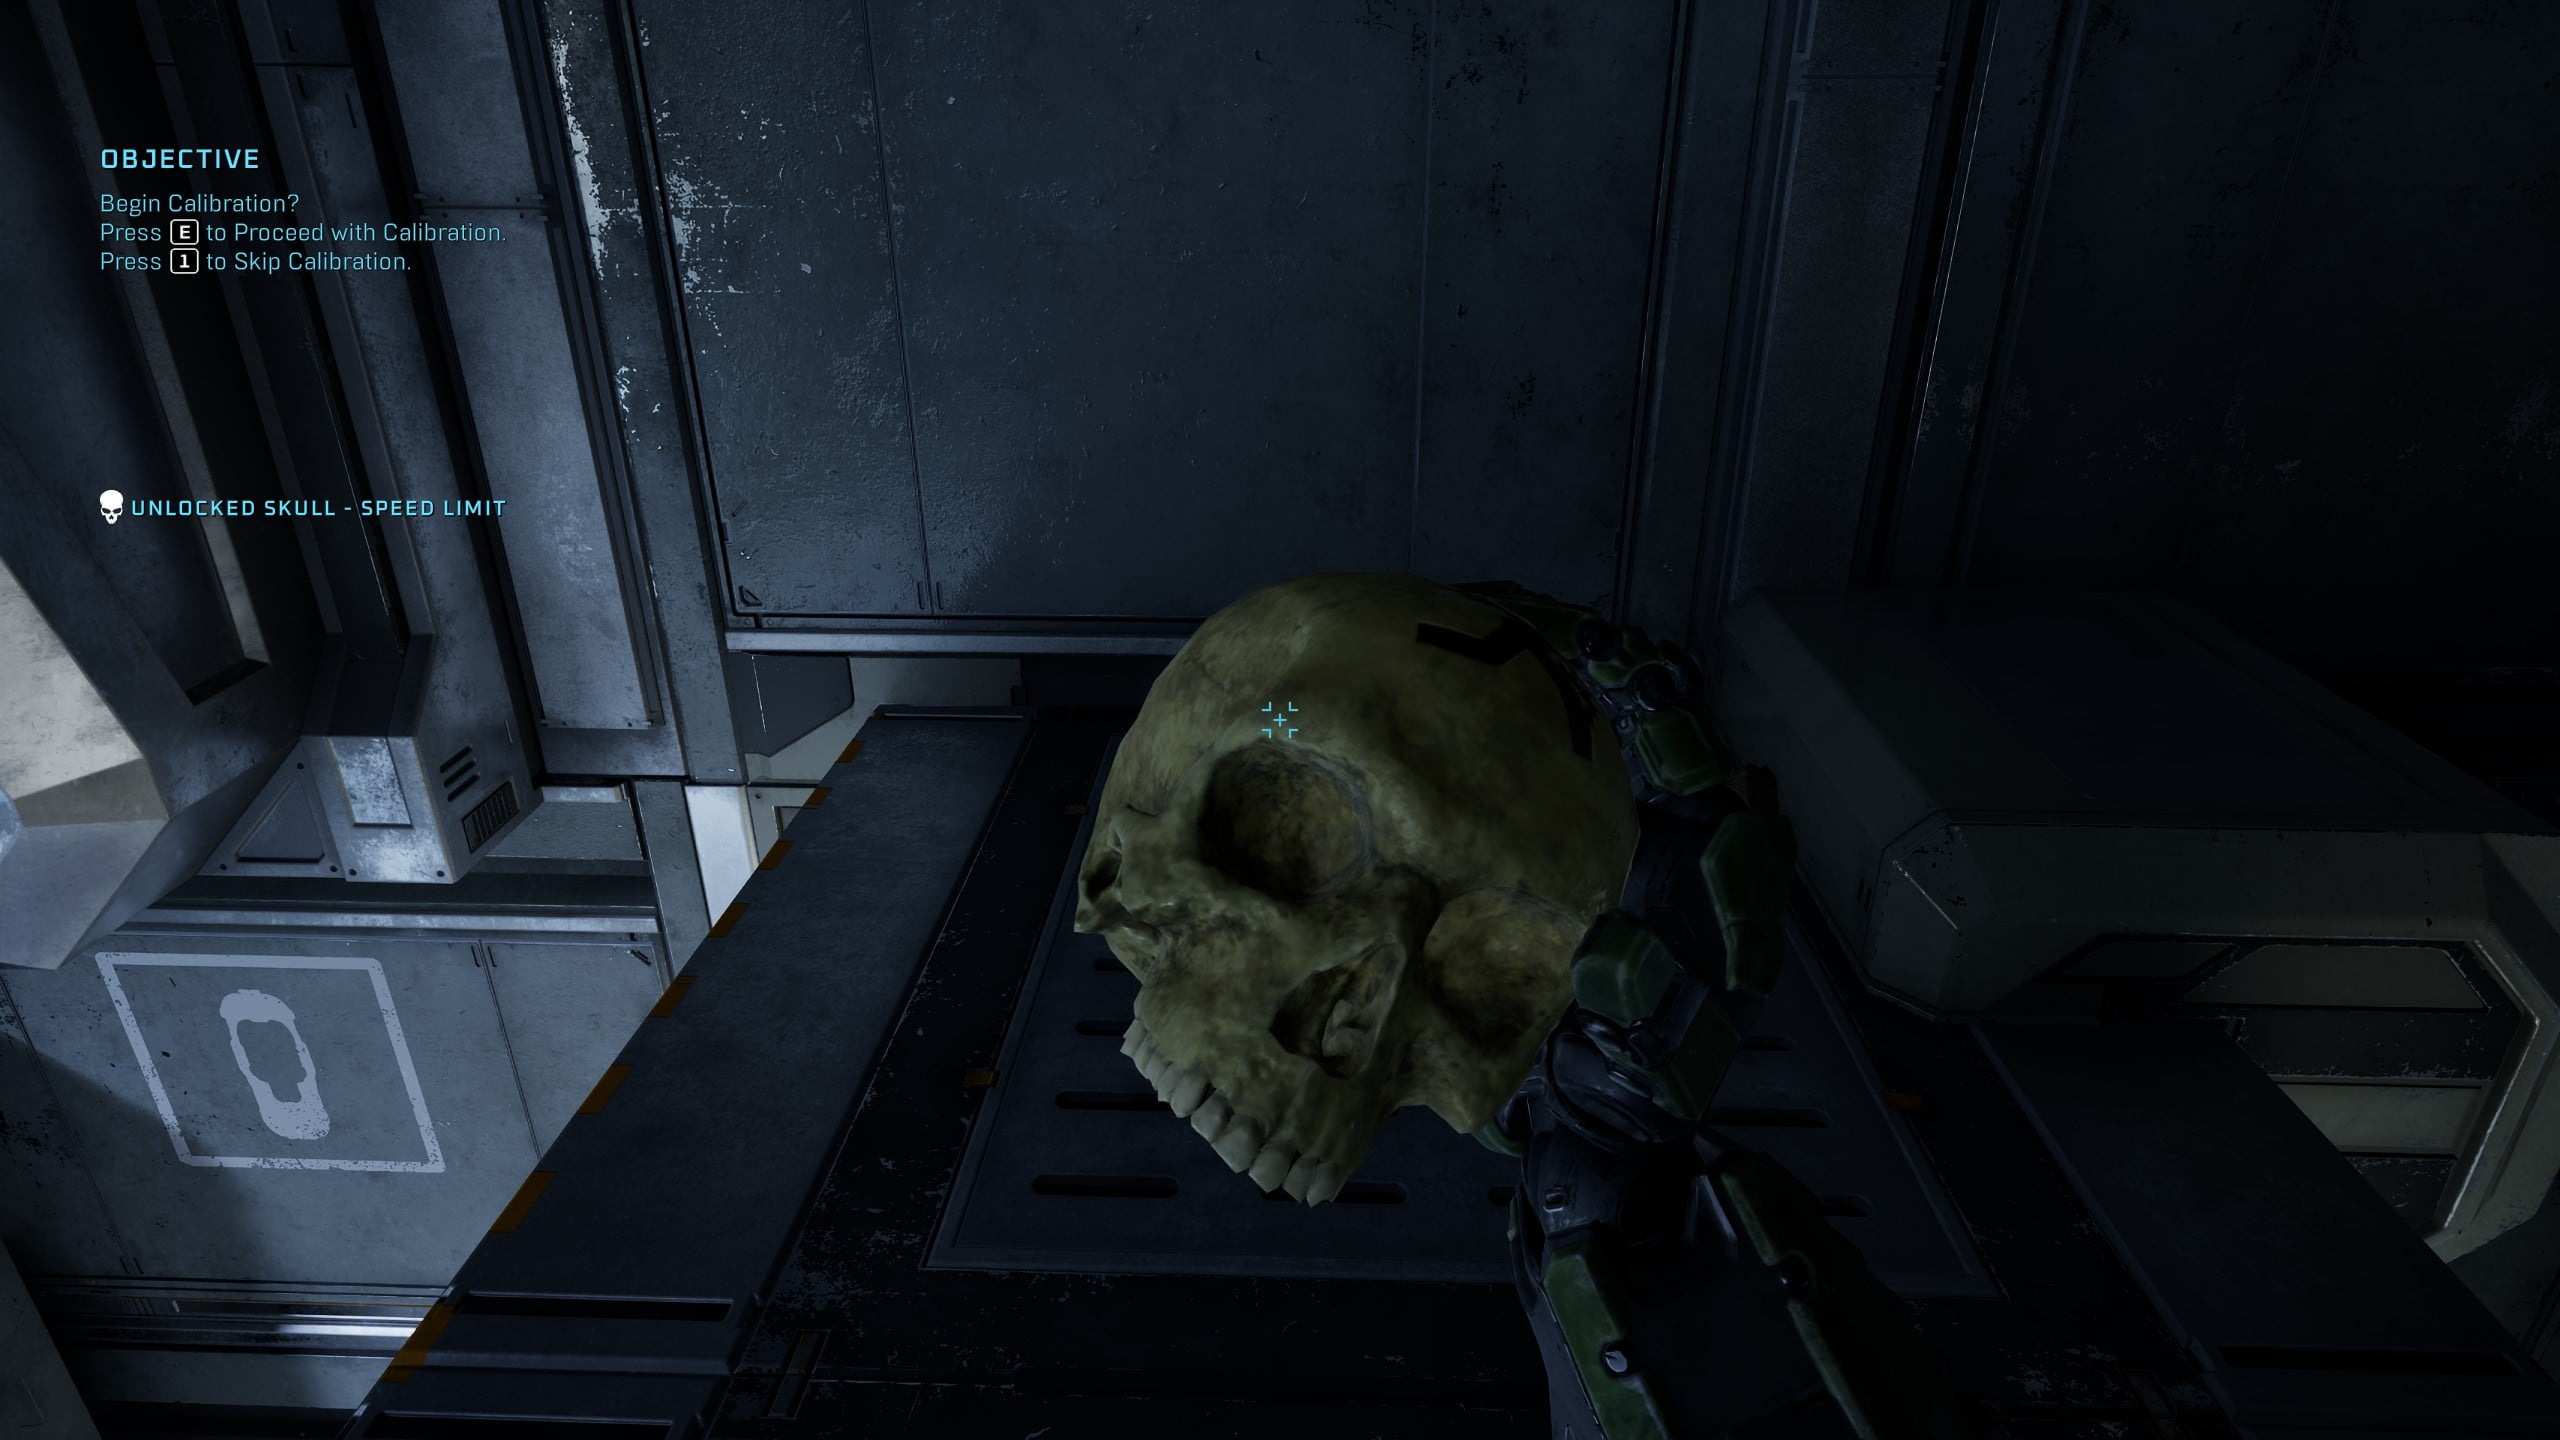
As soon as you begin the game in the first room, head to the rear right corner and crouch-jump onto the containers. Jump onto the upper walkway, and you’ll find the Speed Limit Skull at the end of the room.
Skull 2 – Magnified
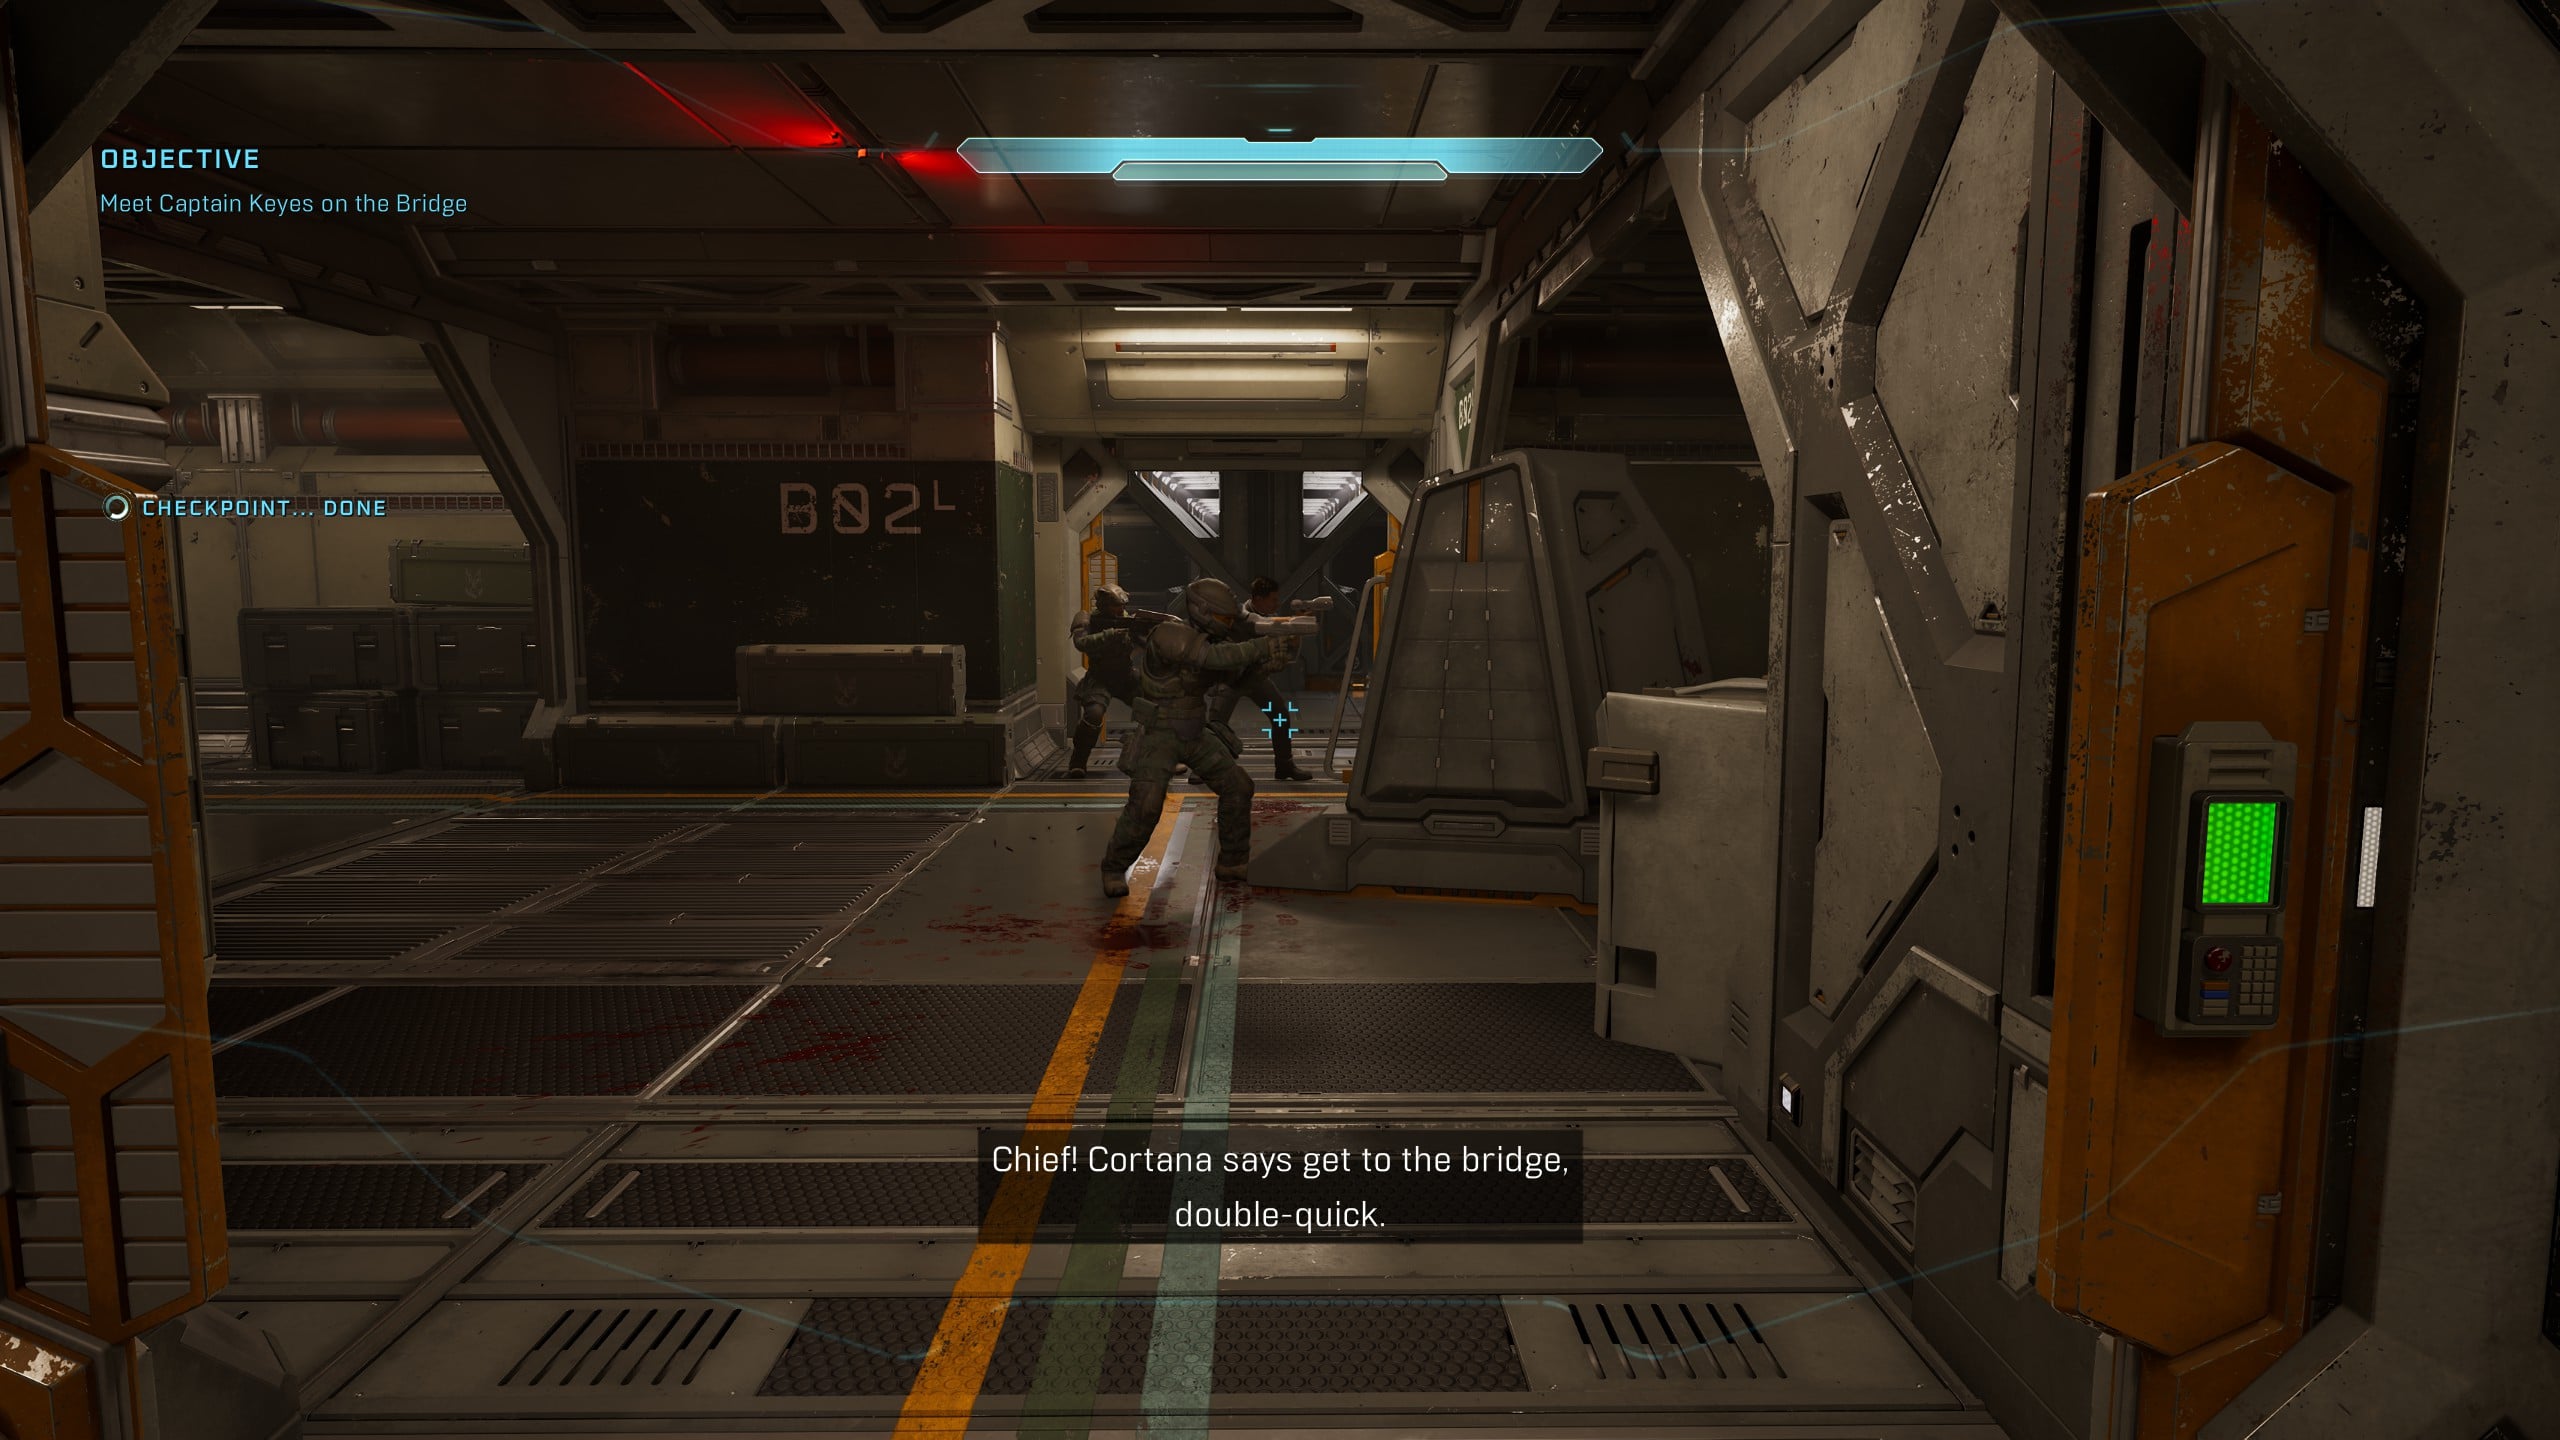
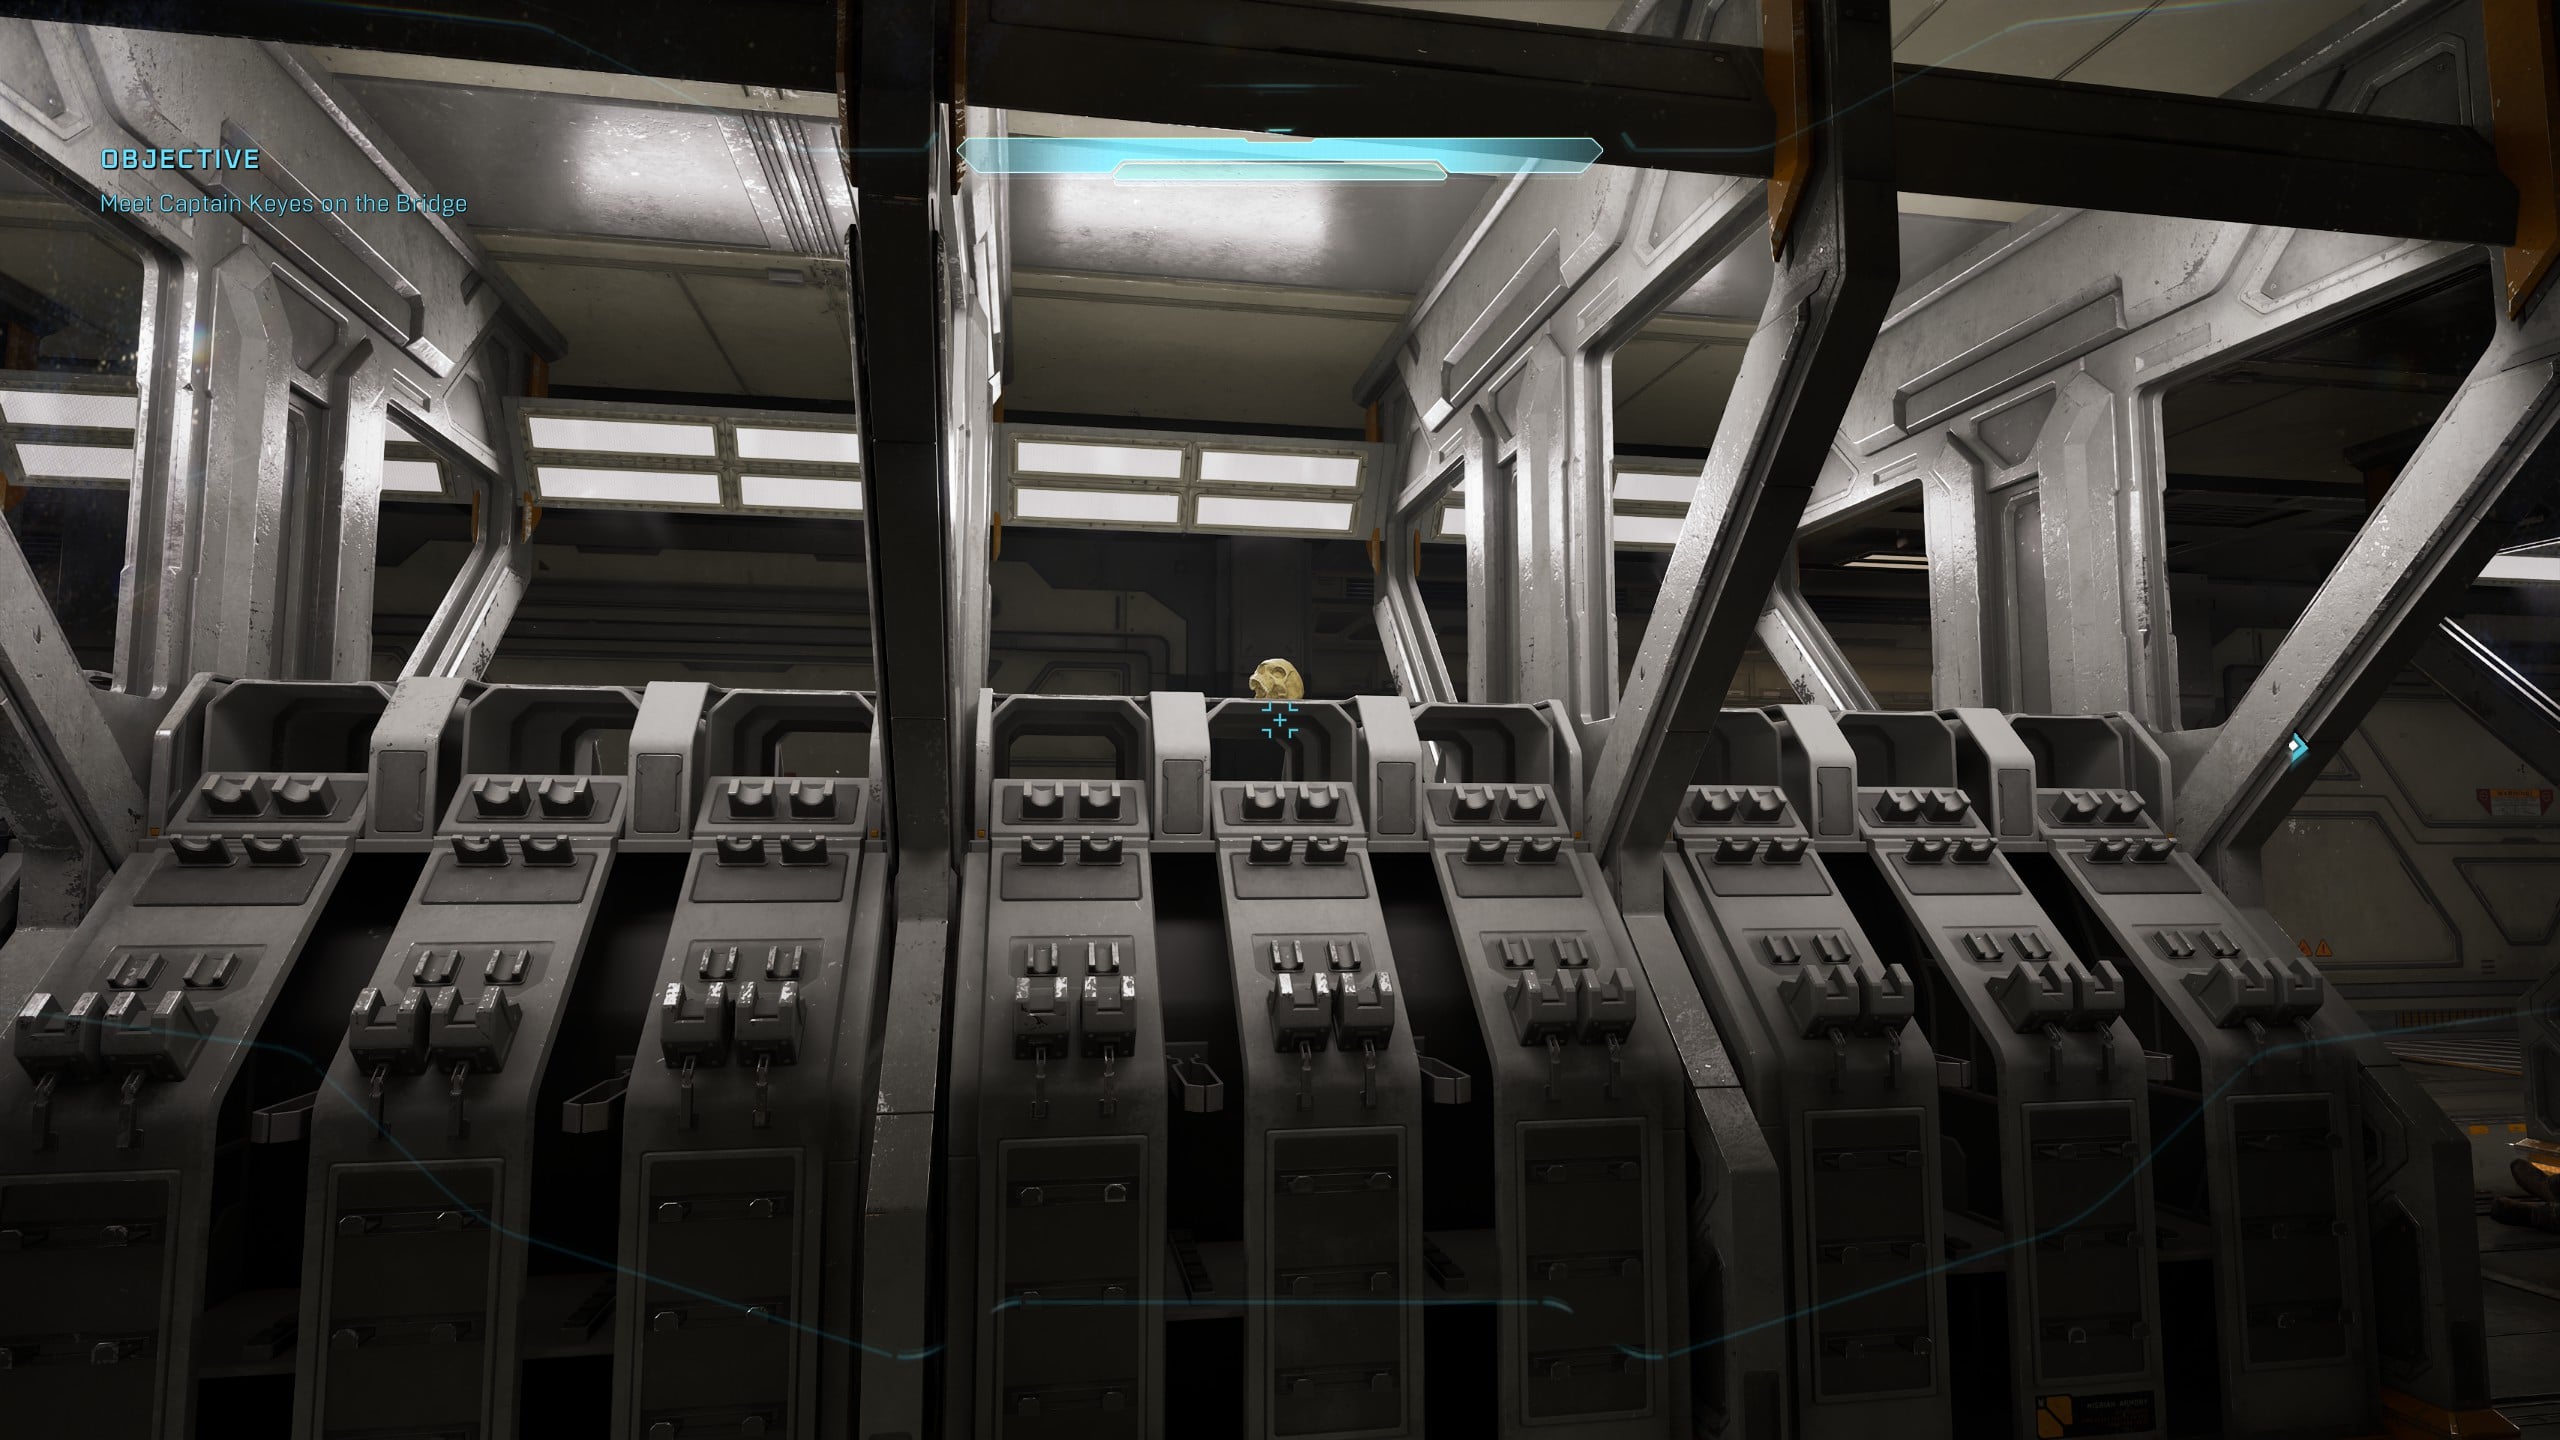
The Objective for the second Skull is Meet Captain Keyes on the Bridge. After the cinematic encounter with an Elite, follow the objective markers until you enter the room marked B02L — a Marine will attempt to lead you through the room. In the center of the room on top of the weapons rack, you will find the Magnified Skull.
Rally Point Bravo
Skull 3 – Perspective
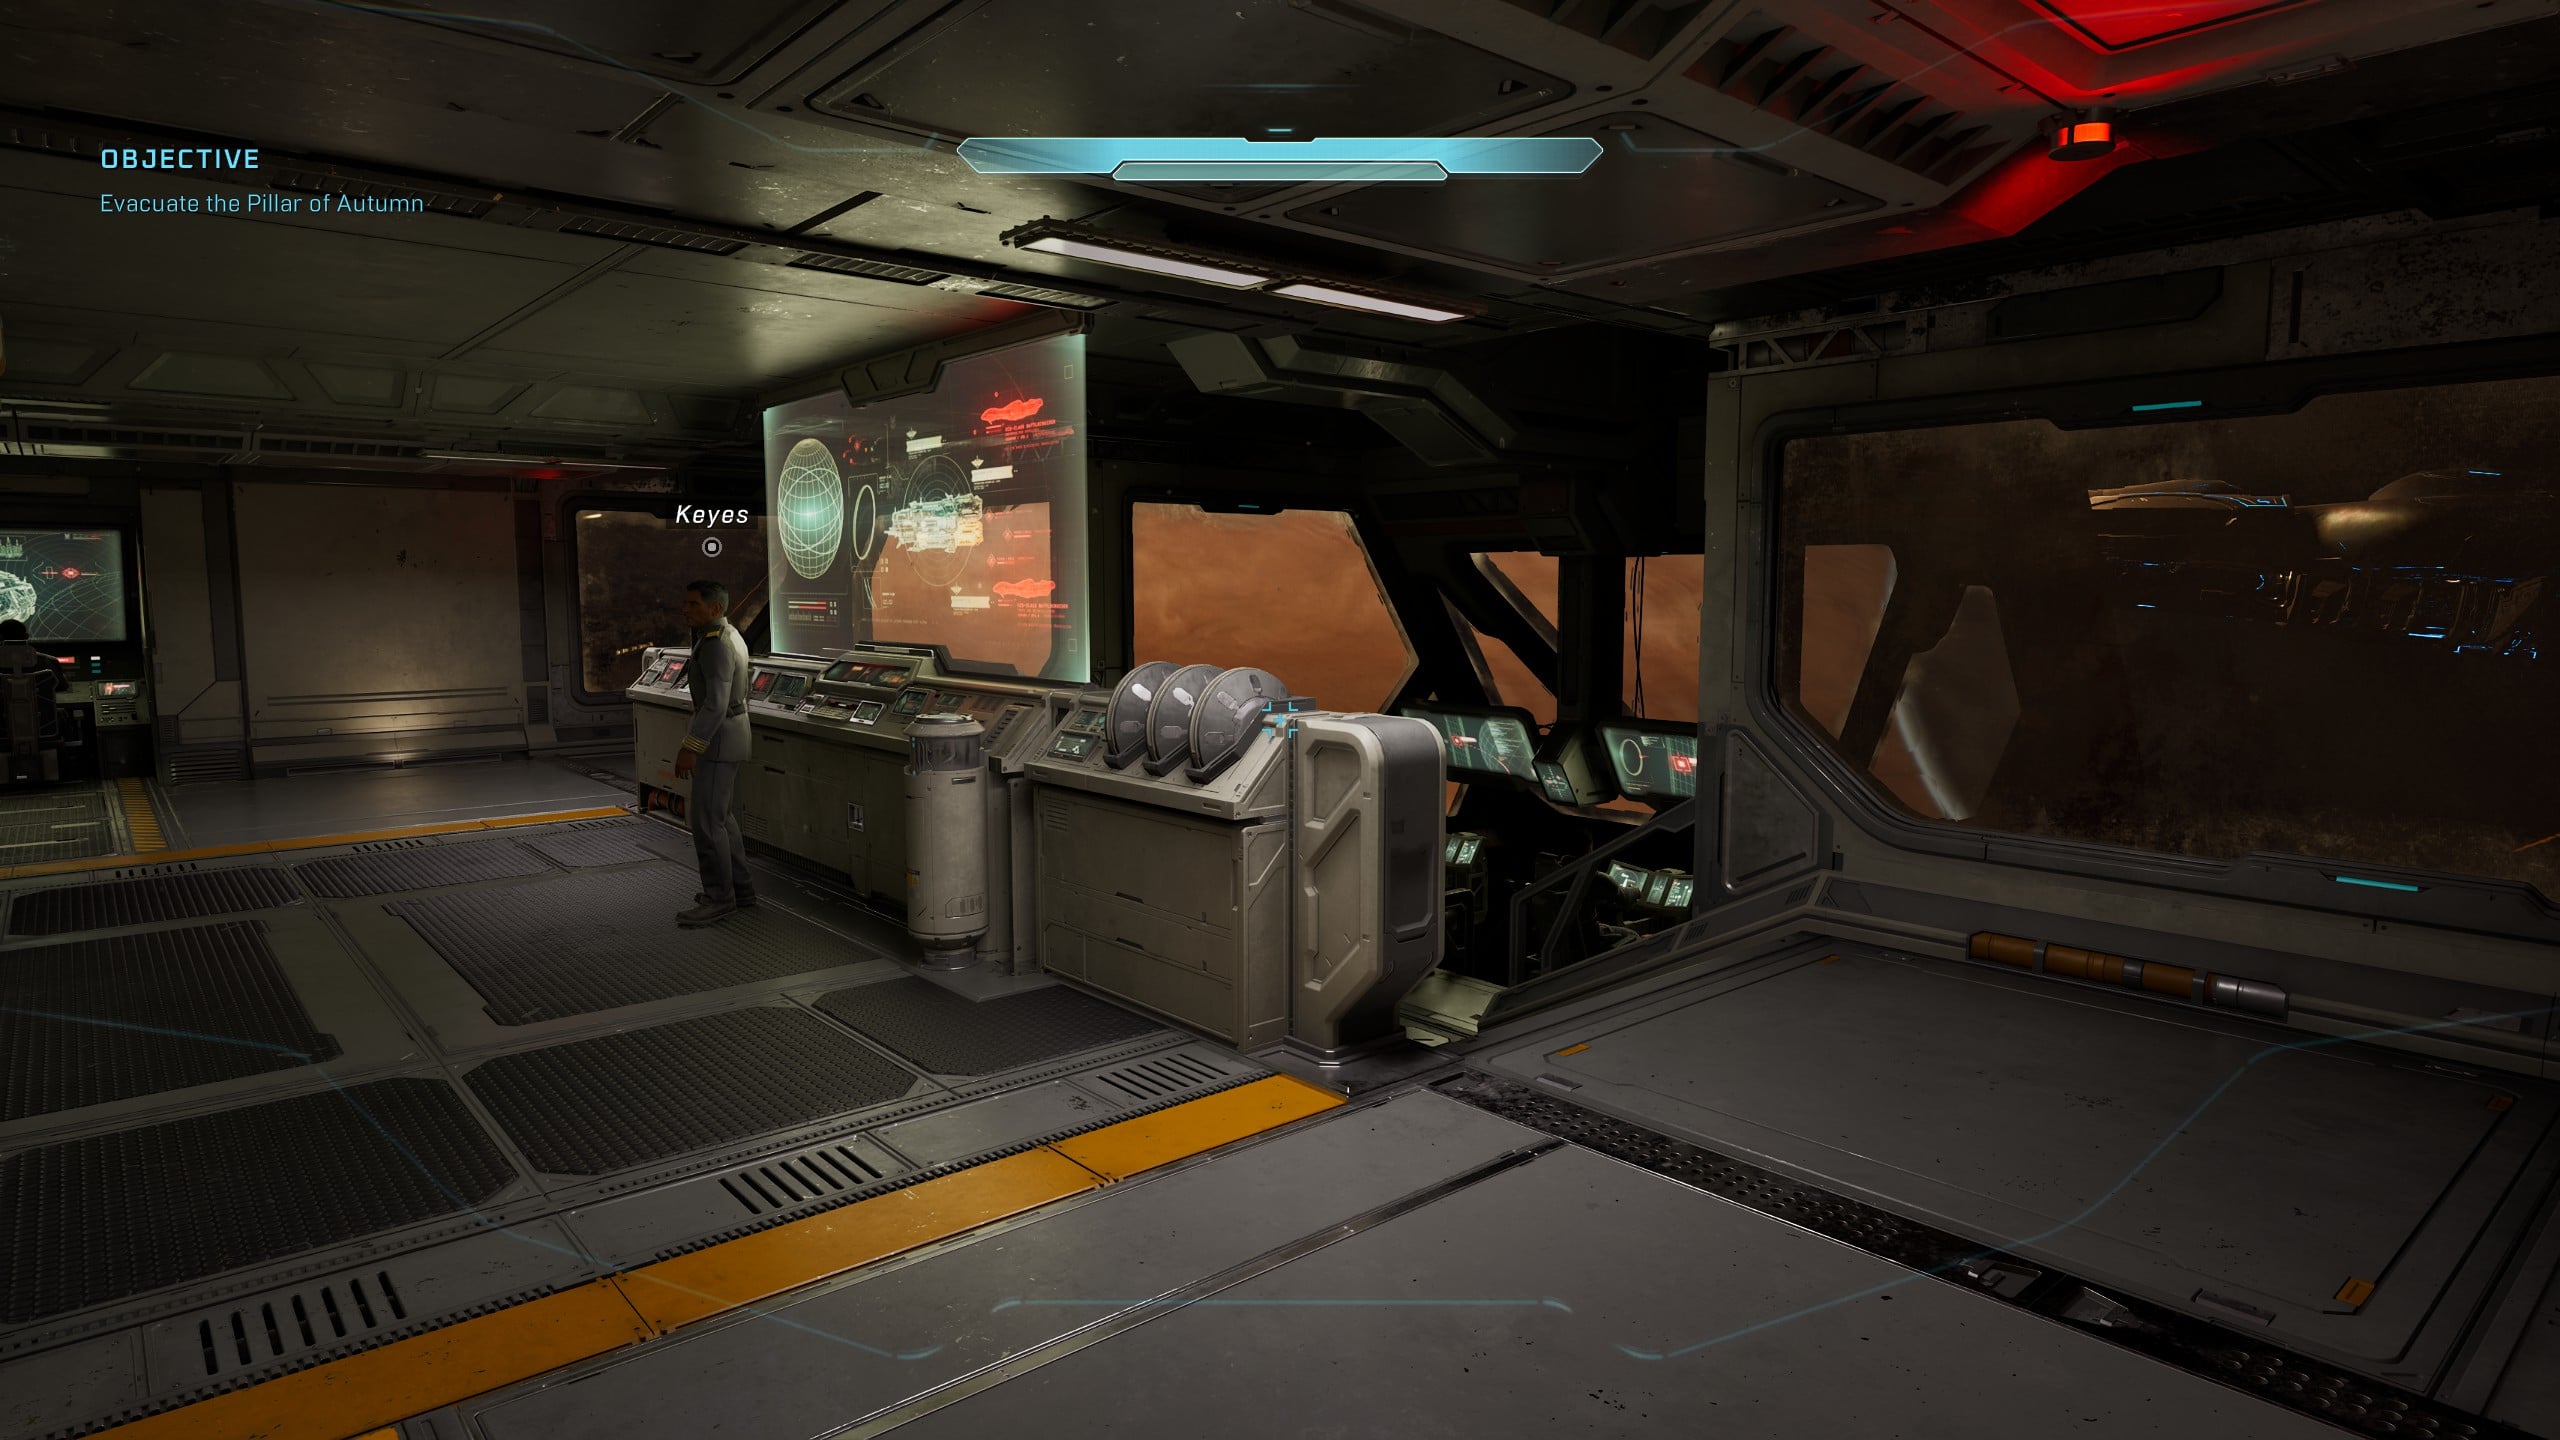
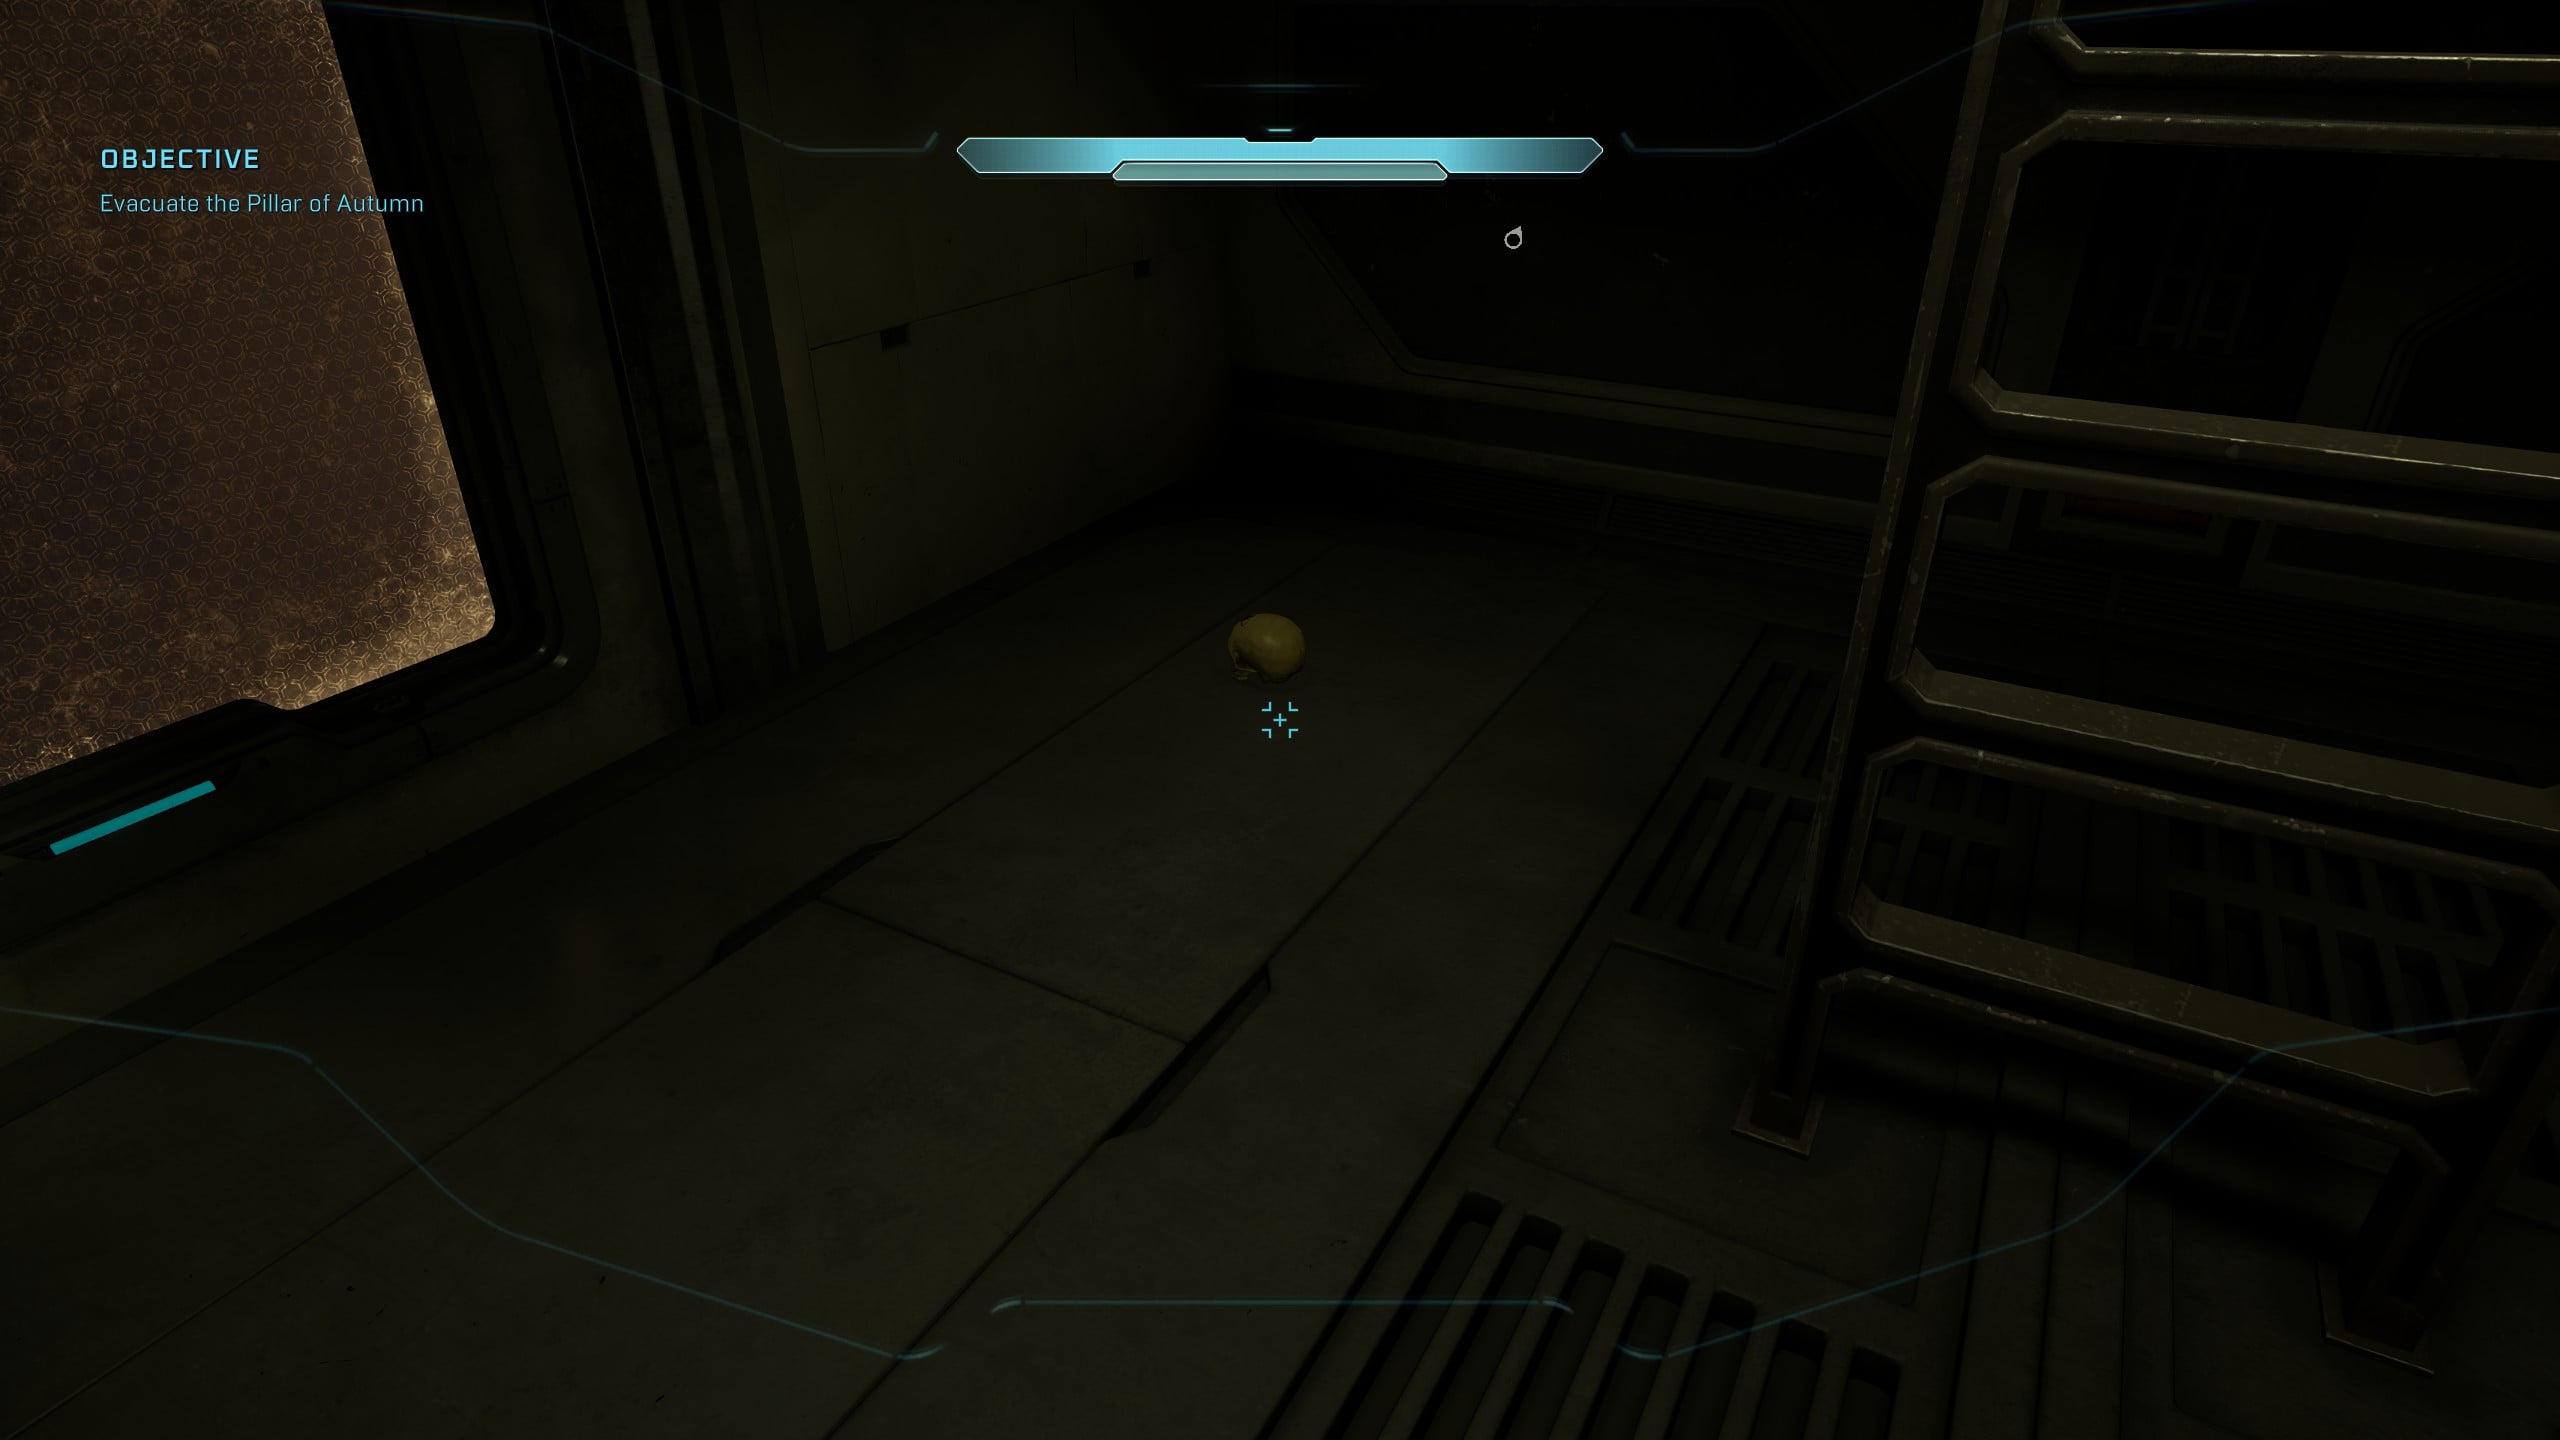
Immediately after watching the cutscene with Captain Keyes, turn around and go back into the command deck. Head to the very front of the room and drop down below where the pilots sit at the front. You’ll find the Perspective Skull hidden here.
Rally Point Charlie
Terminal 1 – Approach
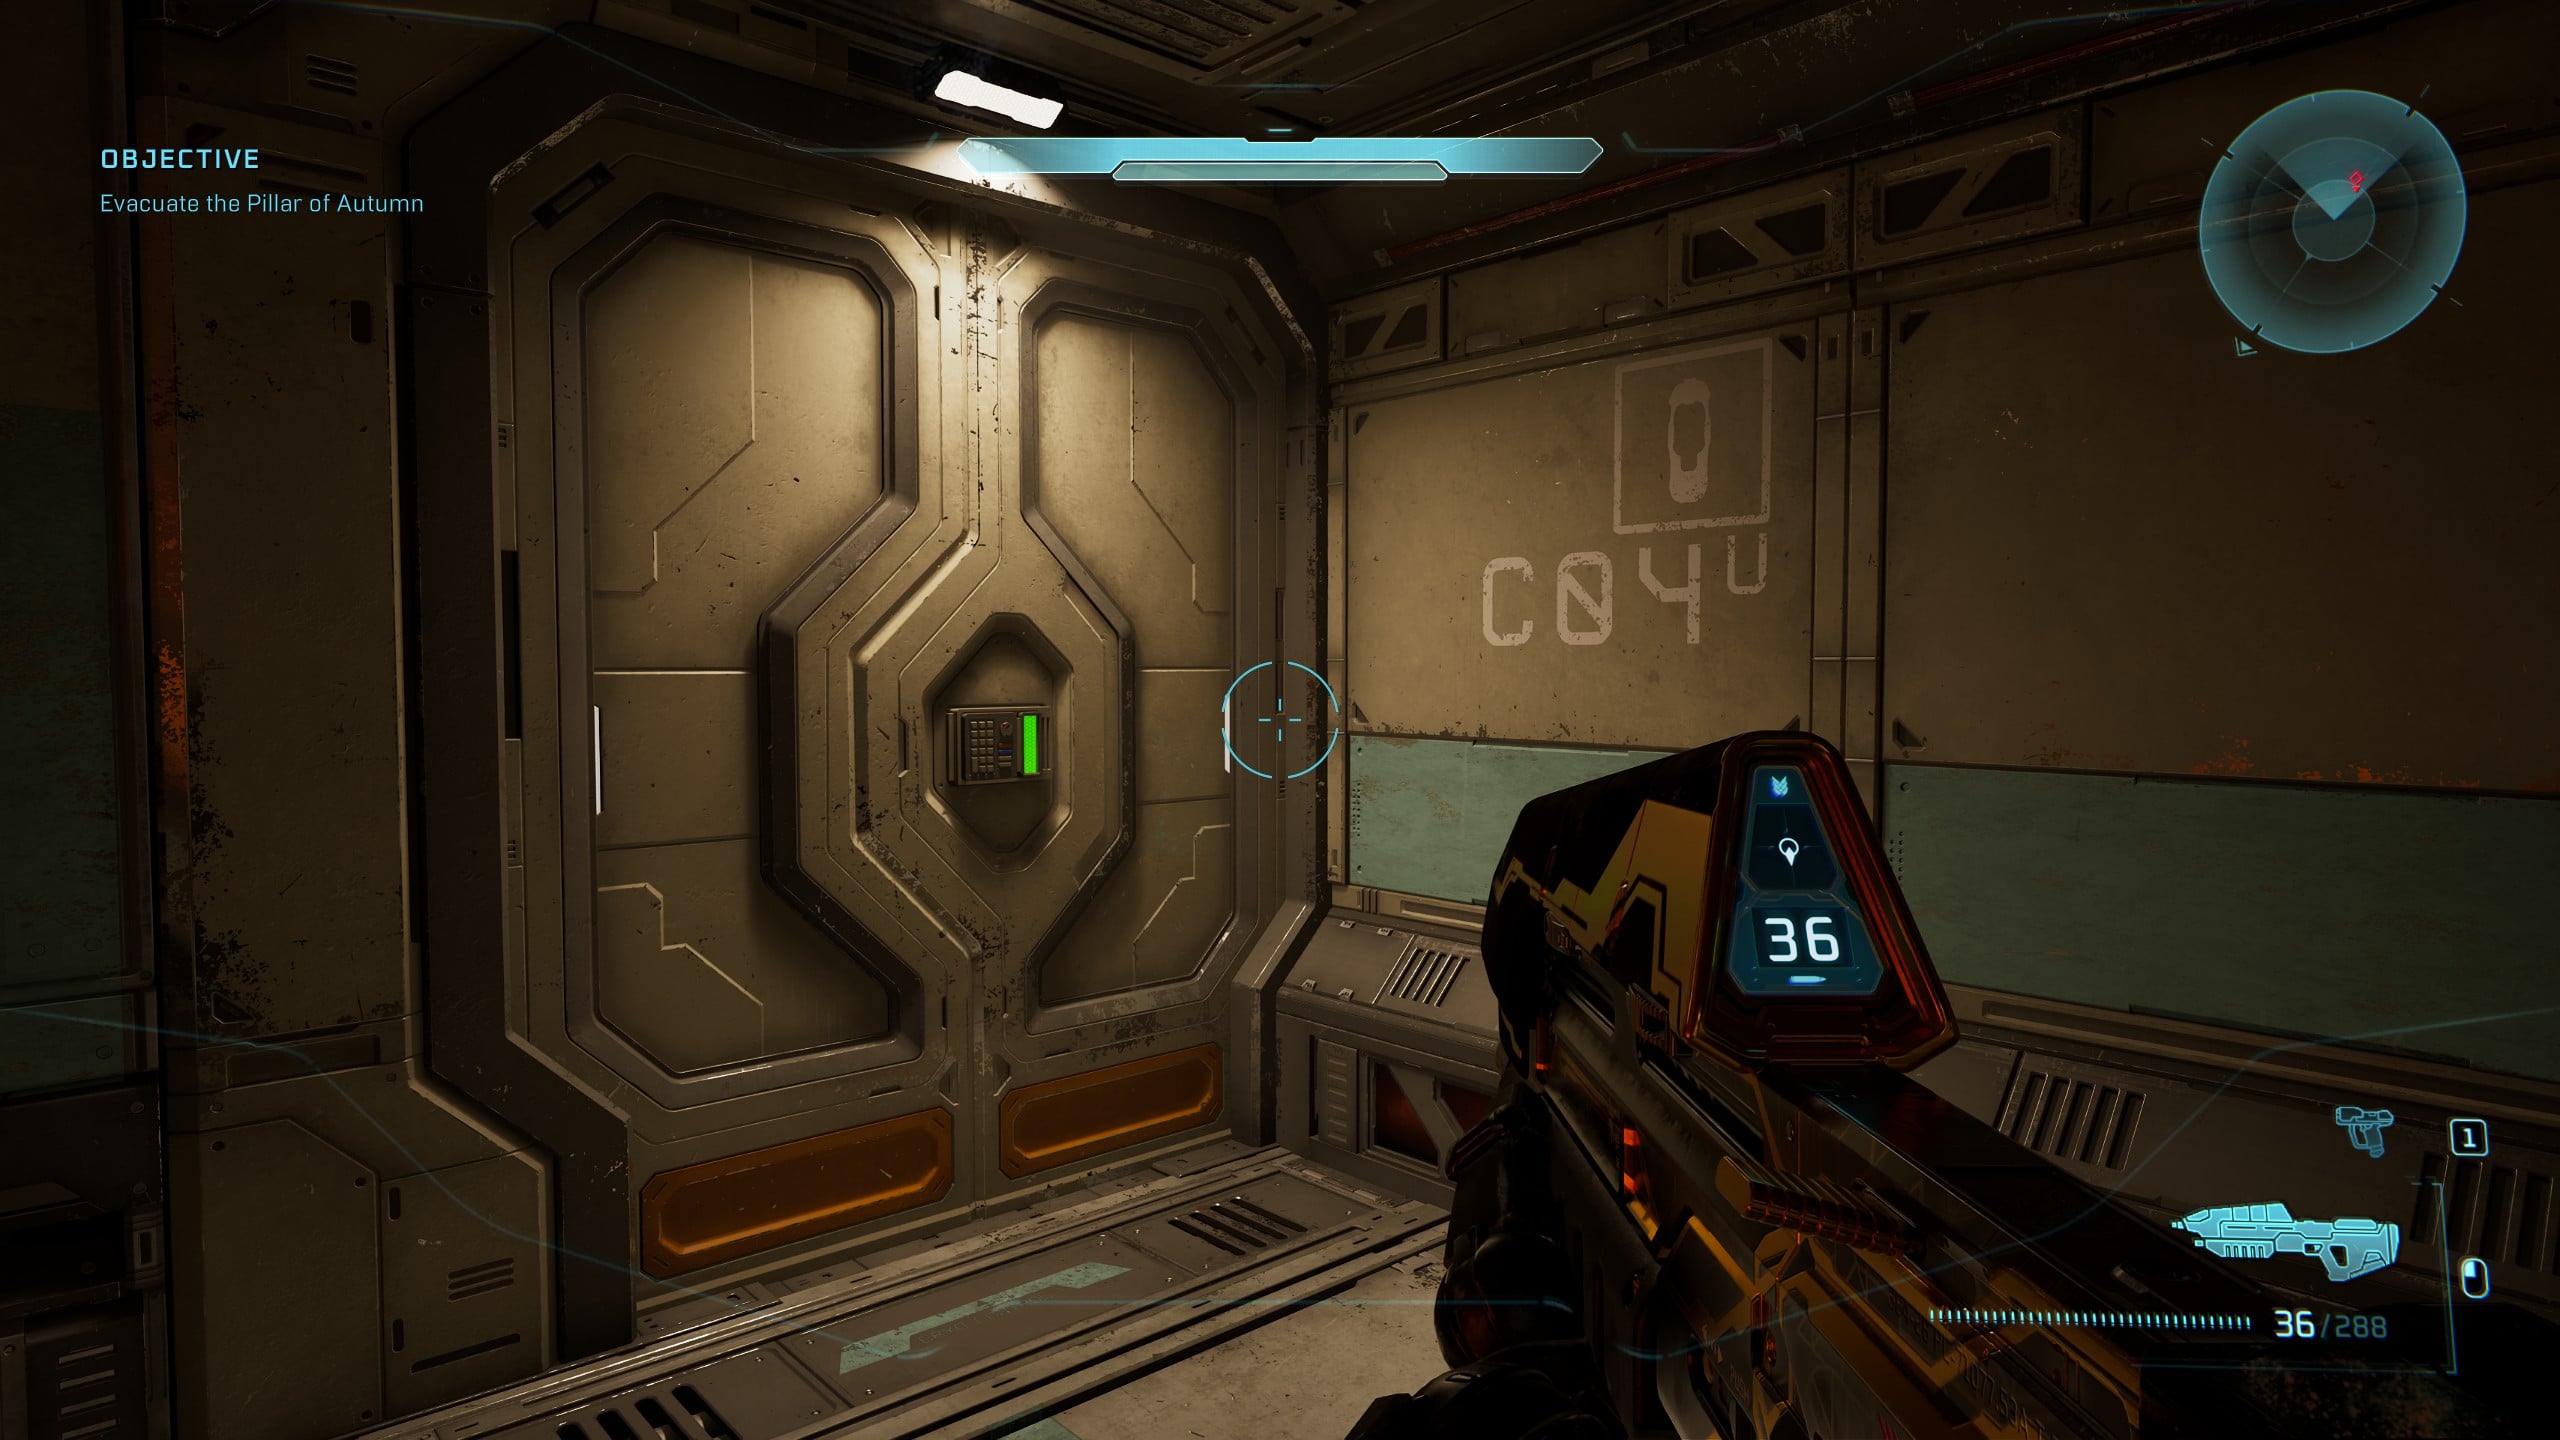
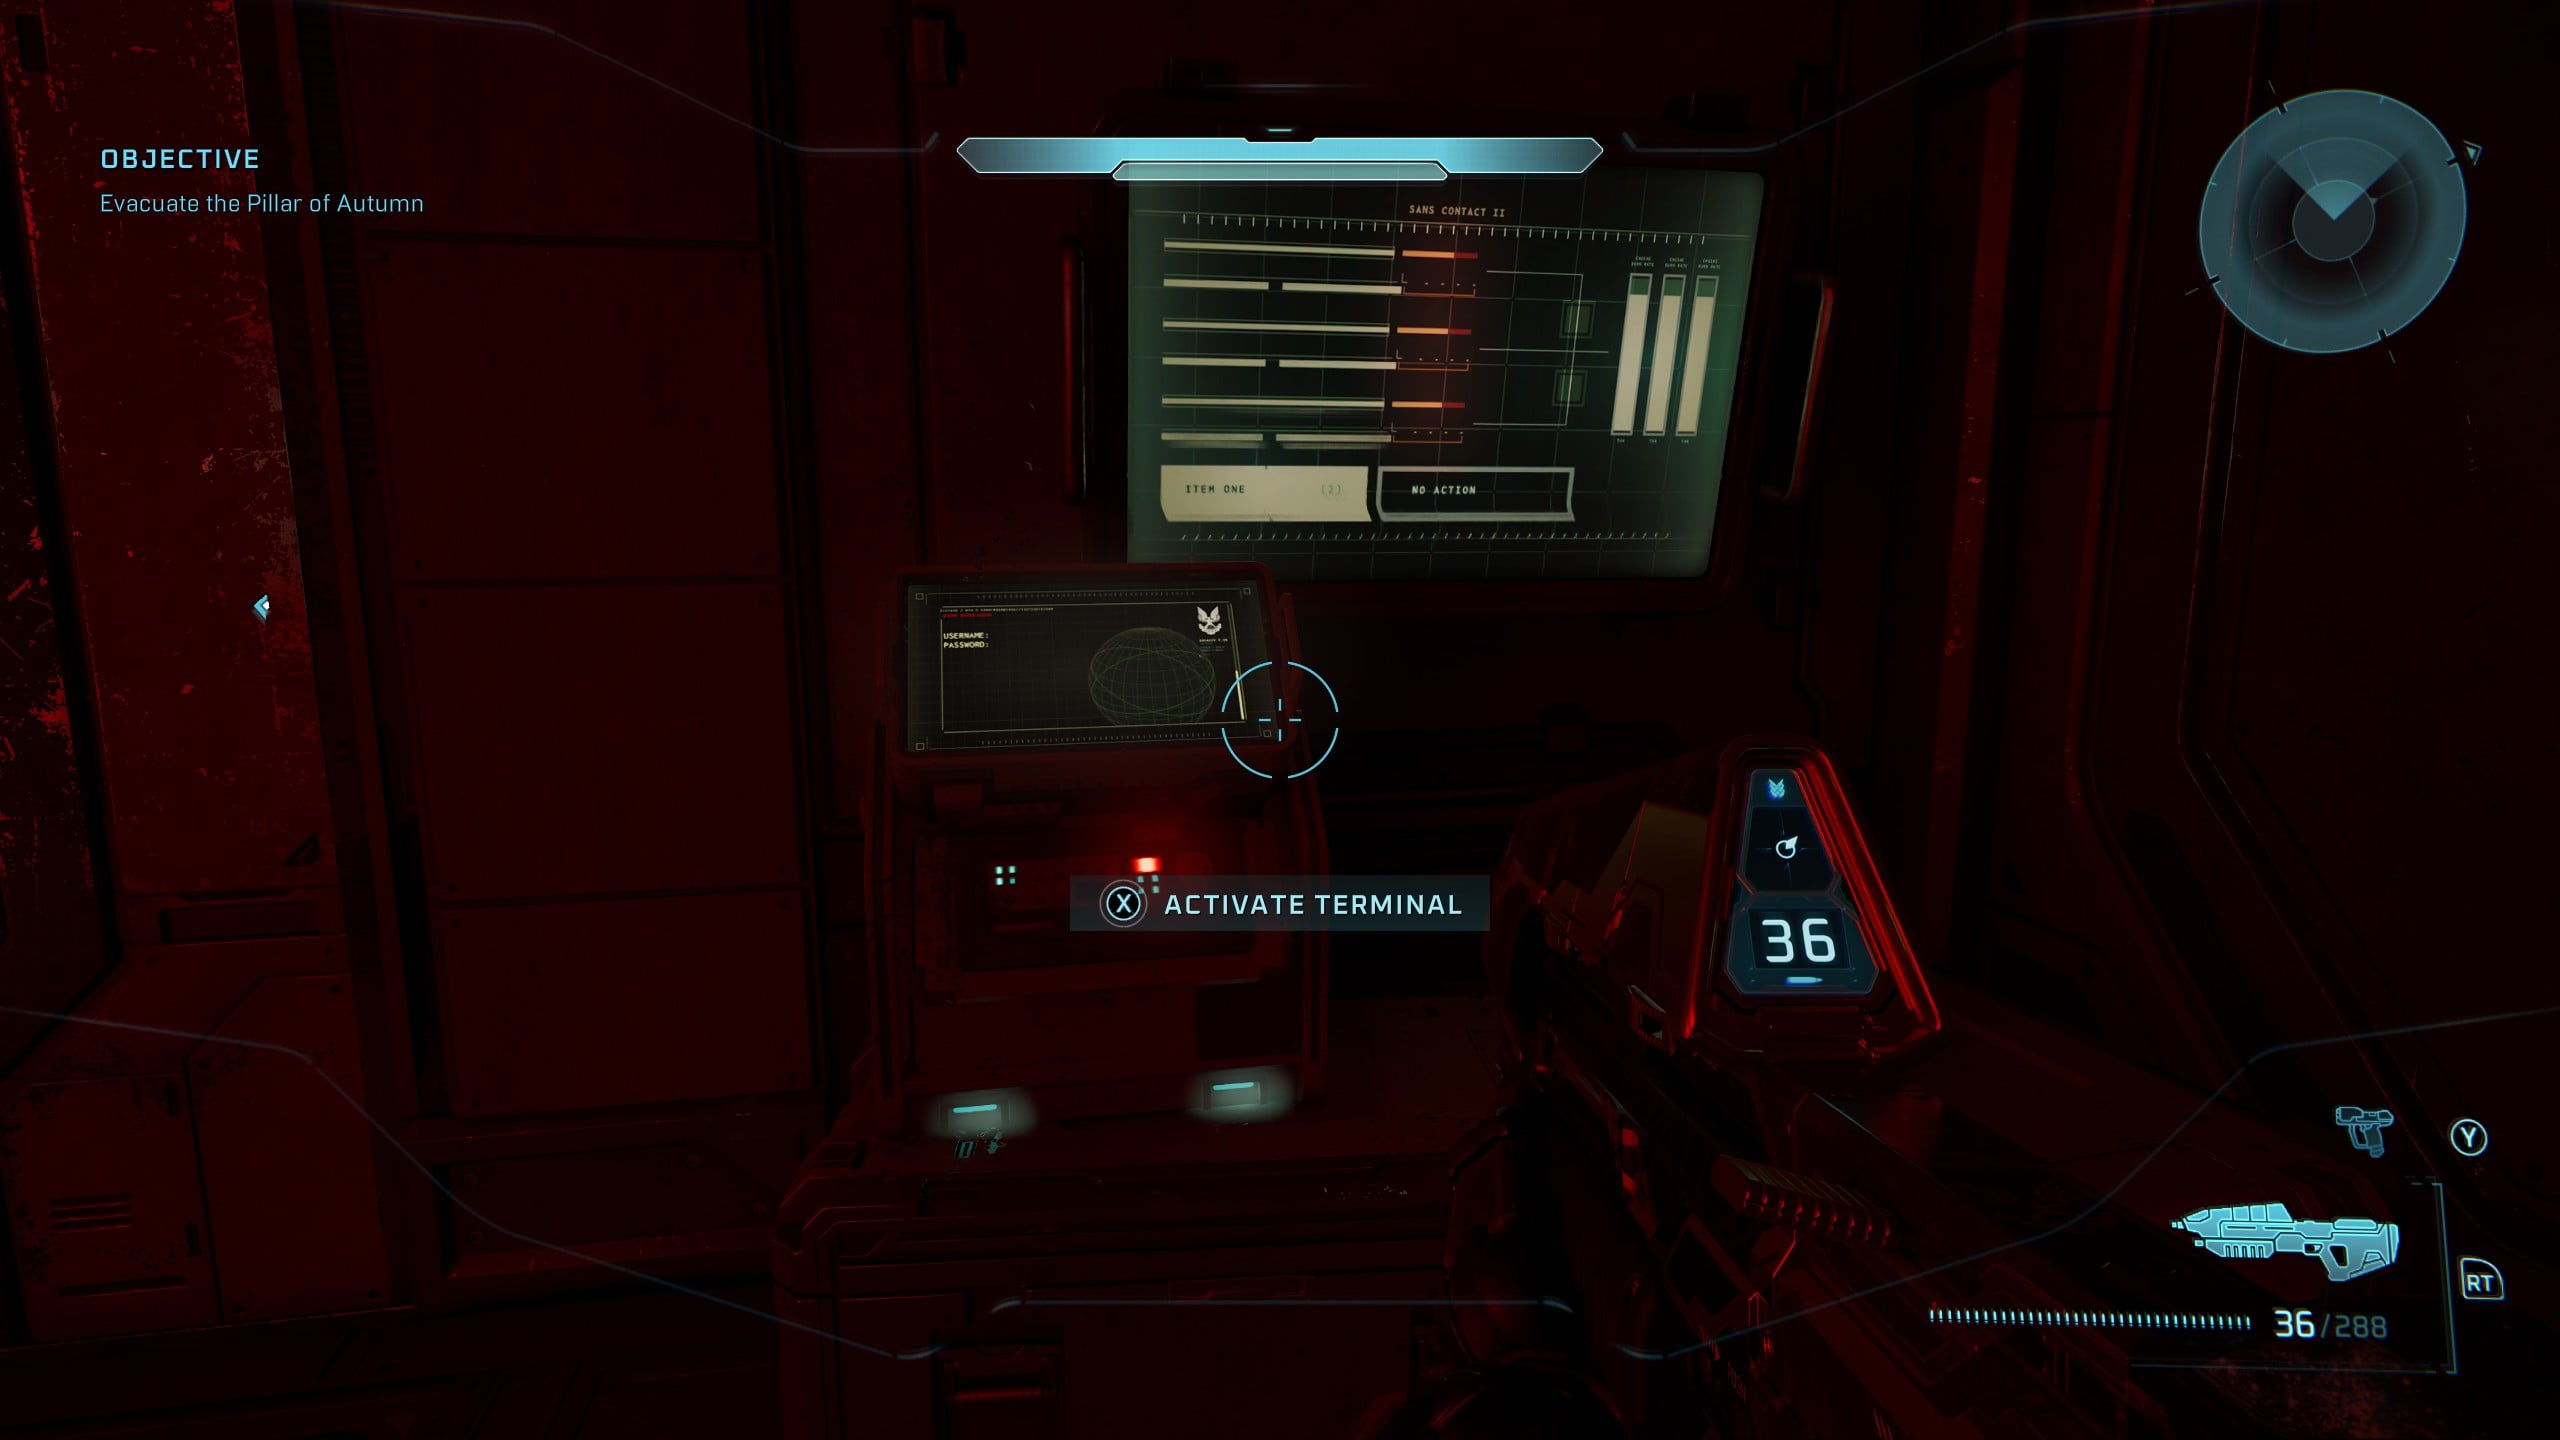
When trying to Evacuate the Pillar of Autumn, you will pass through the Cryo control room overlooking where you started the game — the door will be marked C04U. After passing through the room, stick left and perform a 180-degree turn to find a dark room with the Terminal inside.
Halo Skull and Terminal locations
You’ll earn the Successful Search trophy and achievement for finding these optional items in the Halo mission.
Rally Point Alpha
Terminal 2 – Forgotten
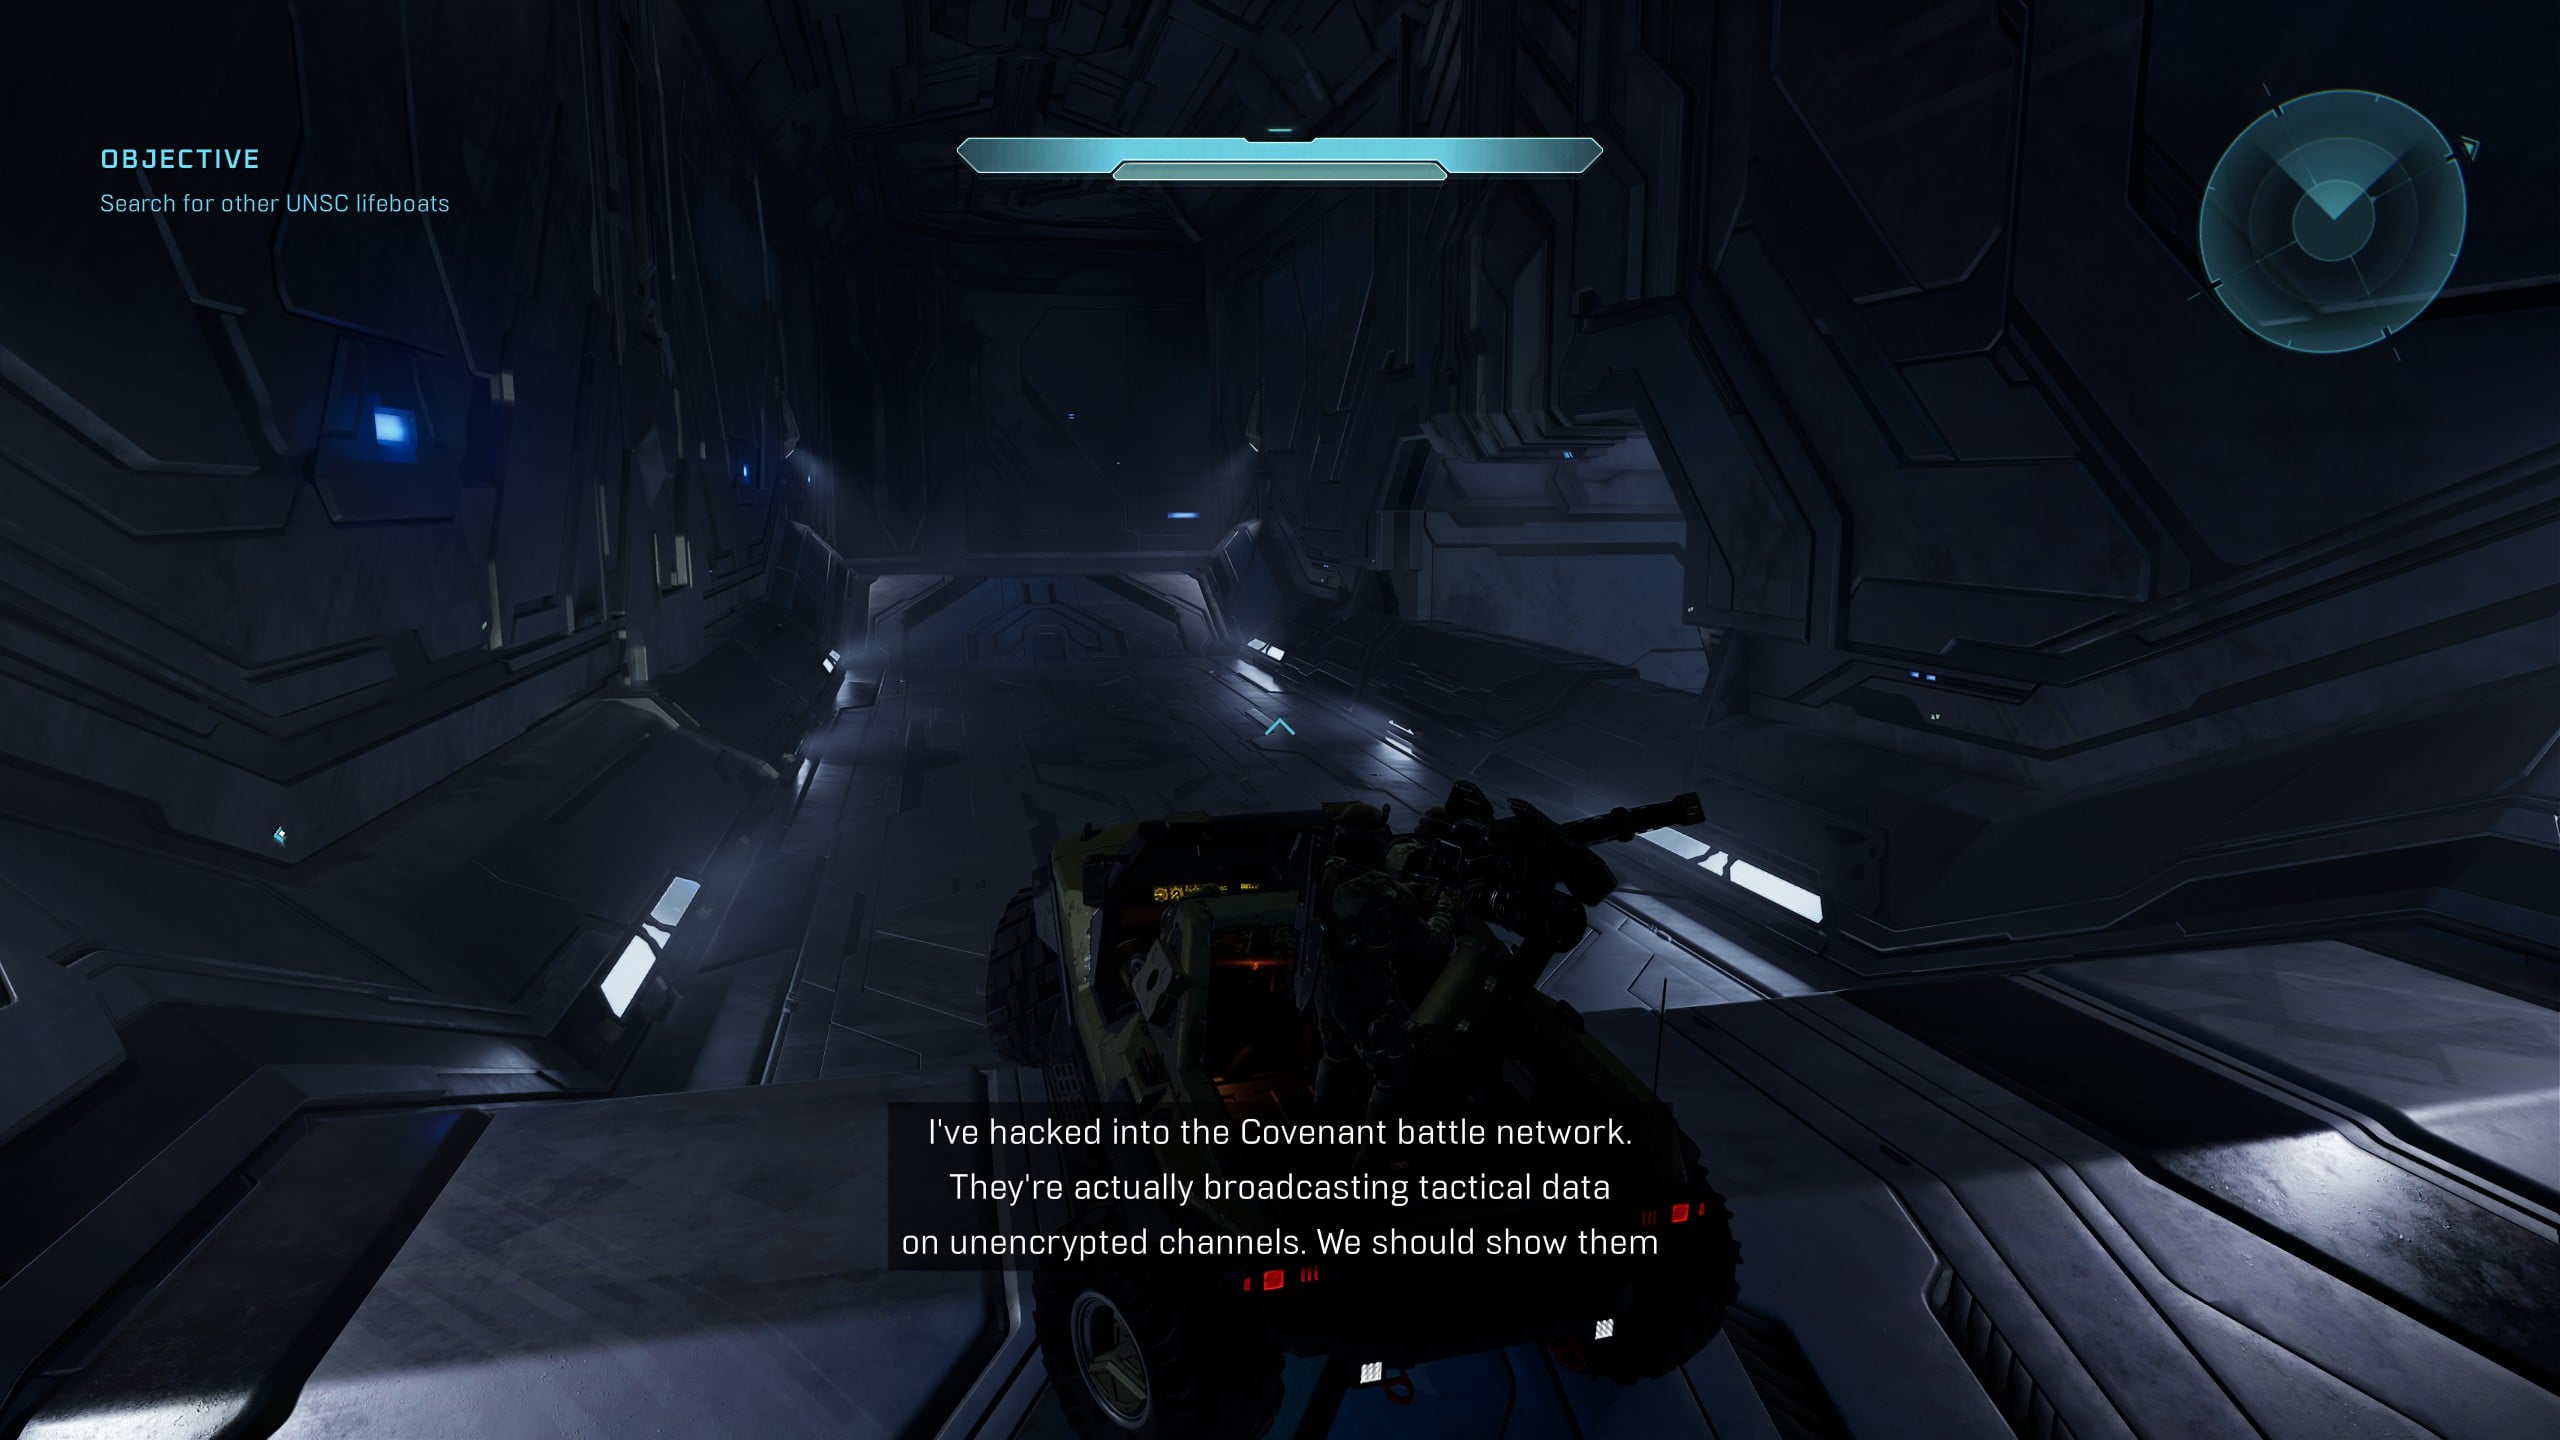
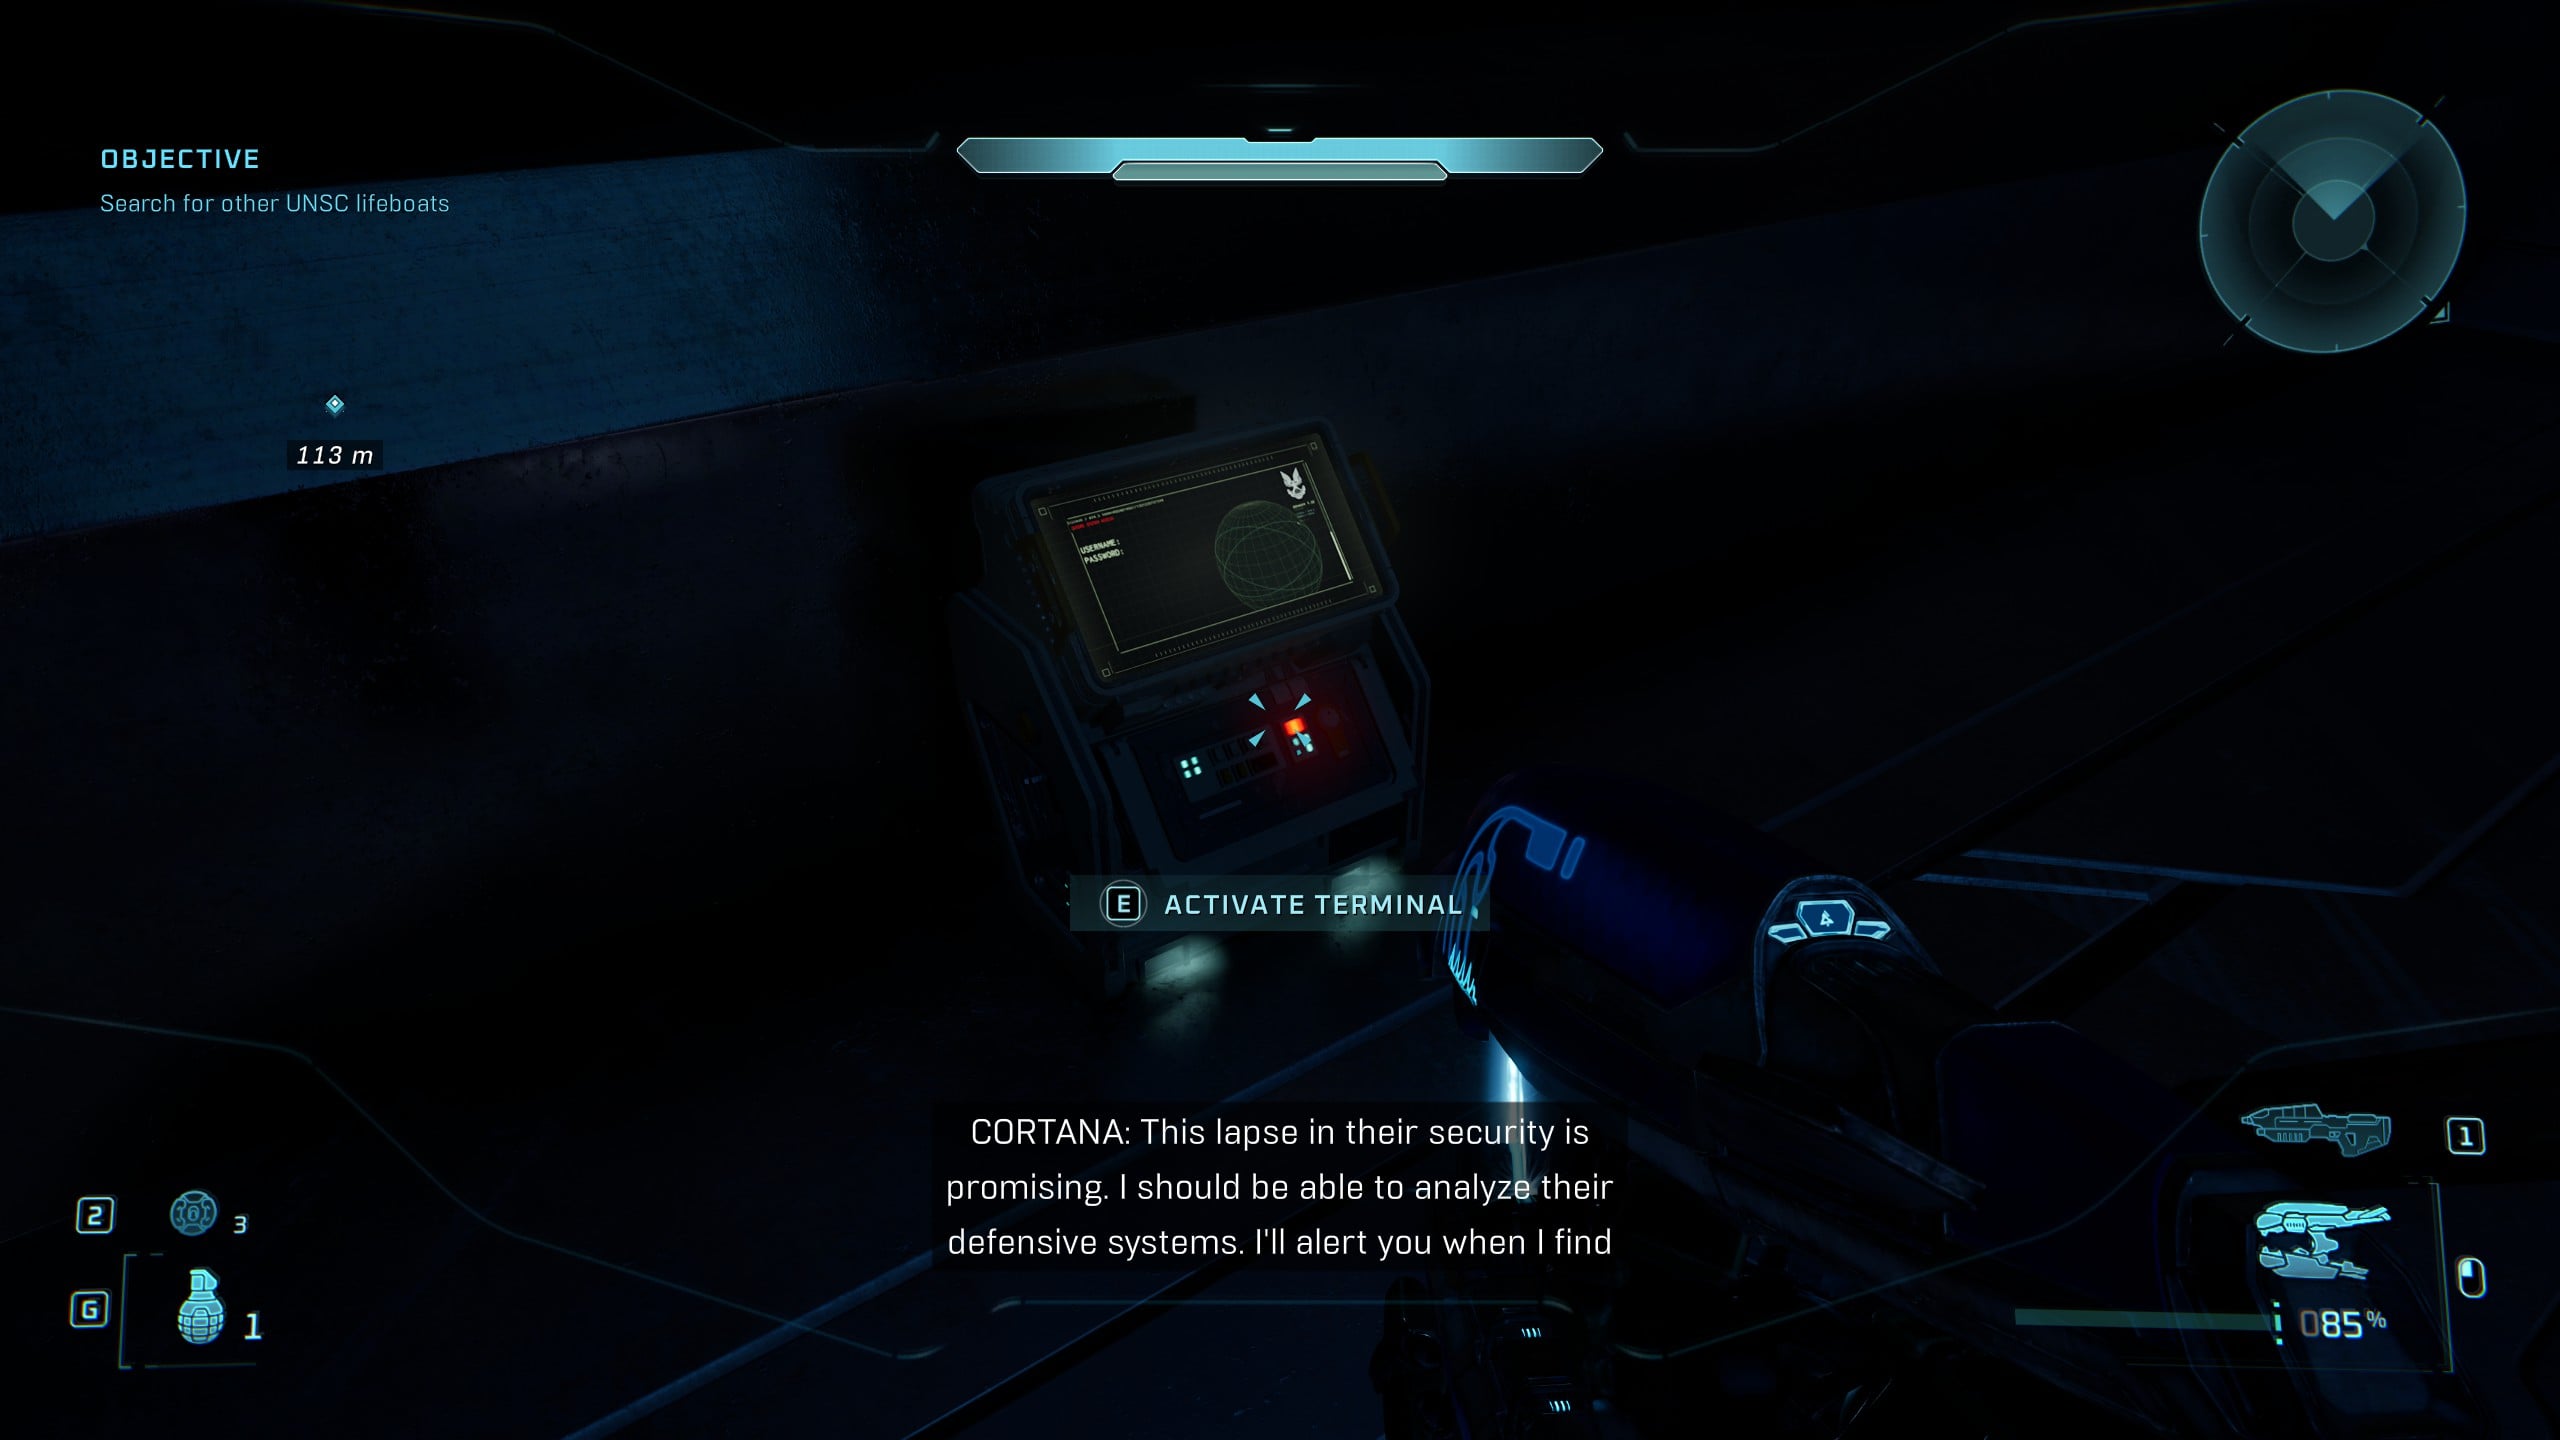
As you drive through the “unusual” metallic tunnel on the Warthog, just after you take your first right turn in the tunnel and there are two ramps, slow down and look for a large gap in the wall on your right. Drop down the first small ledge, and then before dropping down any further, immediately turn around to find the Terminal.
Rally Point Charlie
Skull 4 – Grunt Funeral
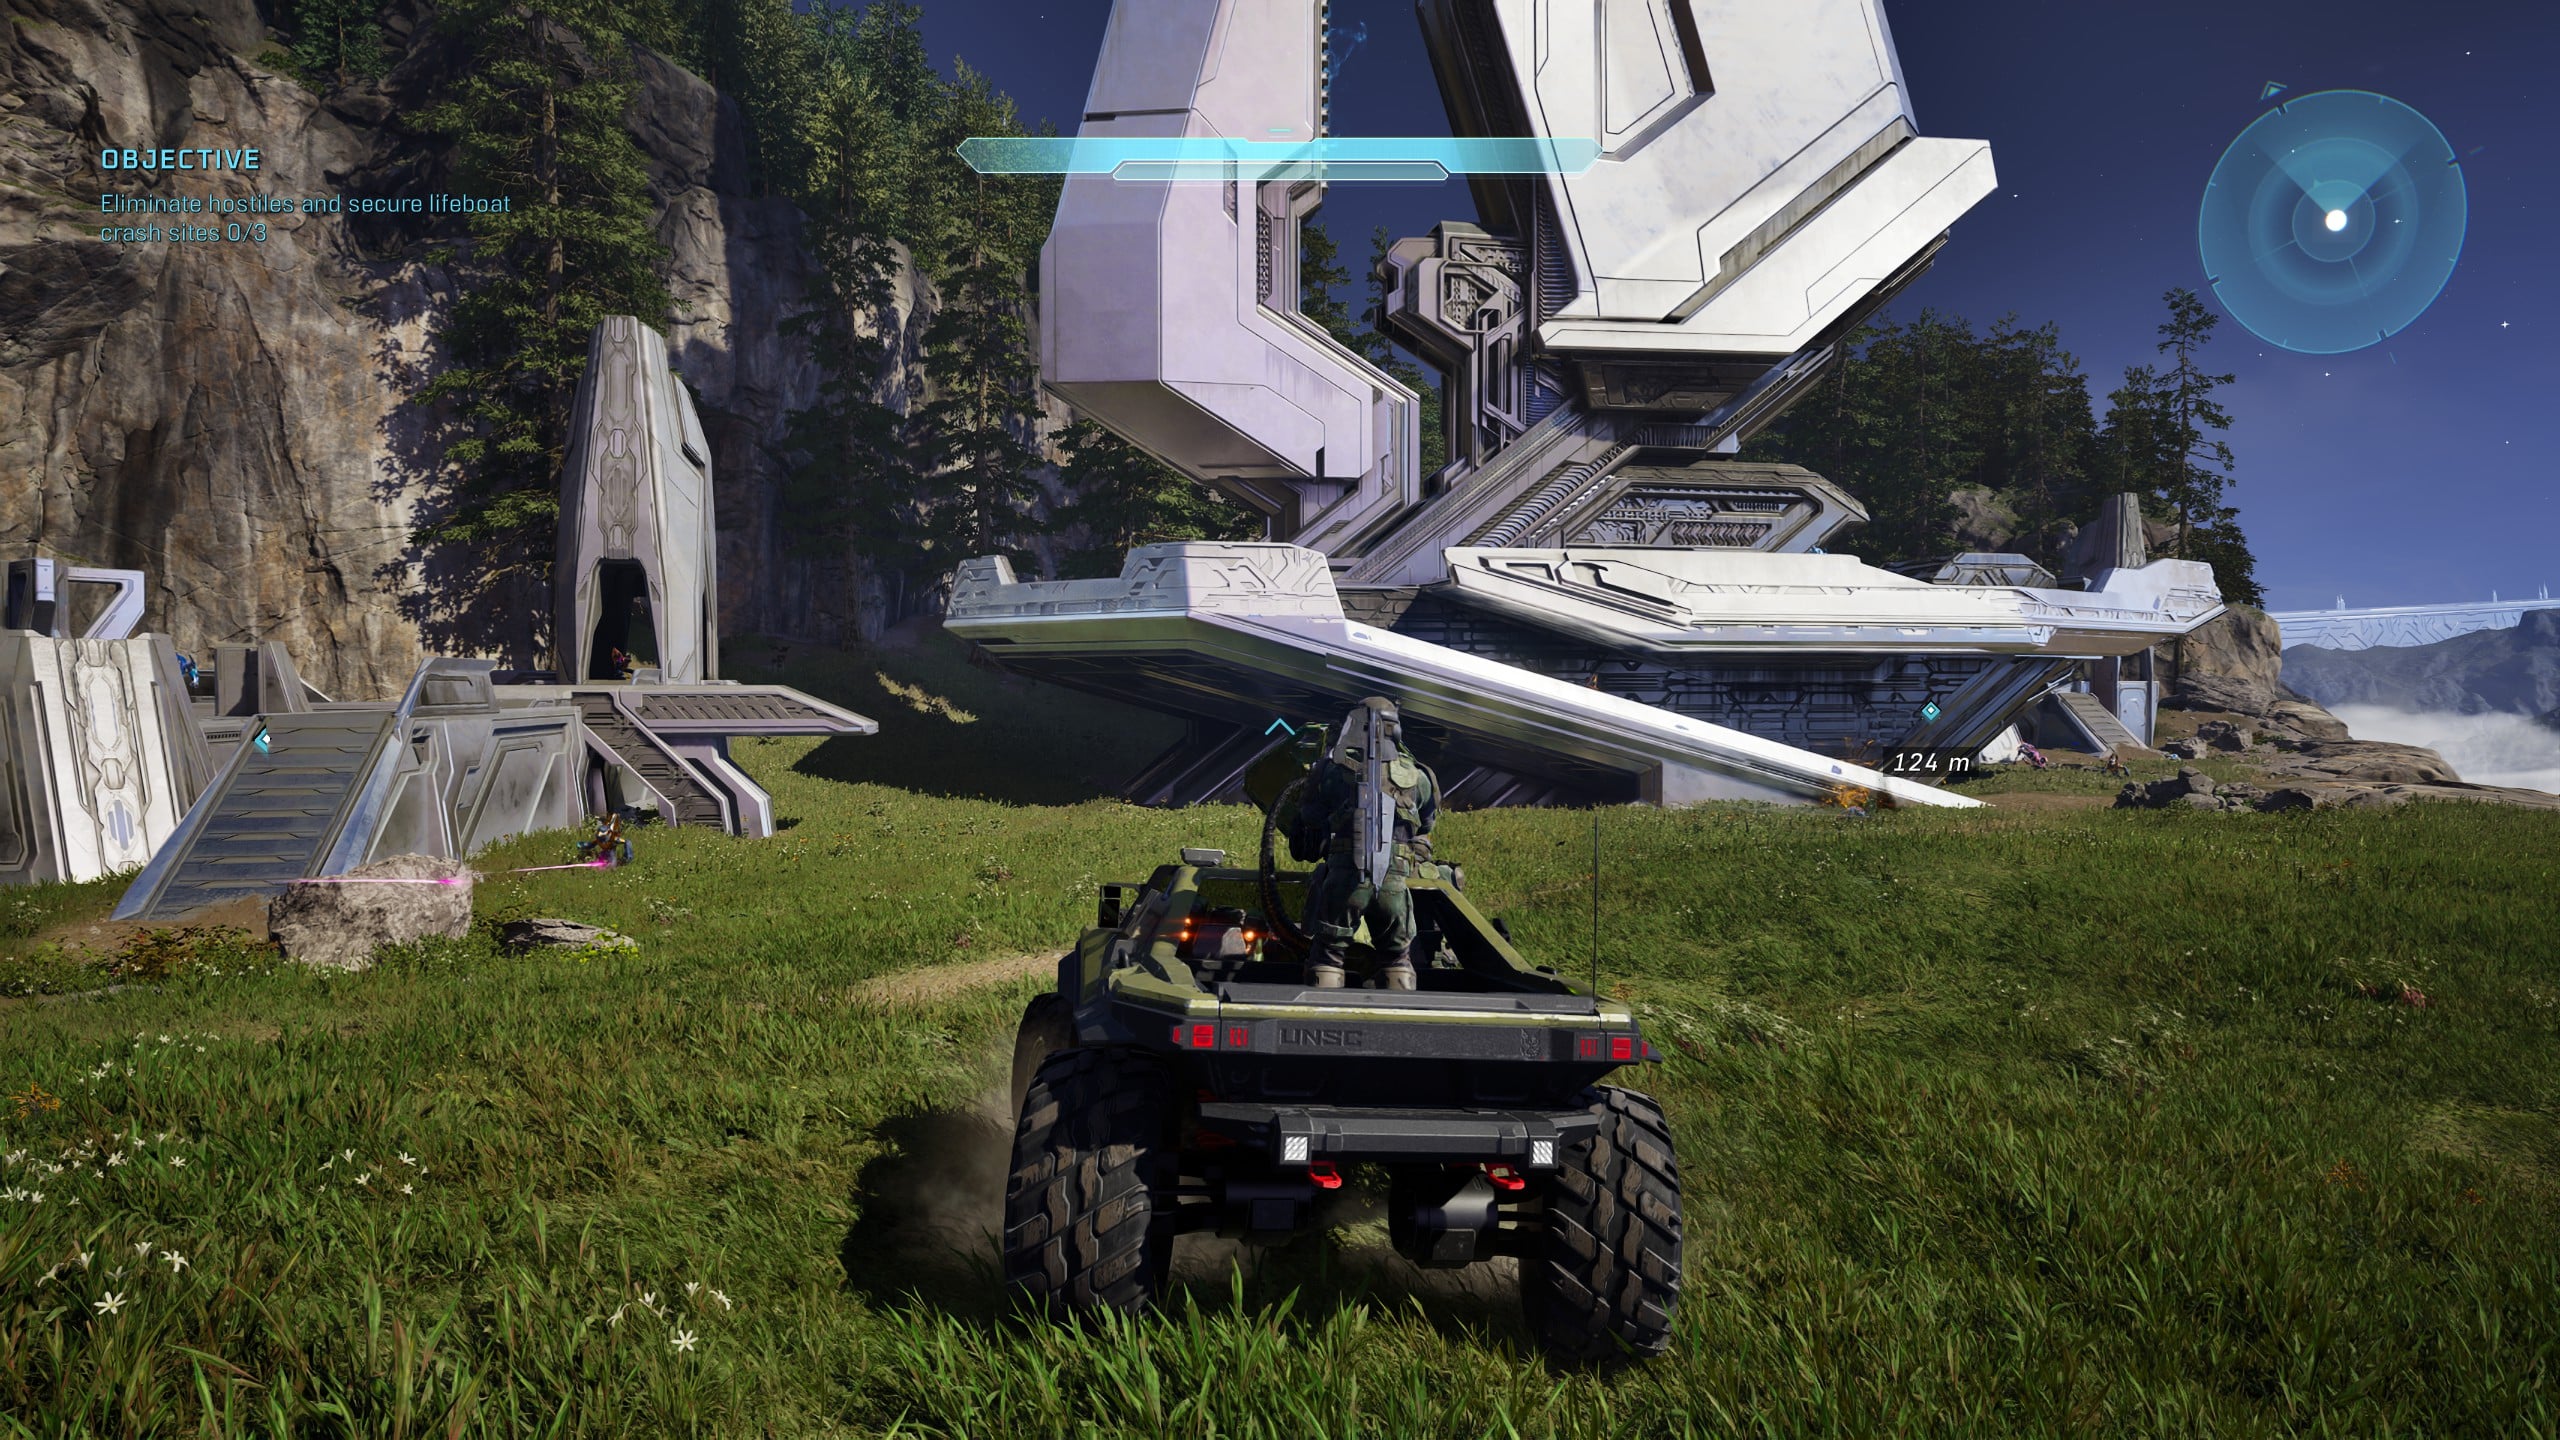
After exiting the metallic tunnel system, you’ll be given the Objective to ‘Eliminate hostiles and secure lifeboat crash sites 0/3’. Head to the one immediately on your left up the hill, and you’ll see a similar beacon to the one you fought Covenant off of earlier before getting the Warthog.
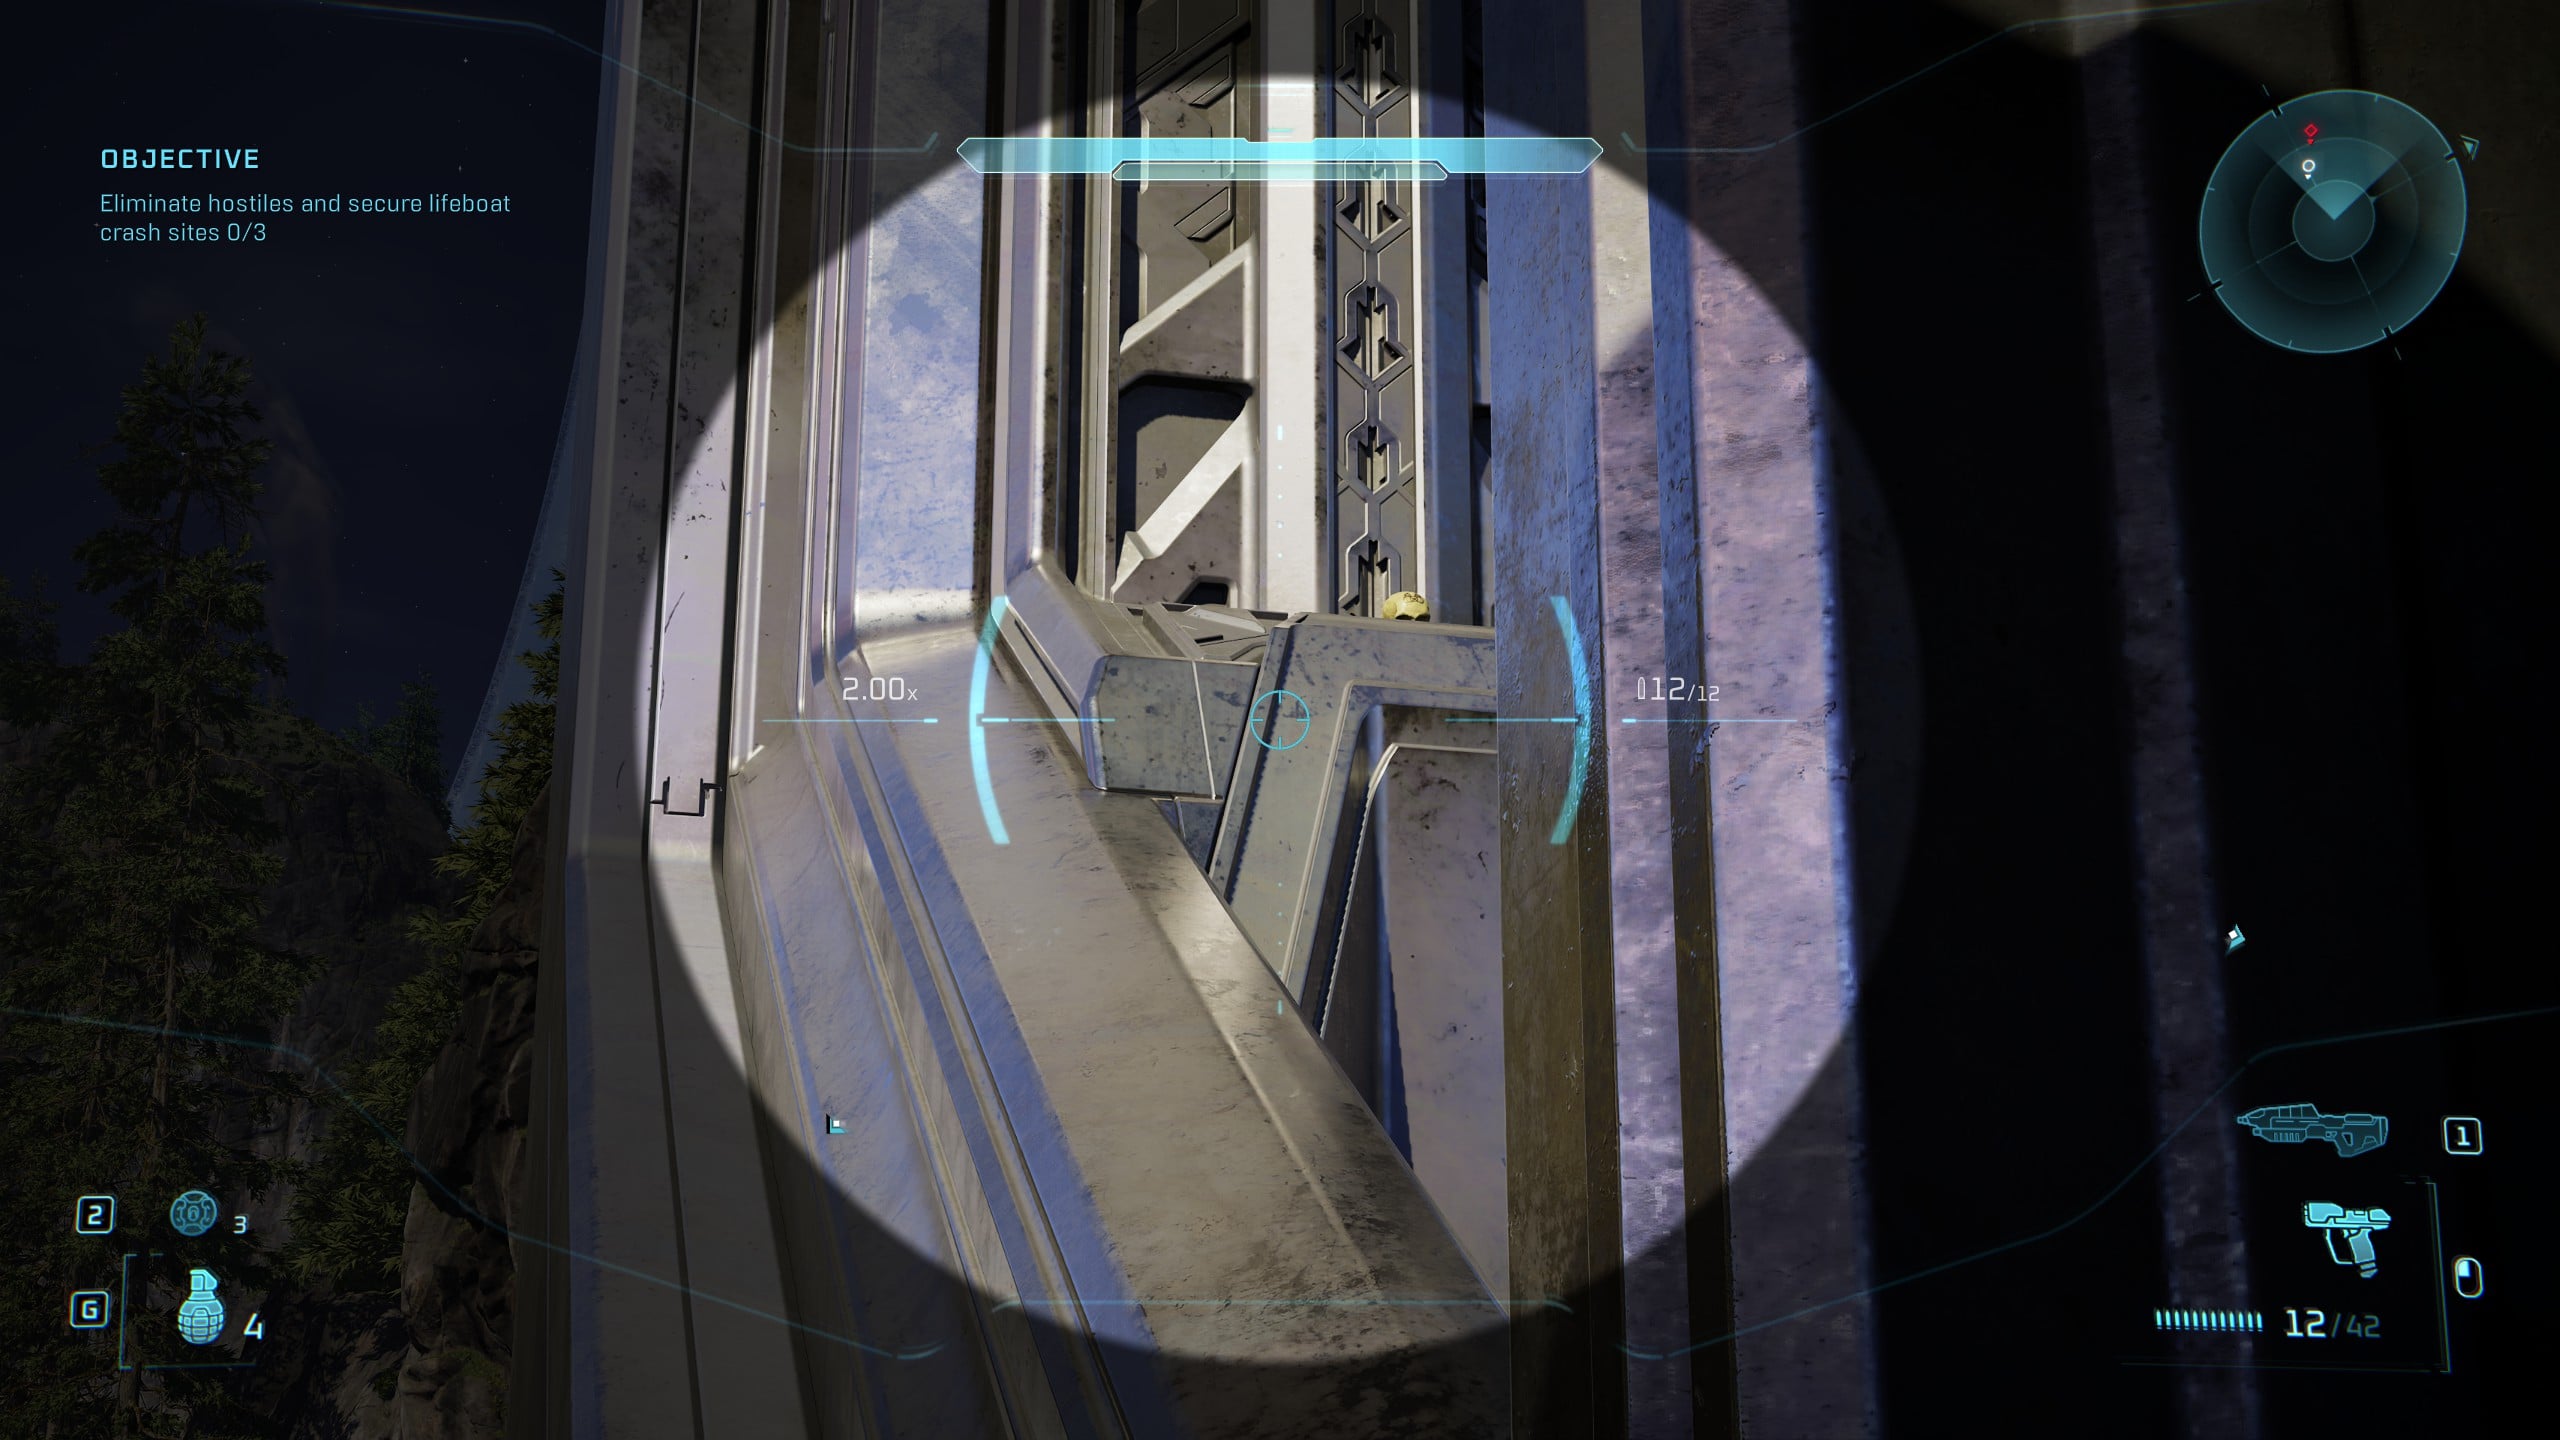
The Grunt Funeral Skull is actually on the beacon, and you’ll need to climb up the side of it before using a grenade-boosted jump to get up to where the Skull is. Once you know where it is, that’s most of the hard part done.
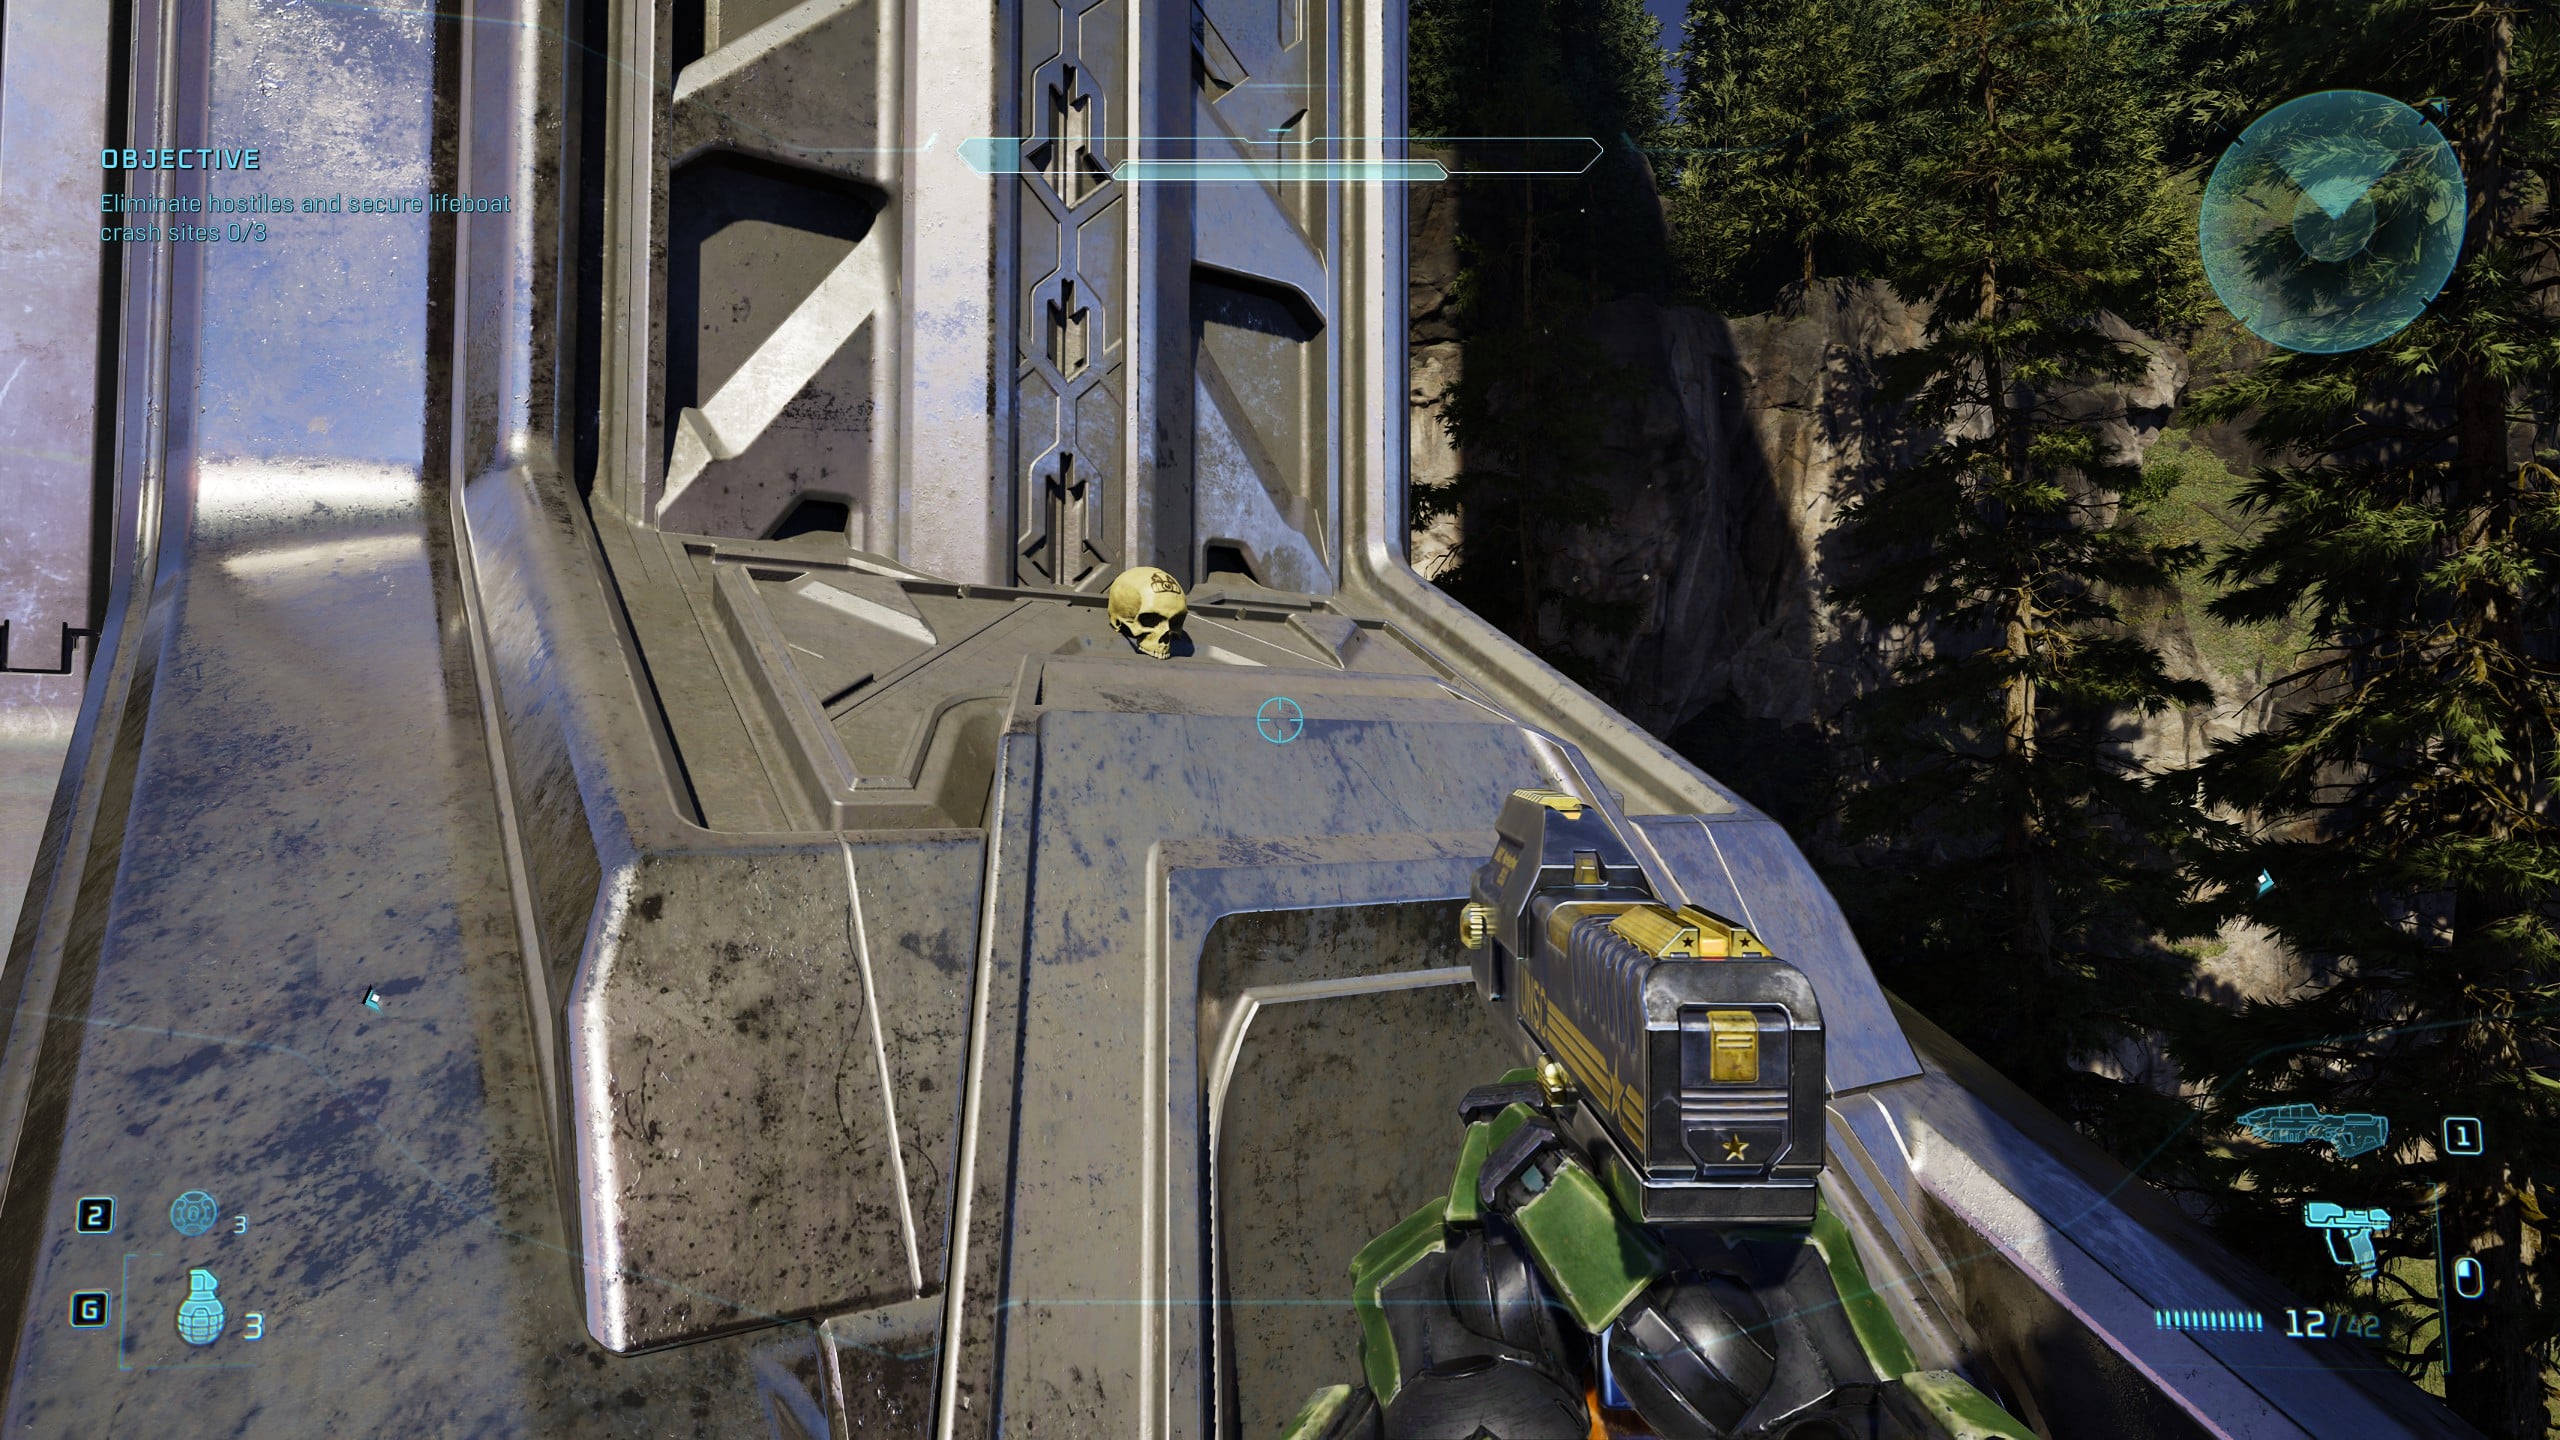
Skull 5 – Give & Take
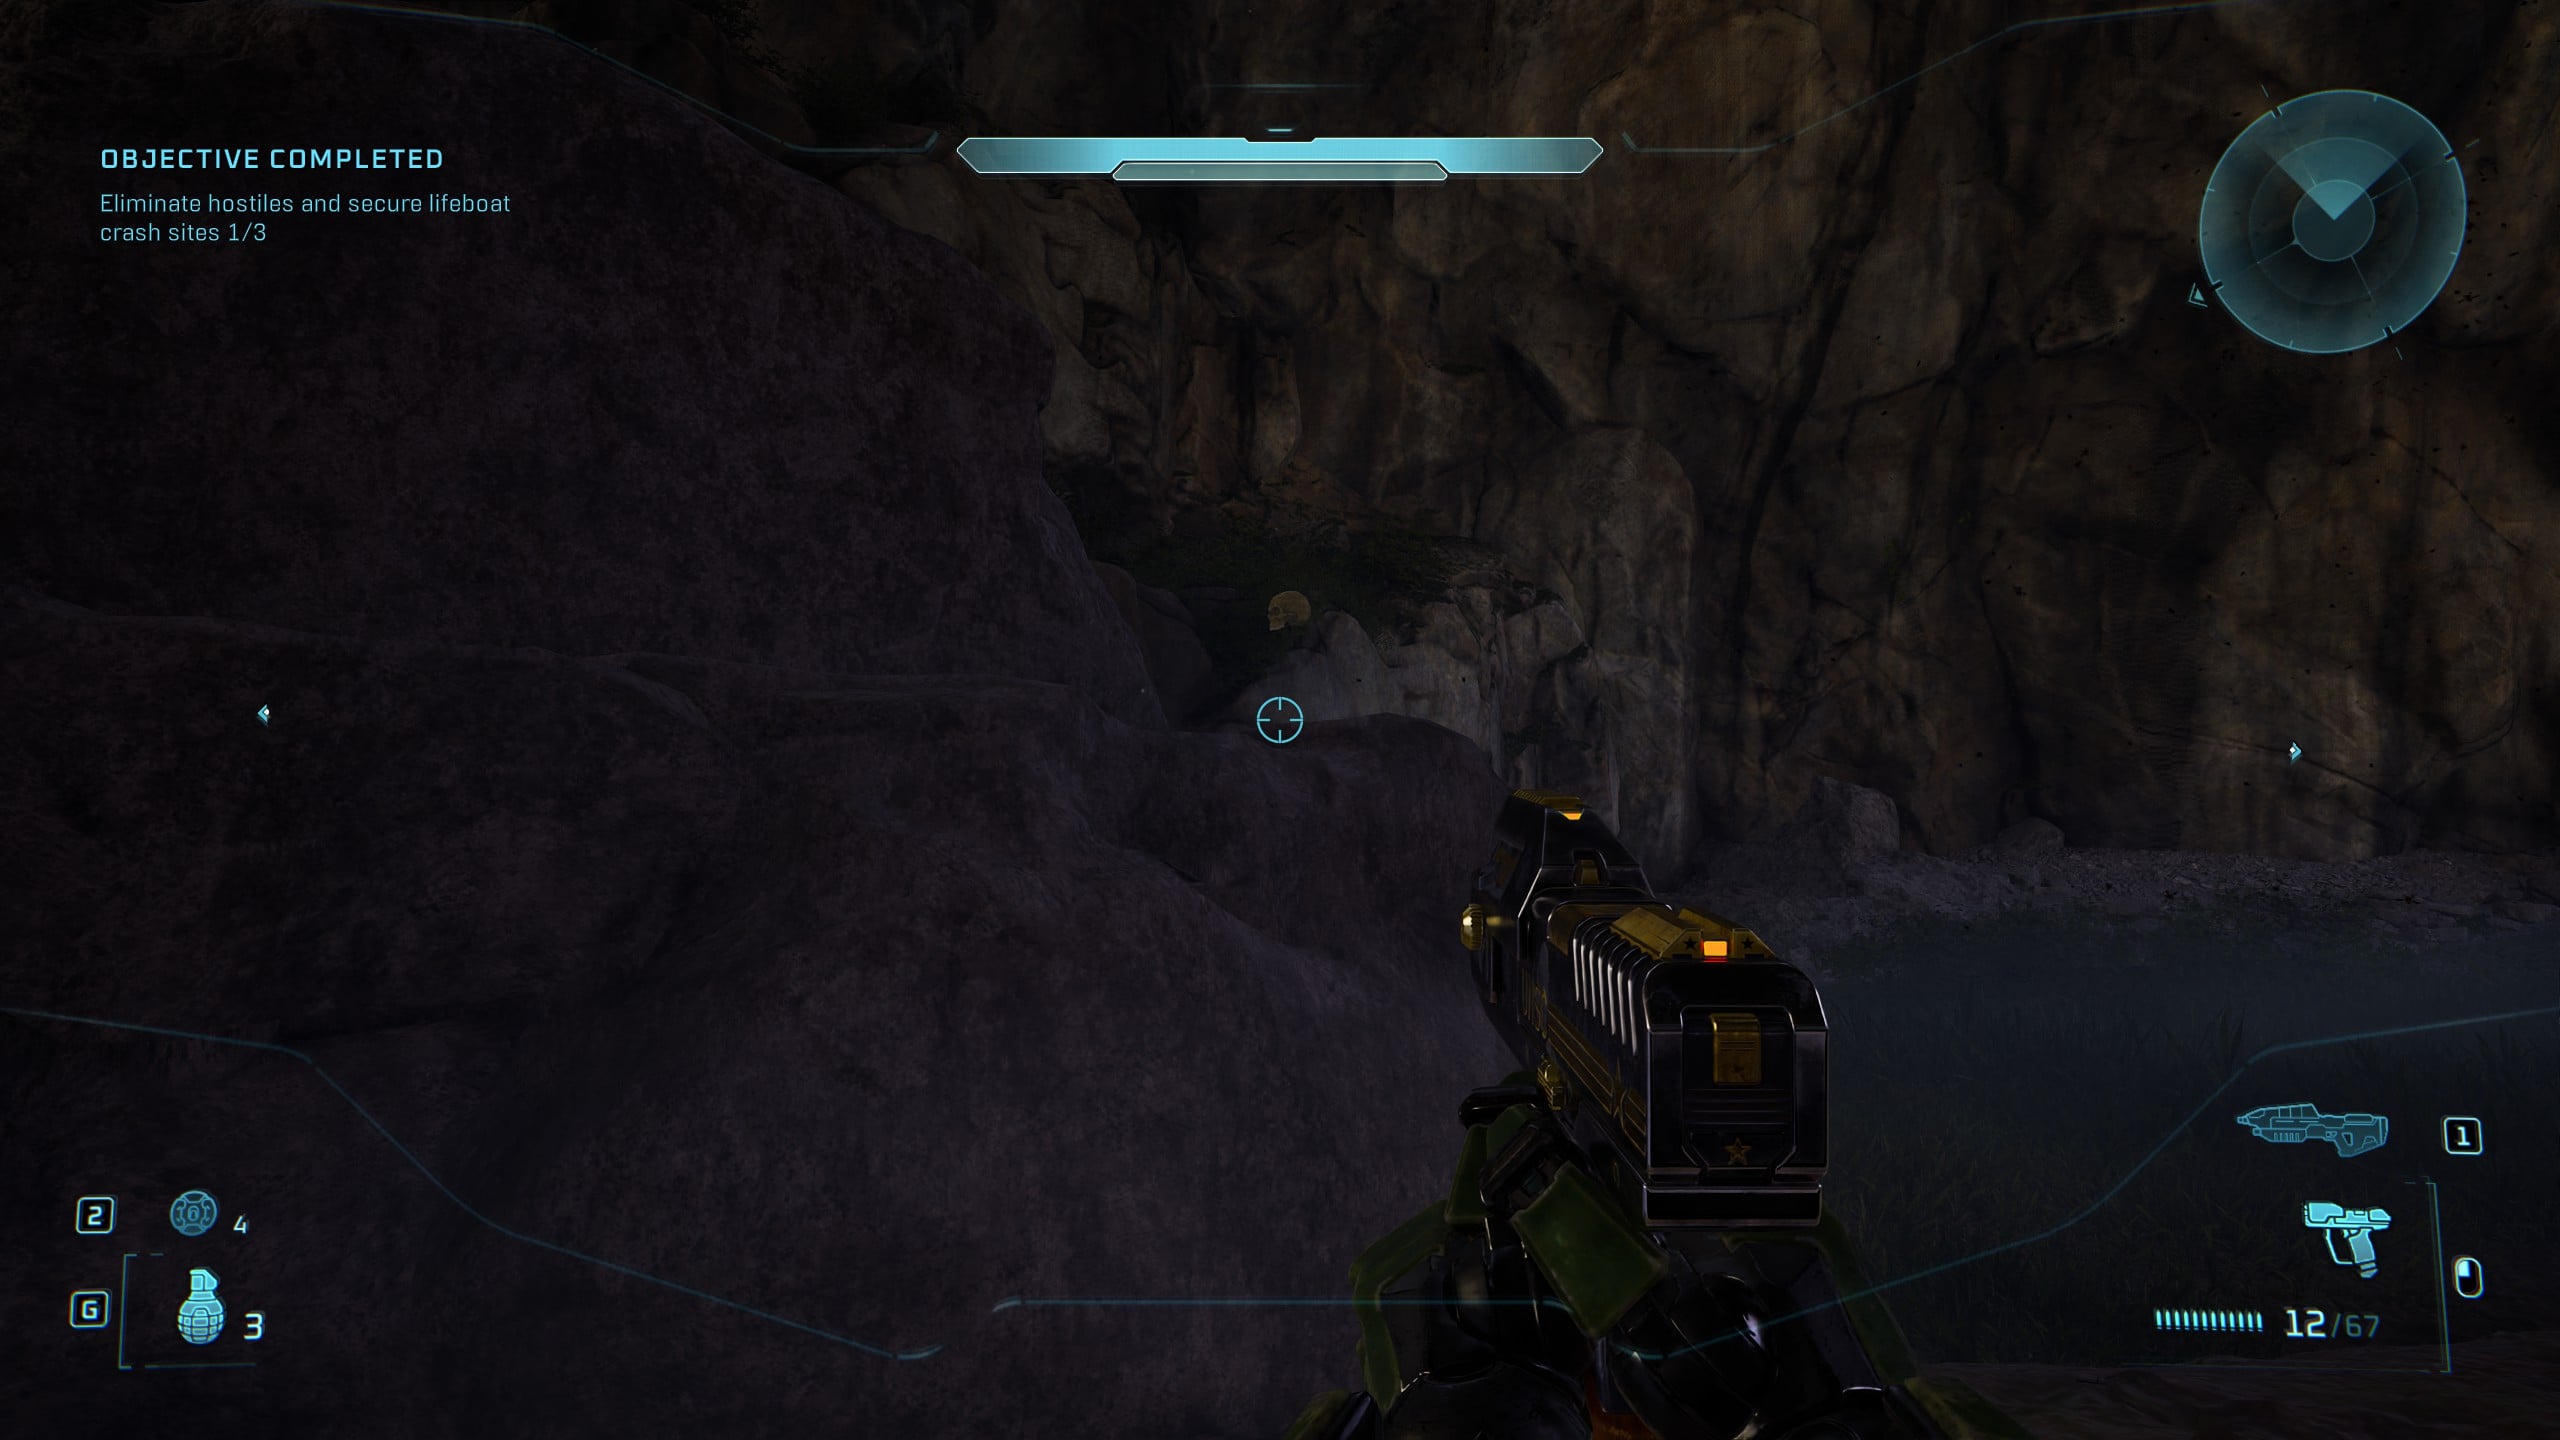
Back to the more open plain between the three crash site objectives, follow the river as it runs through a cave between the middle and rightmost crash sites. While driving in the stream, park the Warthog in the cave when you get to a large boulder on your left — there are some fireflies hovering around the correct area.
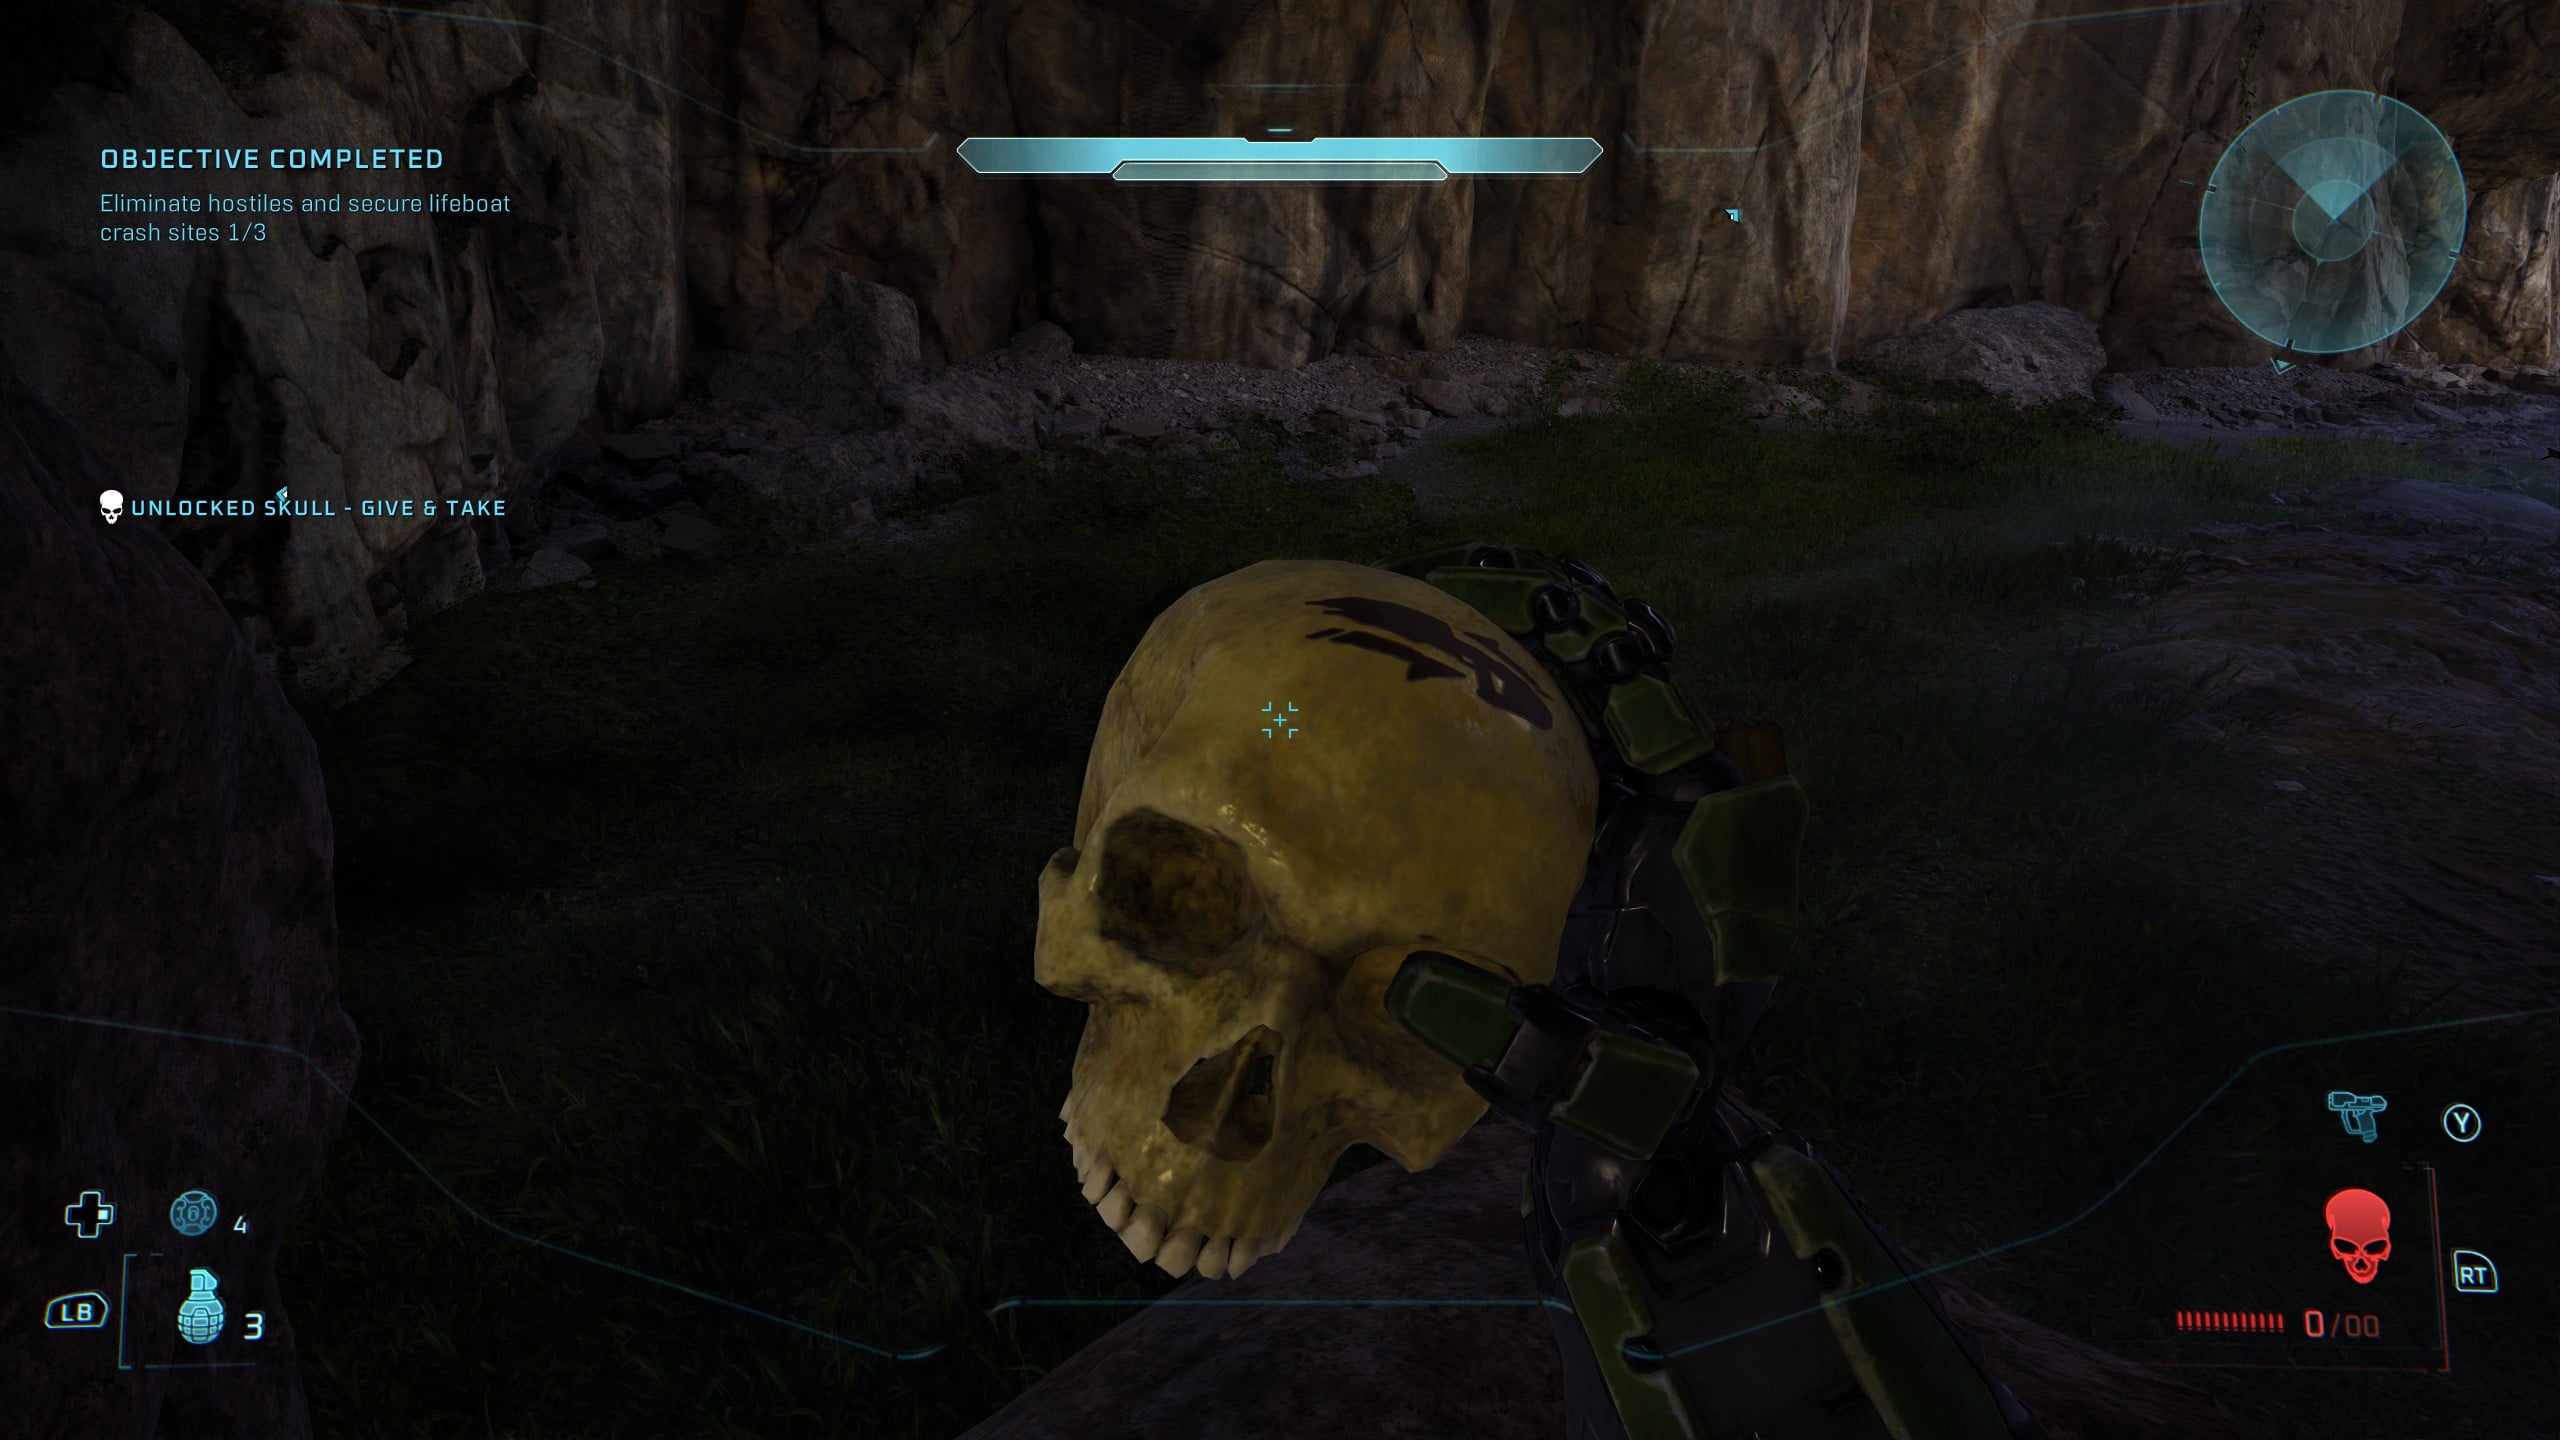
Check the rear side of this large boulder, and you’ll find the Give & Take Skull floating somewhat menacingly.
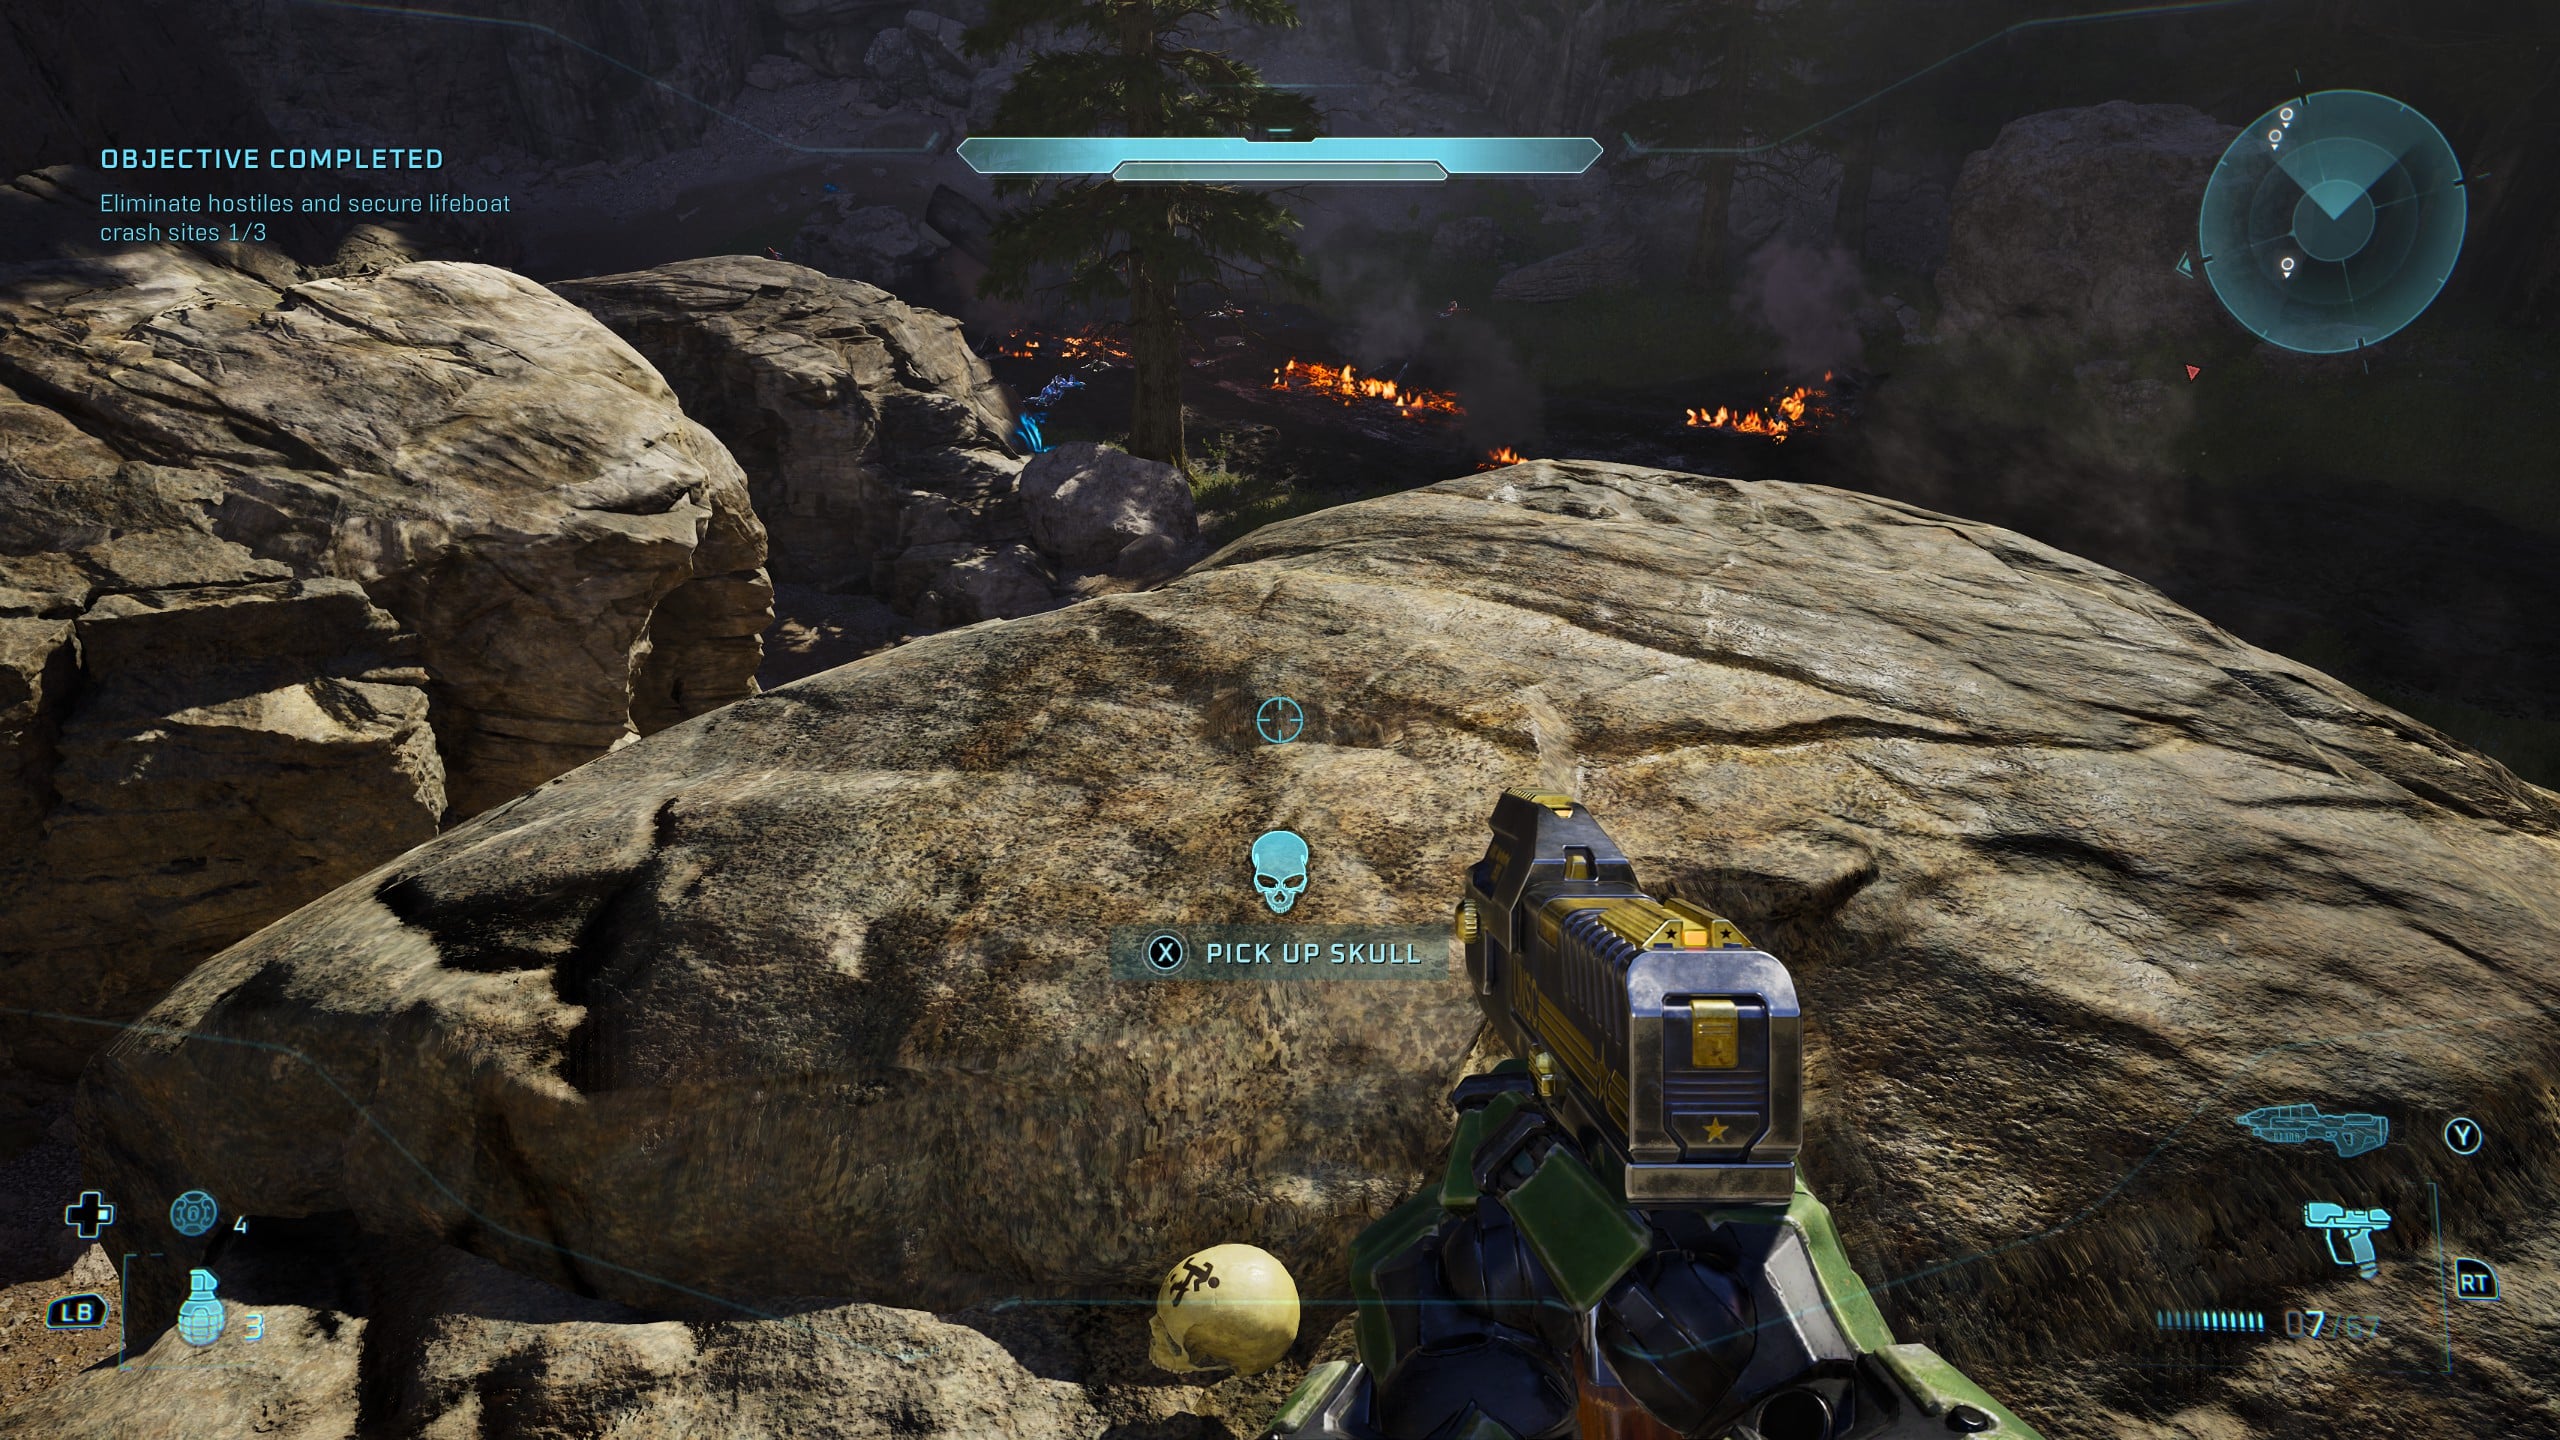
Skull 6 – Floor Is Lava
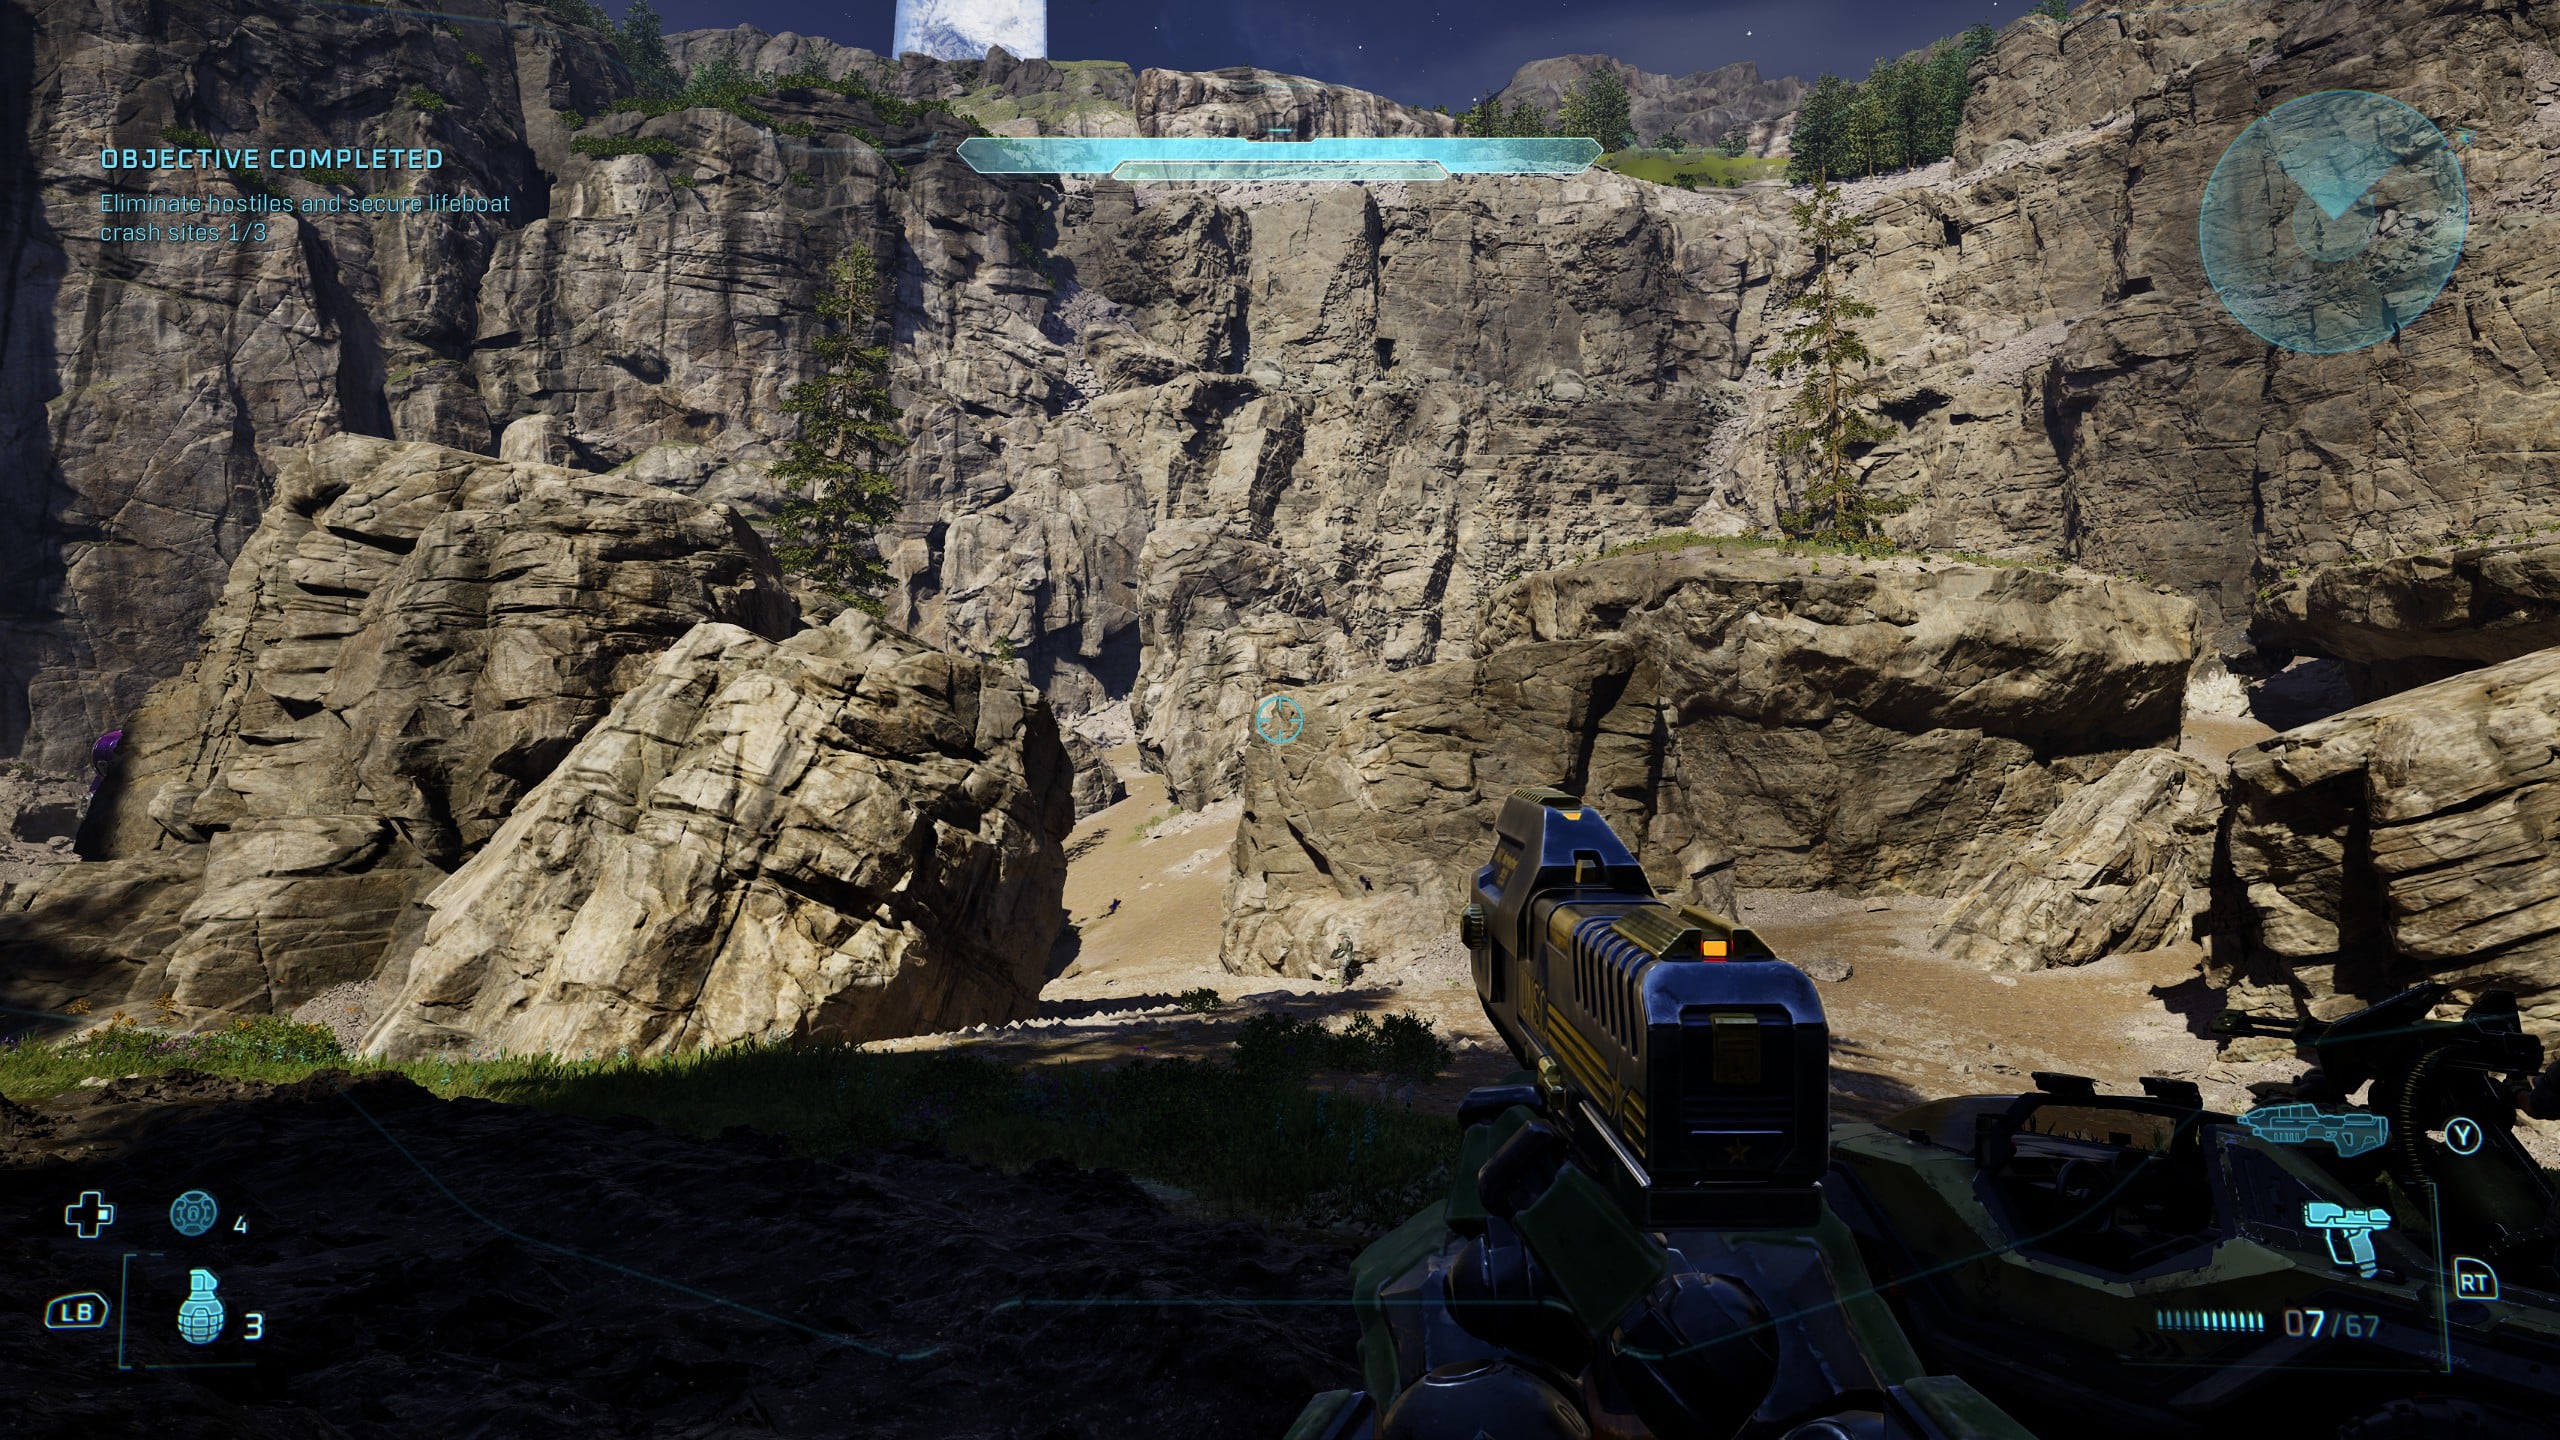
For the next Skull, we’re heading to the rightmost crash site objective, where Covenant will be sniping and attacking between the maze-like rock formation. The Skull is on top of one of the rocks closest to the scorch marks on the ground from the crashed lifeboat.
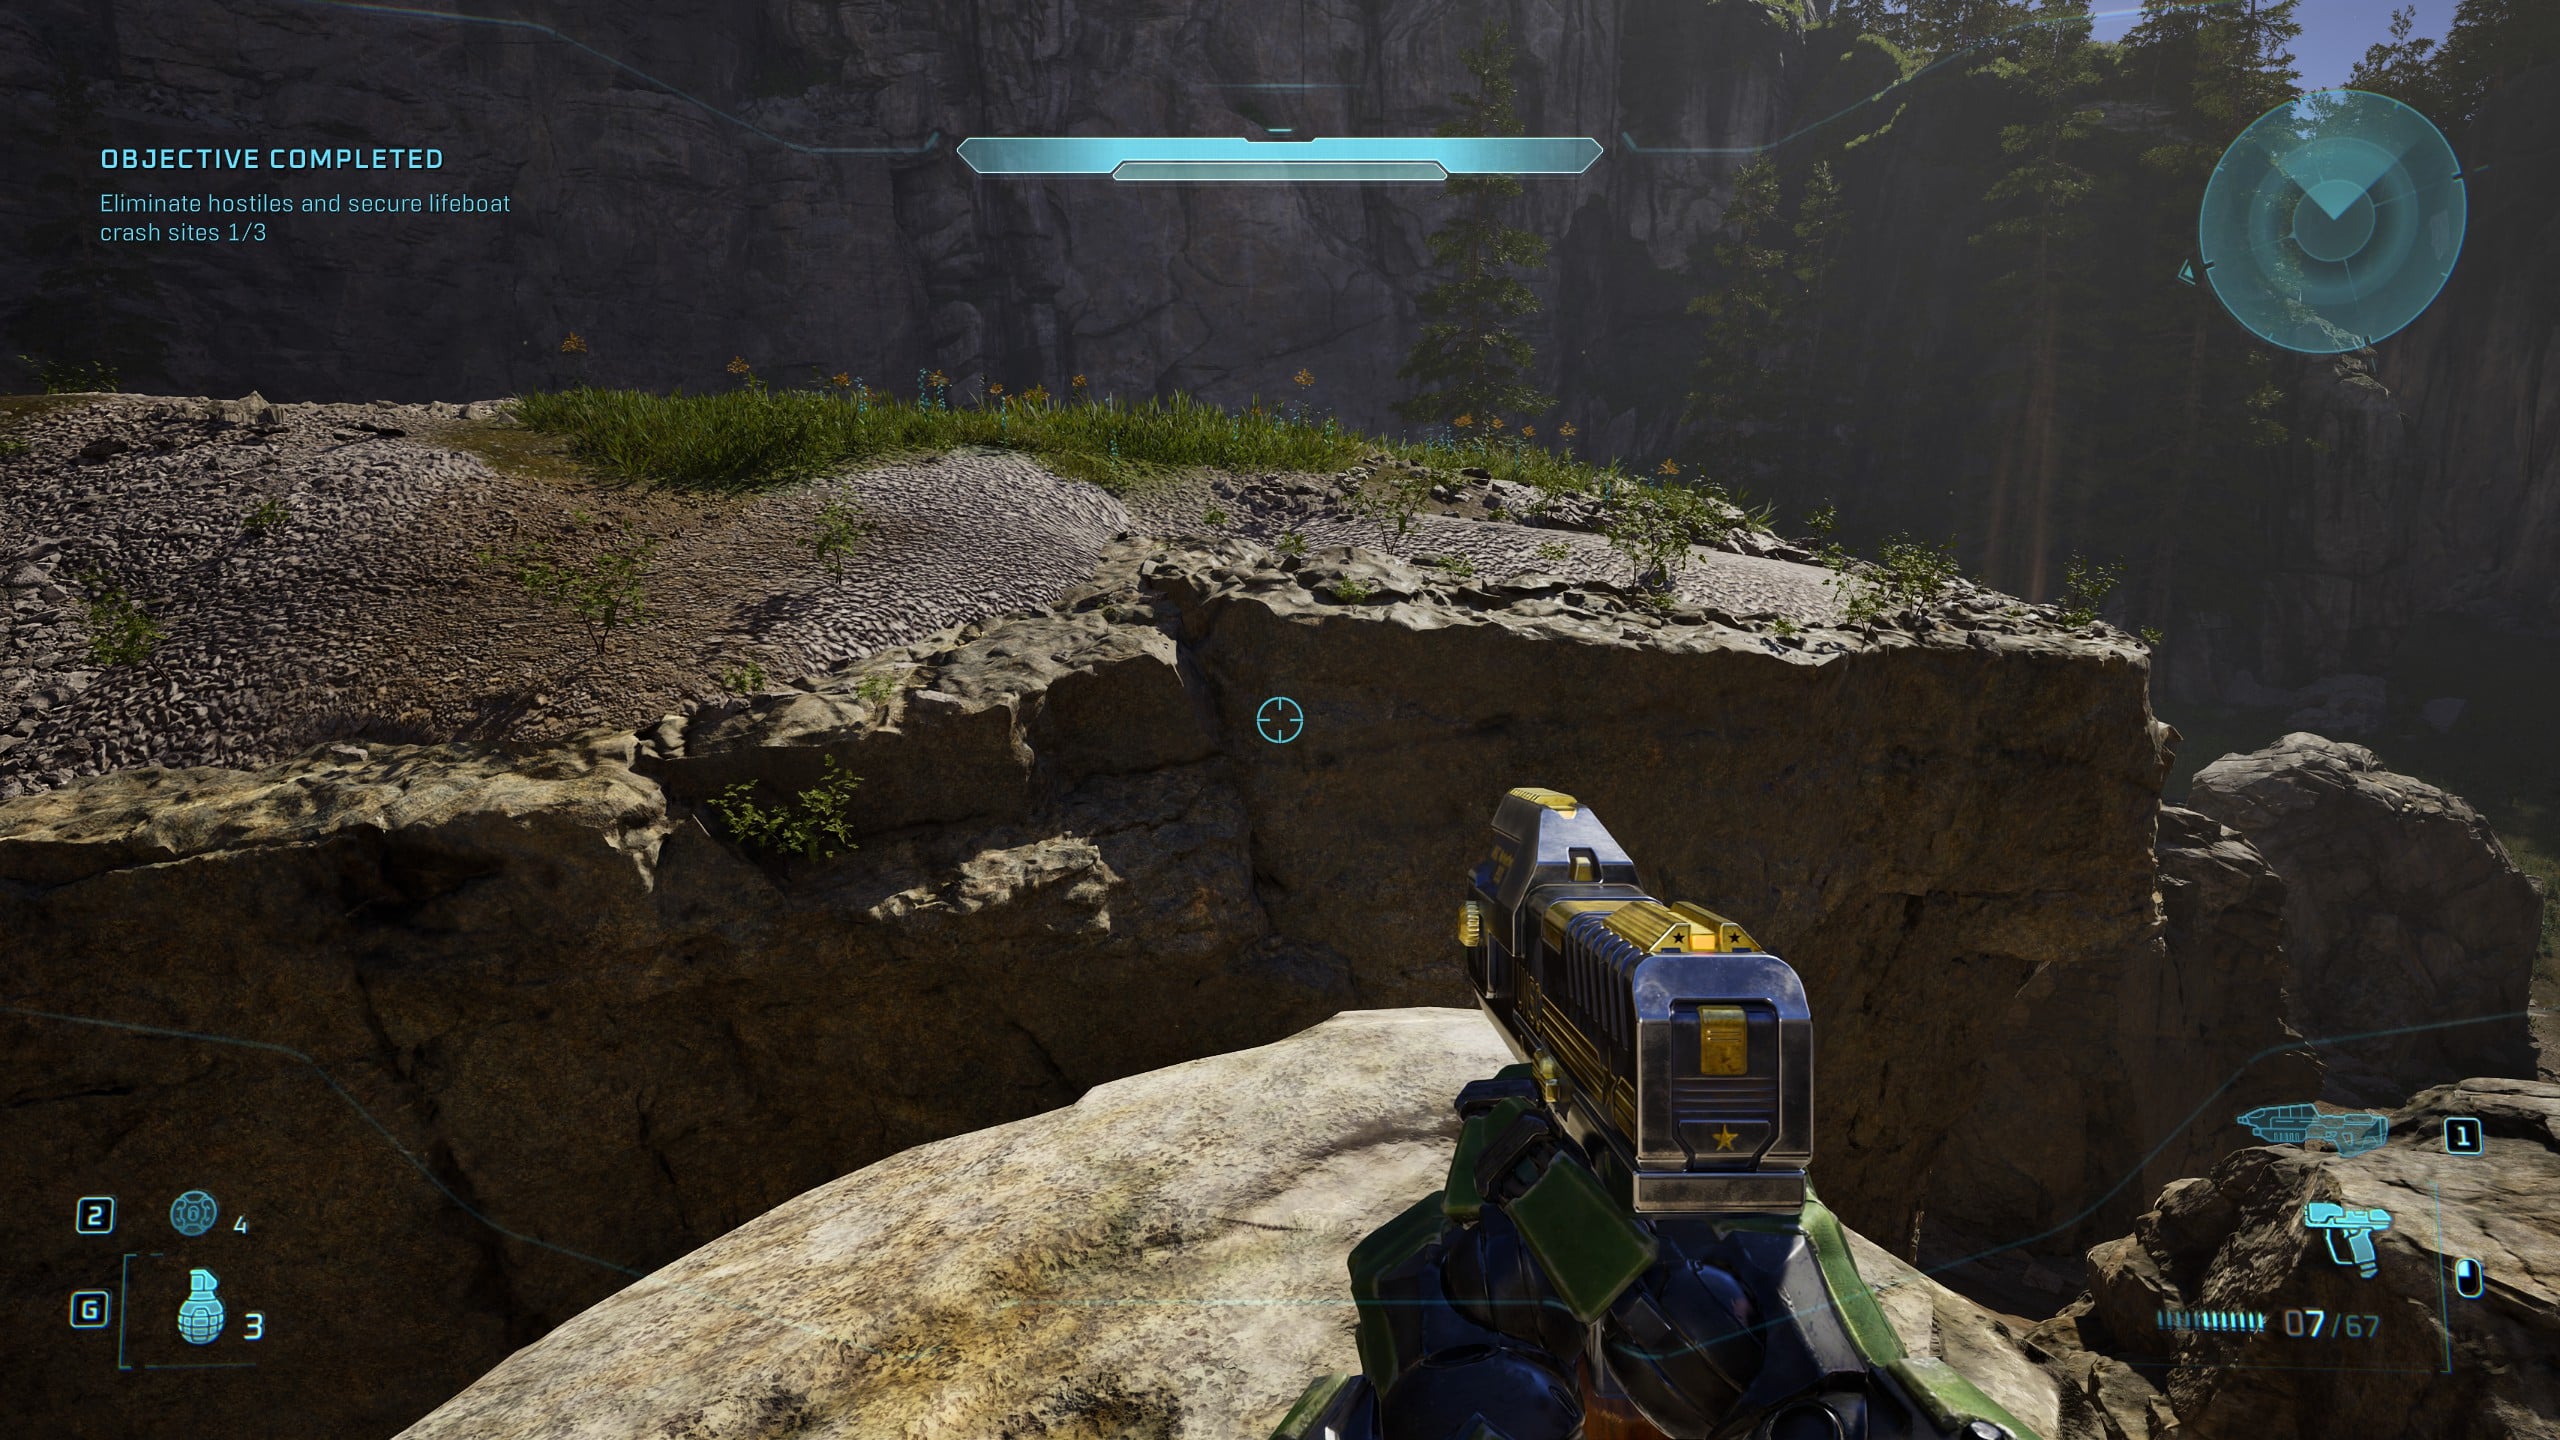
You’ll need to find an angled rock you can climb up before leaping across to make your way to the Floor is Lava Skull.
The Truth and Reconciliation Skull and Terminal locations
You’ll earn the Plundered trophy and achievement for finding these optional items in The Truth and Reconciliation mission.
Rally Point Alpha
Skull 7 – Iron
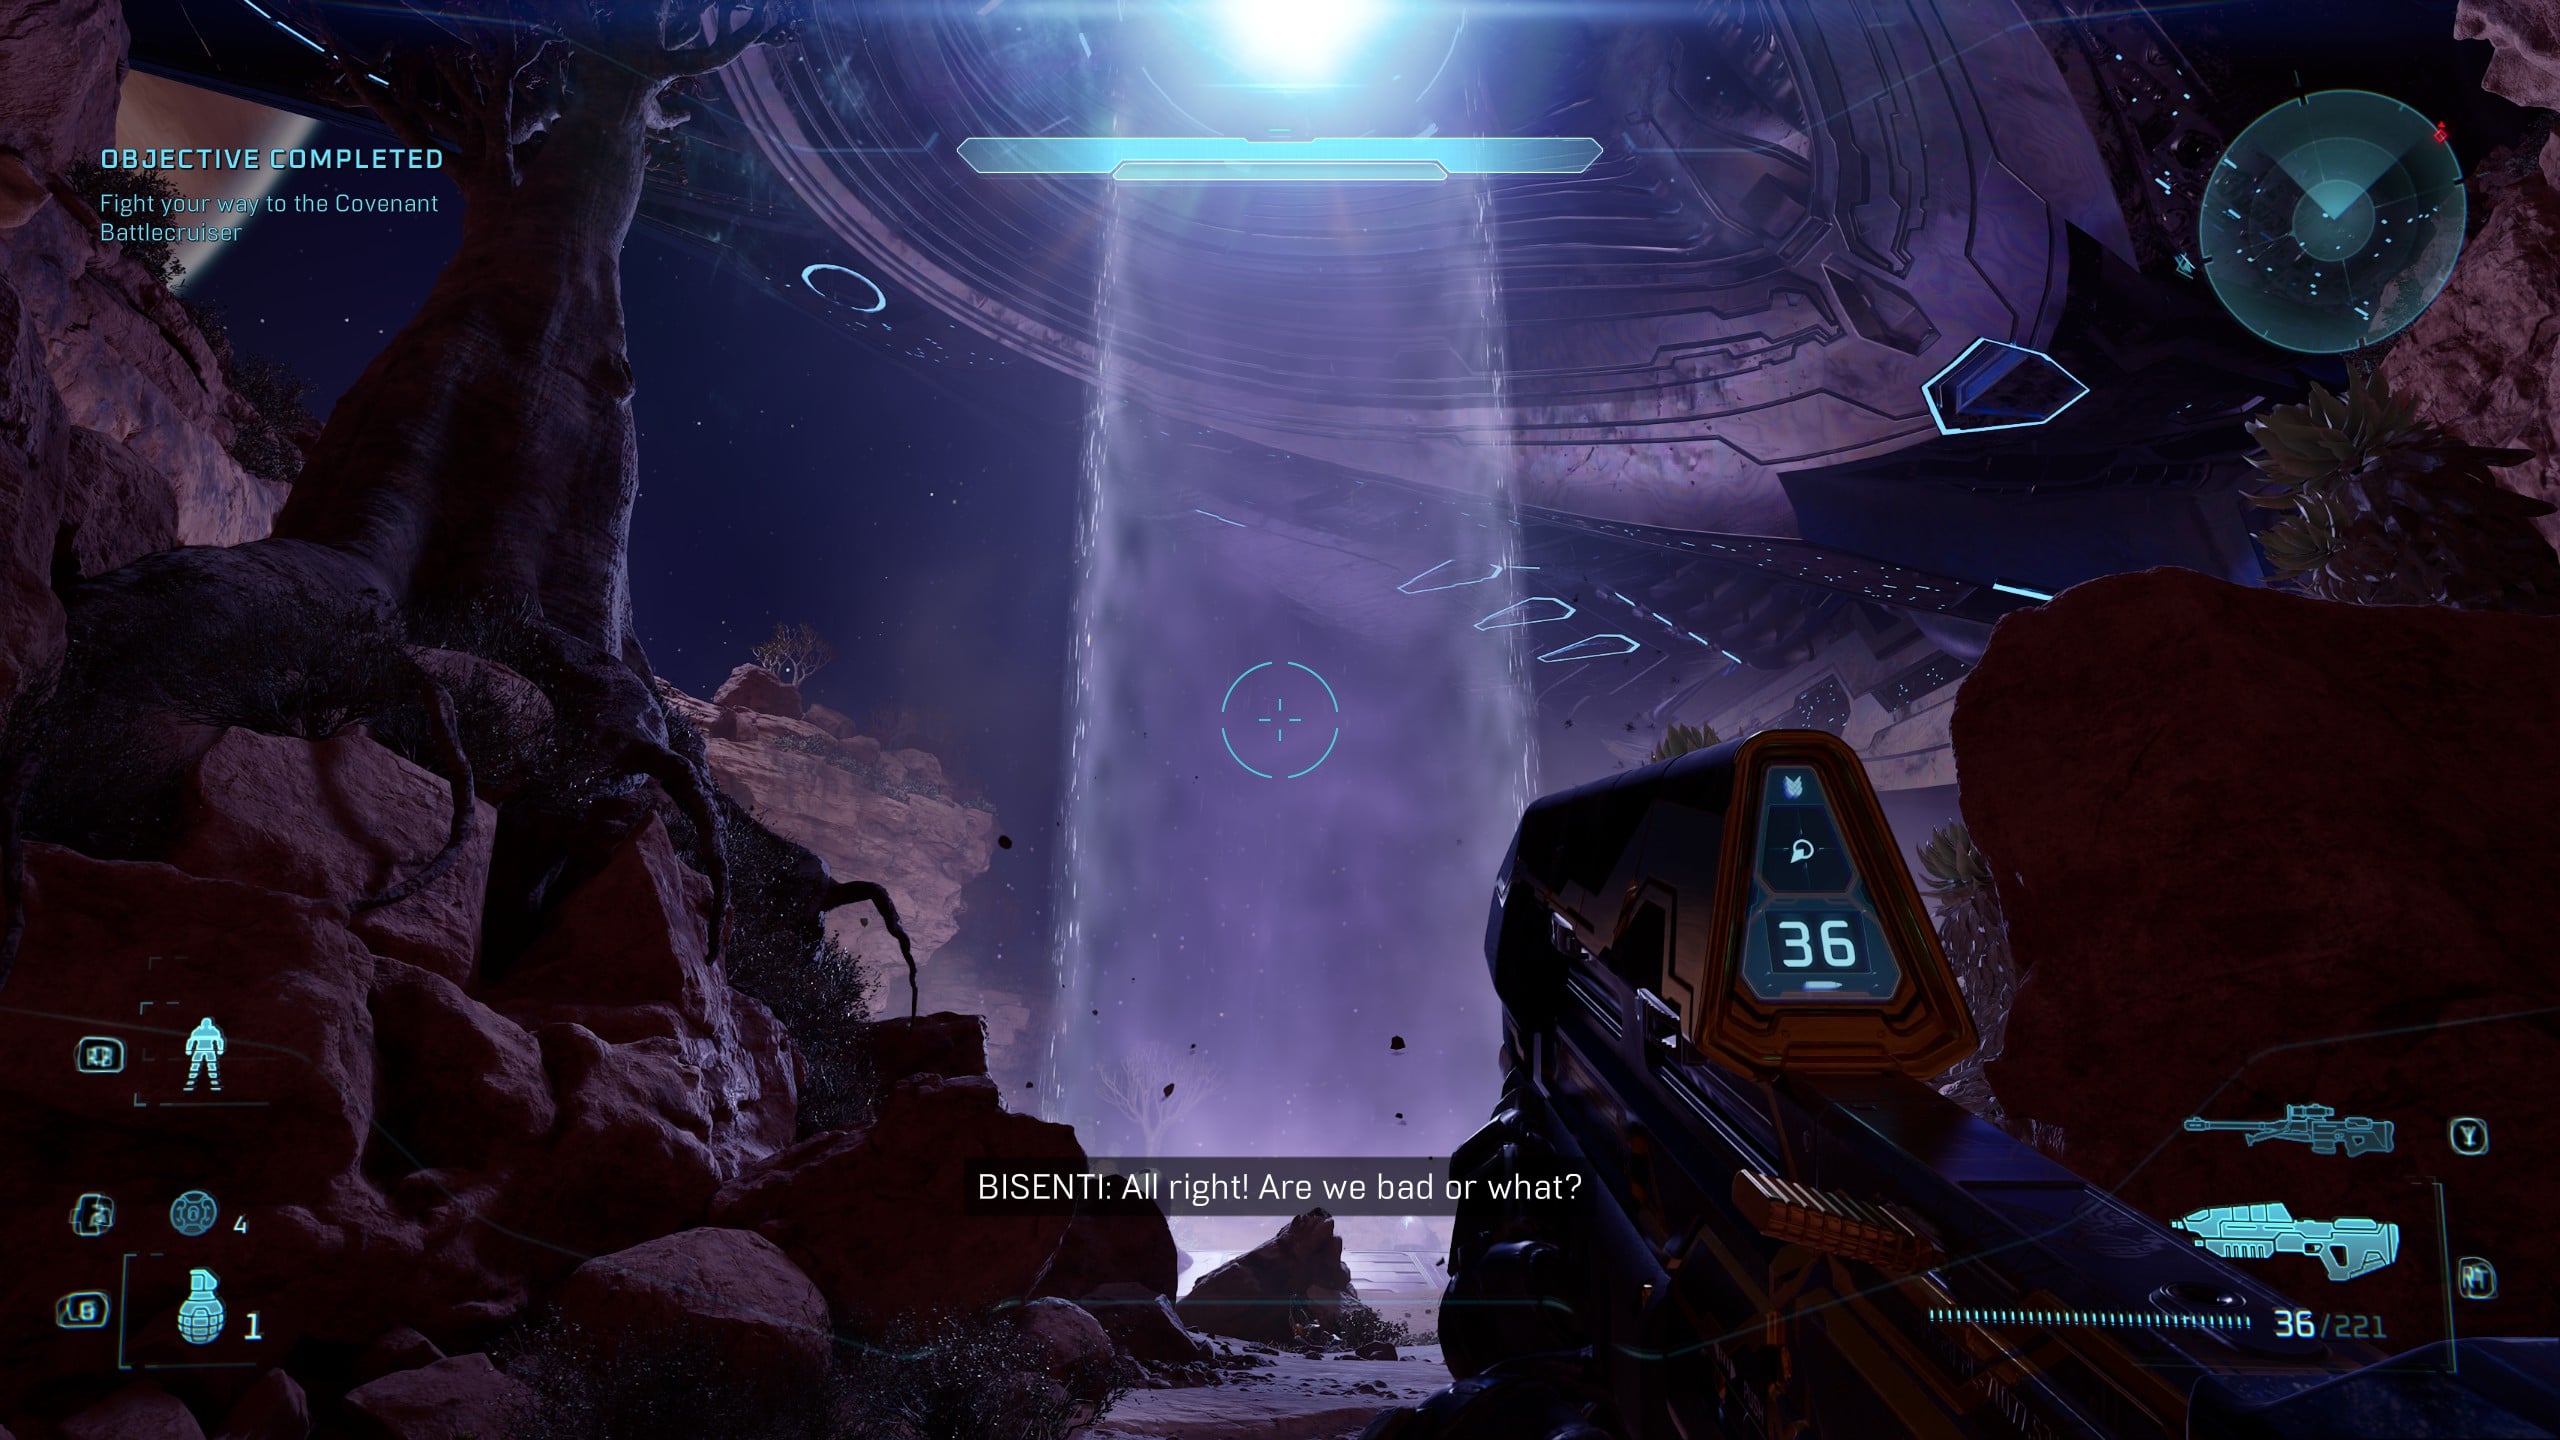
The Skull is located near the Gravity Lift leading up to the Covenant Battle Cruiser, and the objective will be to board it. Ignore the lift for a minute, and when you’ve wiped out the enemies in the area, wait for a group of Marines to be dropped in on a Pelican.
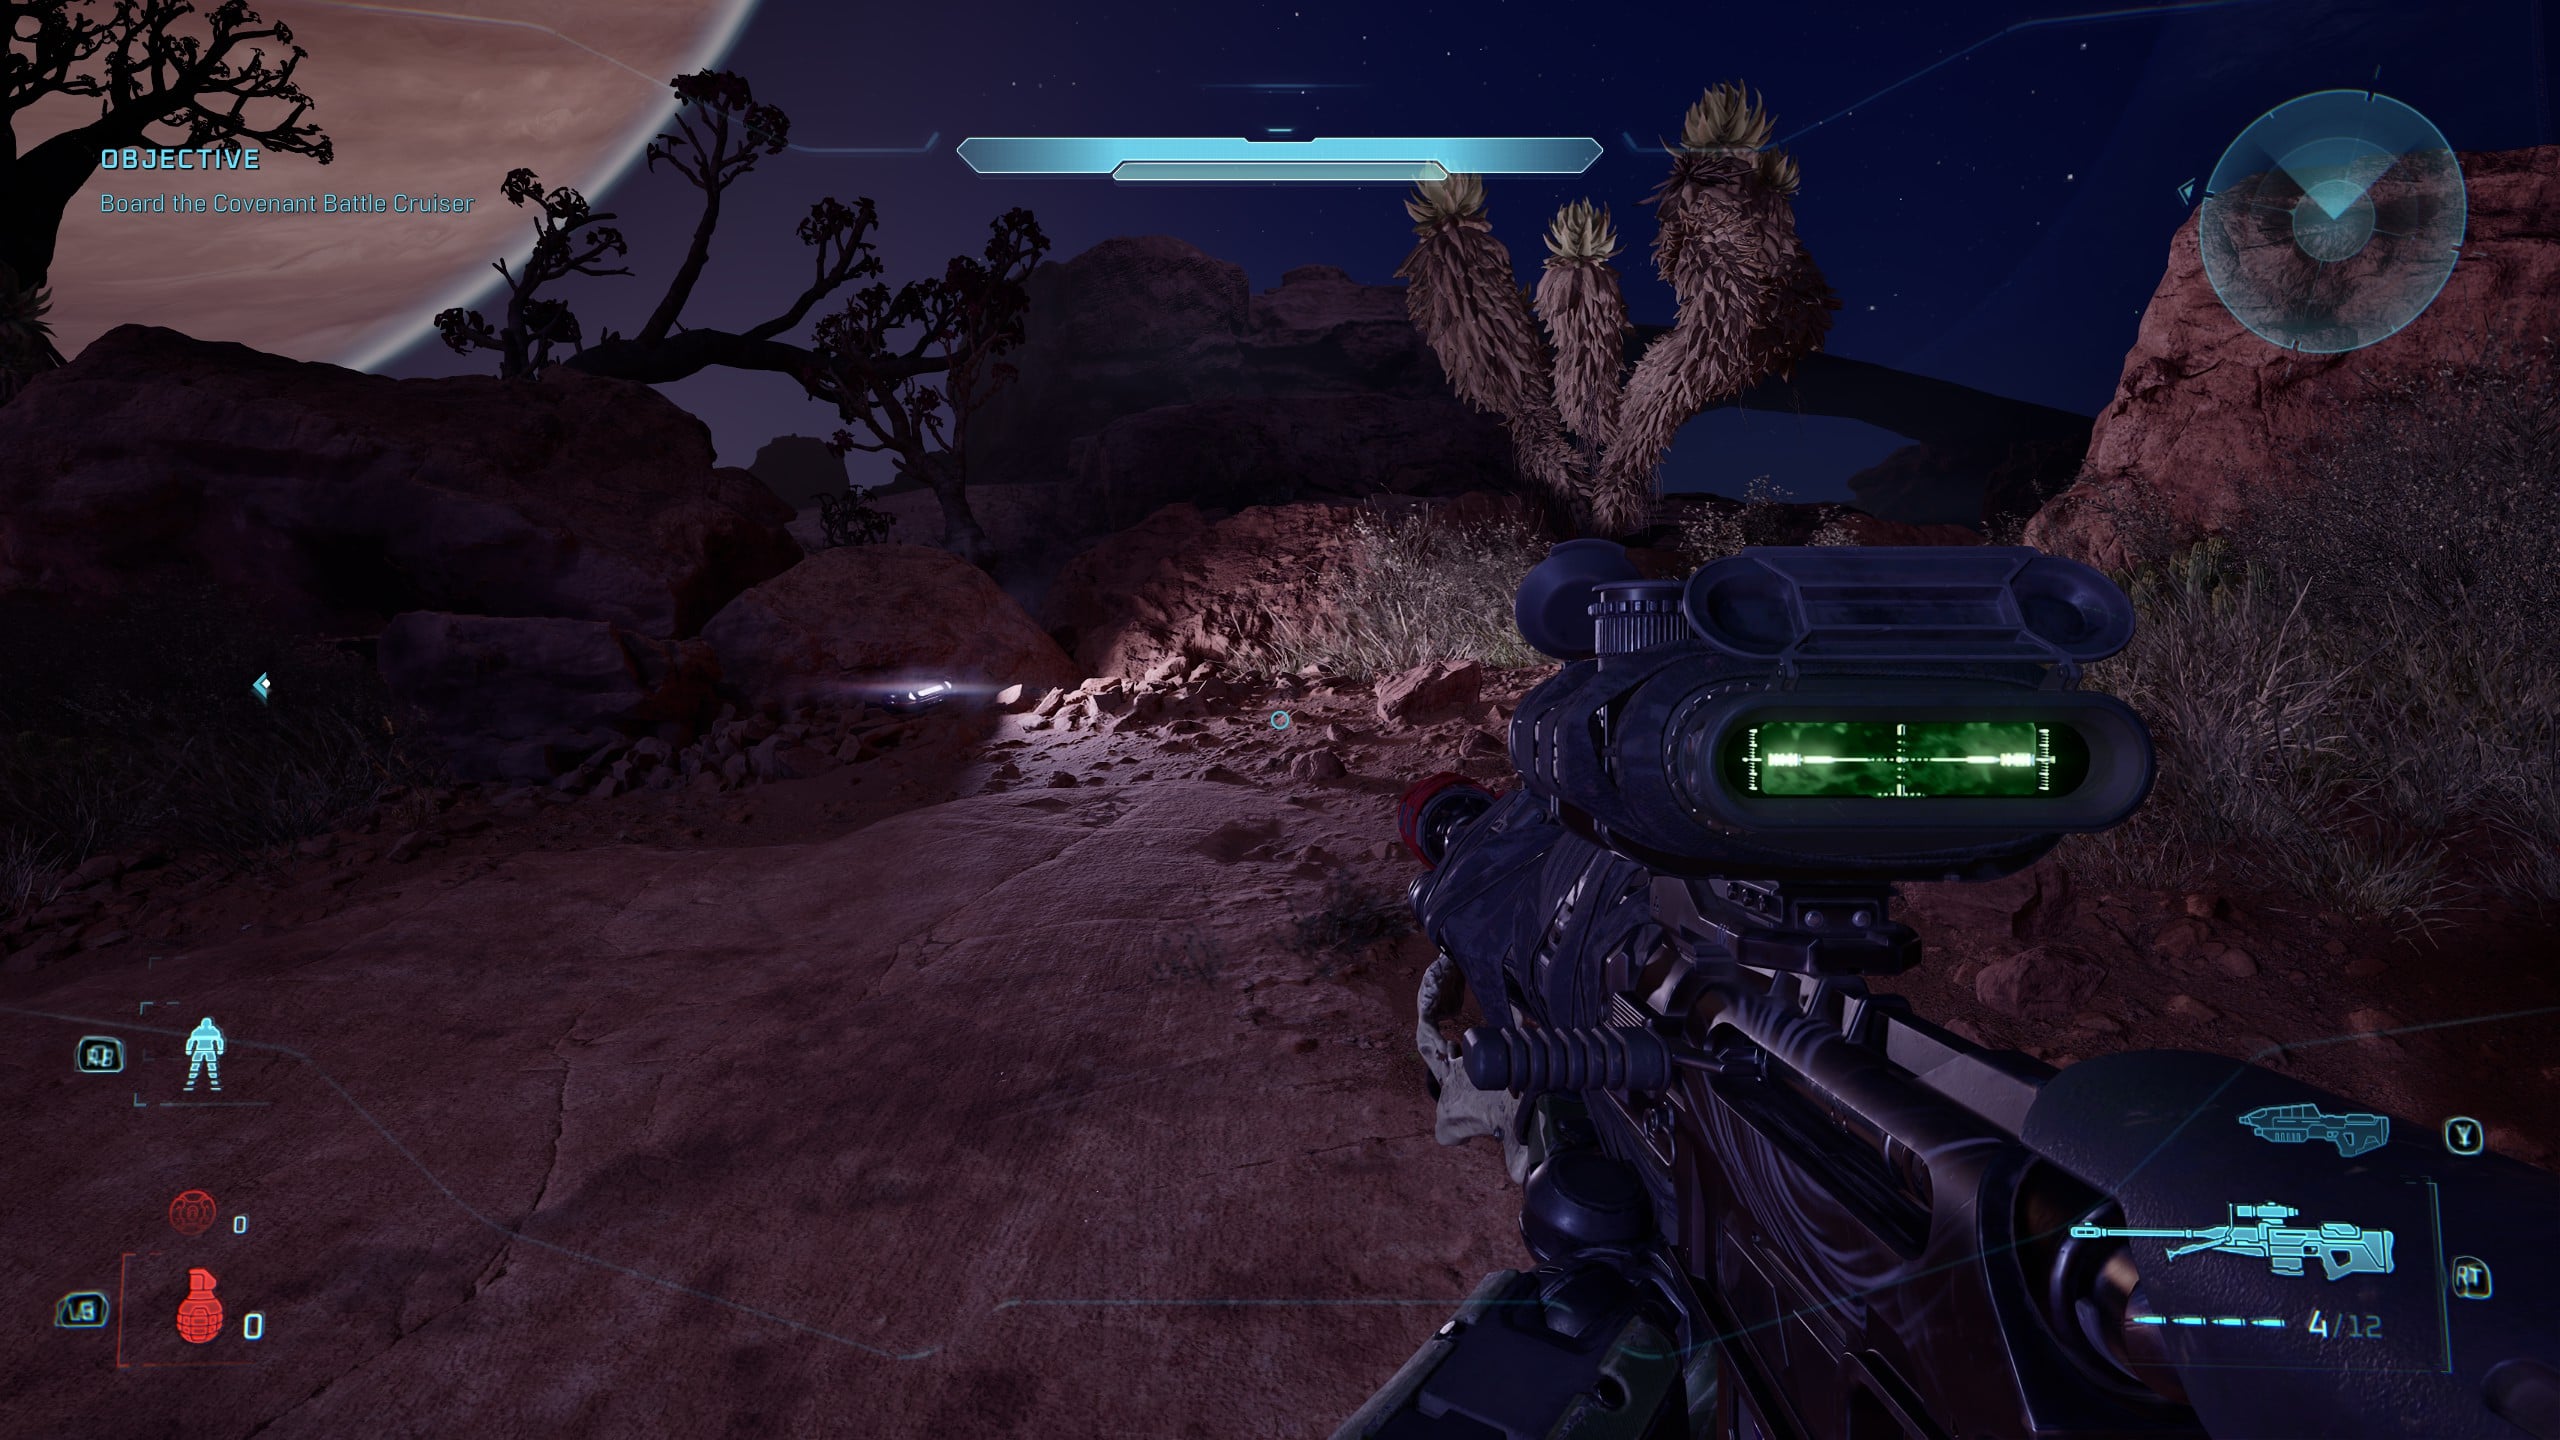
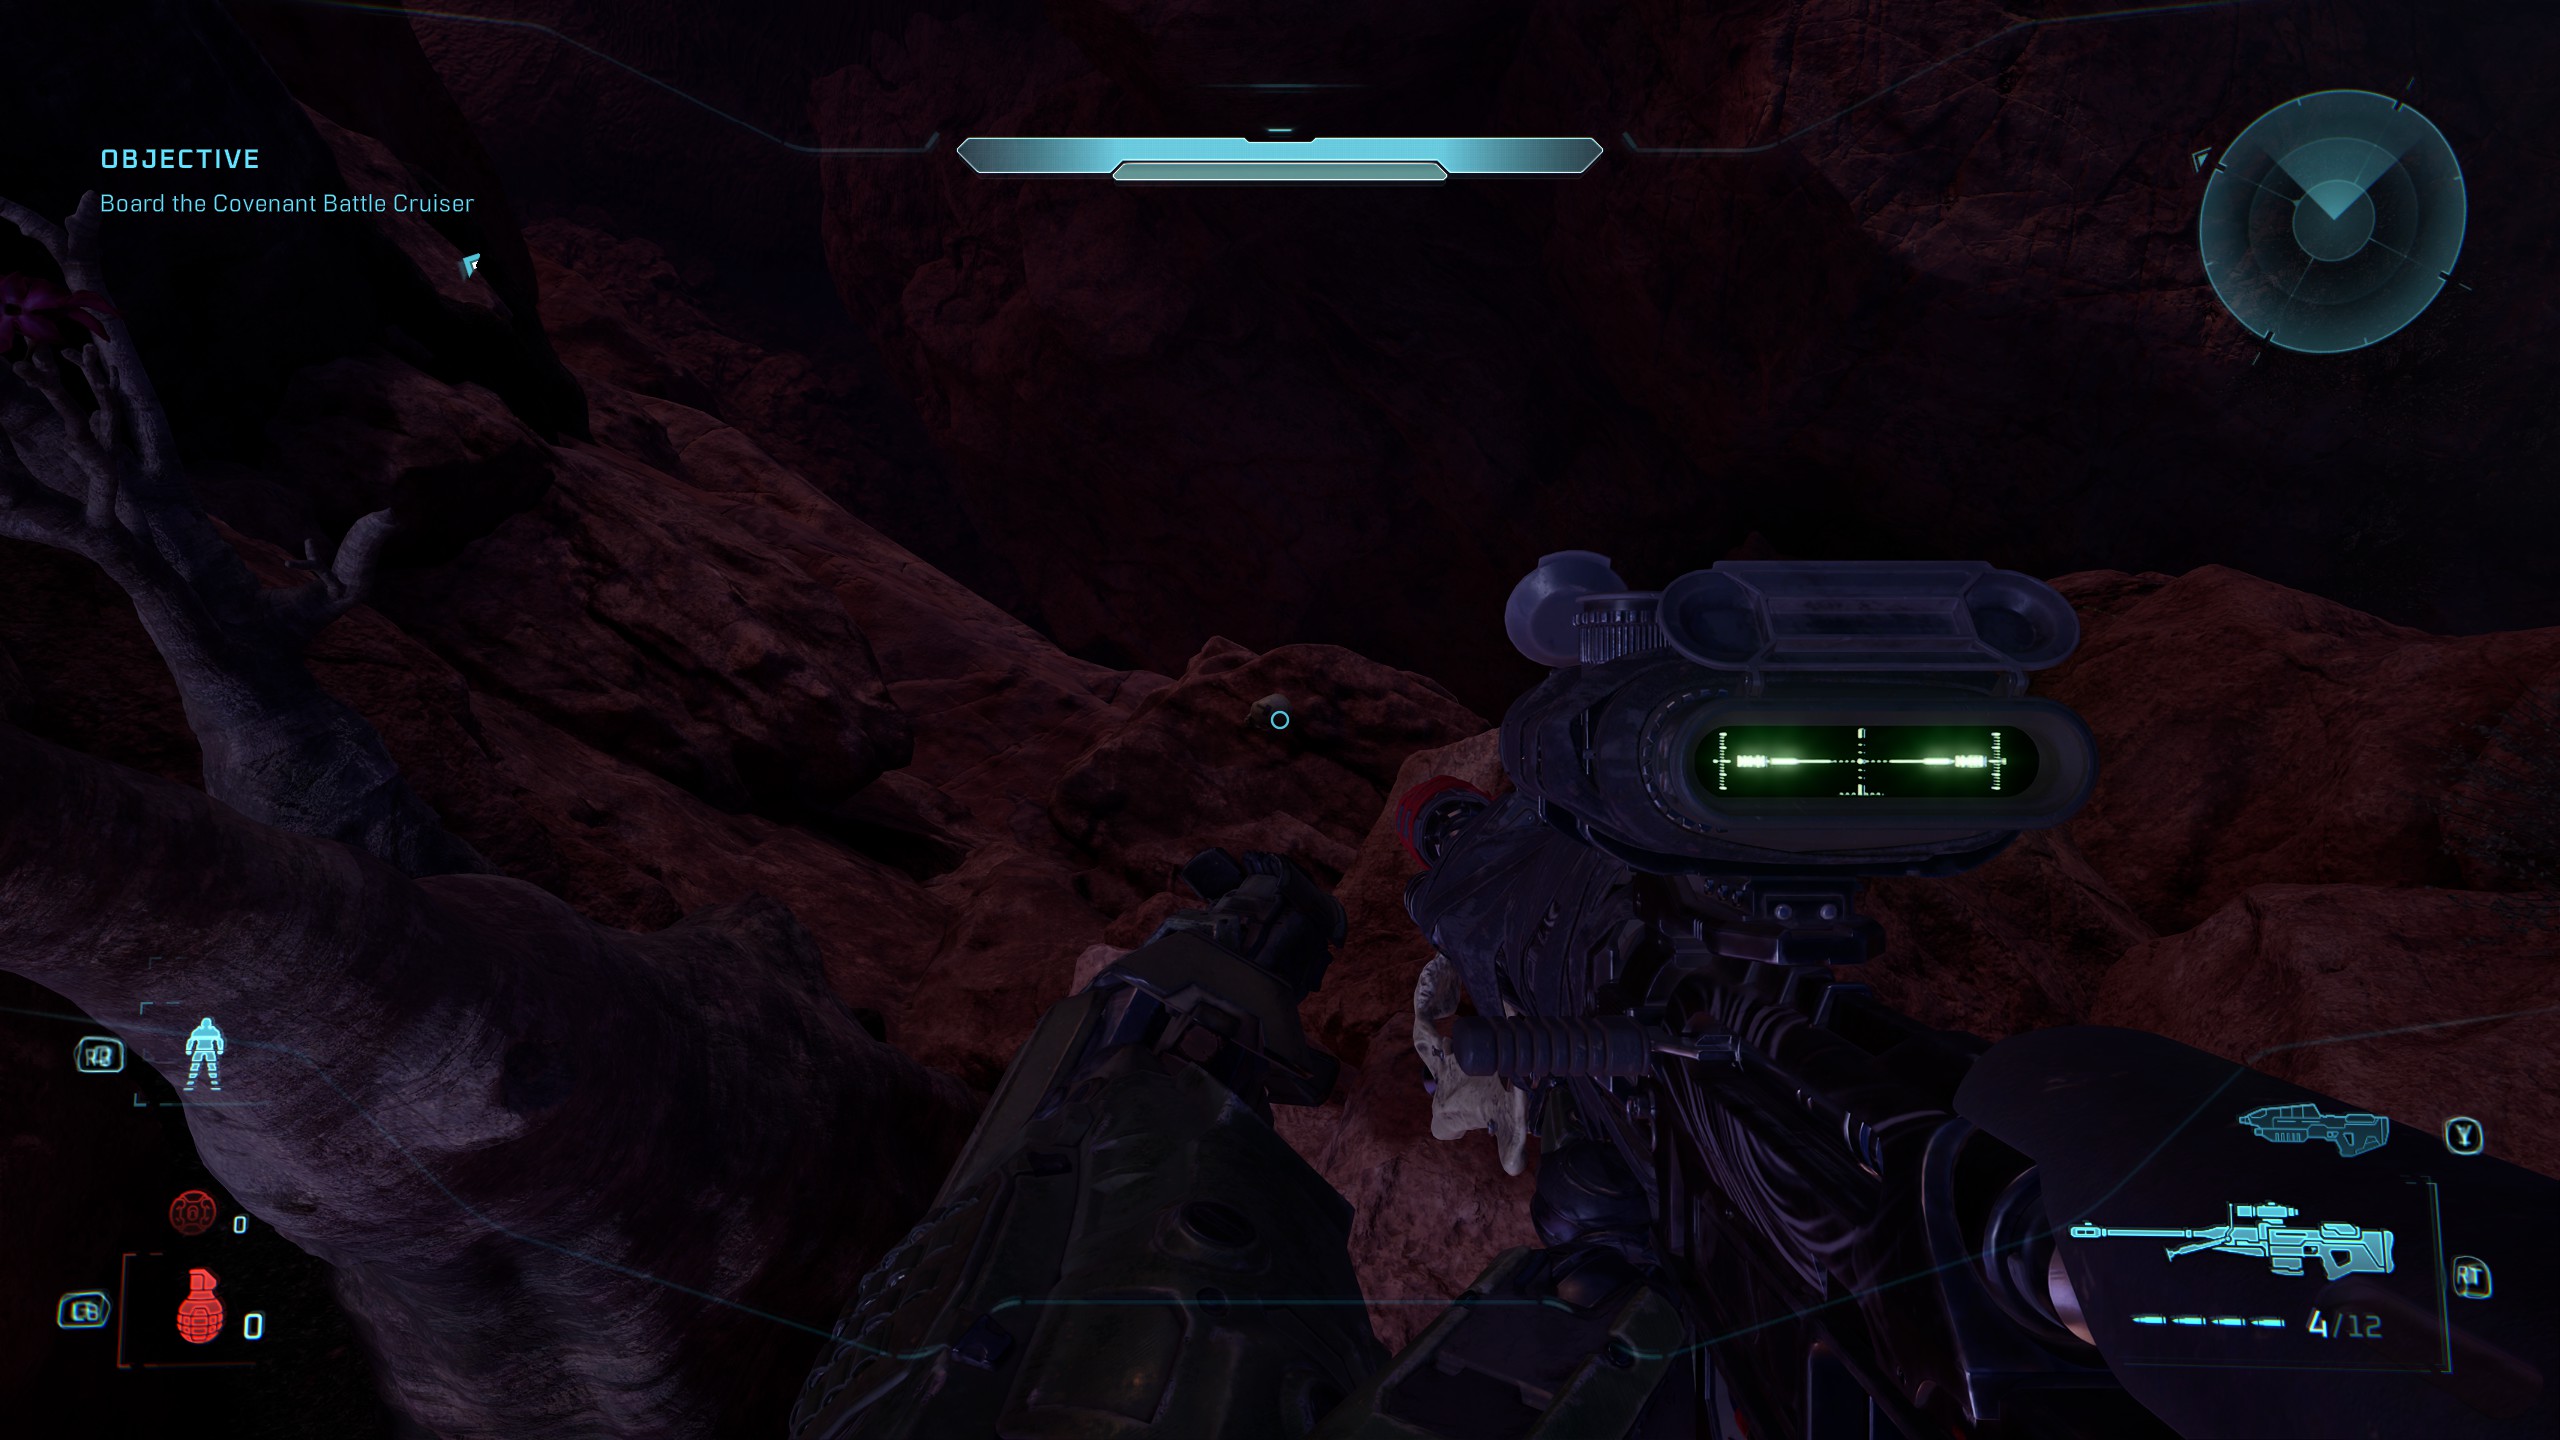
They’ll be dropped near the edge of a cliff, and if you look just over the cliff’s edge behind a light on the floor, you’ll be able to see the Iron Skull on a small platform. Just be warned, there’s no safe way to get back up after, so make sure you’ve got a checkpoint.
Rally Point Bravo
Skull 8 – Endurance Spec
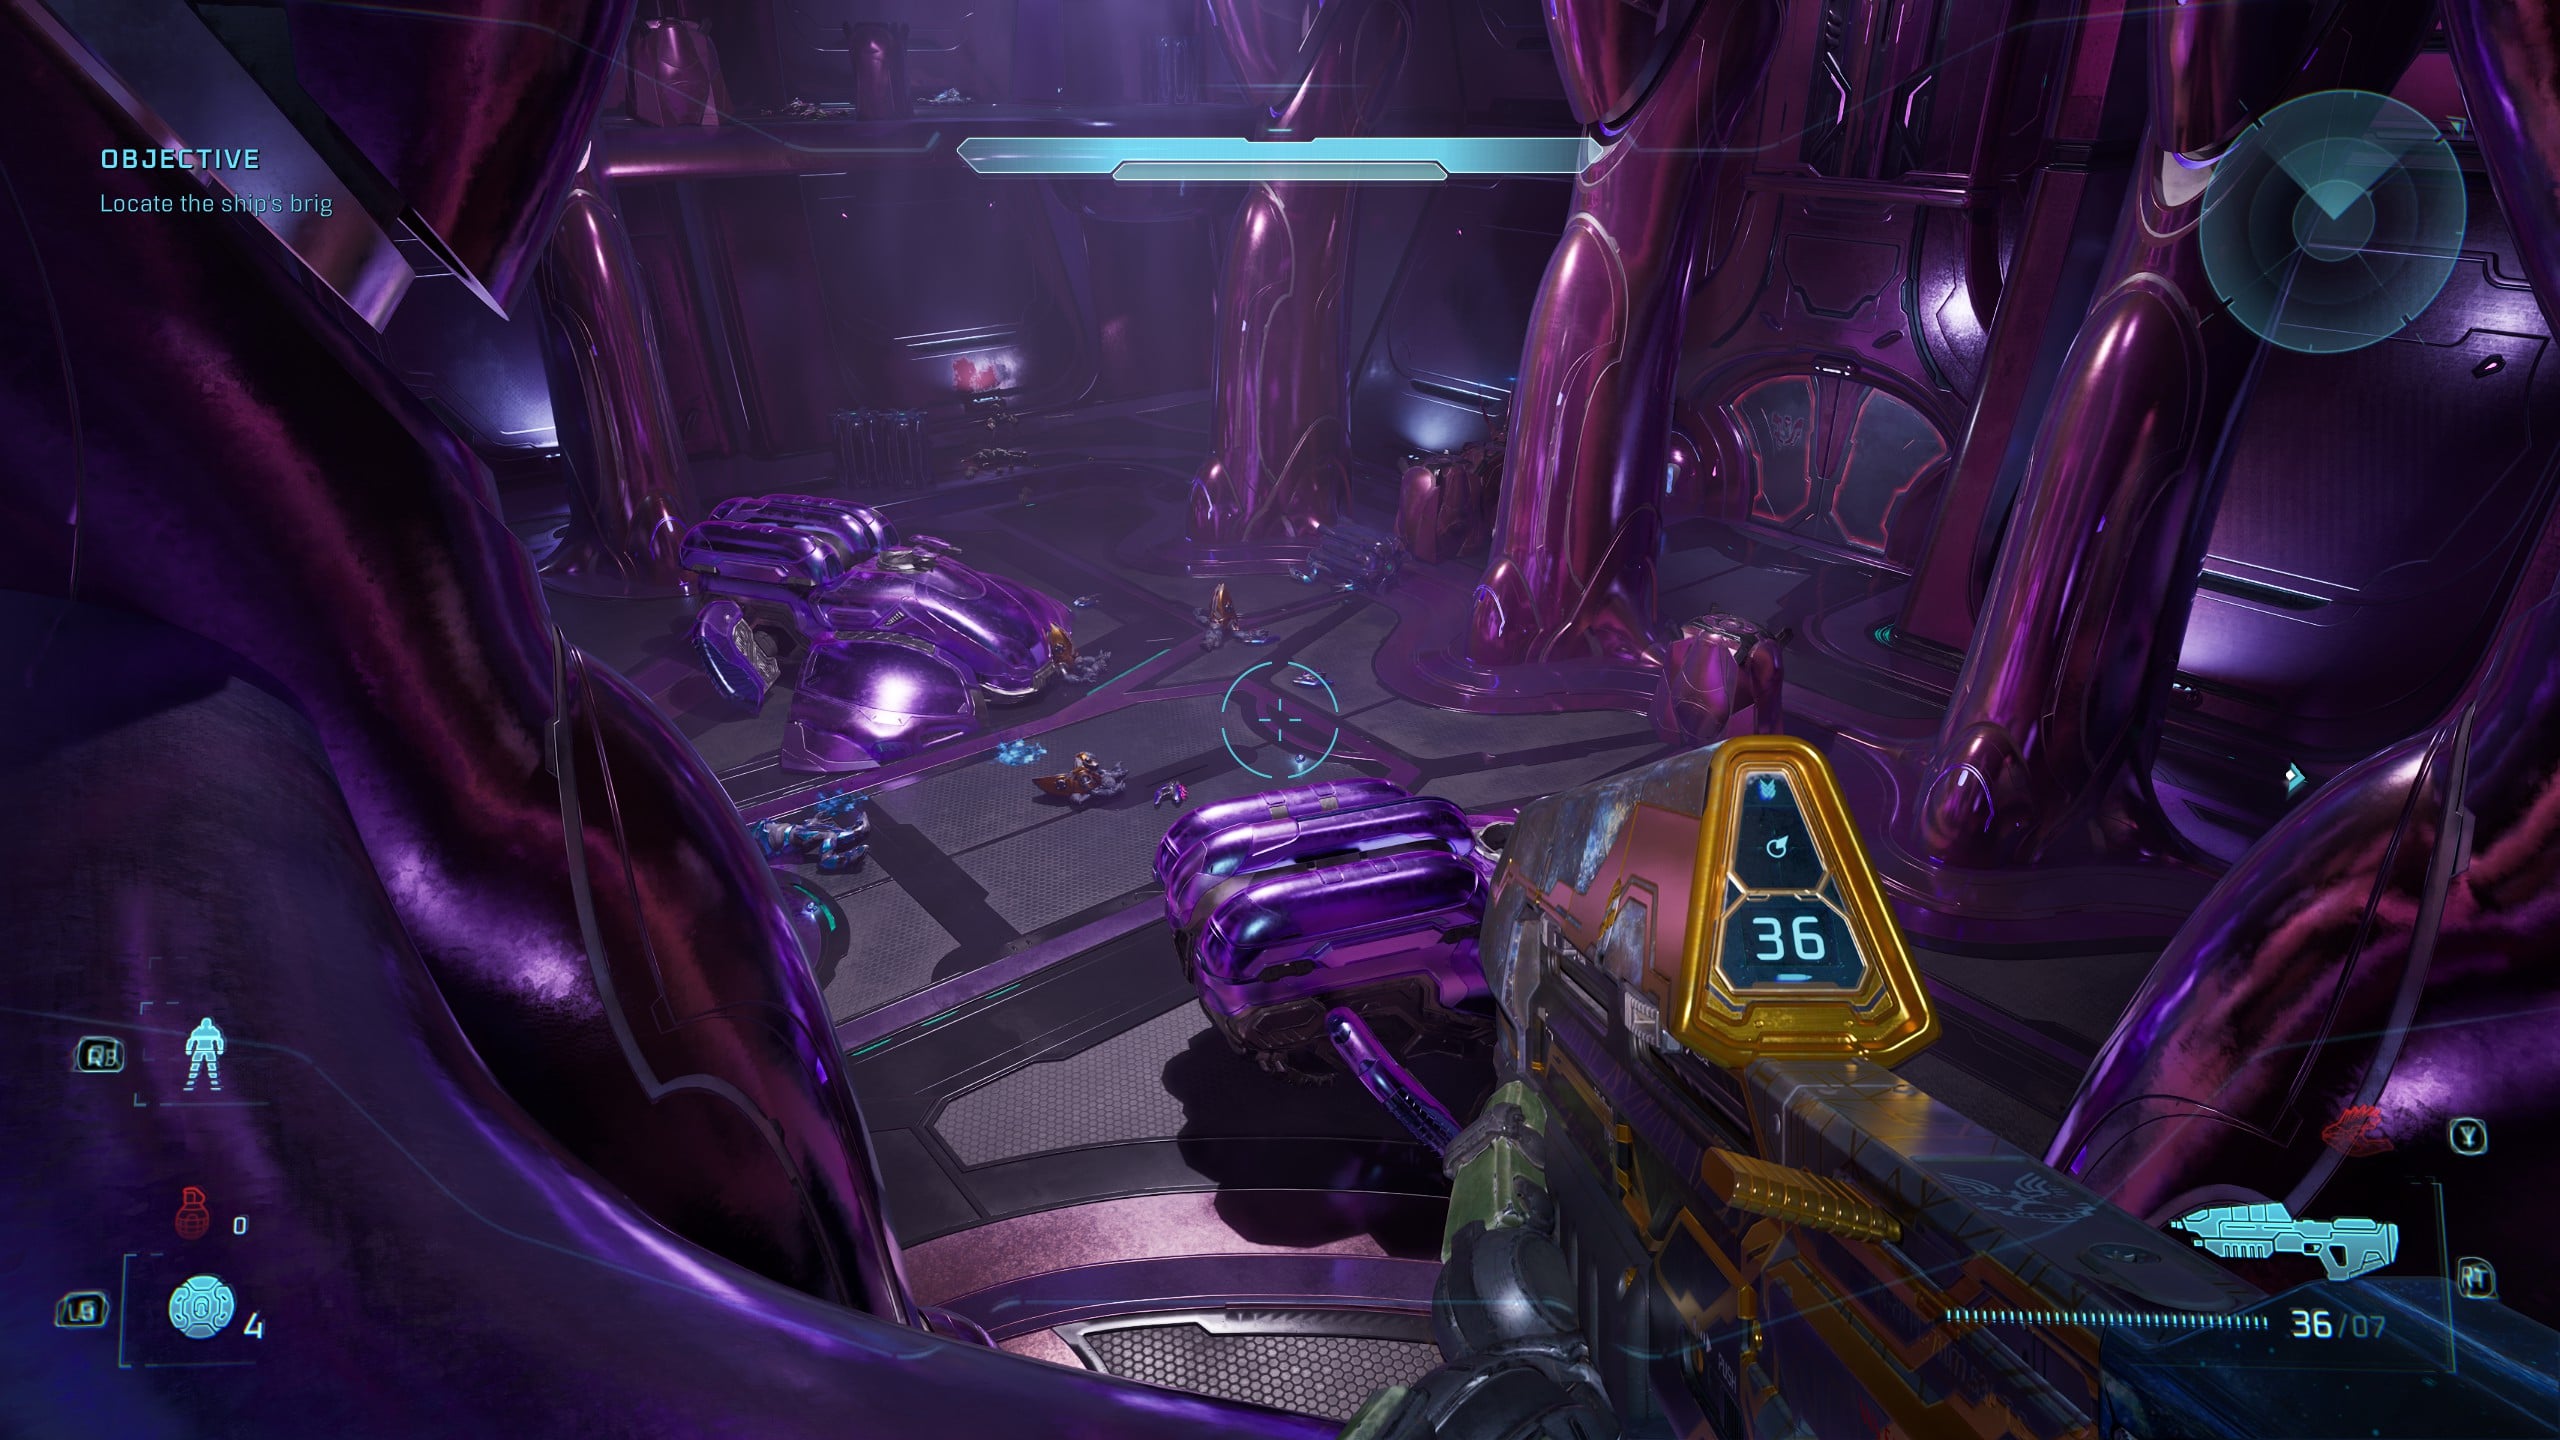
After fighting your way out of the Gravity Lift Bay and making it into the next large room, you’ll be on an upper balcony overlooking some Covenant Wraith tanks. Wipe out the enemies first and get ready for some awkward platforming.
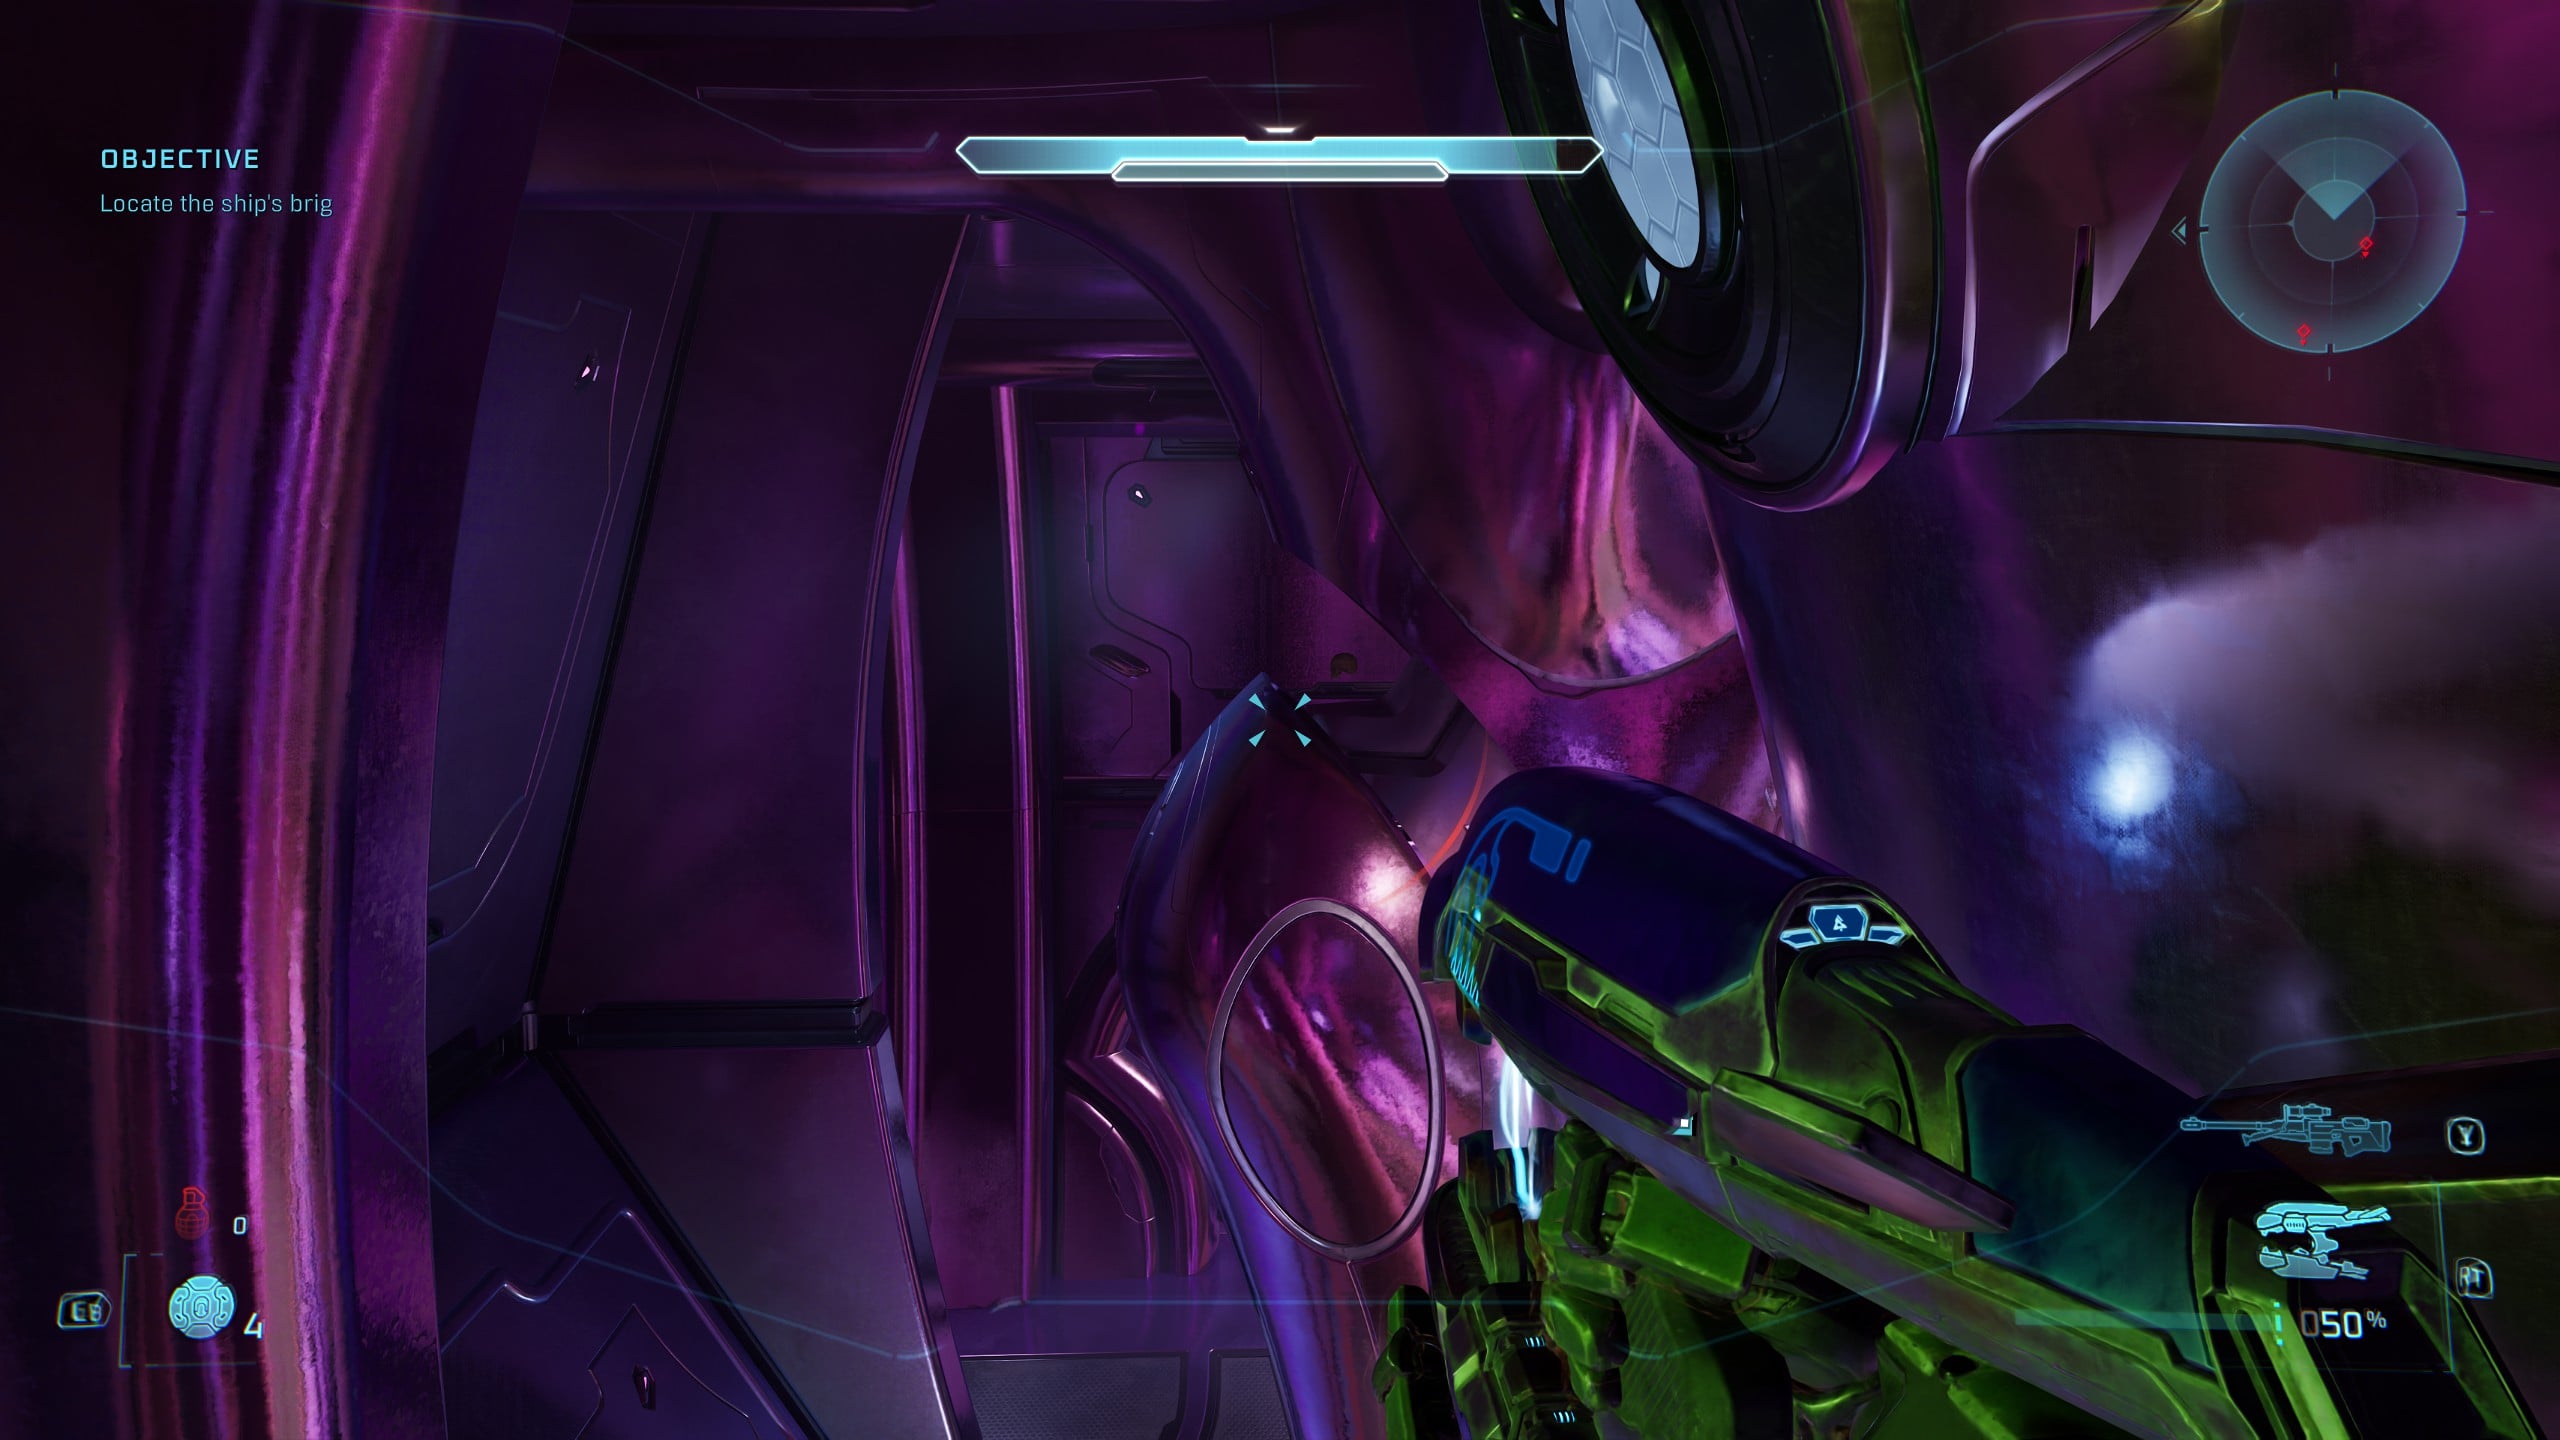
Move to the end of the upper walkway, ignoring the door leading down on your left, and turn right to face the three pillars spanning the side of the room with no upper balcony. The Endurance Spec Skull is located on the third pillar, furthest away from where you are on the balcony.
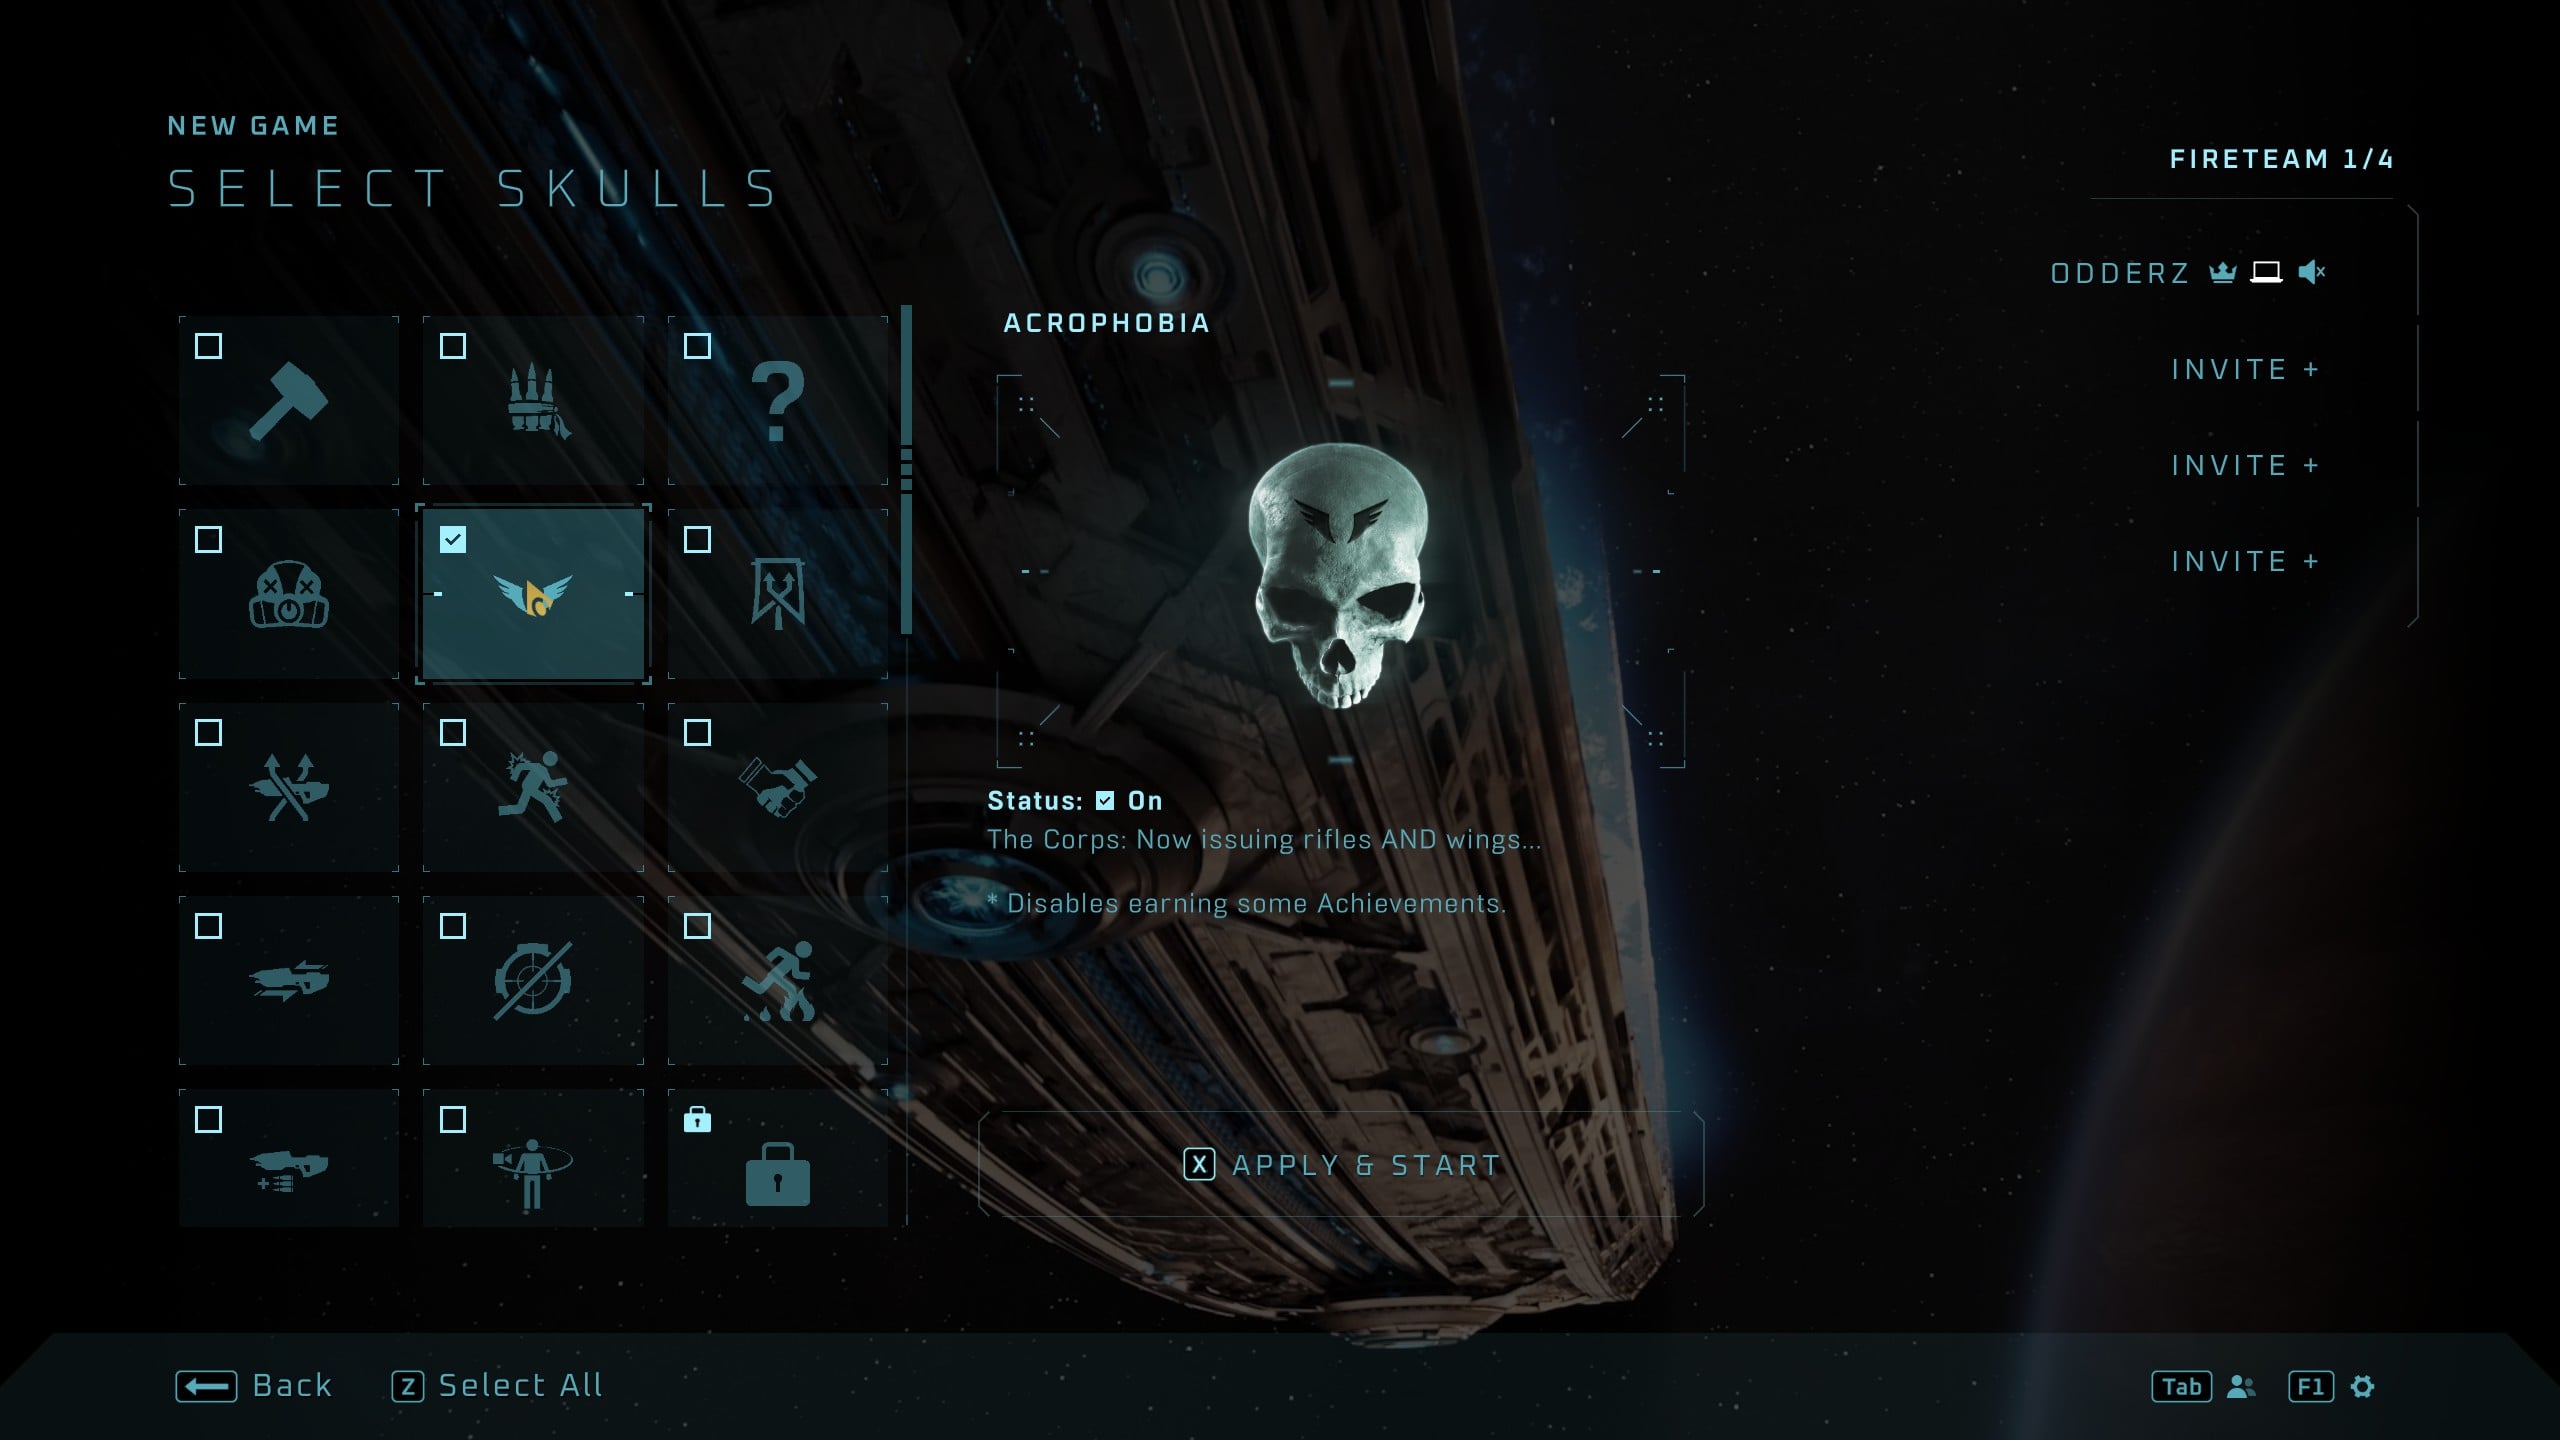
You can crouch-jump between the small platforms on each pillar to get to the Skull. Alternatively, you can come back with the Acrophobia Skull from The Silent Cartographer mission to make this much easier.
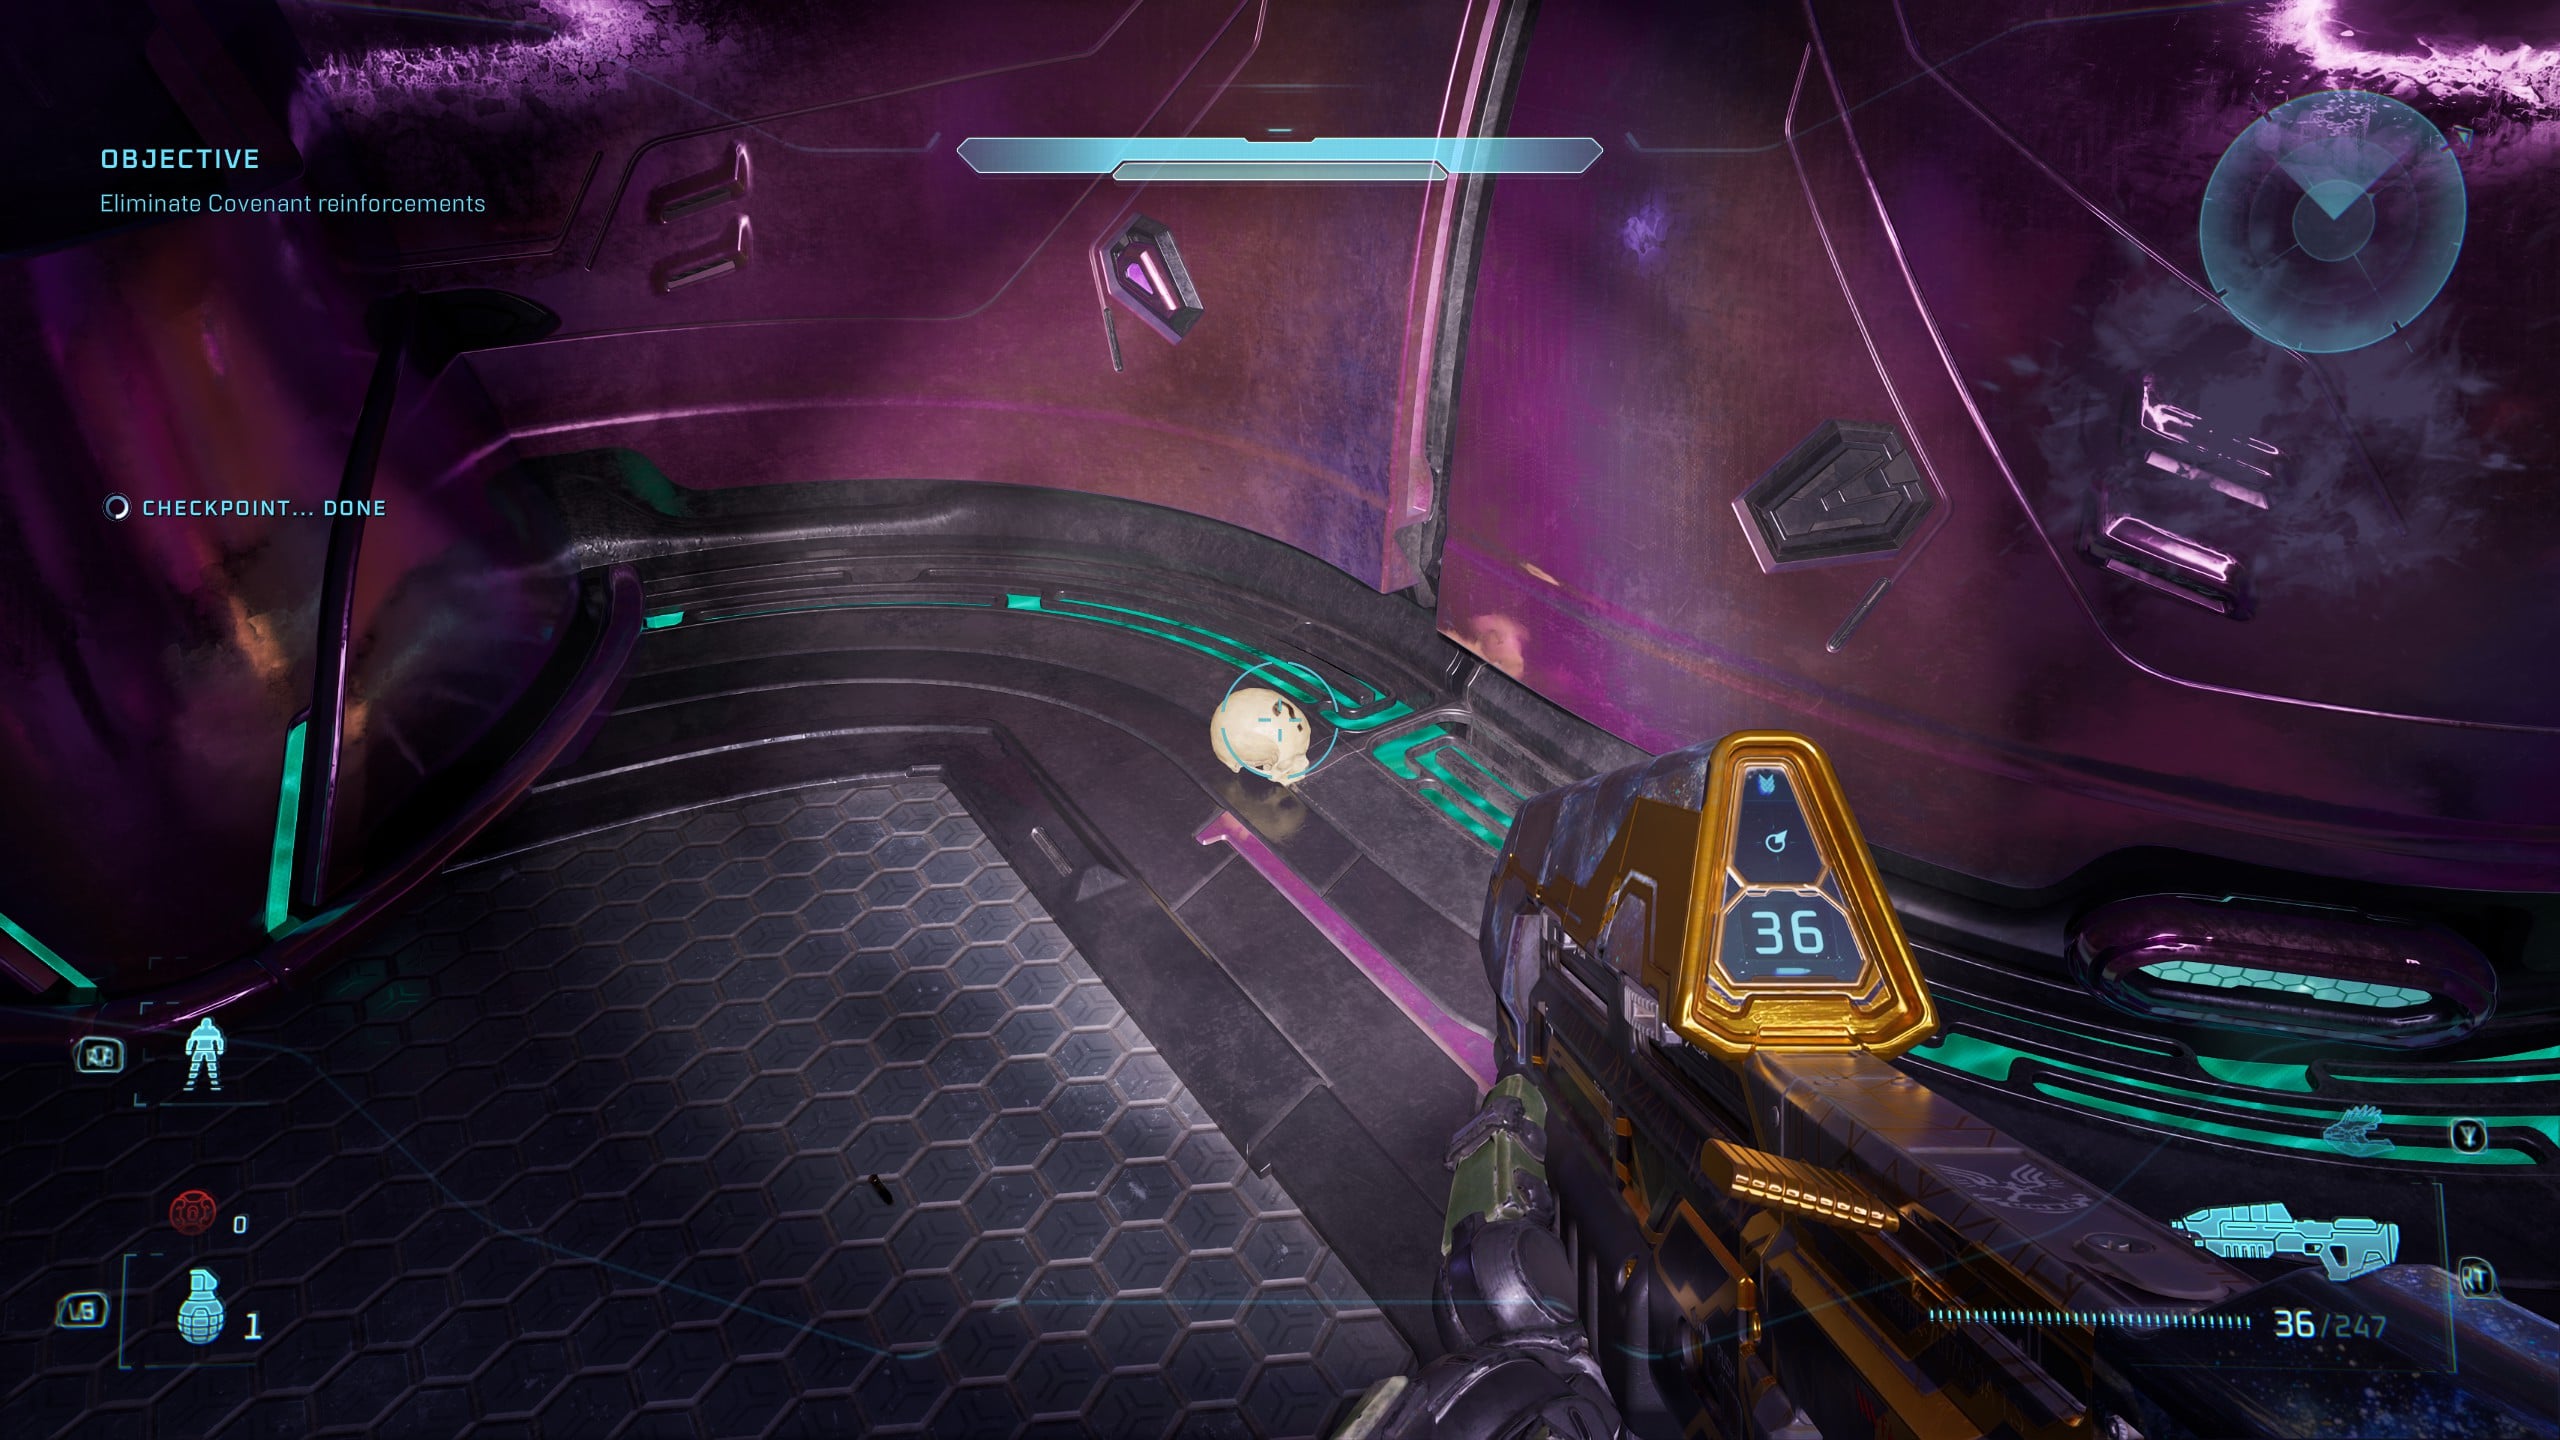
Skull 9 – Foreign
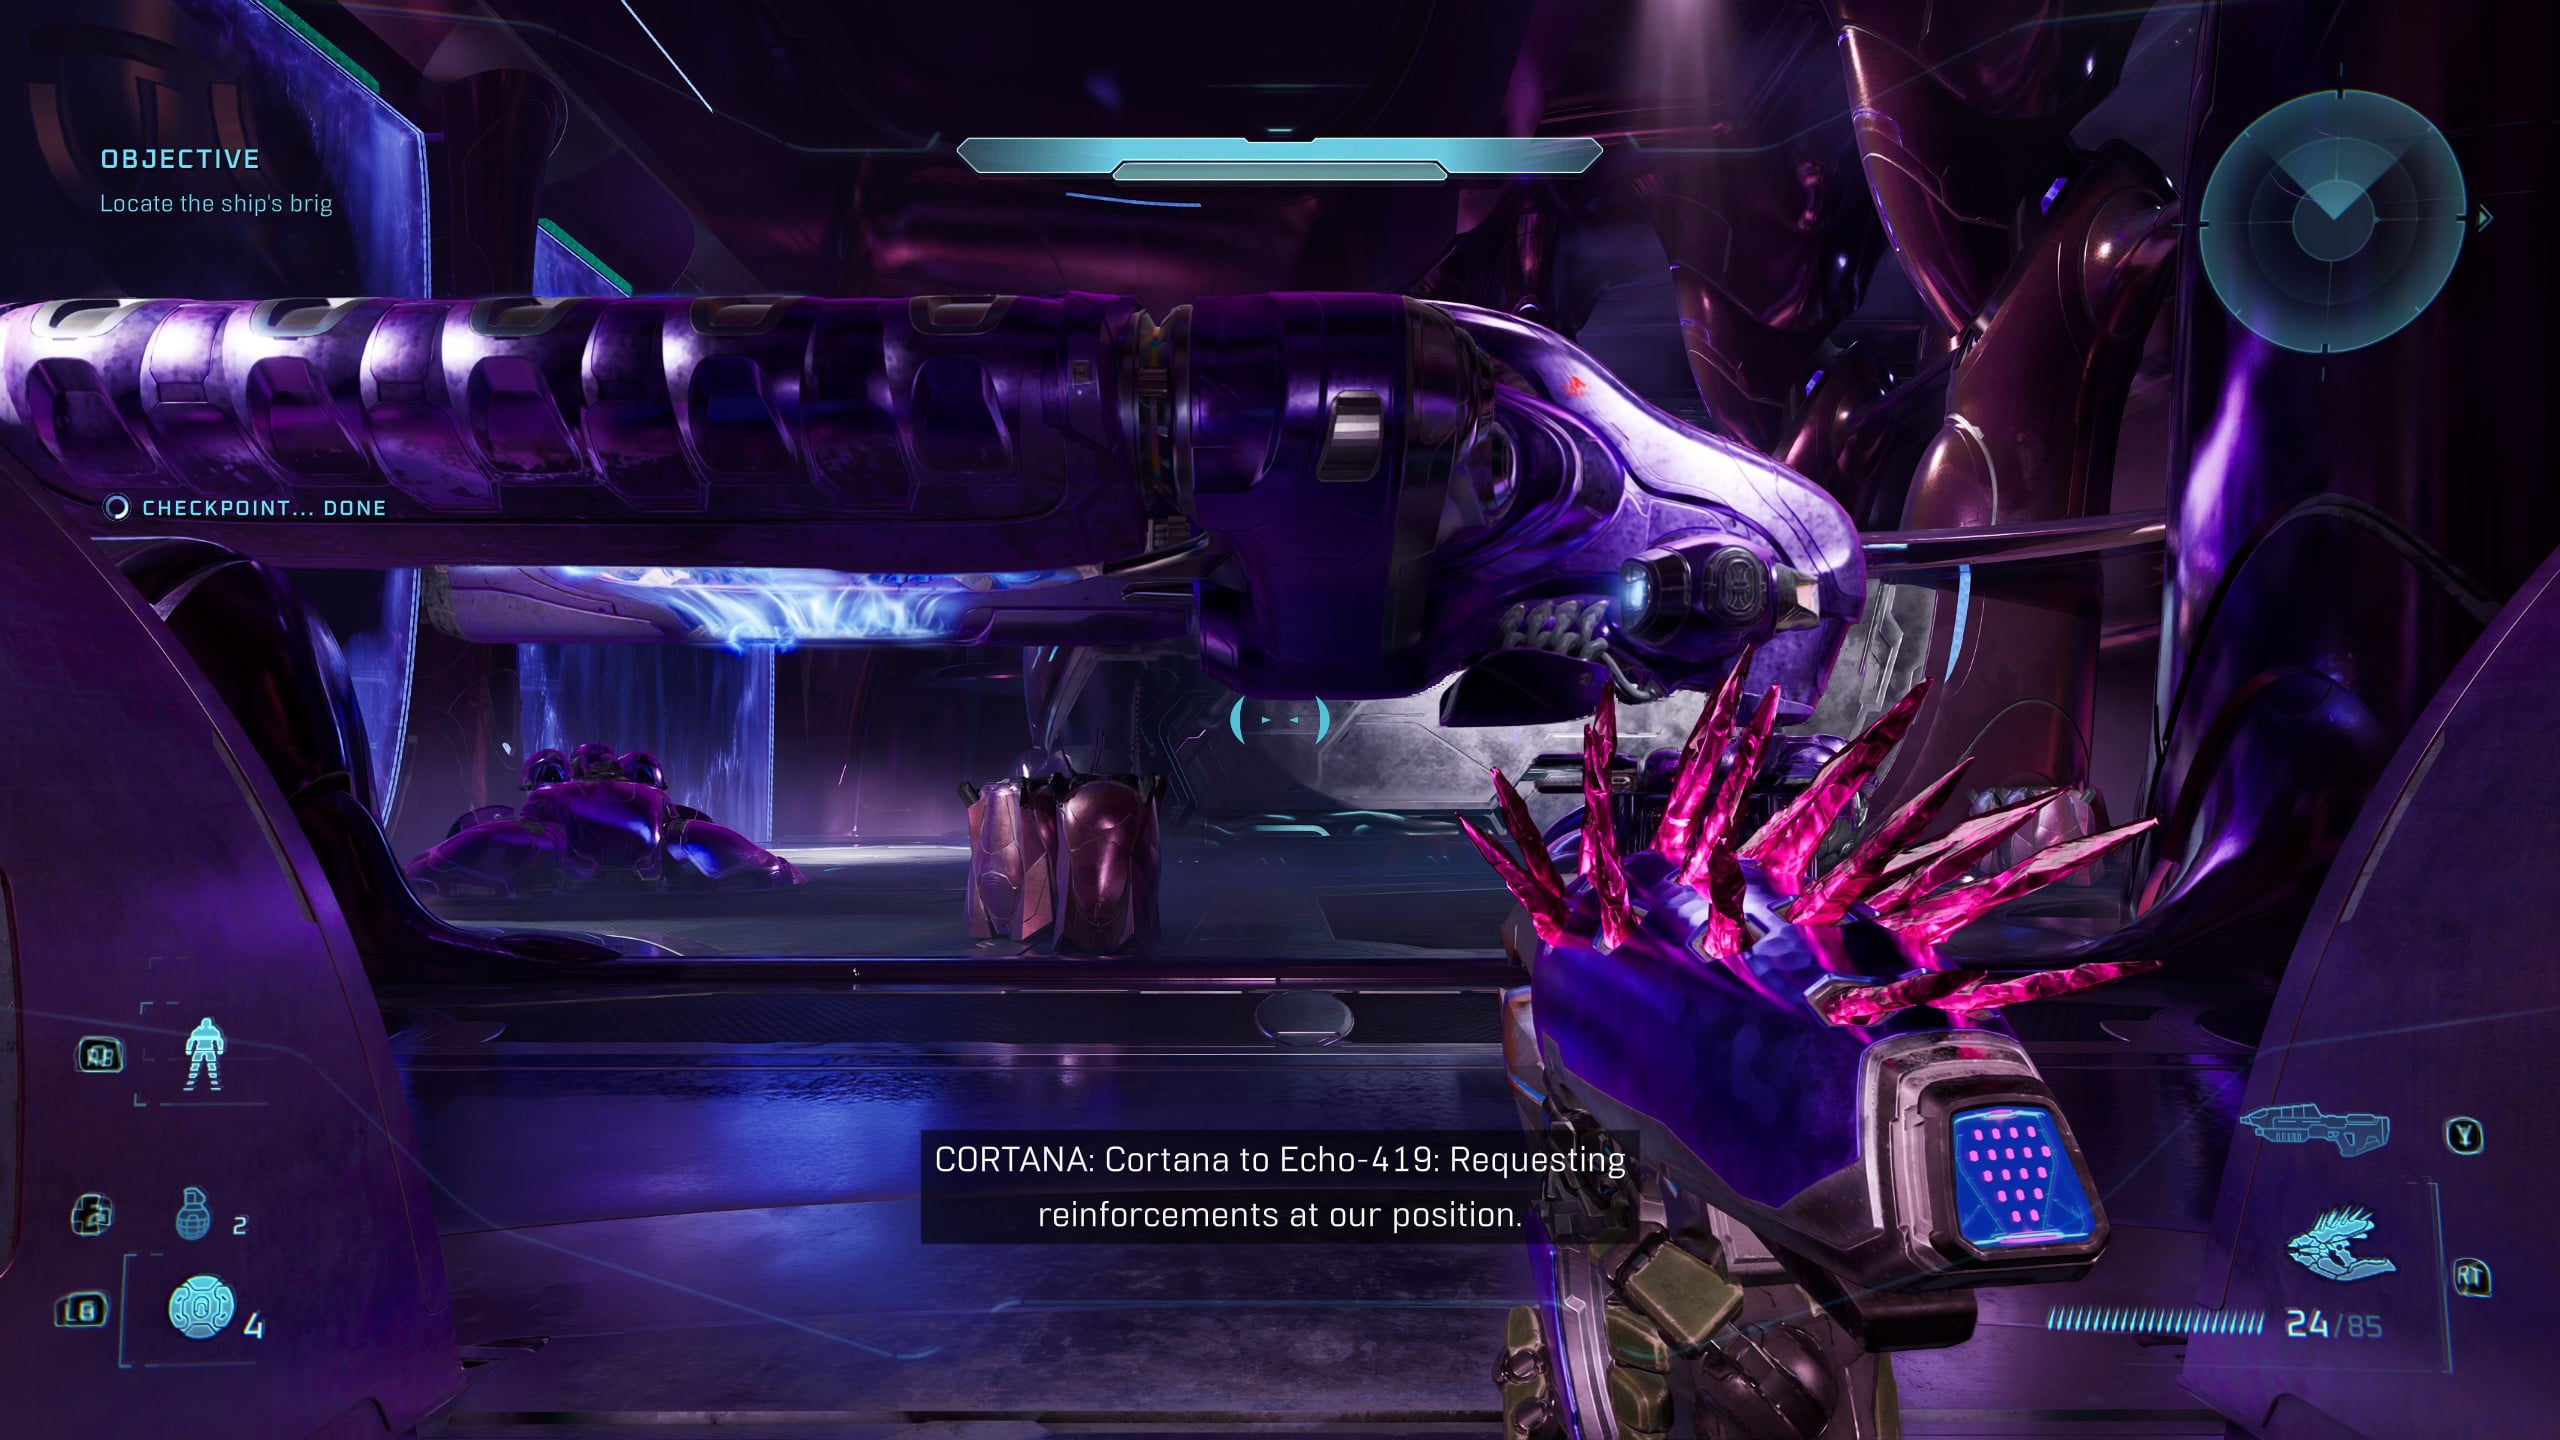
After the Endurance Spec Skull, you’ll move down a linear hallway and enter a hangar where a Covenant dropship is taking off. This is where you’ll find the Foreign Skull.
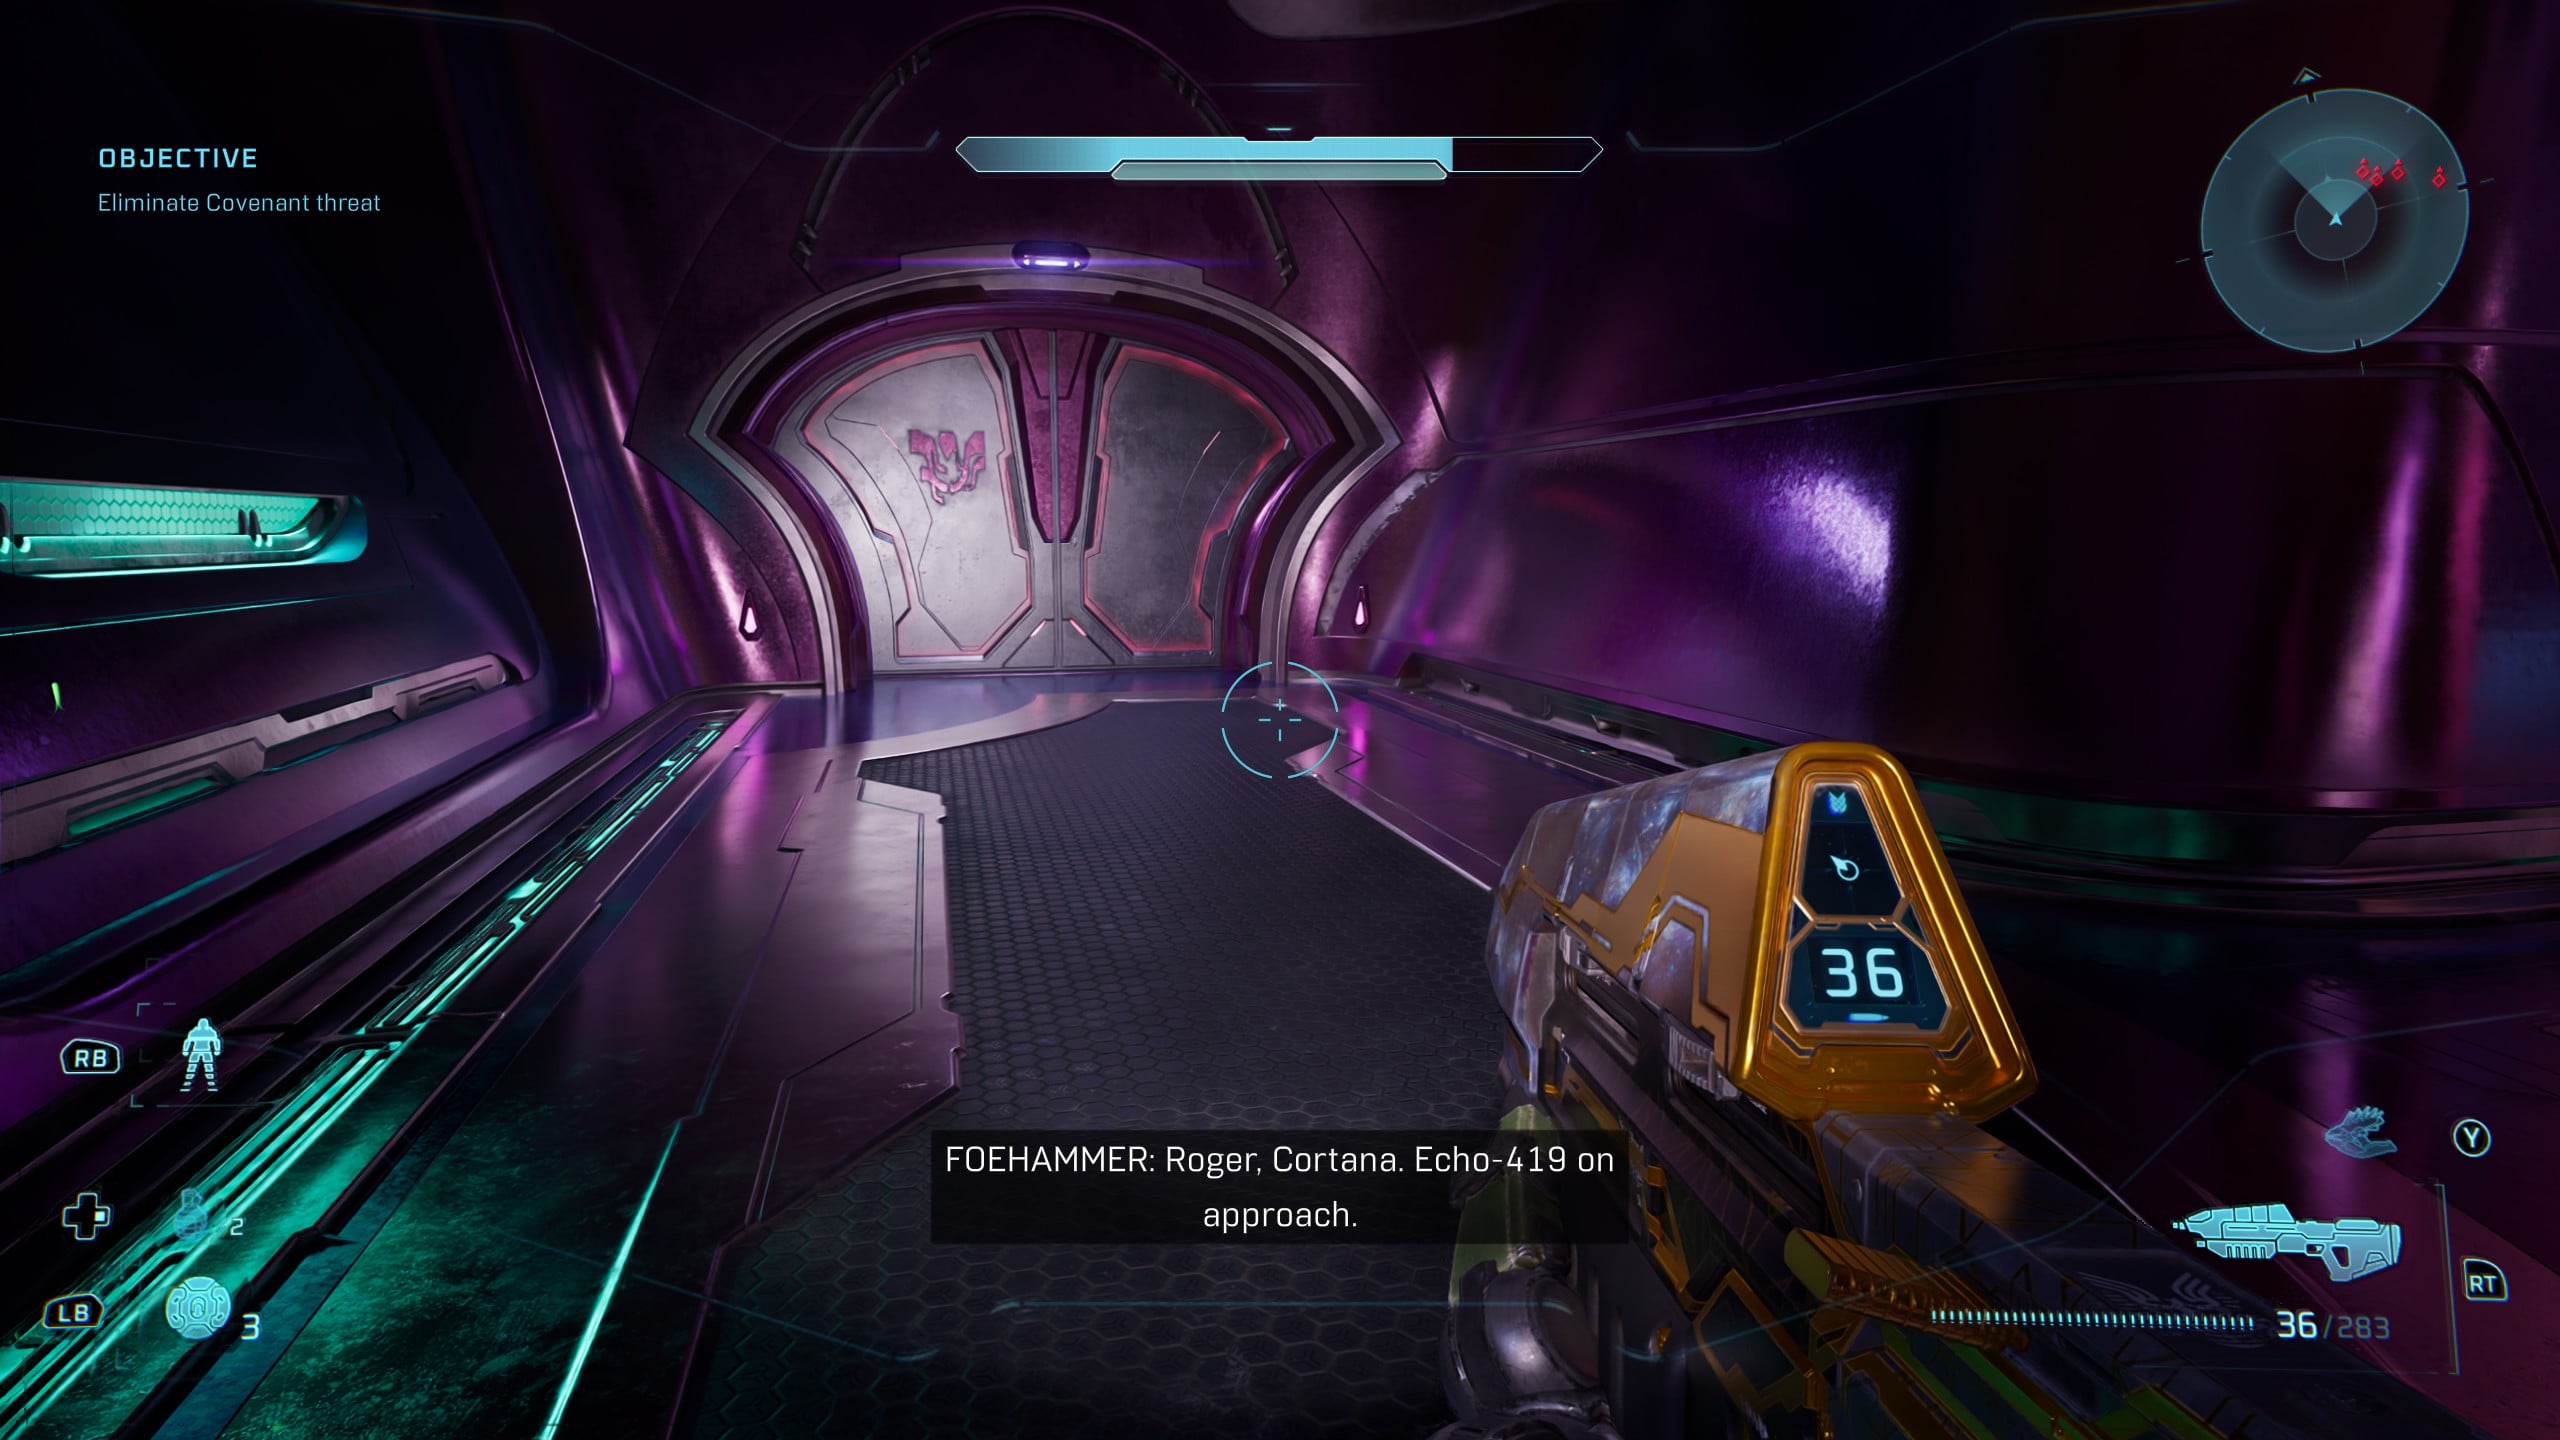
Before wiping out all of the enemies here, head to the rear right side of the room to find a locked door. This door will open to let spawned enemies into the room as you battle, but when the enemies spawn, you can sneak through — you should hear a beeping noise as the door opens, so stay close as you fight. Inside you’ll find the Foreign Skull on the left side of the small room.
Rally Point Charlie
Terminal 3 – Inquisitor
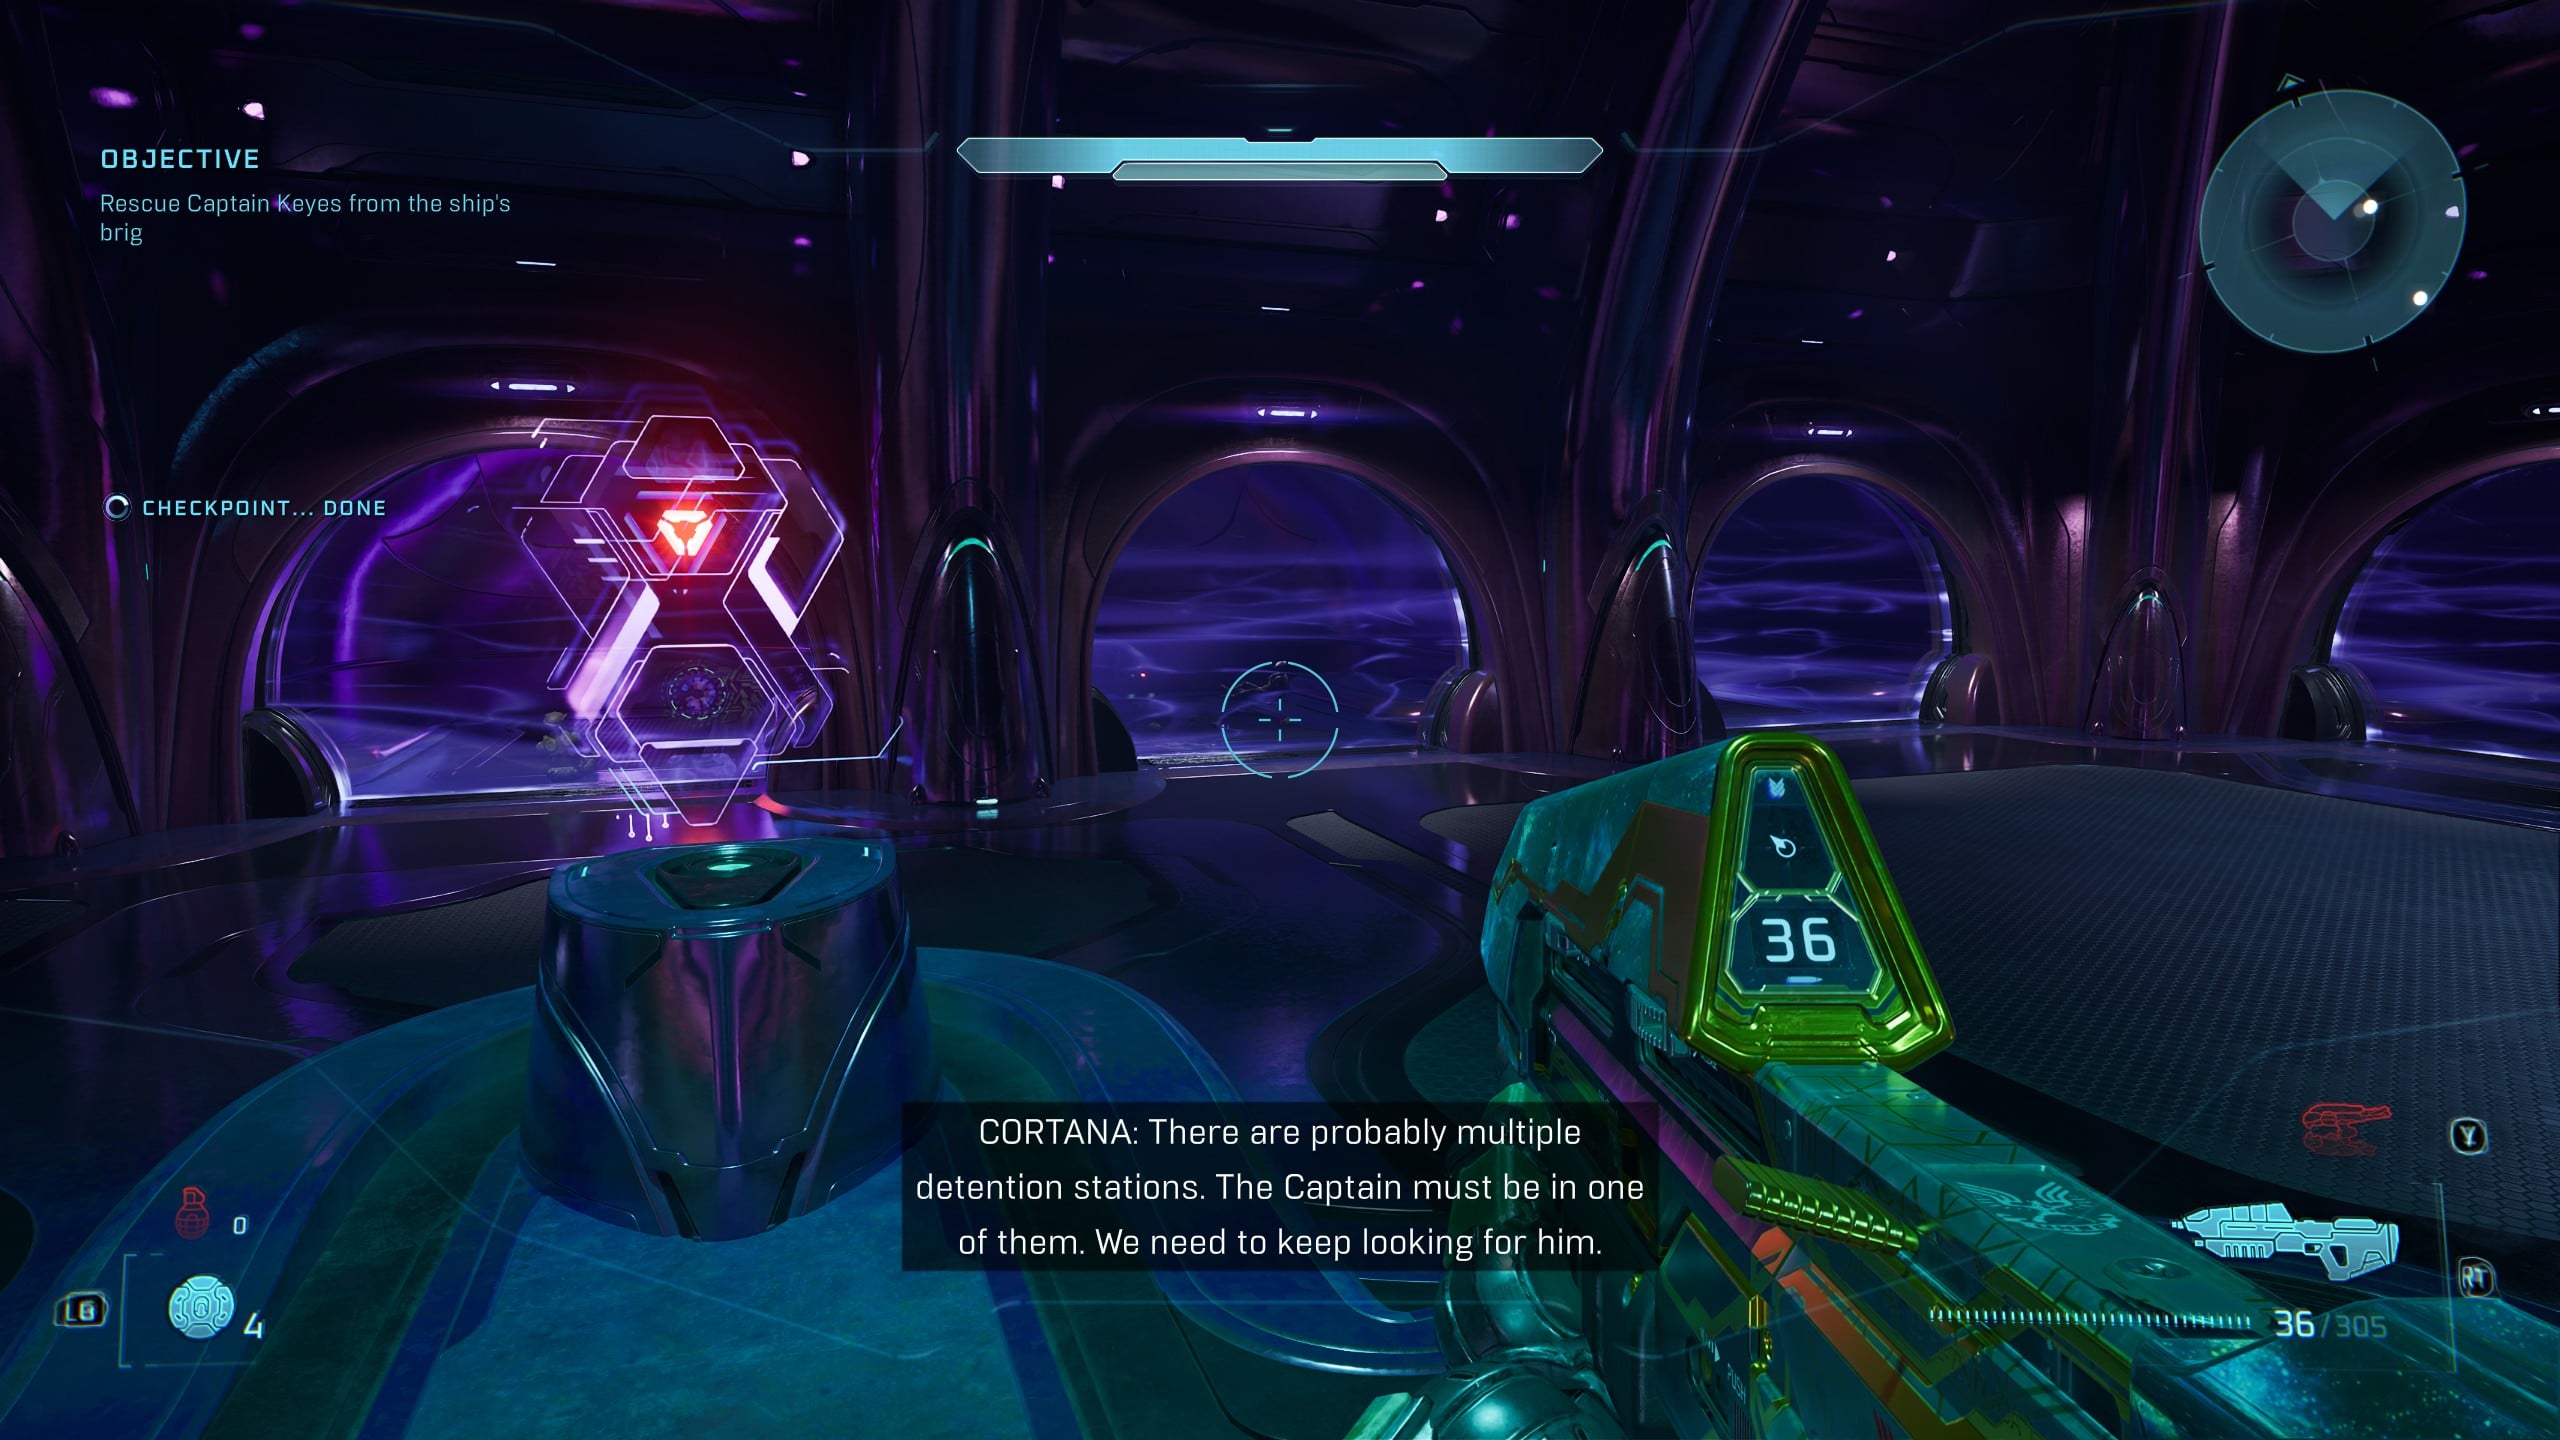
Battle through the mission until the Objective is to ‘Rescue Captain Keyes from the ship’s brig.’ Follow the objective from here until you encounter three Covenant Jackals in a hallway, followed by a room with two Elites and multiple doors. When in the room with multiple doors, immediately turn right and head through to the next room.
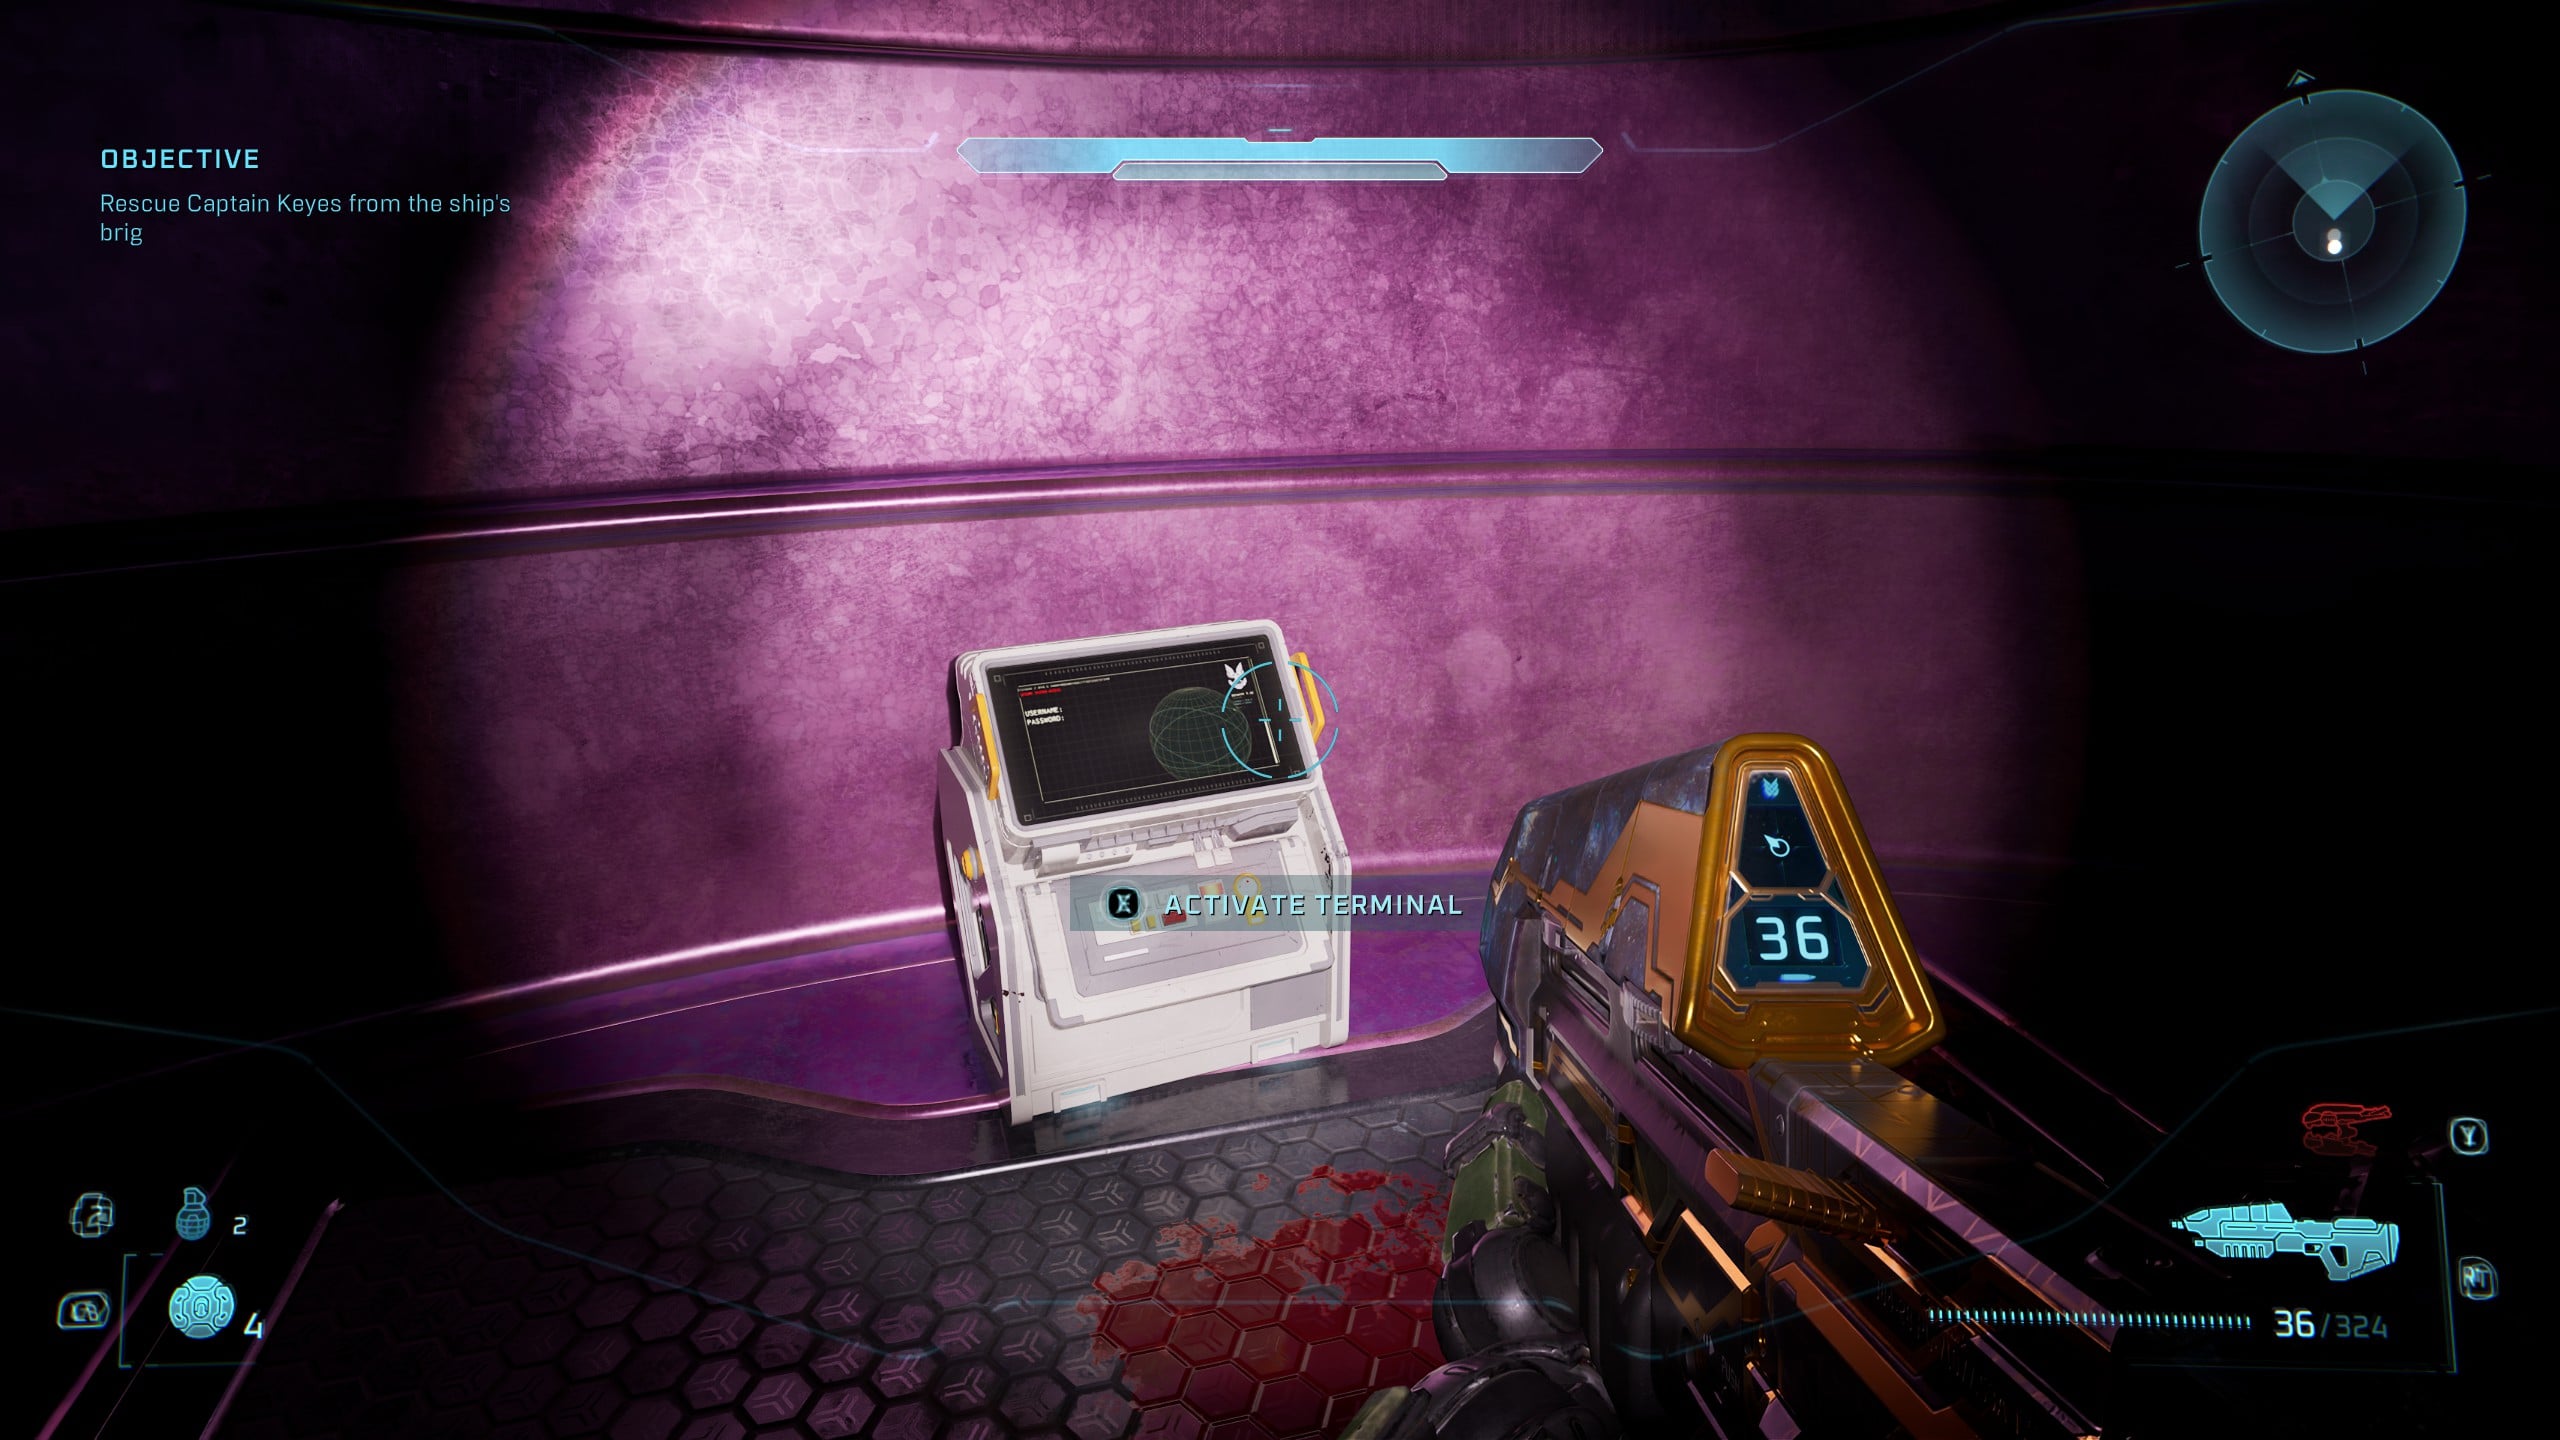
Activate the device in the center of the room, and this will unlock all of the prison cells. One cell on the lower level has the Inquisitor Terminal inside.
The Silent Cartographer Skull and Terminal locations
You’ll earn the Buried Treasure trophy and achievement for finding these optional items in The Silent Cartographer mission.
Rally Point Alpha
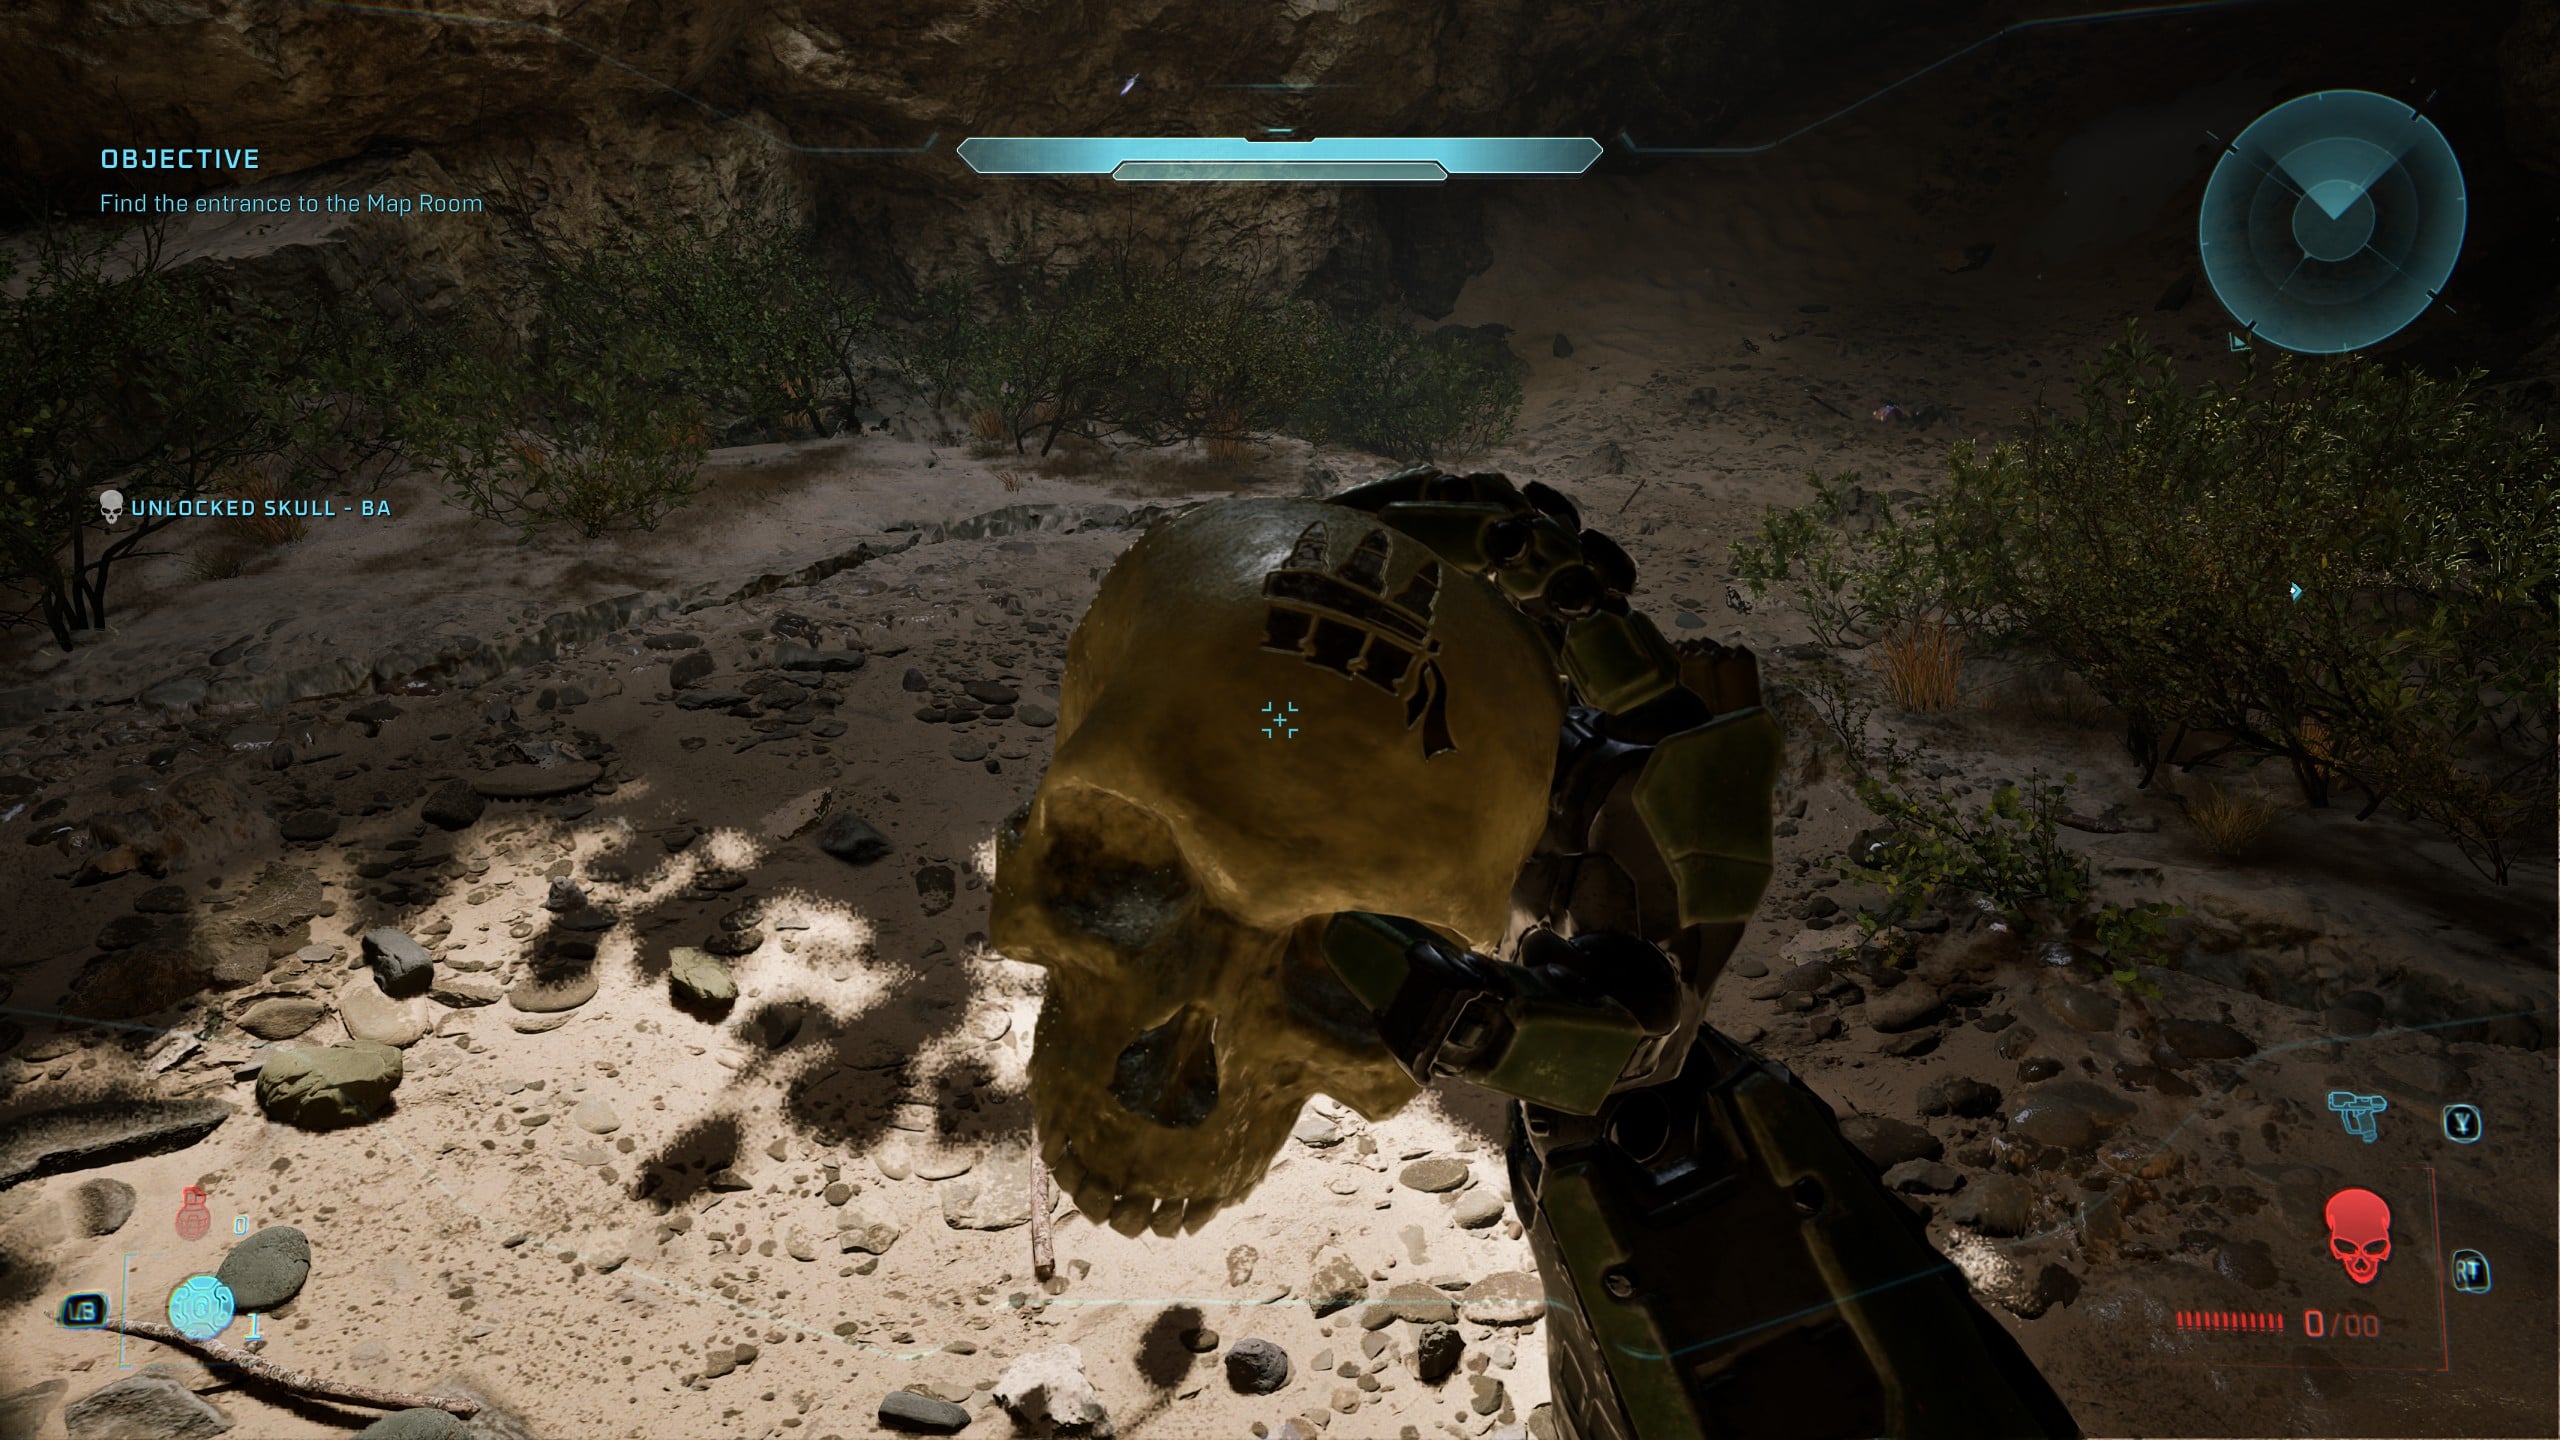
Skull 10 – Bandana
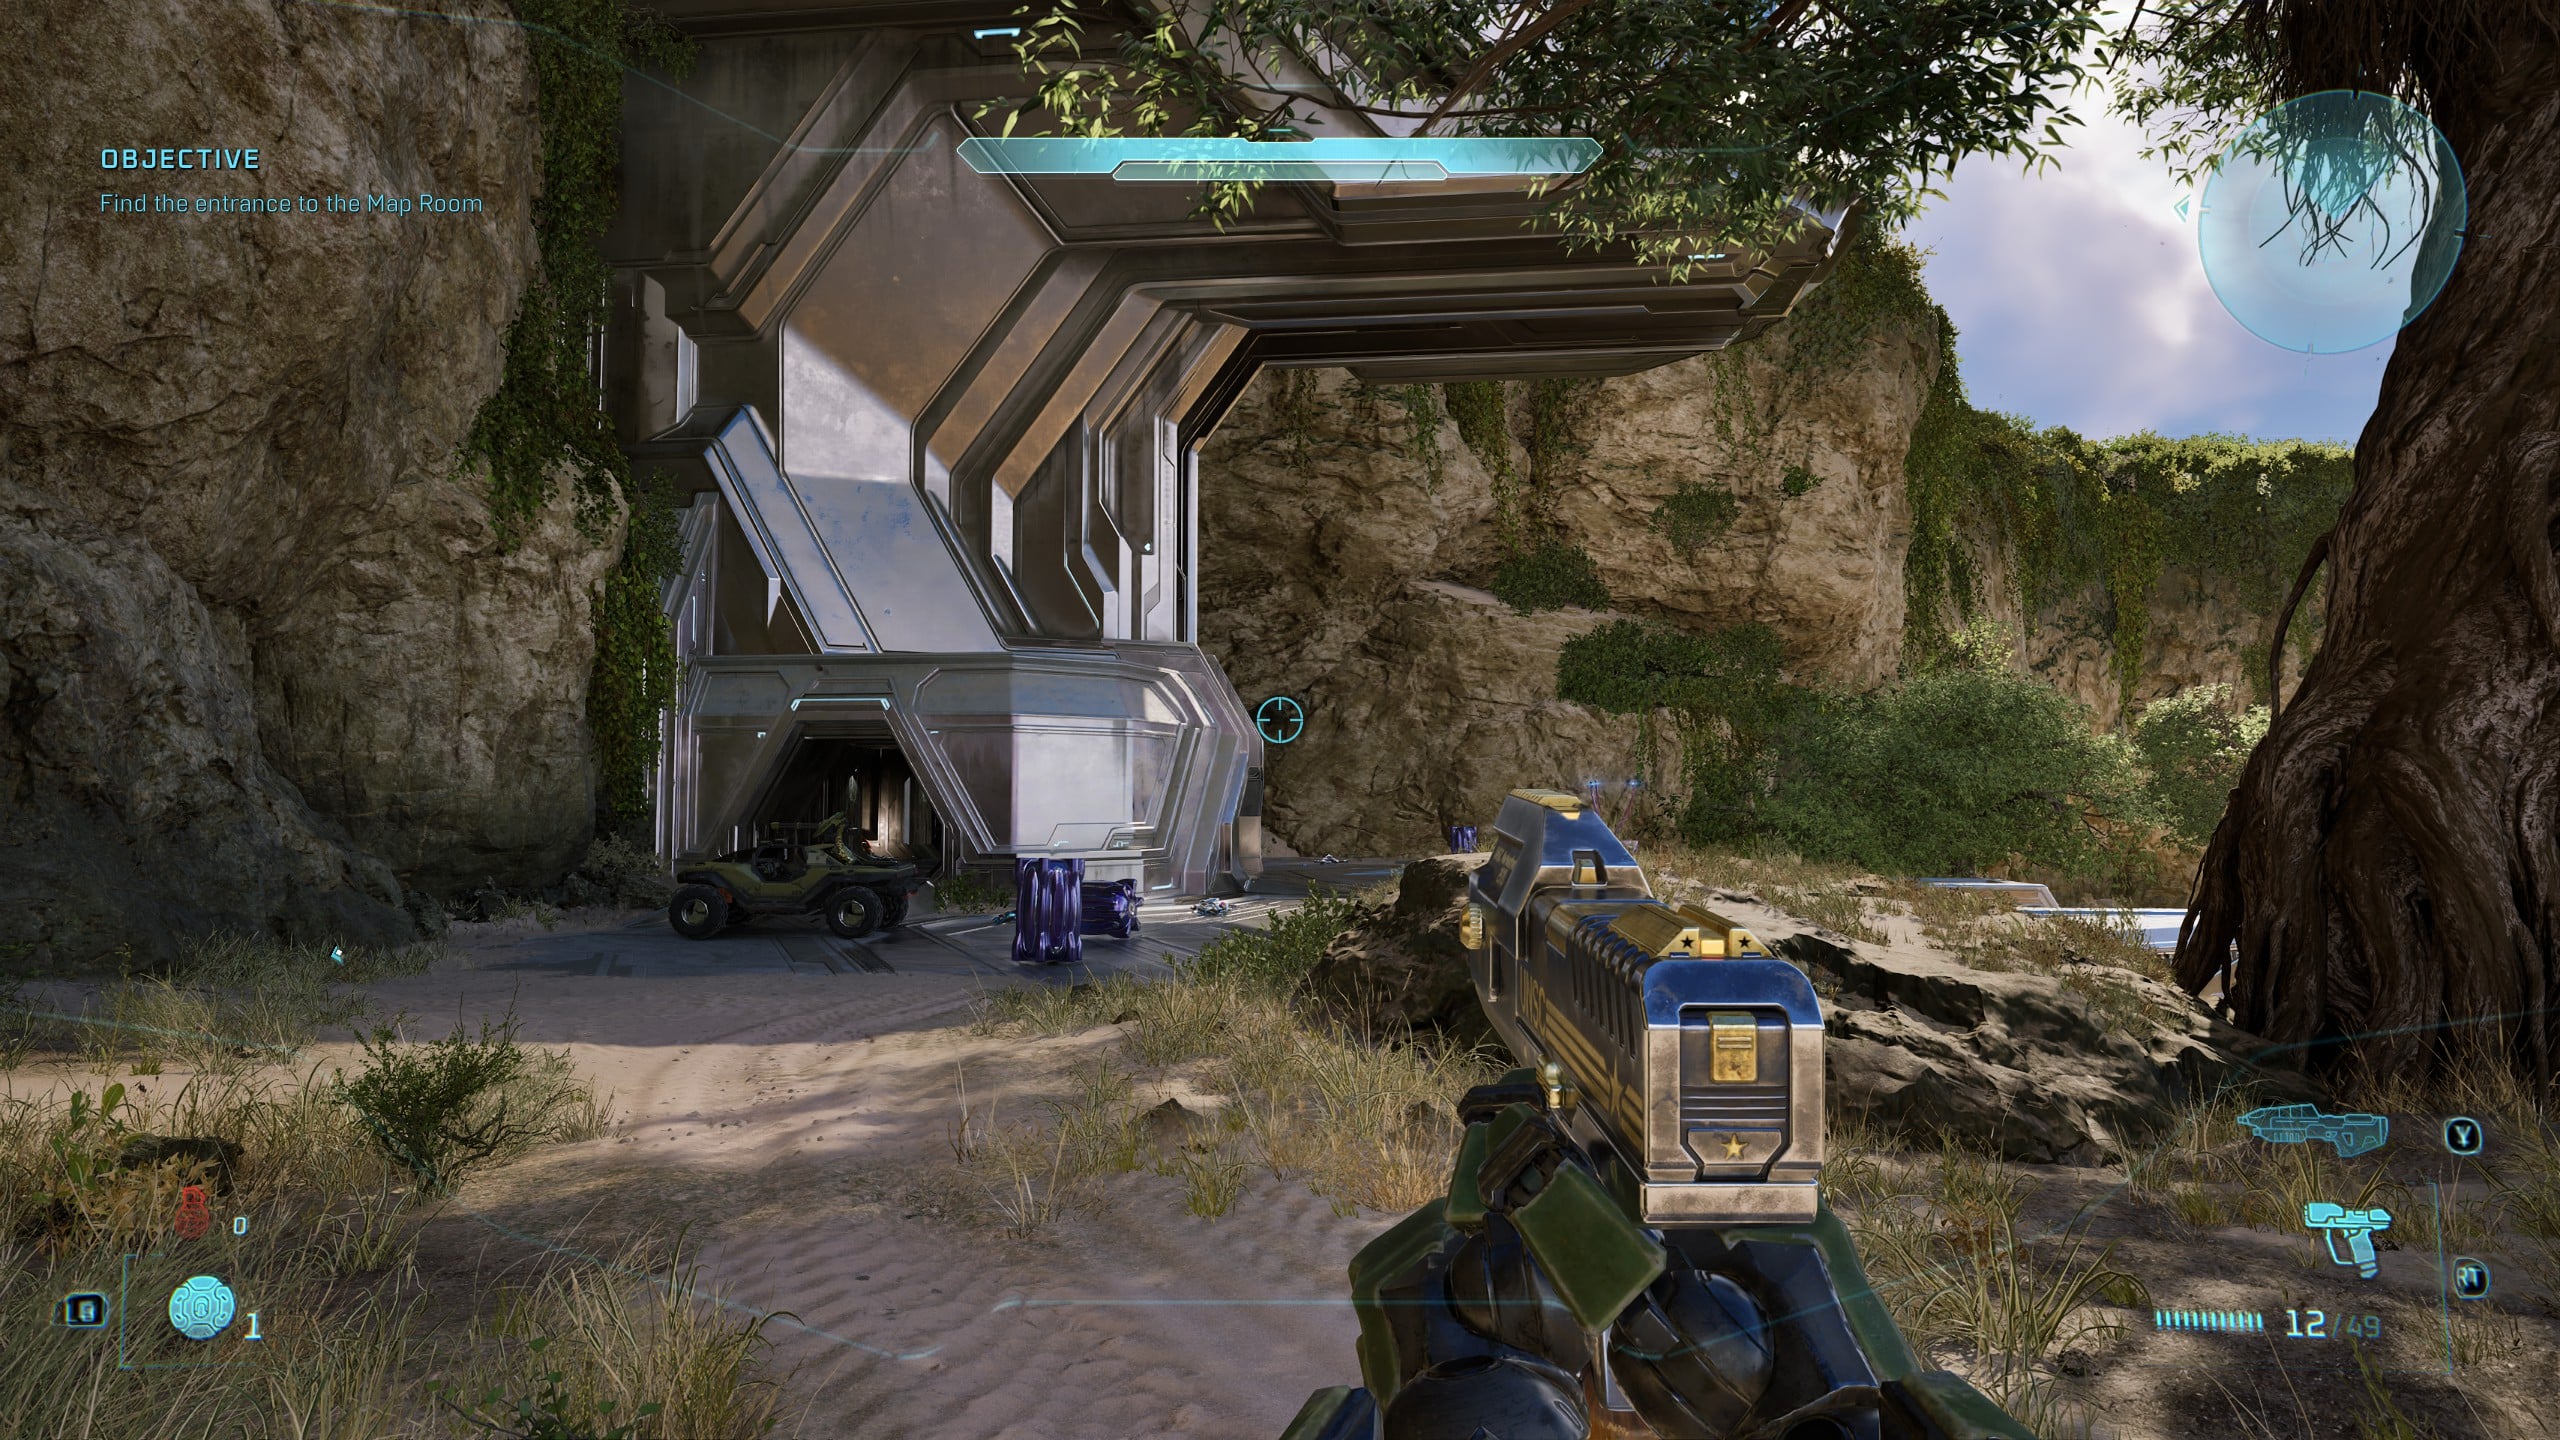
After clearing the beach and grabbing the Warthog, head over to your first Objective marker, but stop before entering the futuristic structure.
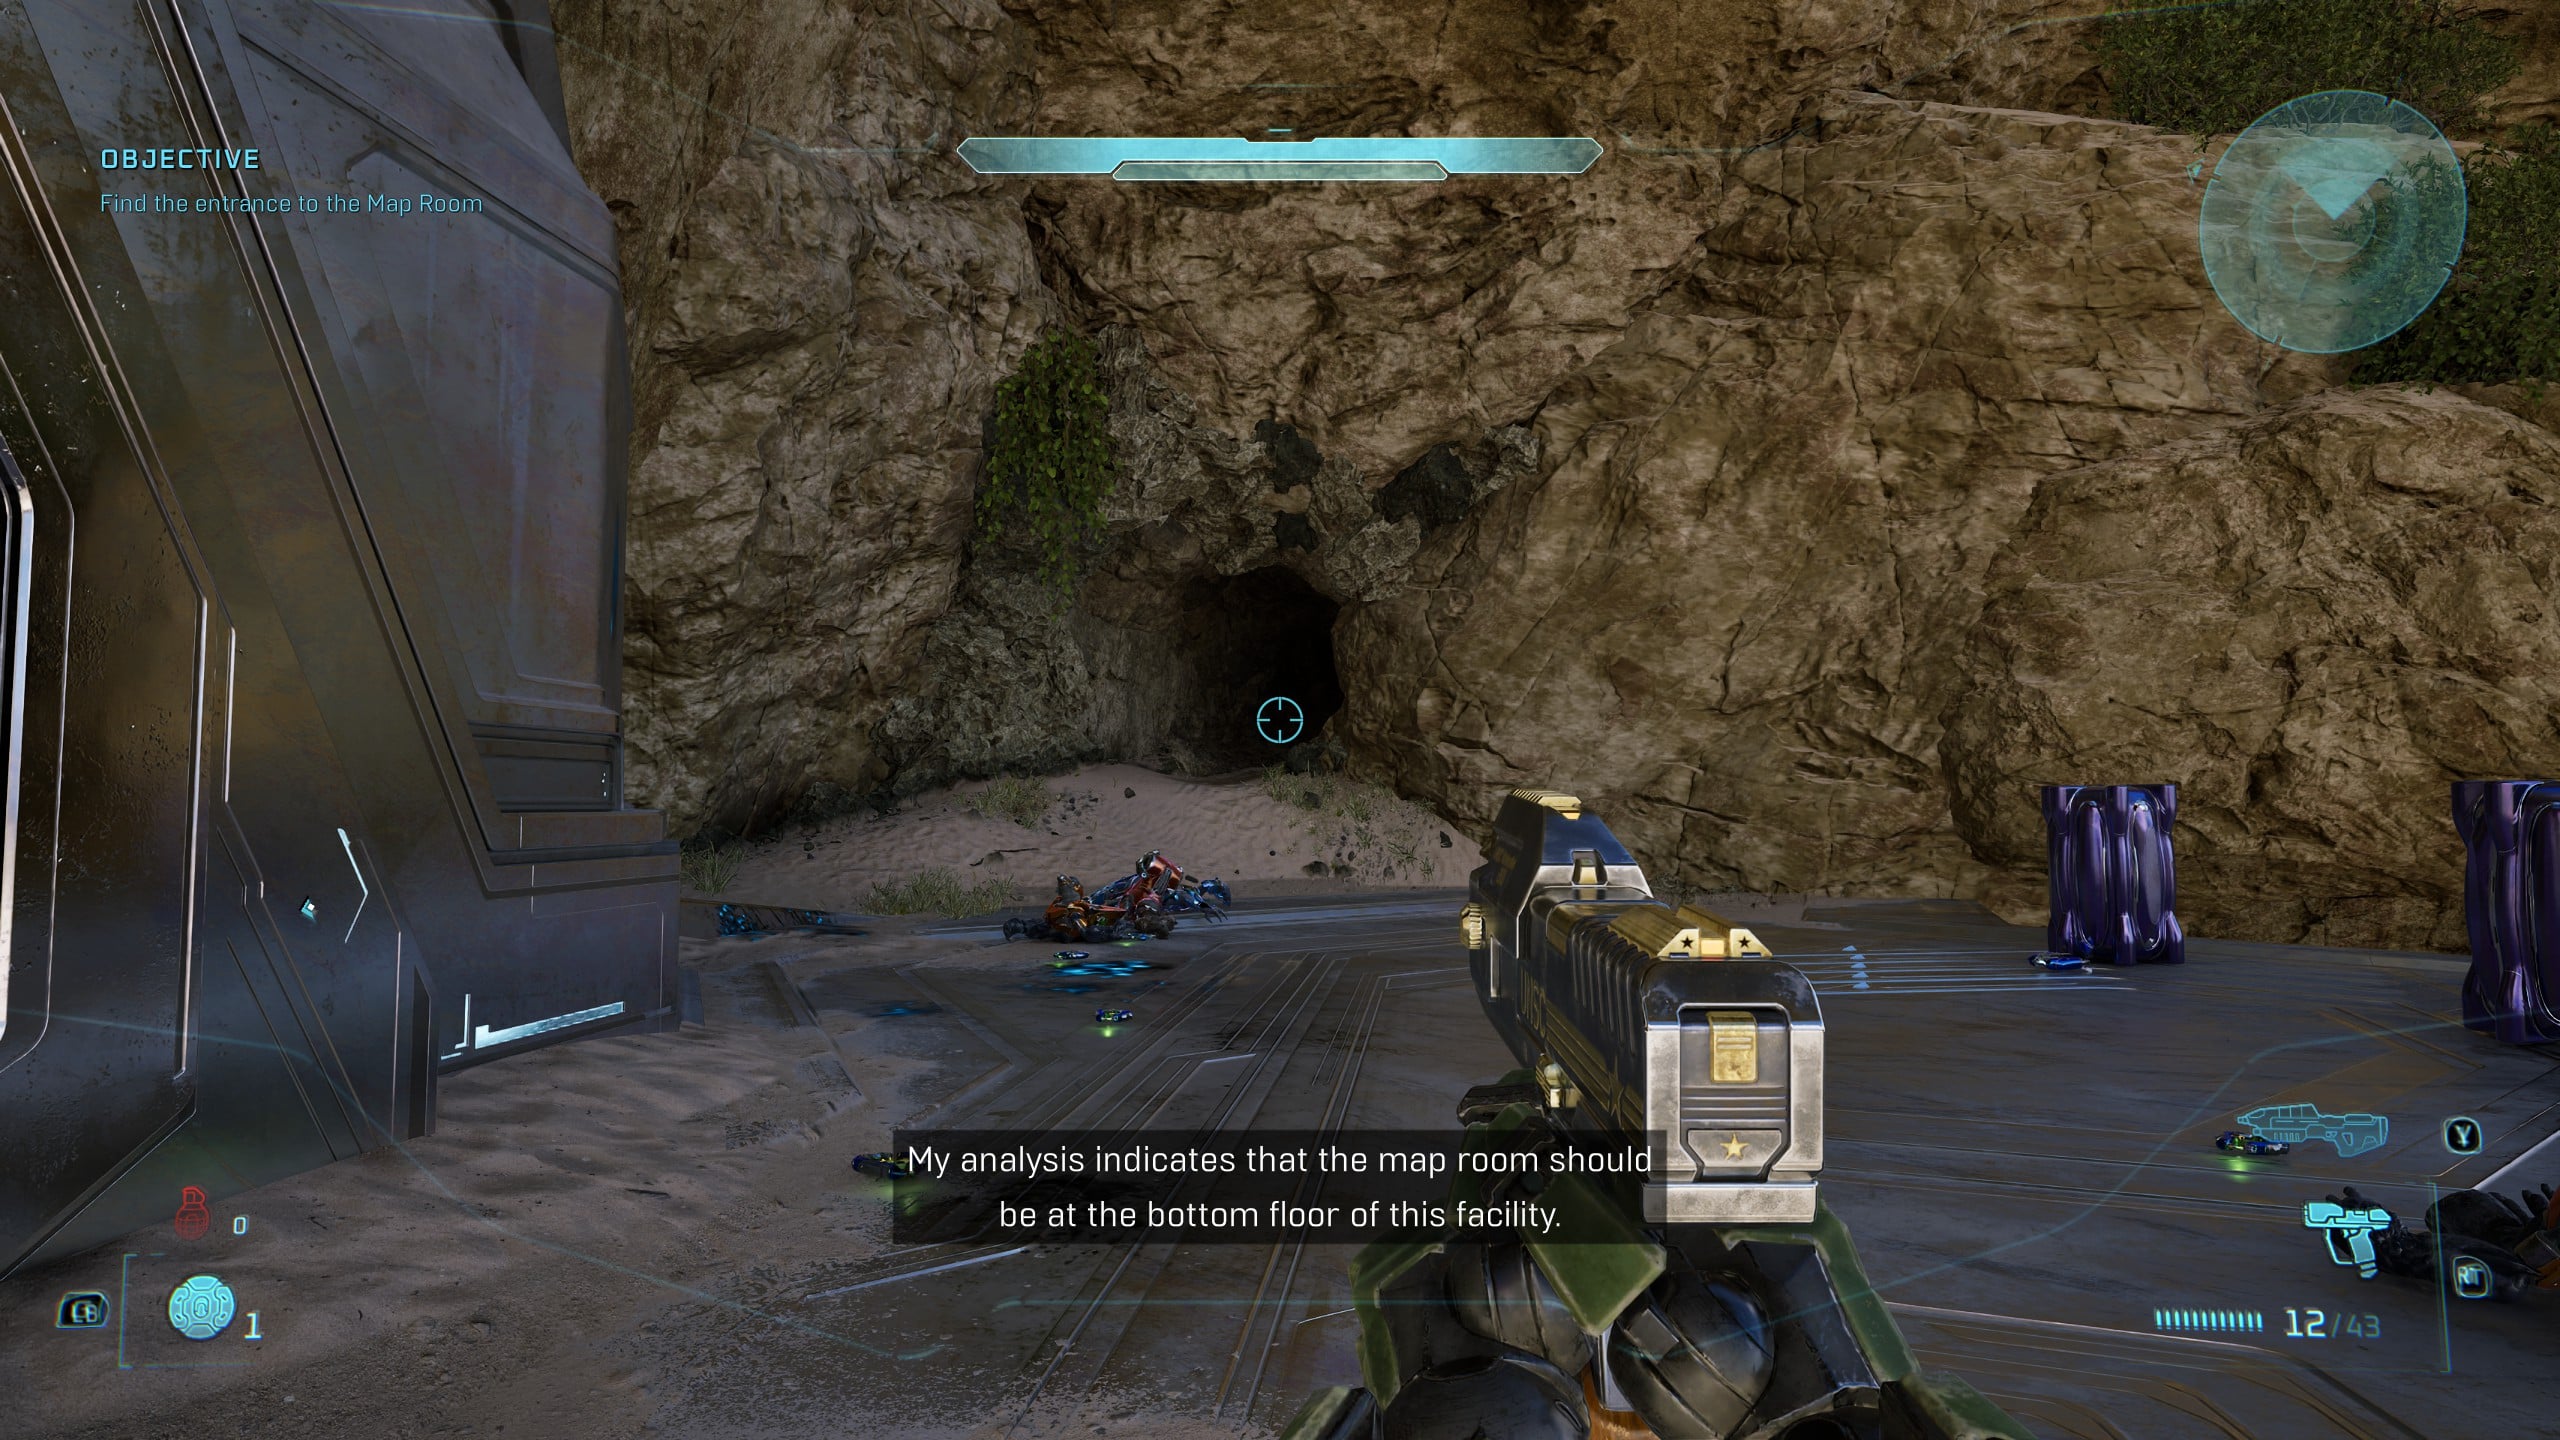
Instead of heading inside, simply look behind the entrance, and you’ll find a cave. Head inside, and the Bandana Skull is waiting for you to pick it up. This might be the easiest Skull to find in the entire game.
Rally Point Bravo
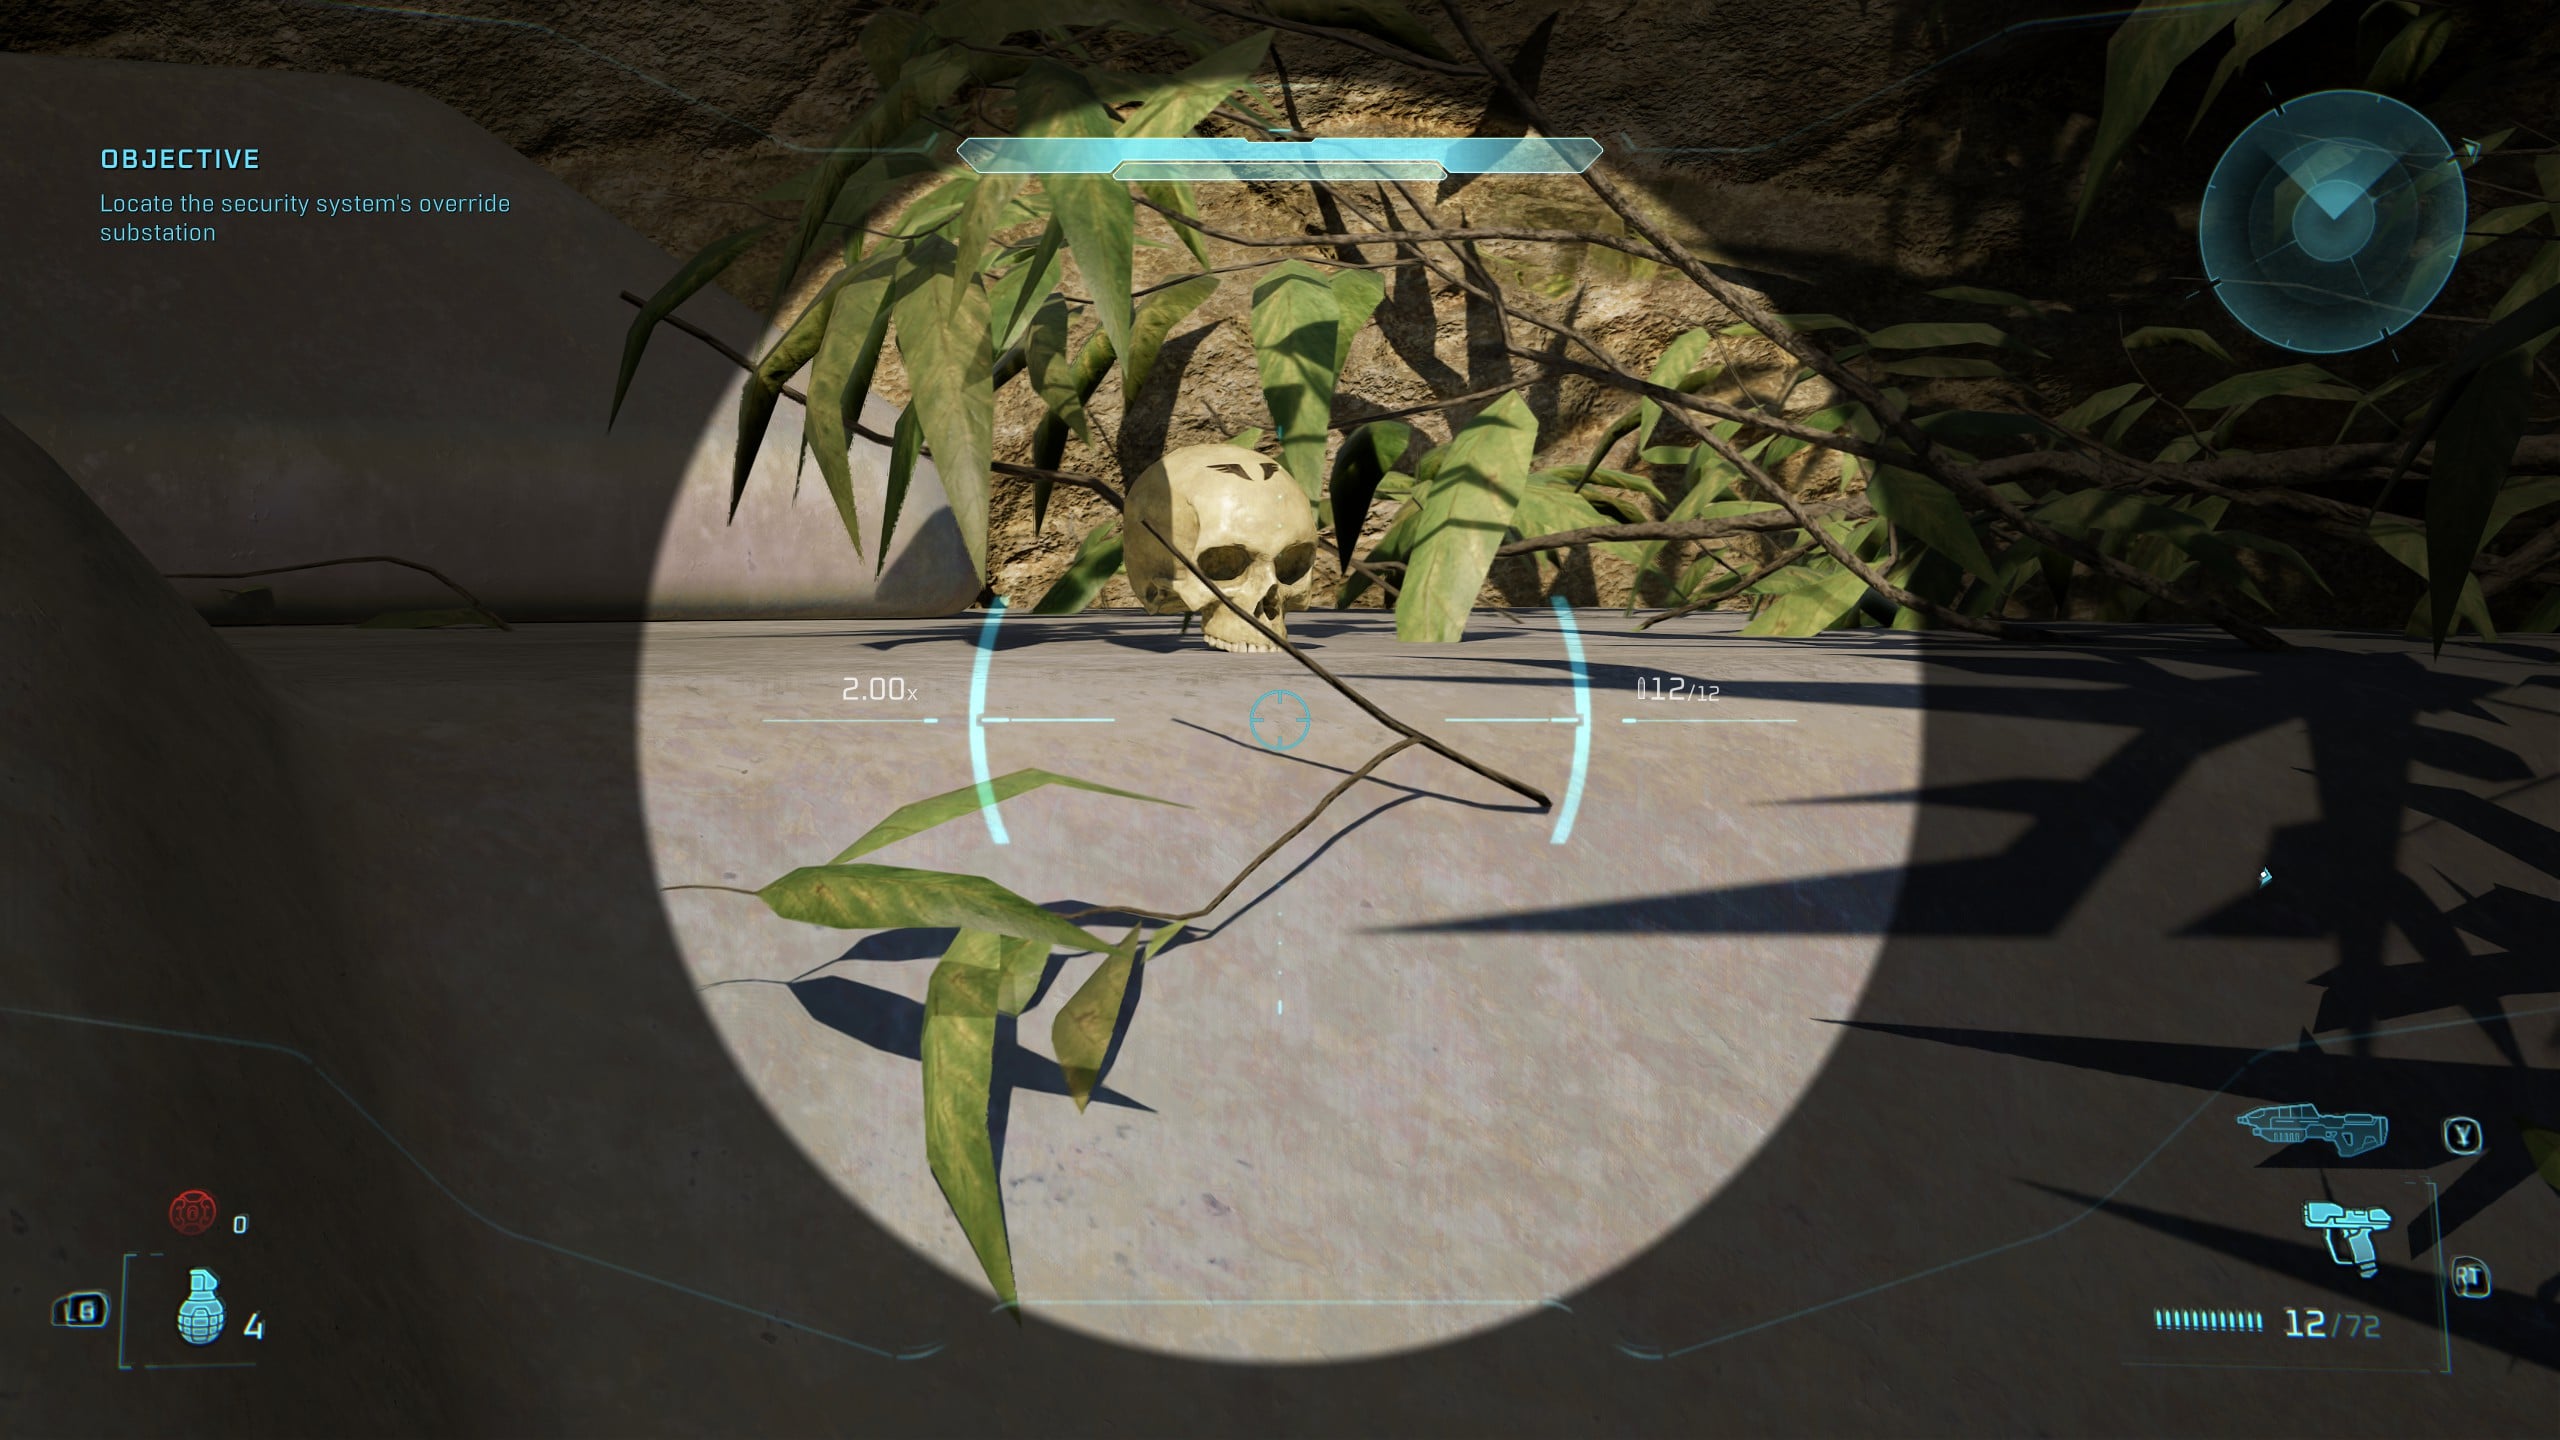
Skull 11 – Acrophobia
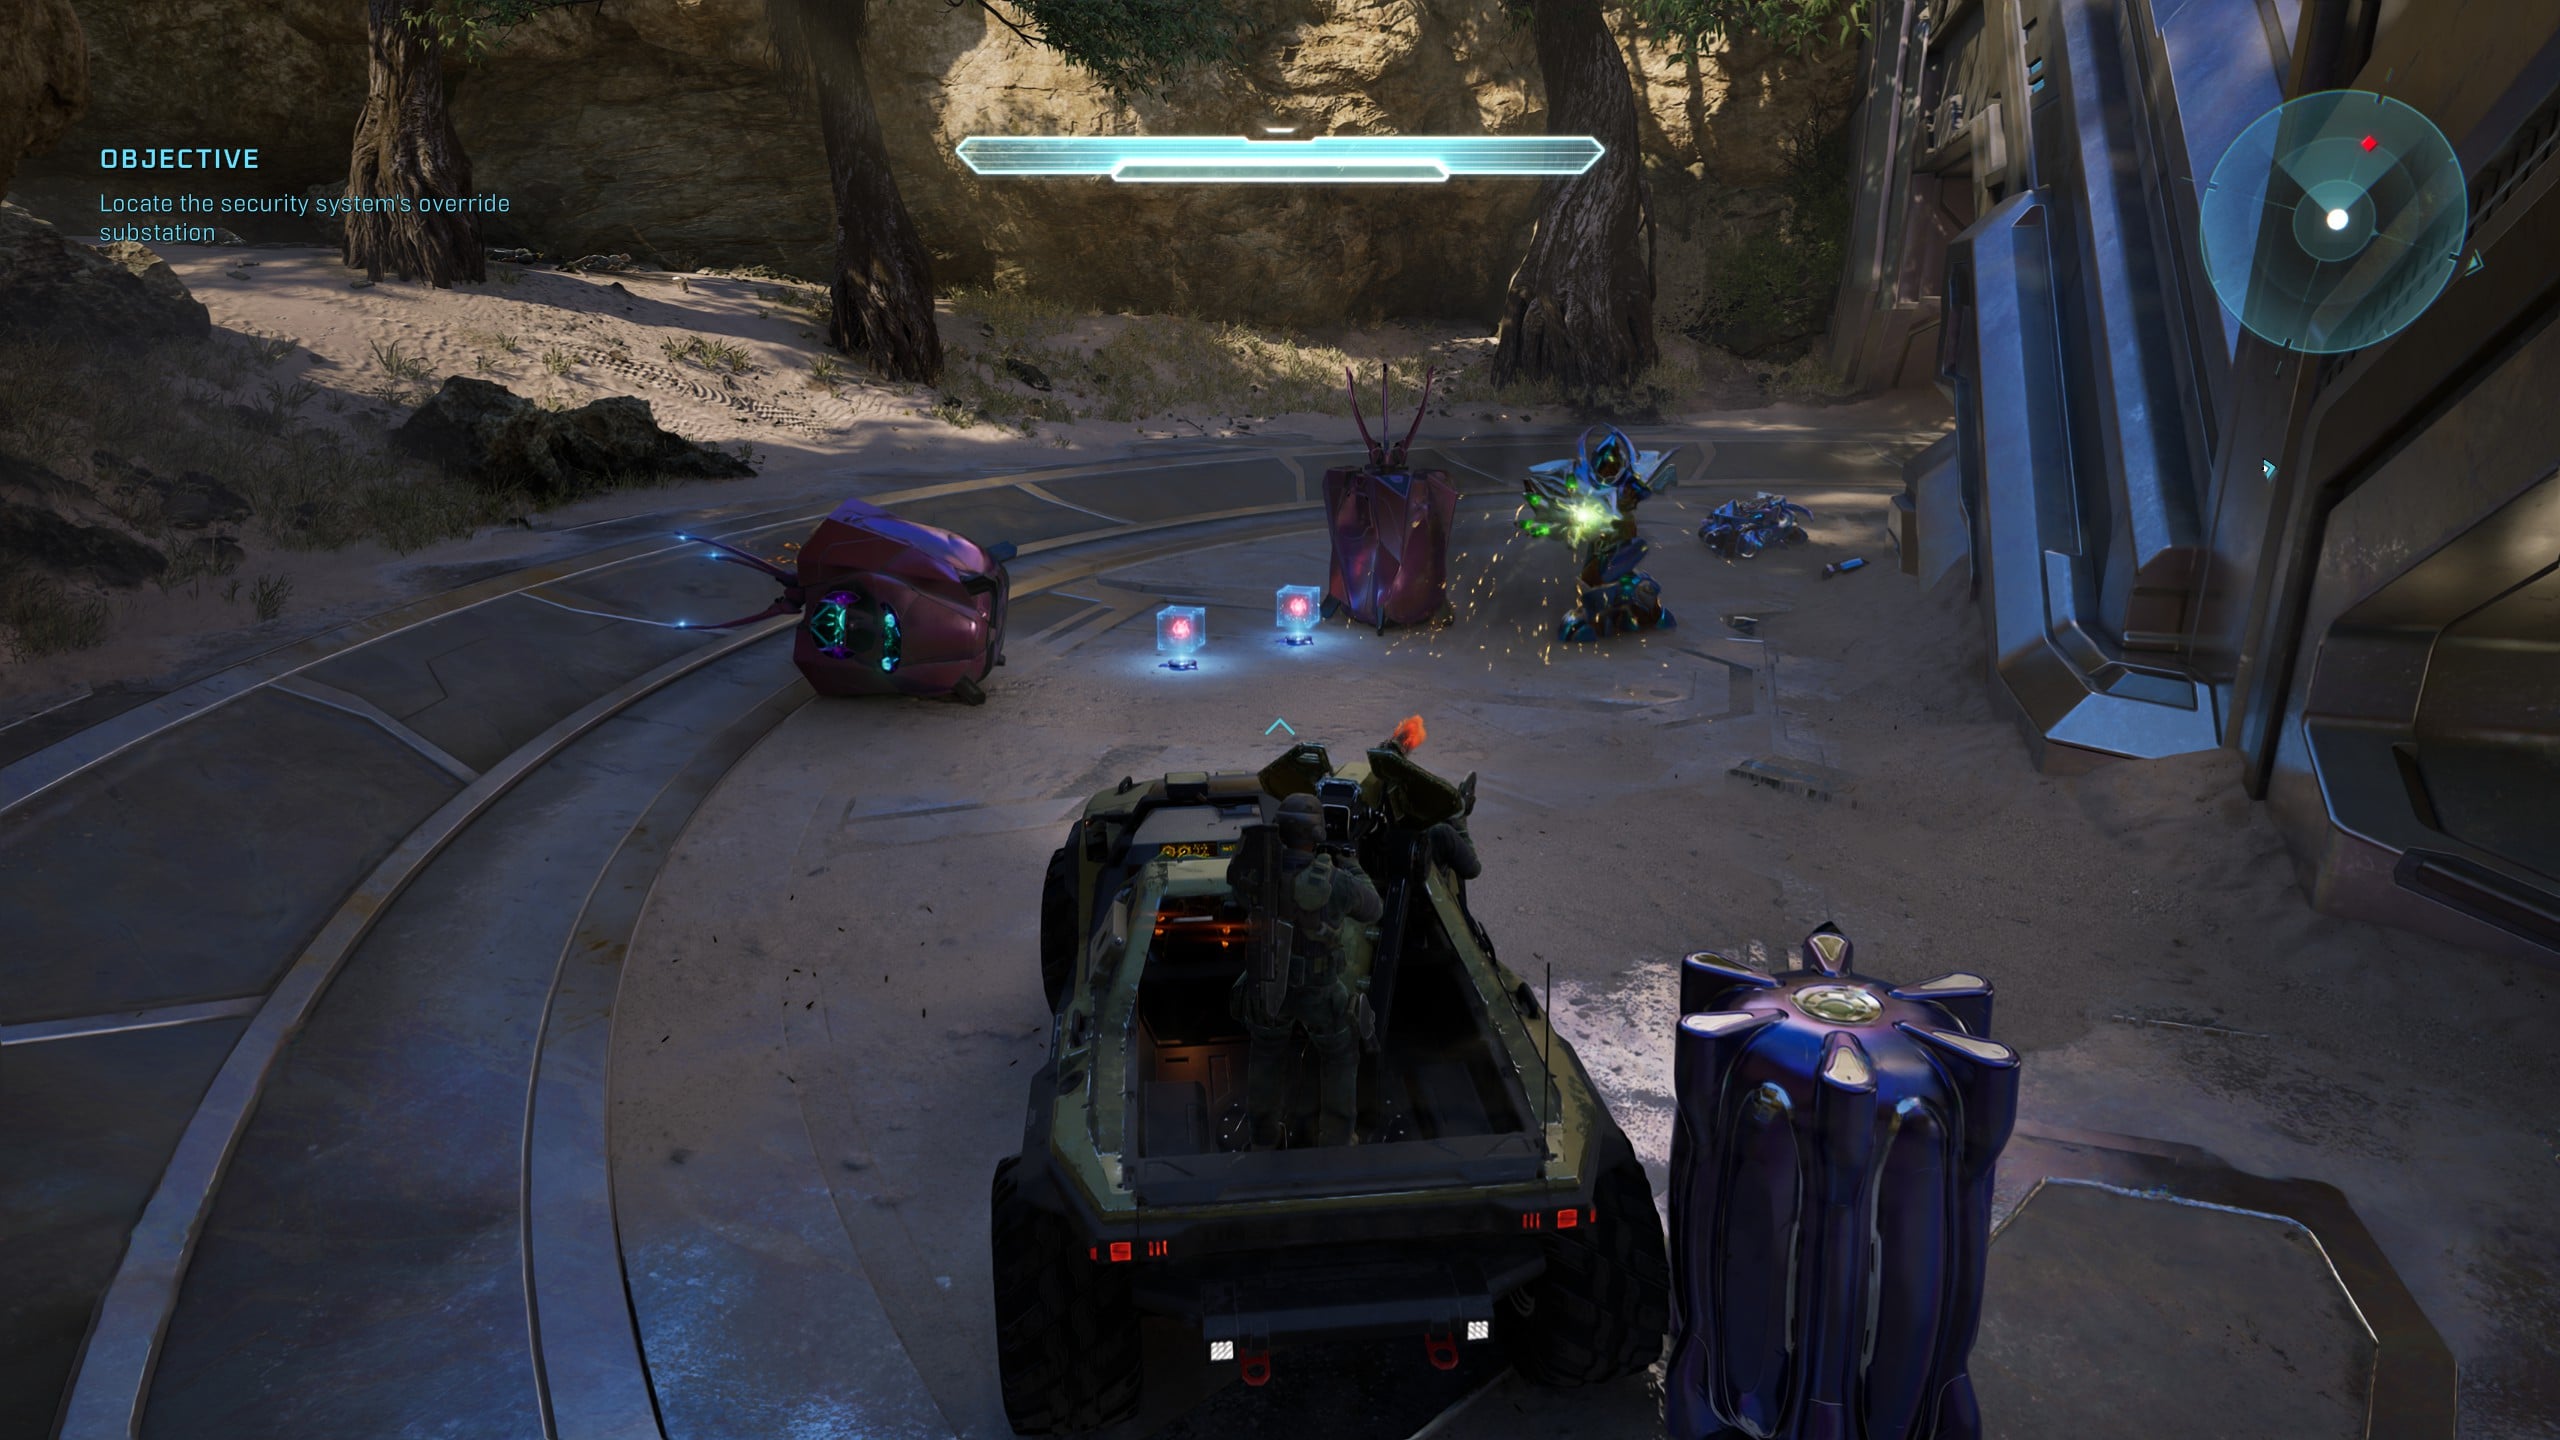
Continue through the mission until you encounter the two Hunters, which you’ll likely be taking out with the help of the Warthog. The Acrophobia Skull is in this area, and can be found atop the beacon structure in the center of the arena.
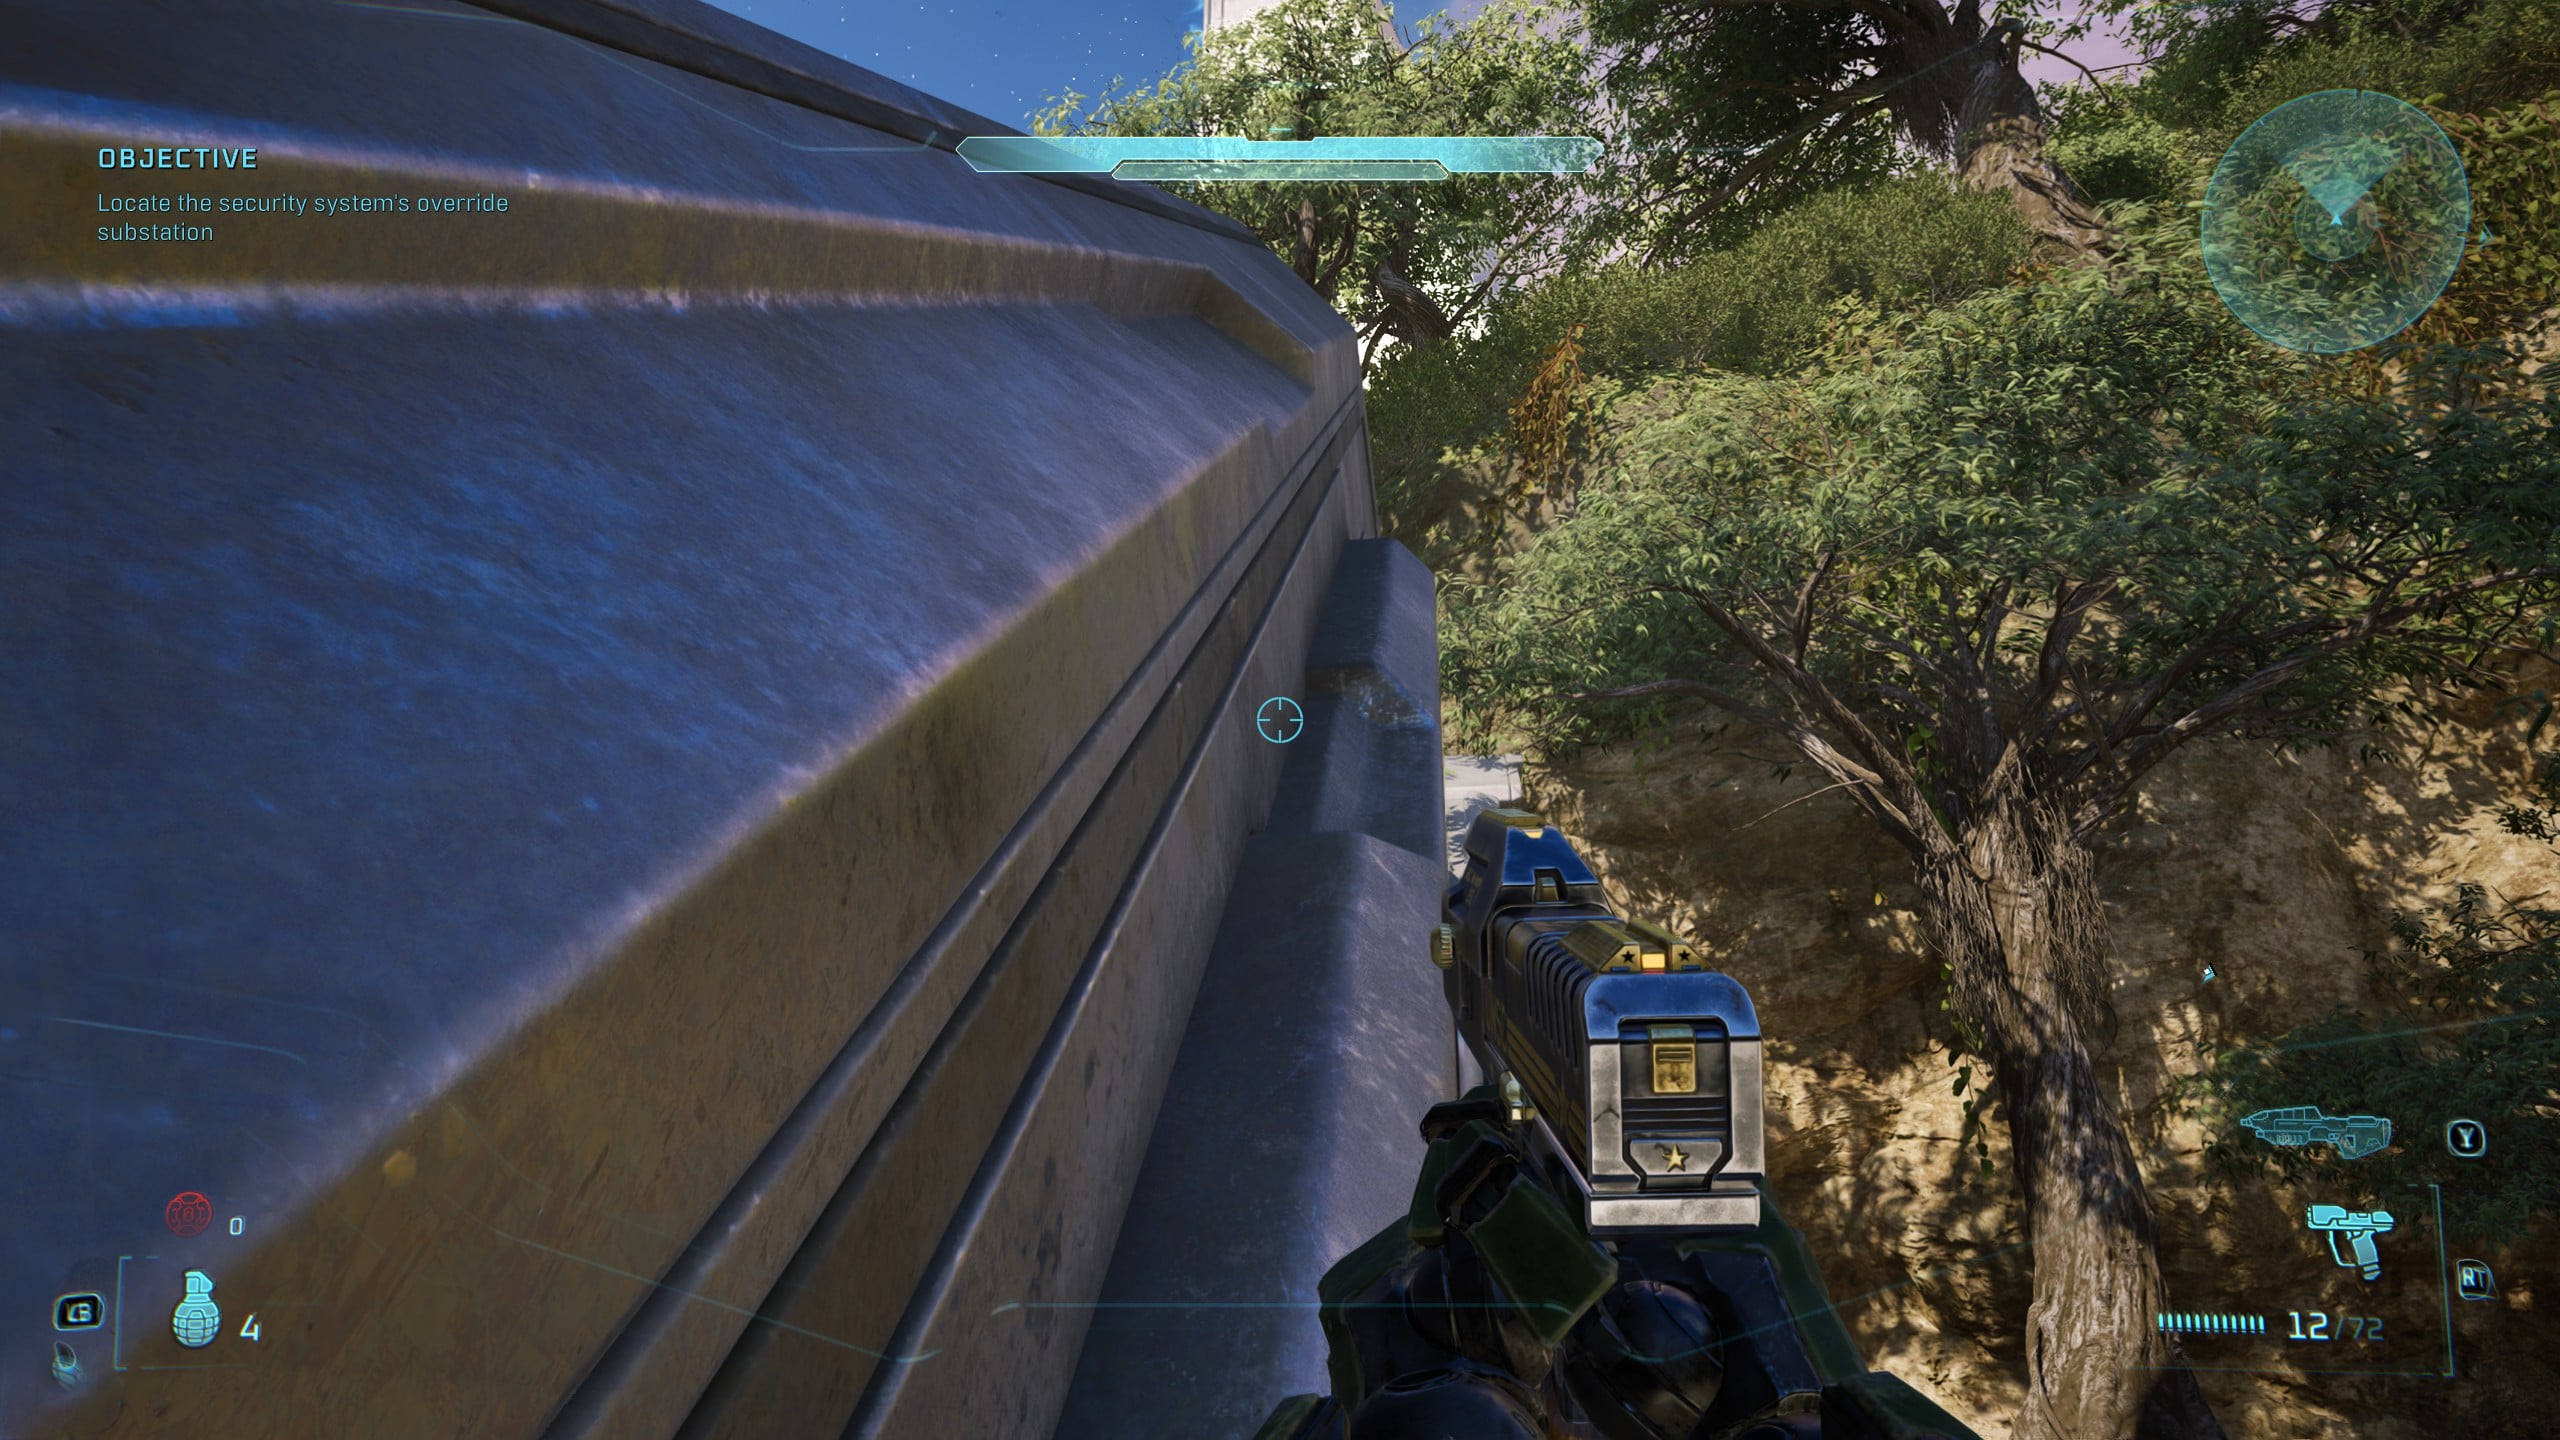
You can climb up the sloped sides of the beacon to find the Acrophobia Skull resting on top near the back.
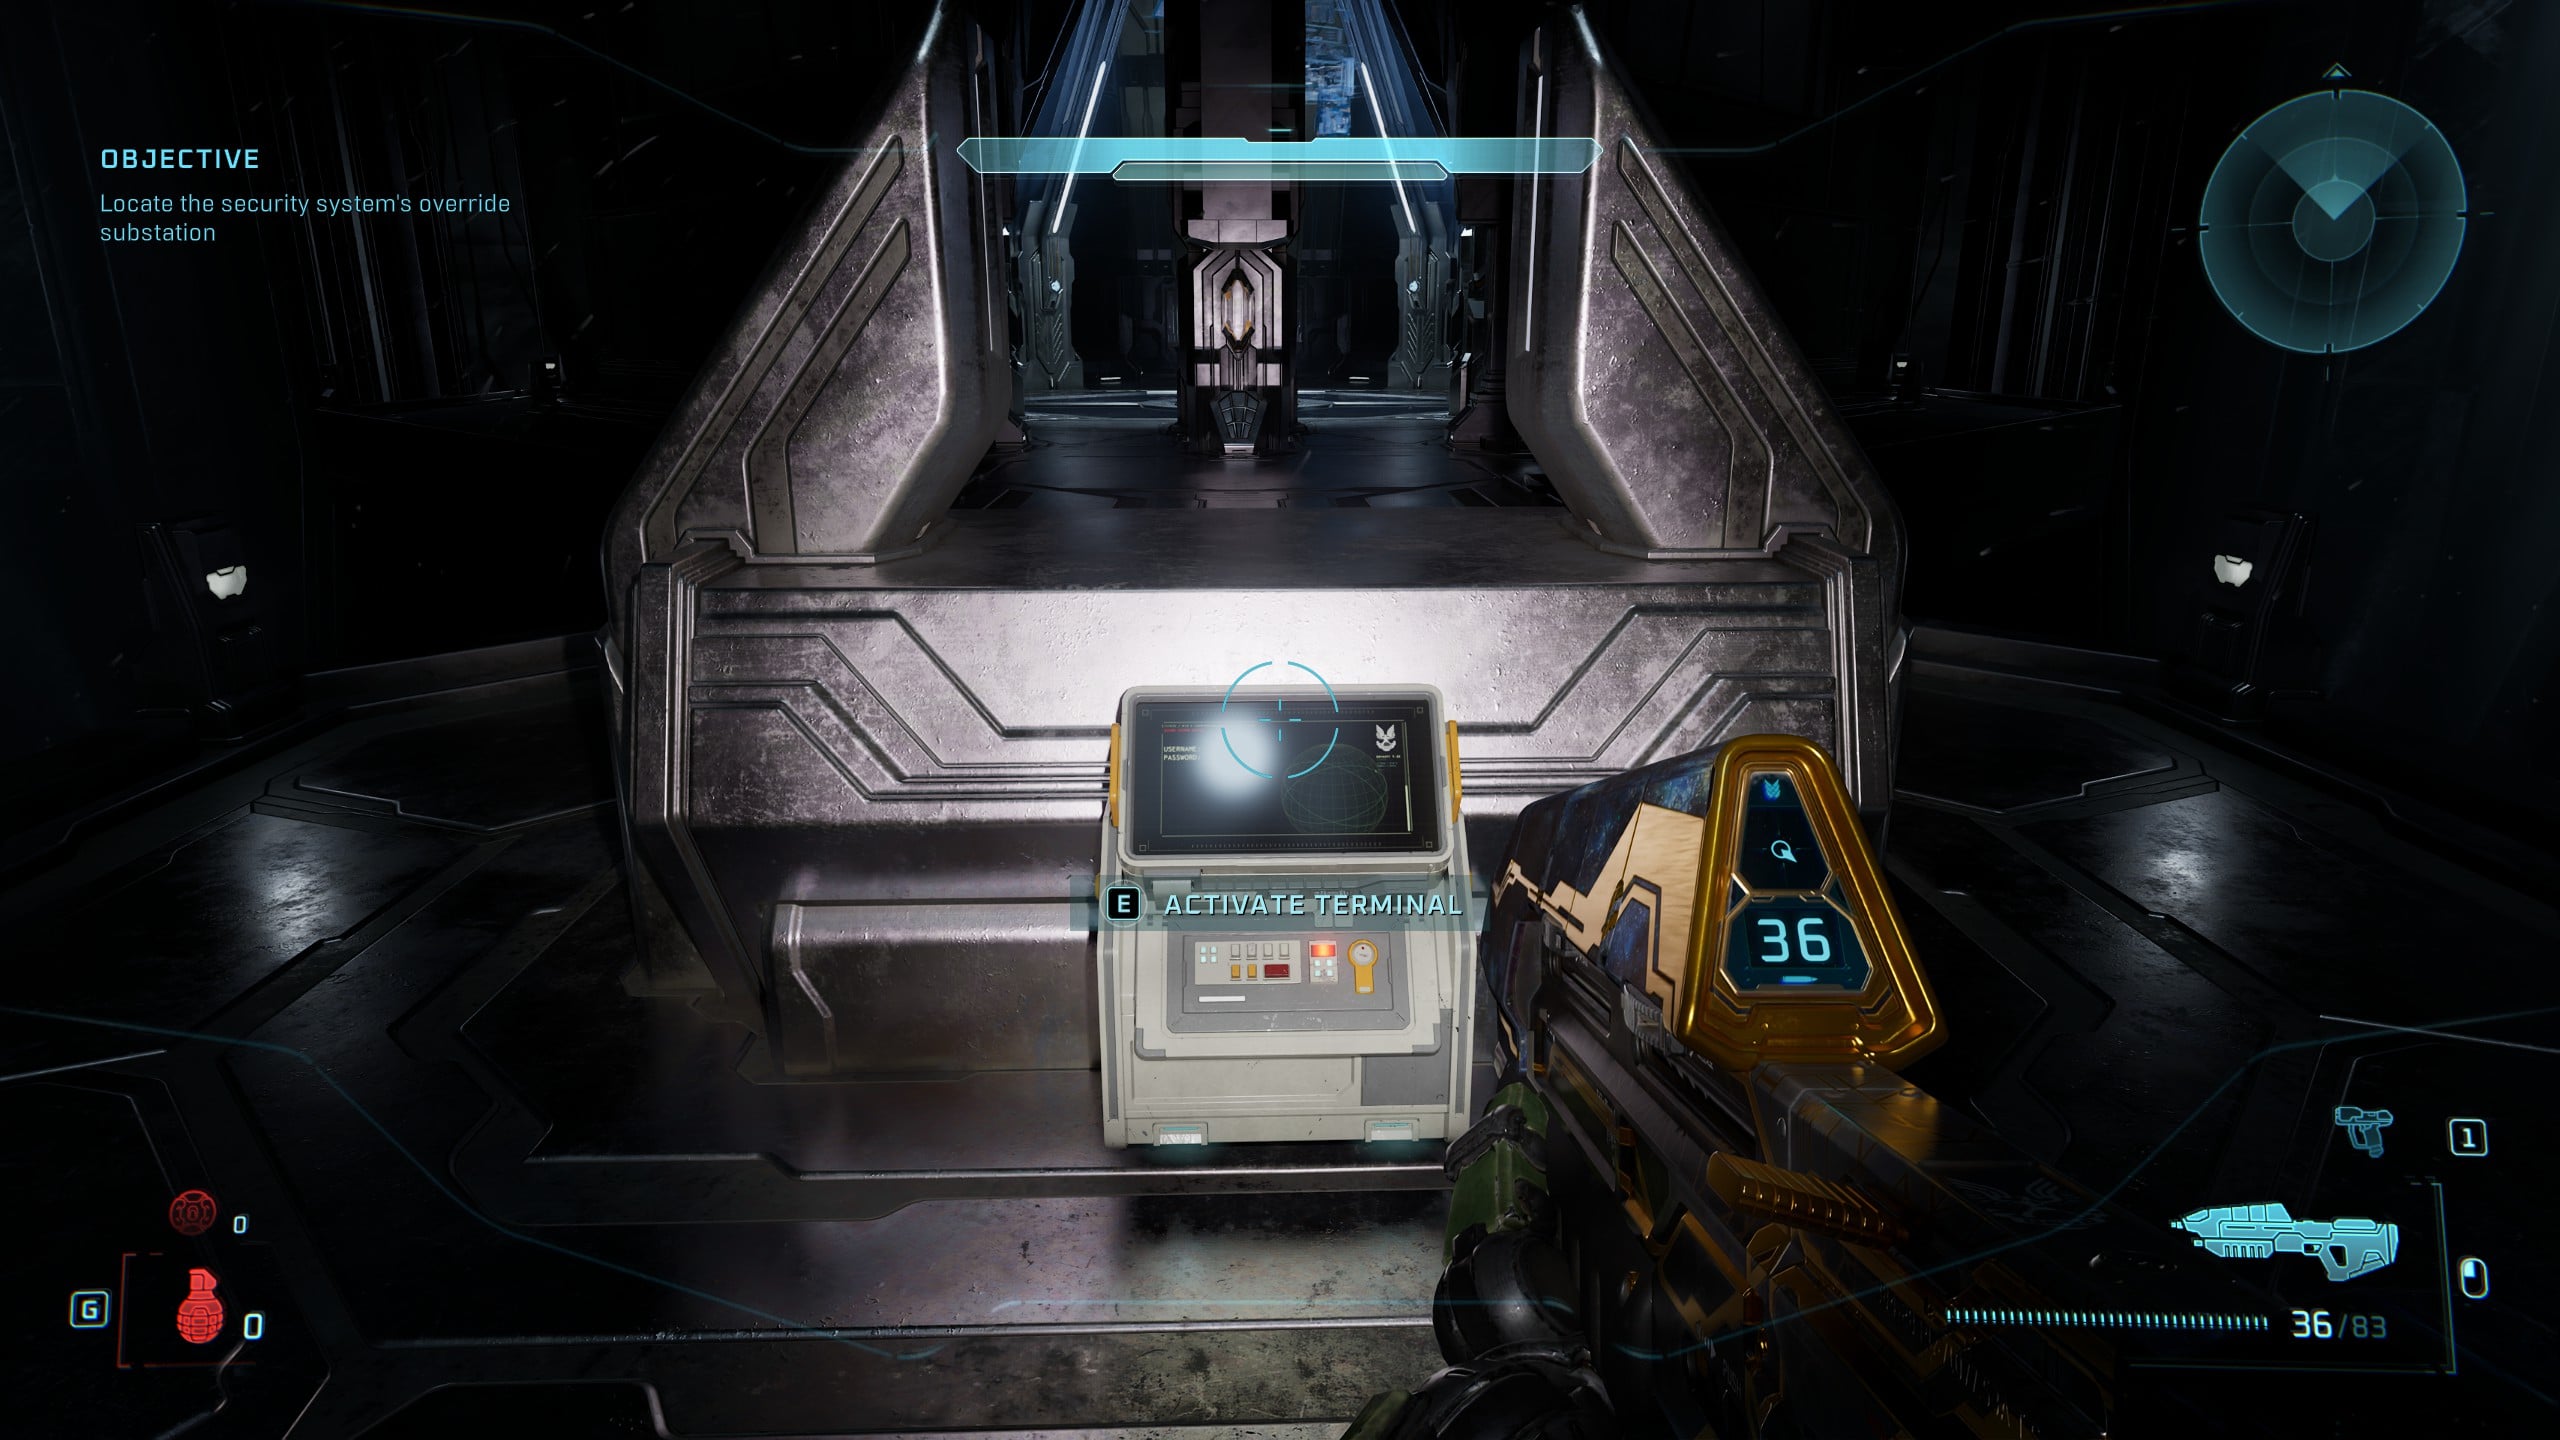
Terminal 4 – Status Update
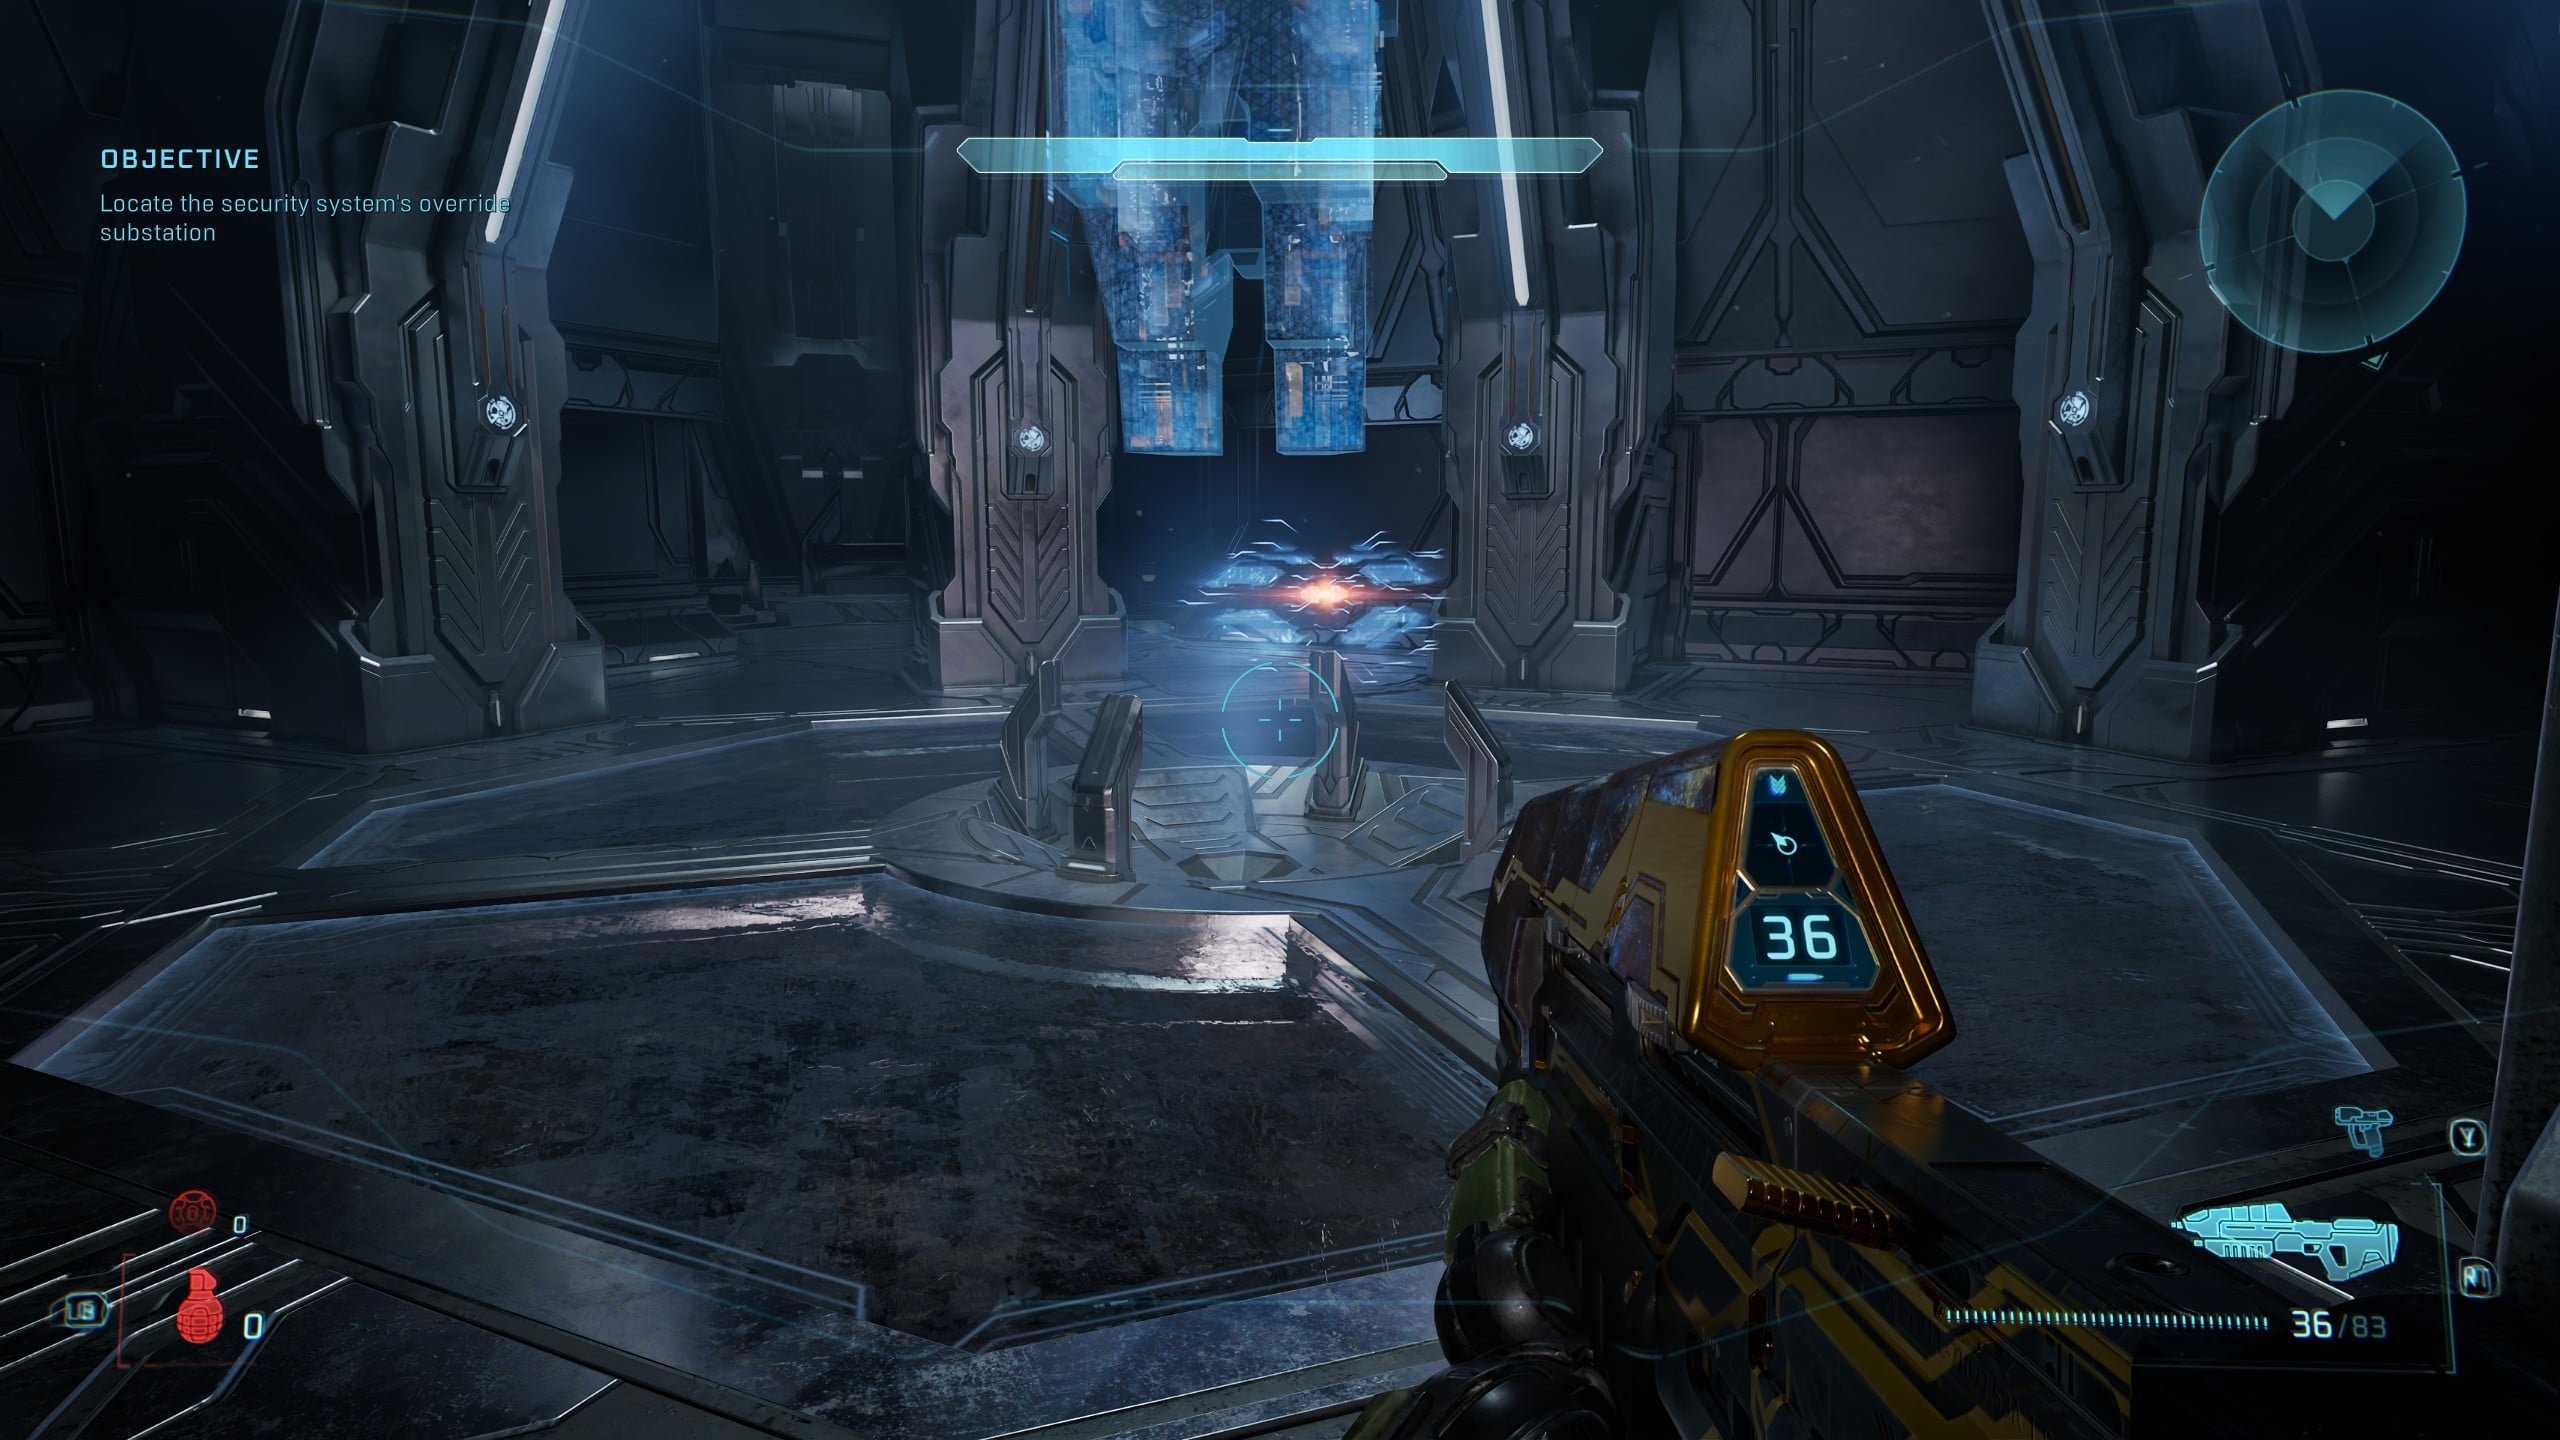
With the Objective set to ‘Locate the security system’s override substation,’ you’ll eventually come across a Holo-panel that Cortana will ask you to interact with, just after yet another double Hunter fight, though without the aid of the Warthog this time. Ignore the Holo-panel for now, and head straight past it, down the hallway to find the Status Update Terminal at the end.
Rally Point Charlie
Skull 12 – Hip Fire
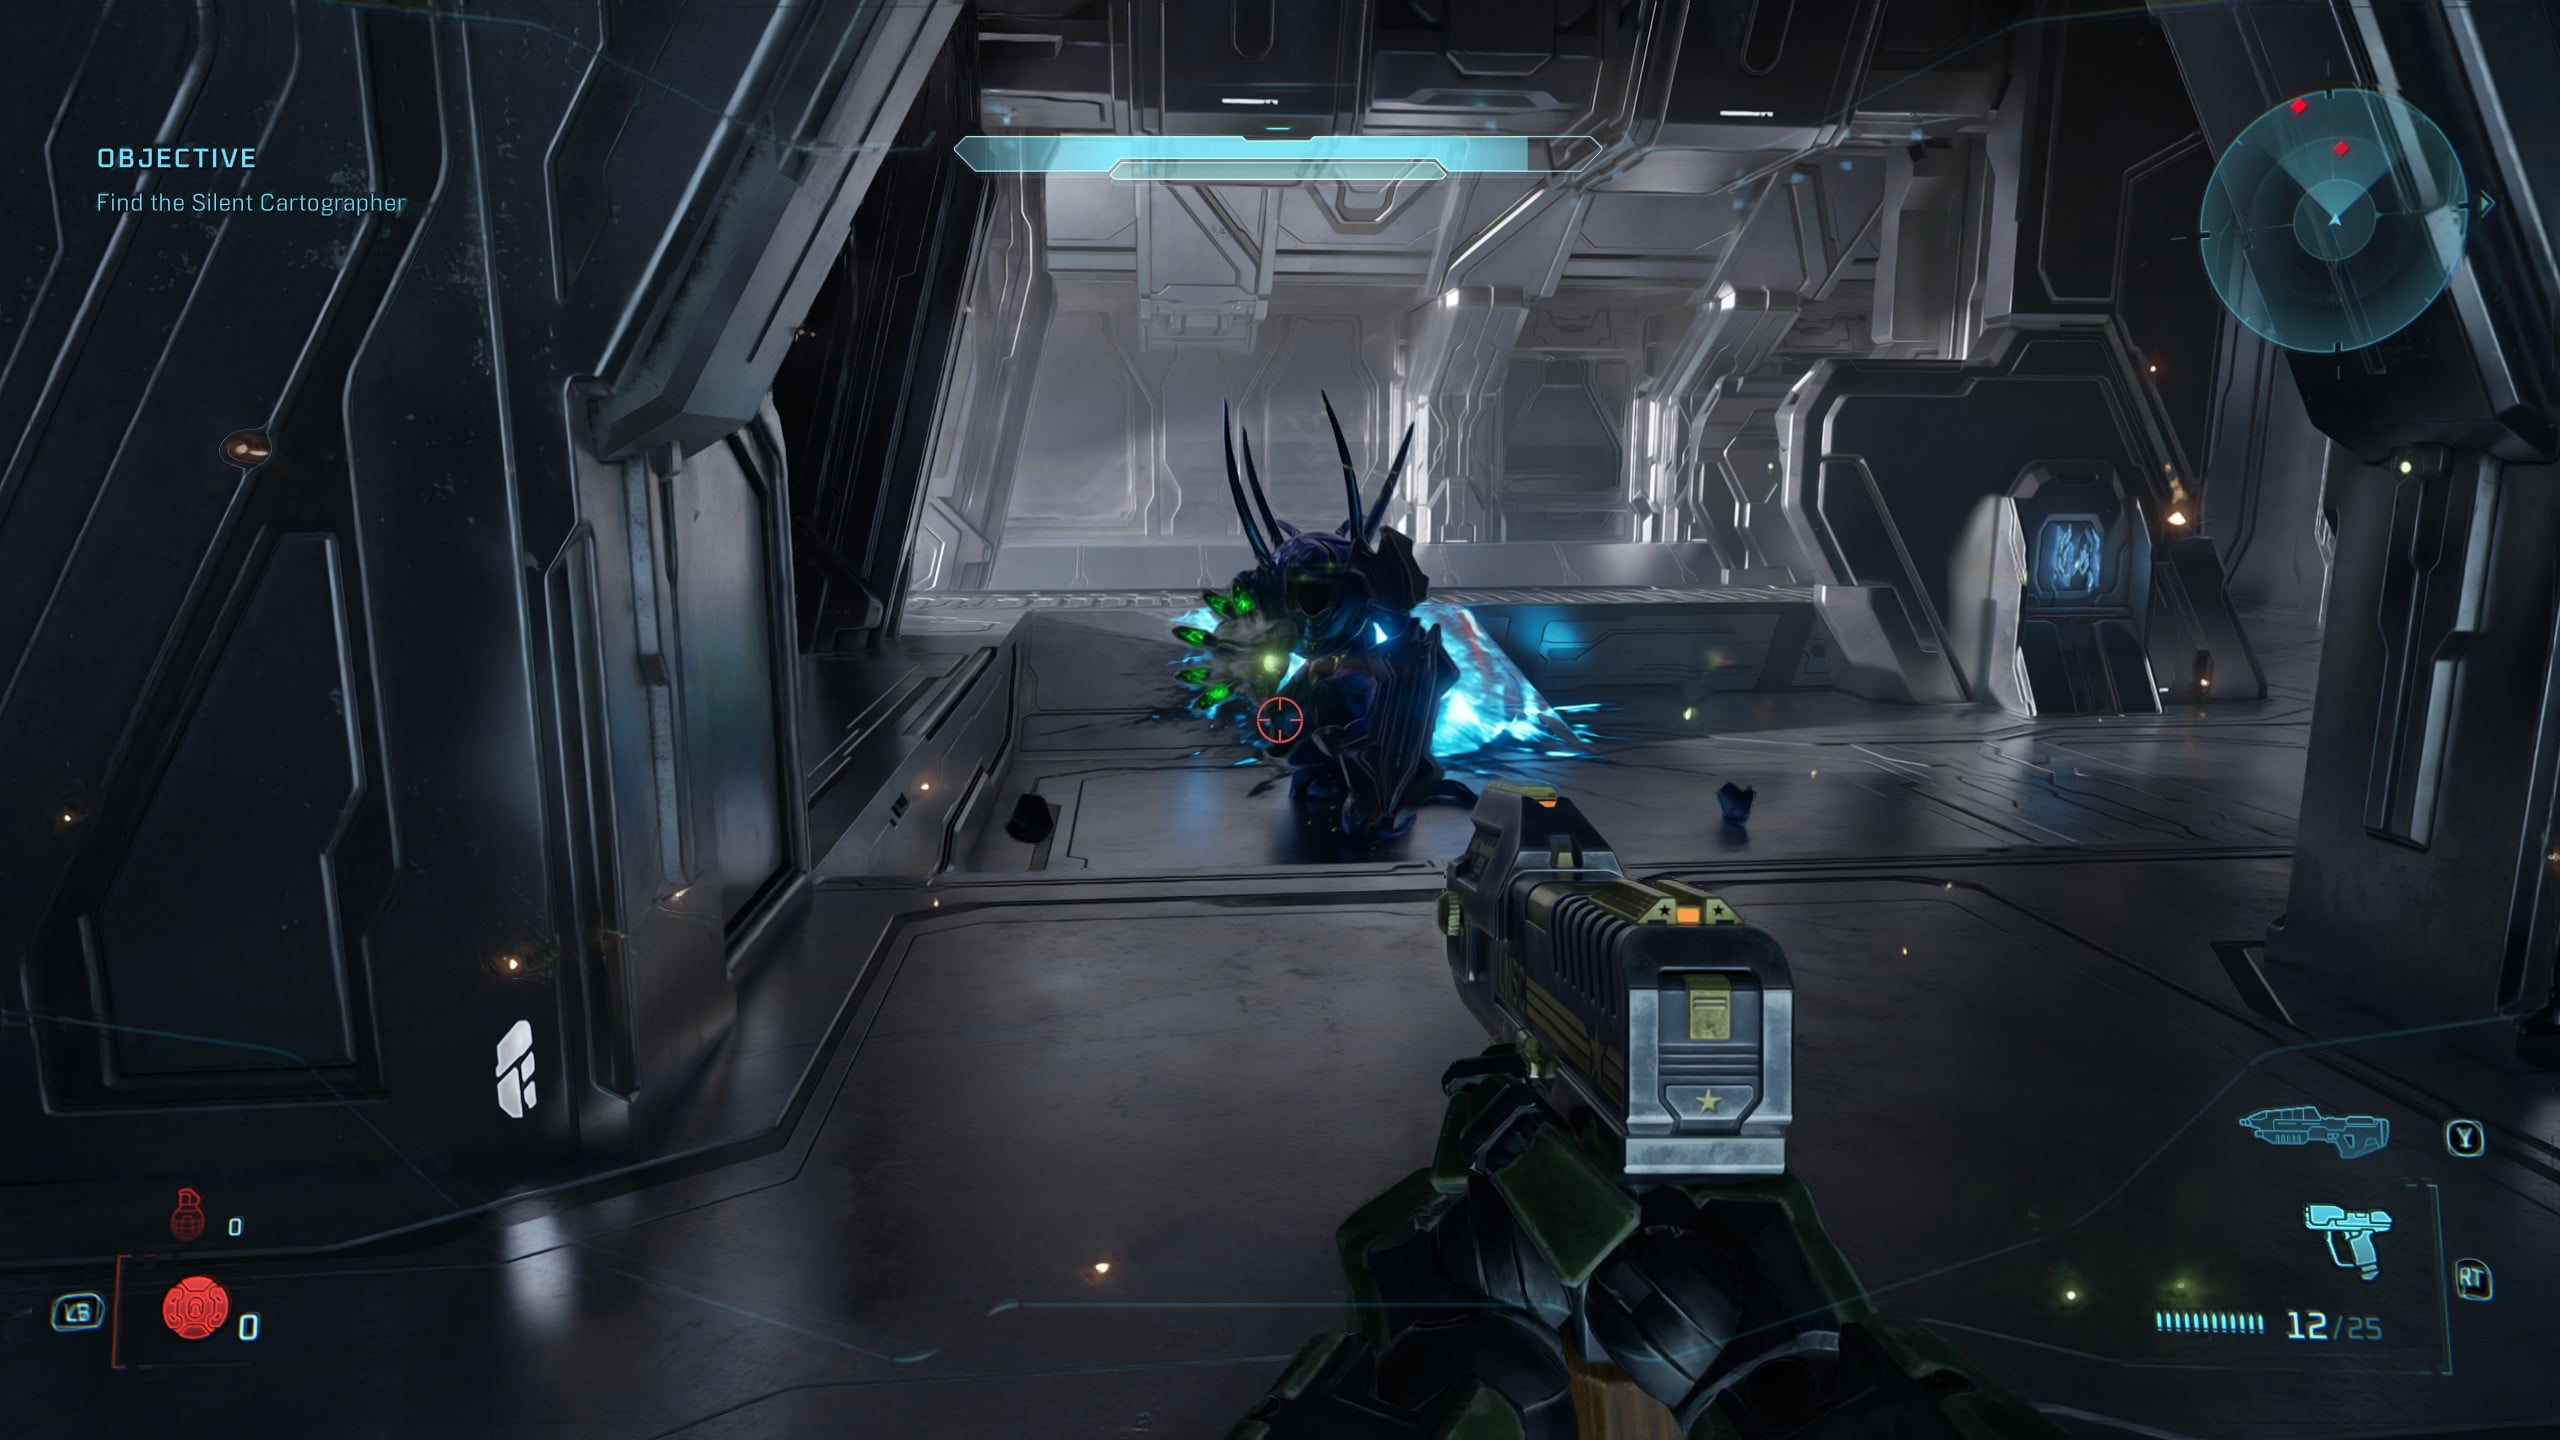
After you deactivate the security systems, head back to the first structure where you found the Bandana Skull, and you’ll be able to head deeper inside.
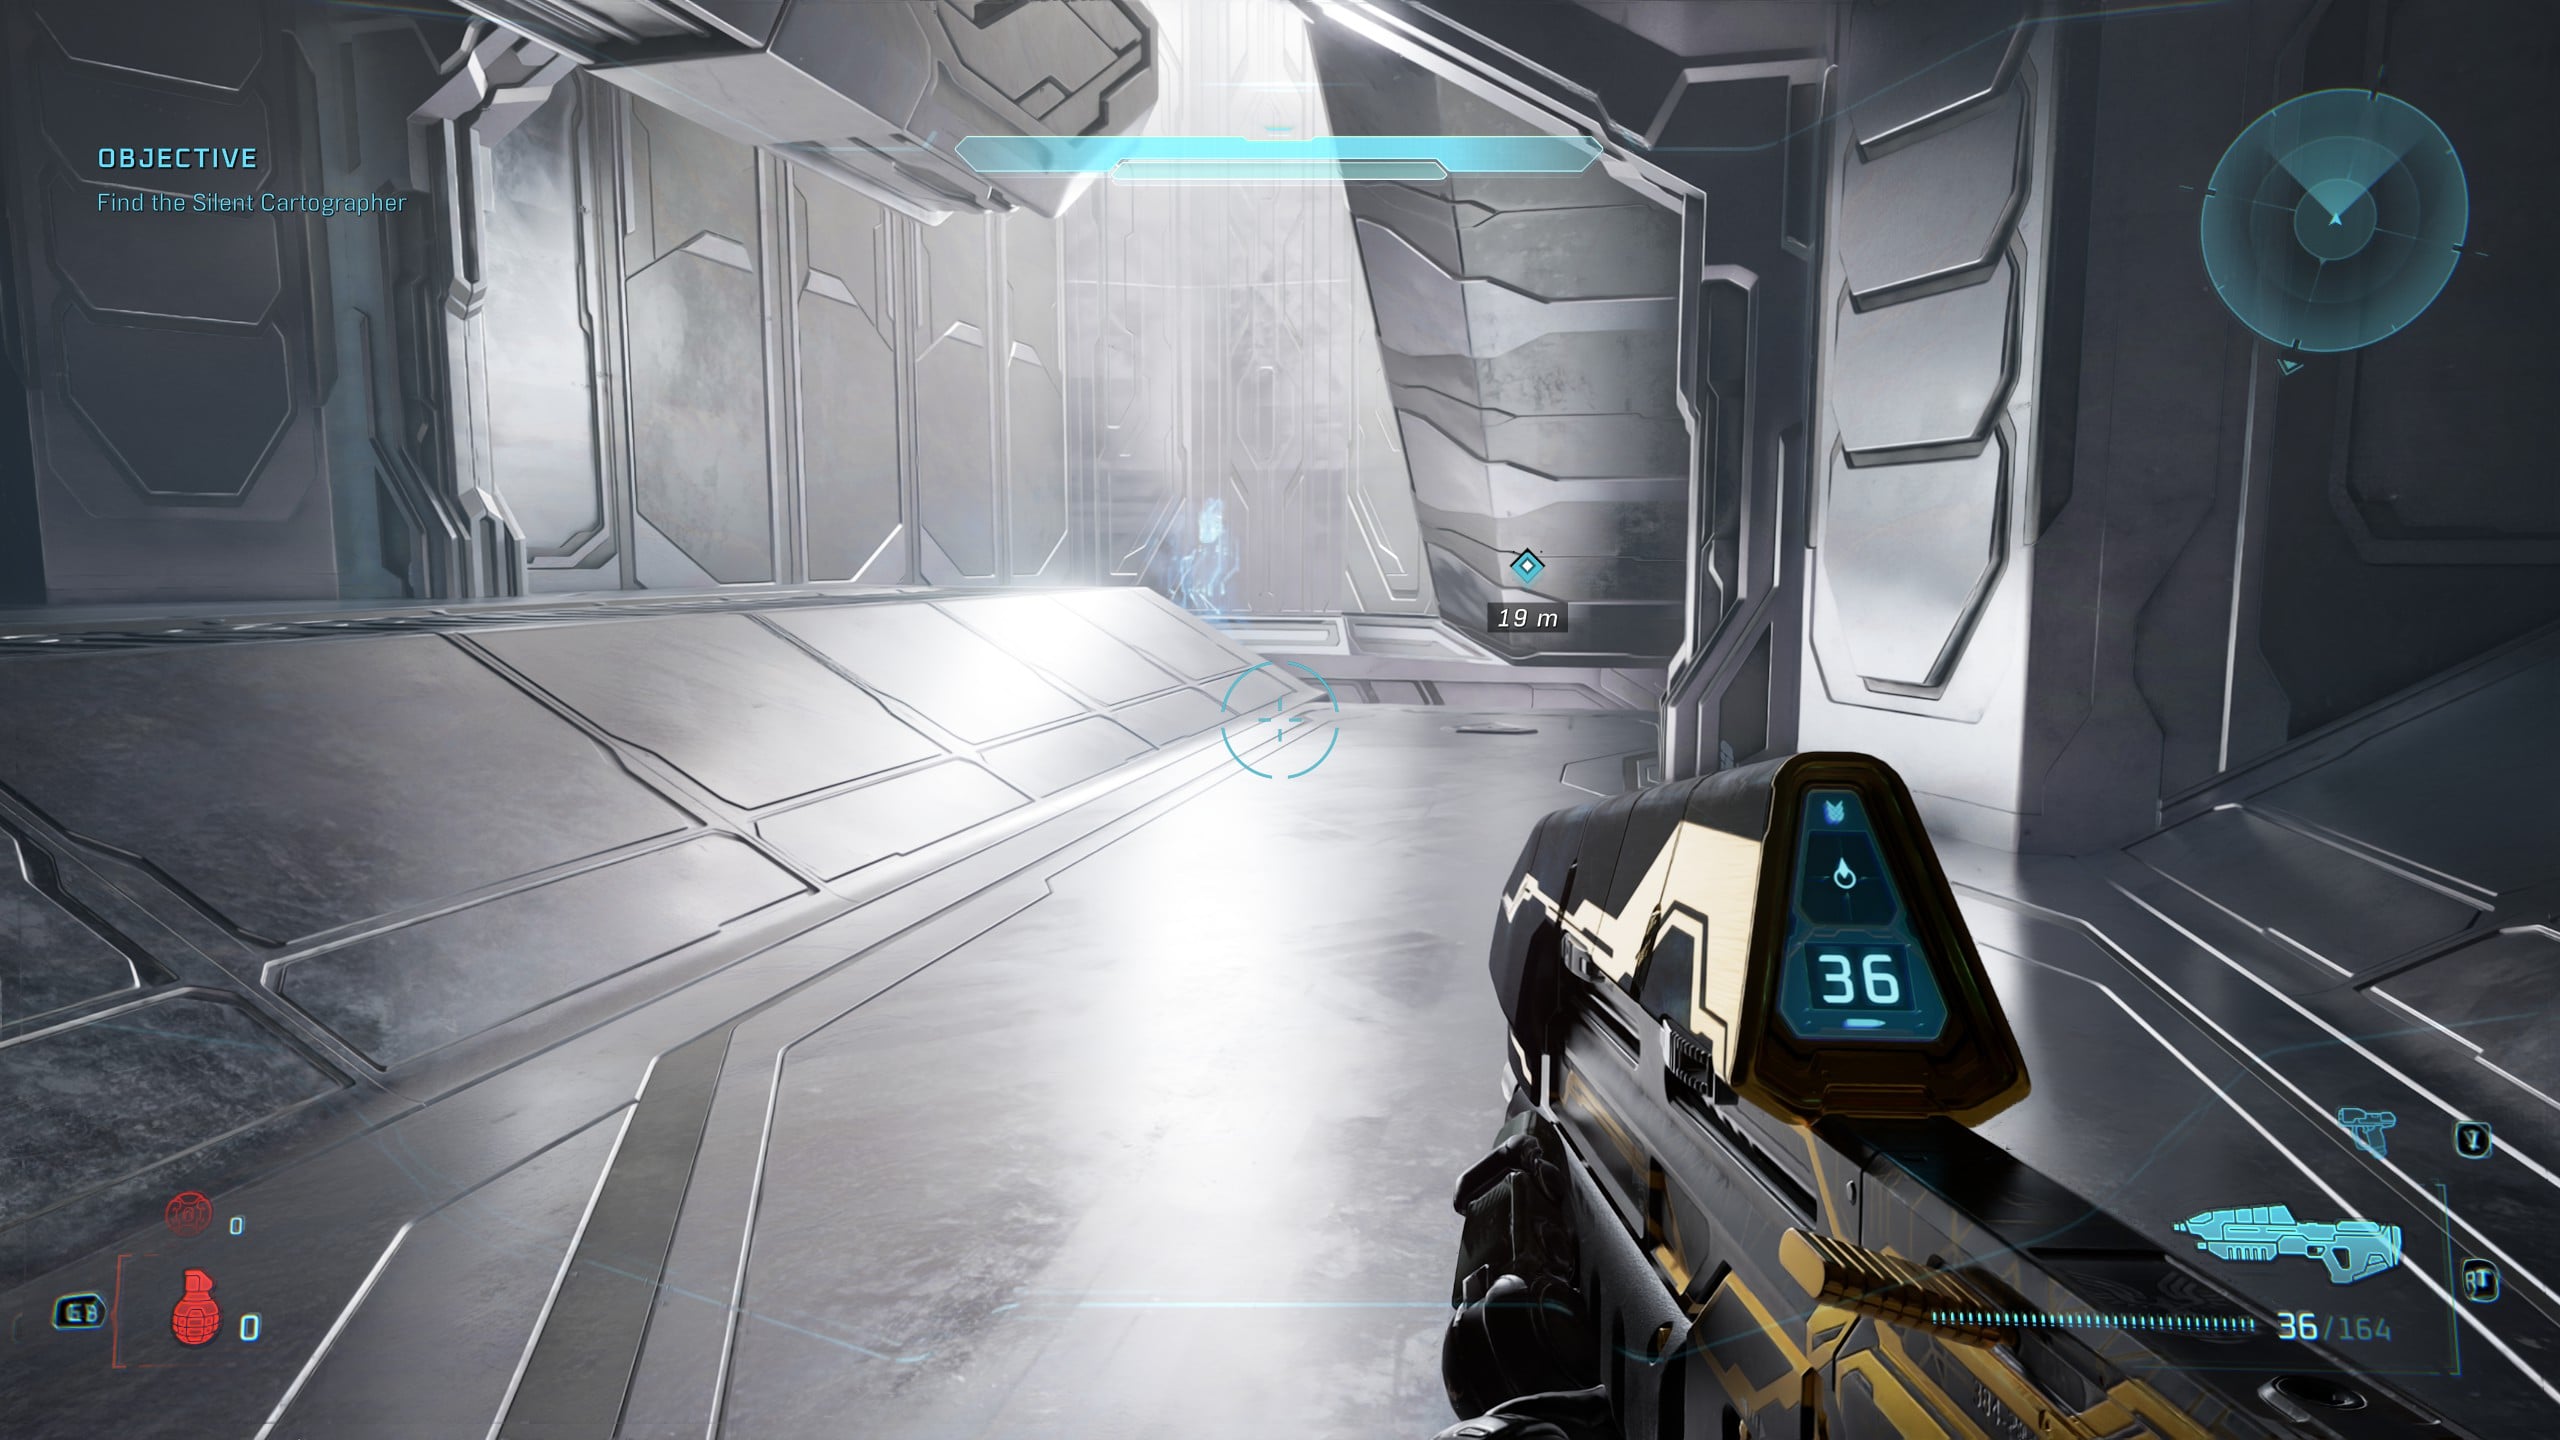
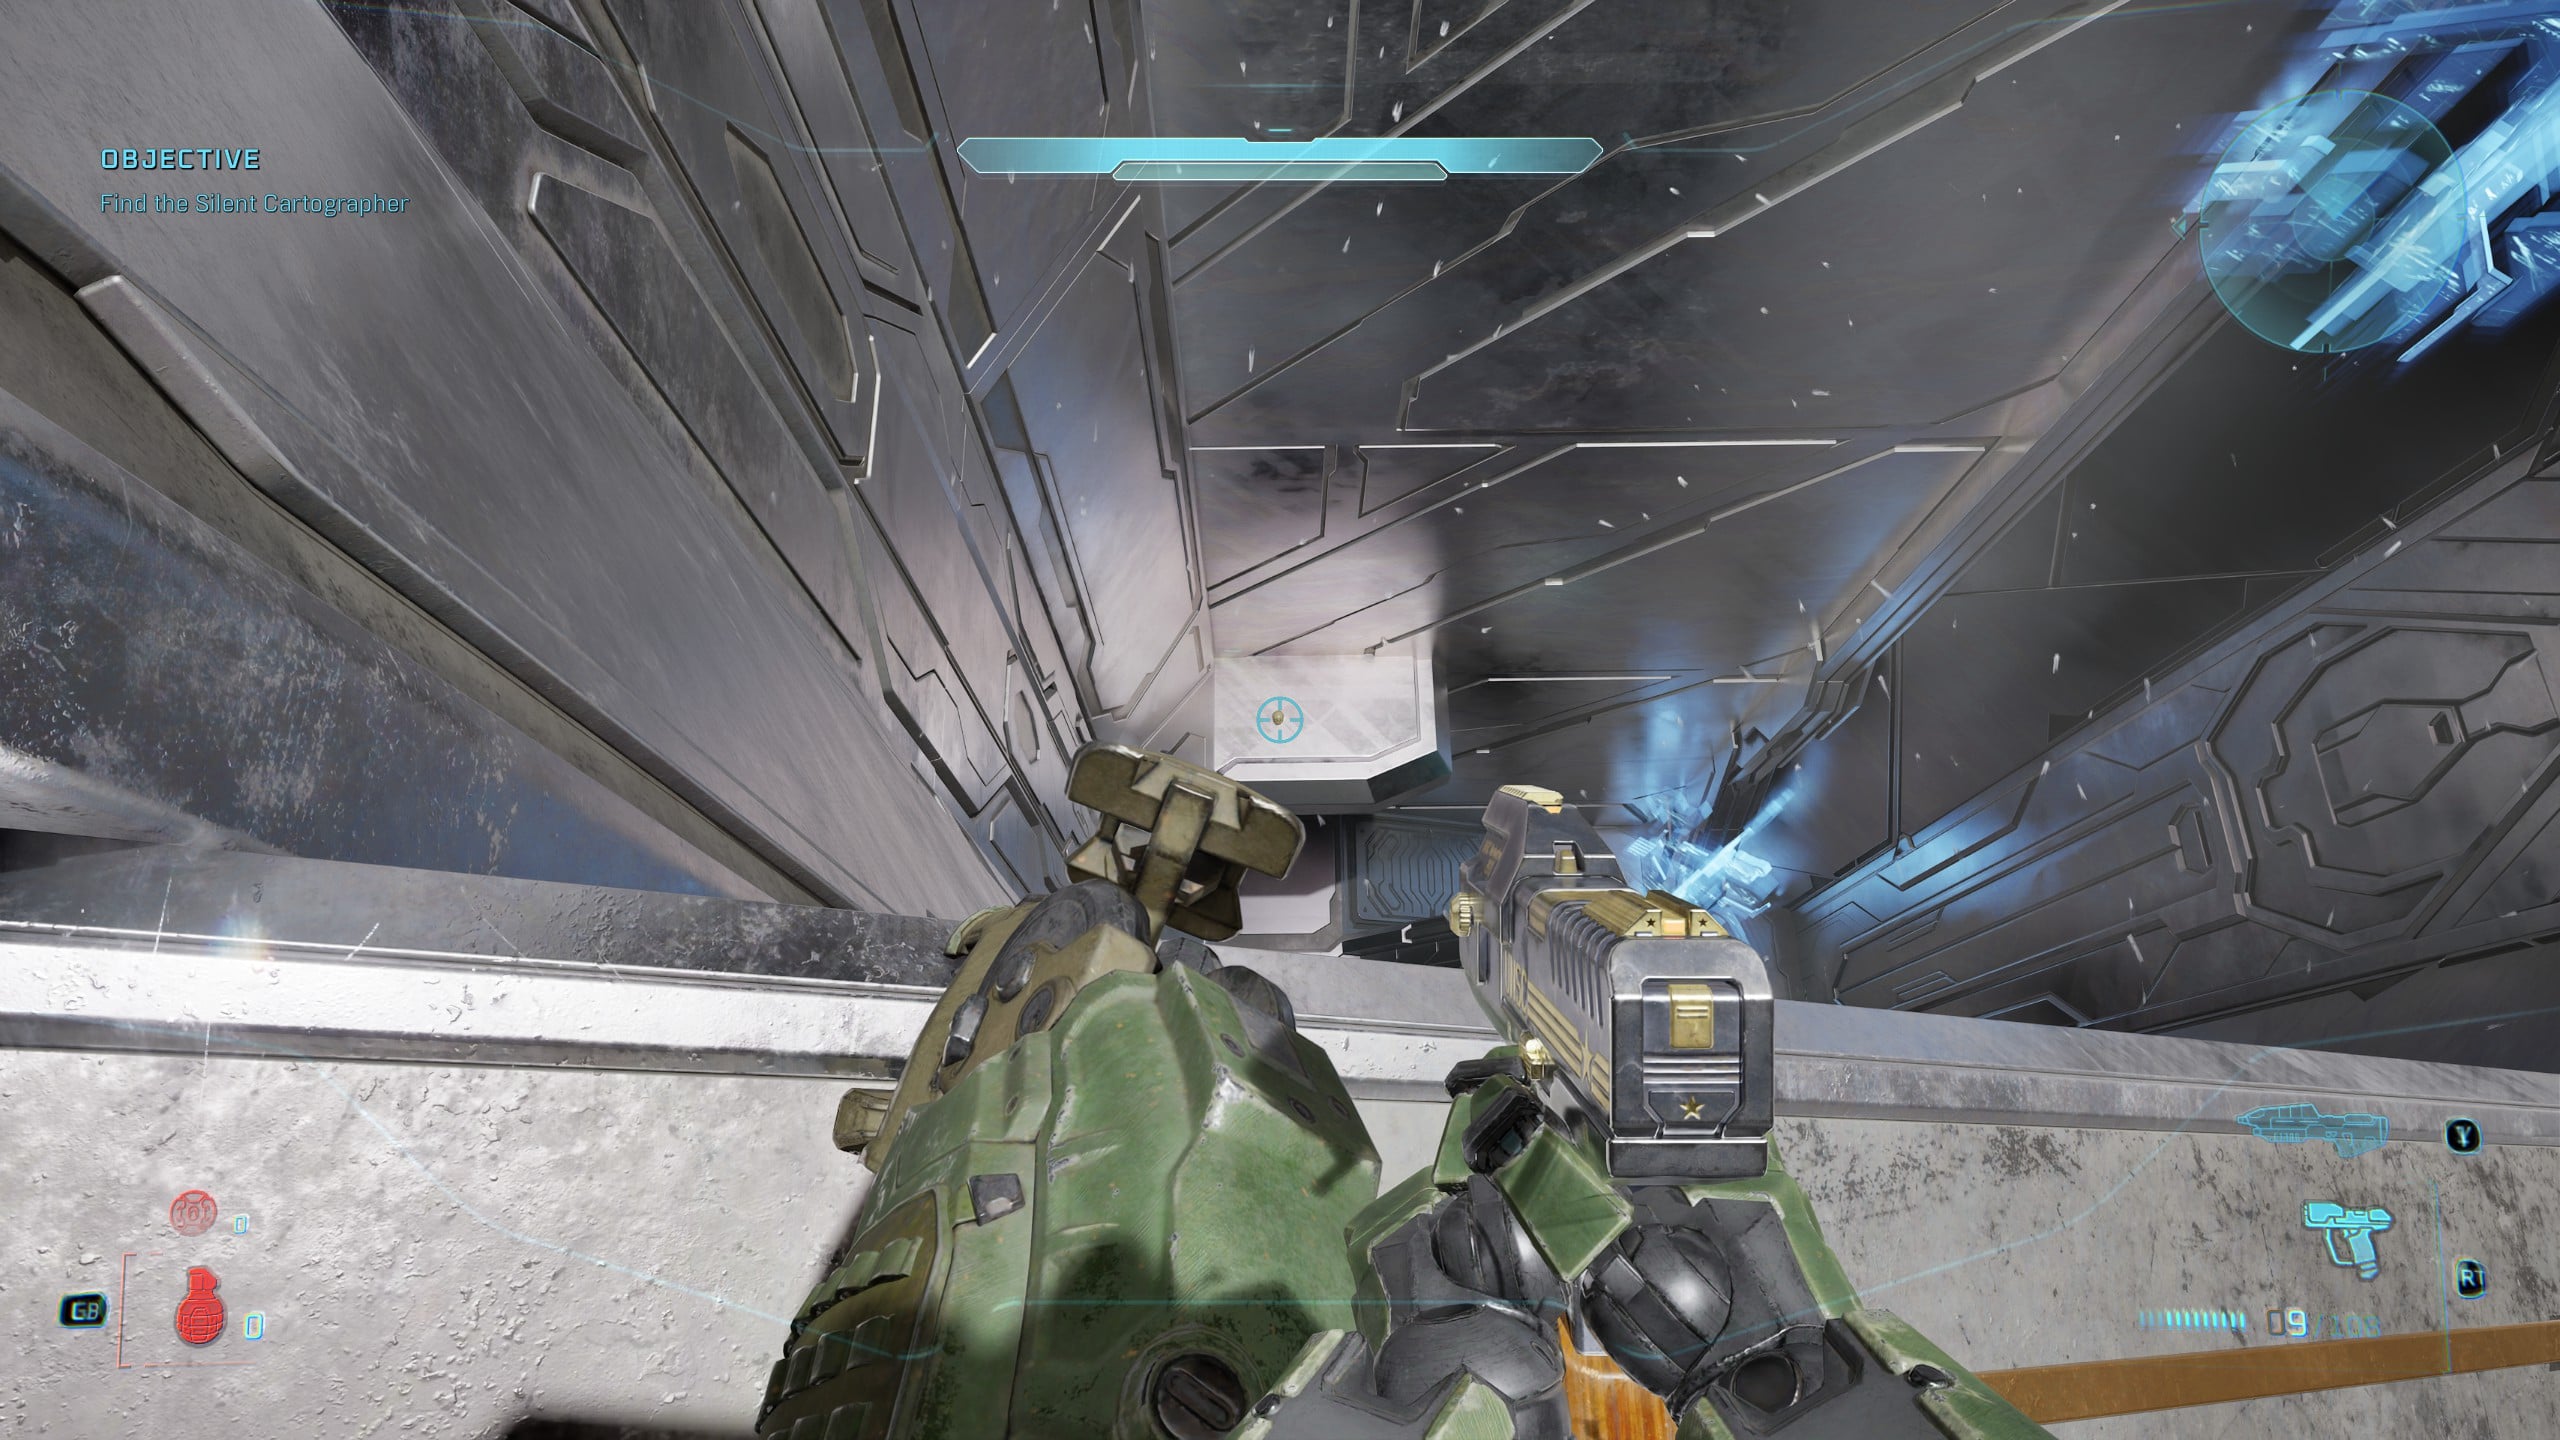
After taking out – you guessed it – another double Hunter fight, your objective will ask you to walk down a ramp. Look over the edge, and you’ll be able to see the Hip Fire Skull on a platform far below that you can drop down onto.
Assault on the Control Room Skull and Terminal locations
You’ll earn the Stowed in Snow trophy and achievement for finding these optional items in the Assault on the Control Room mission.
Rally Point Bravo
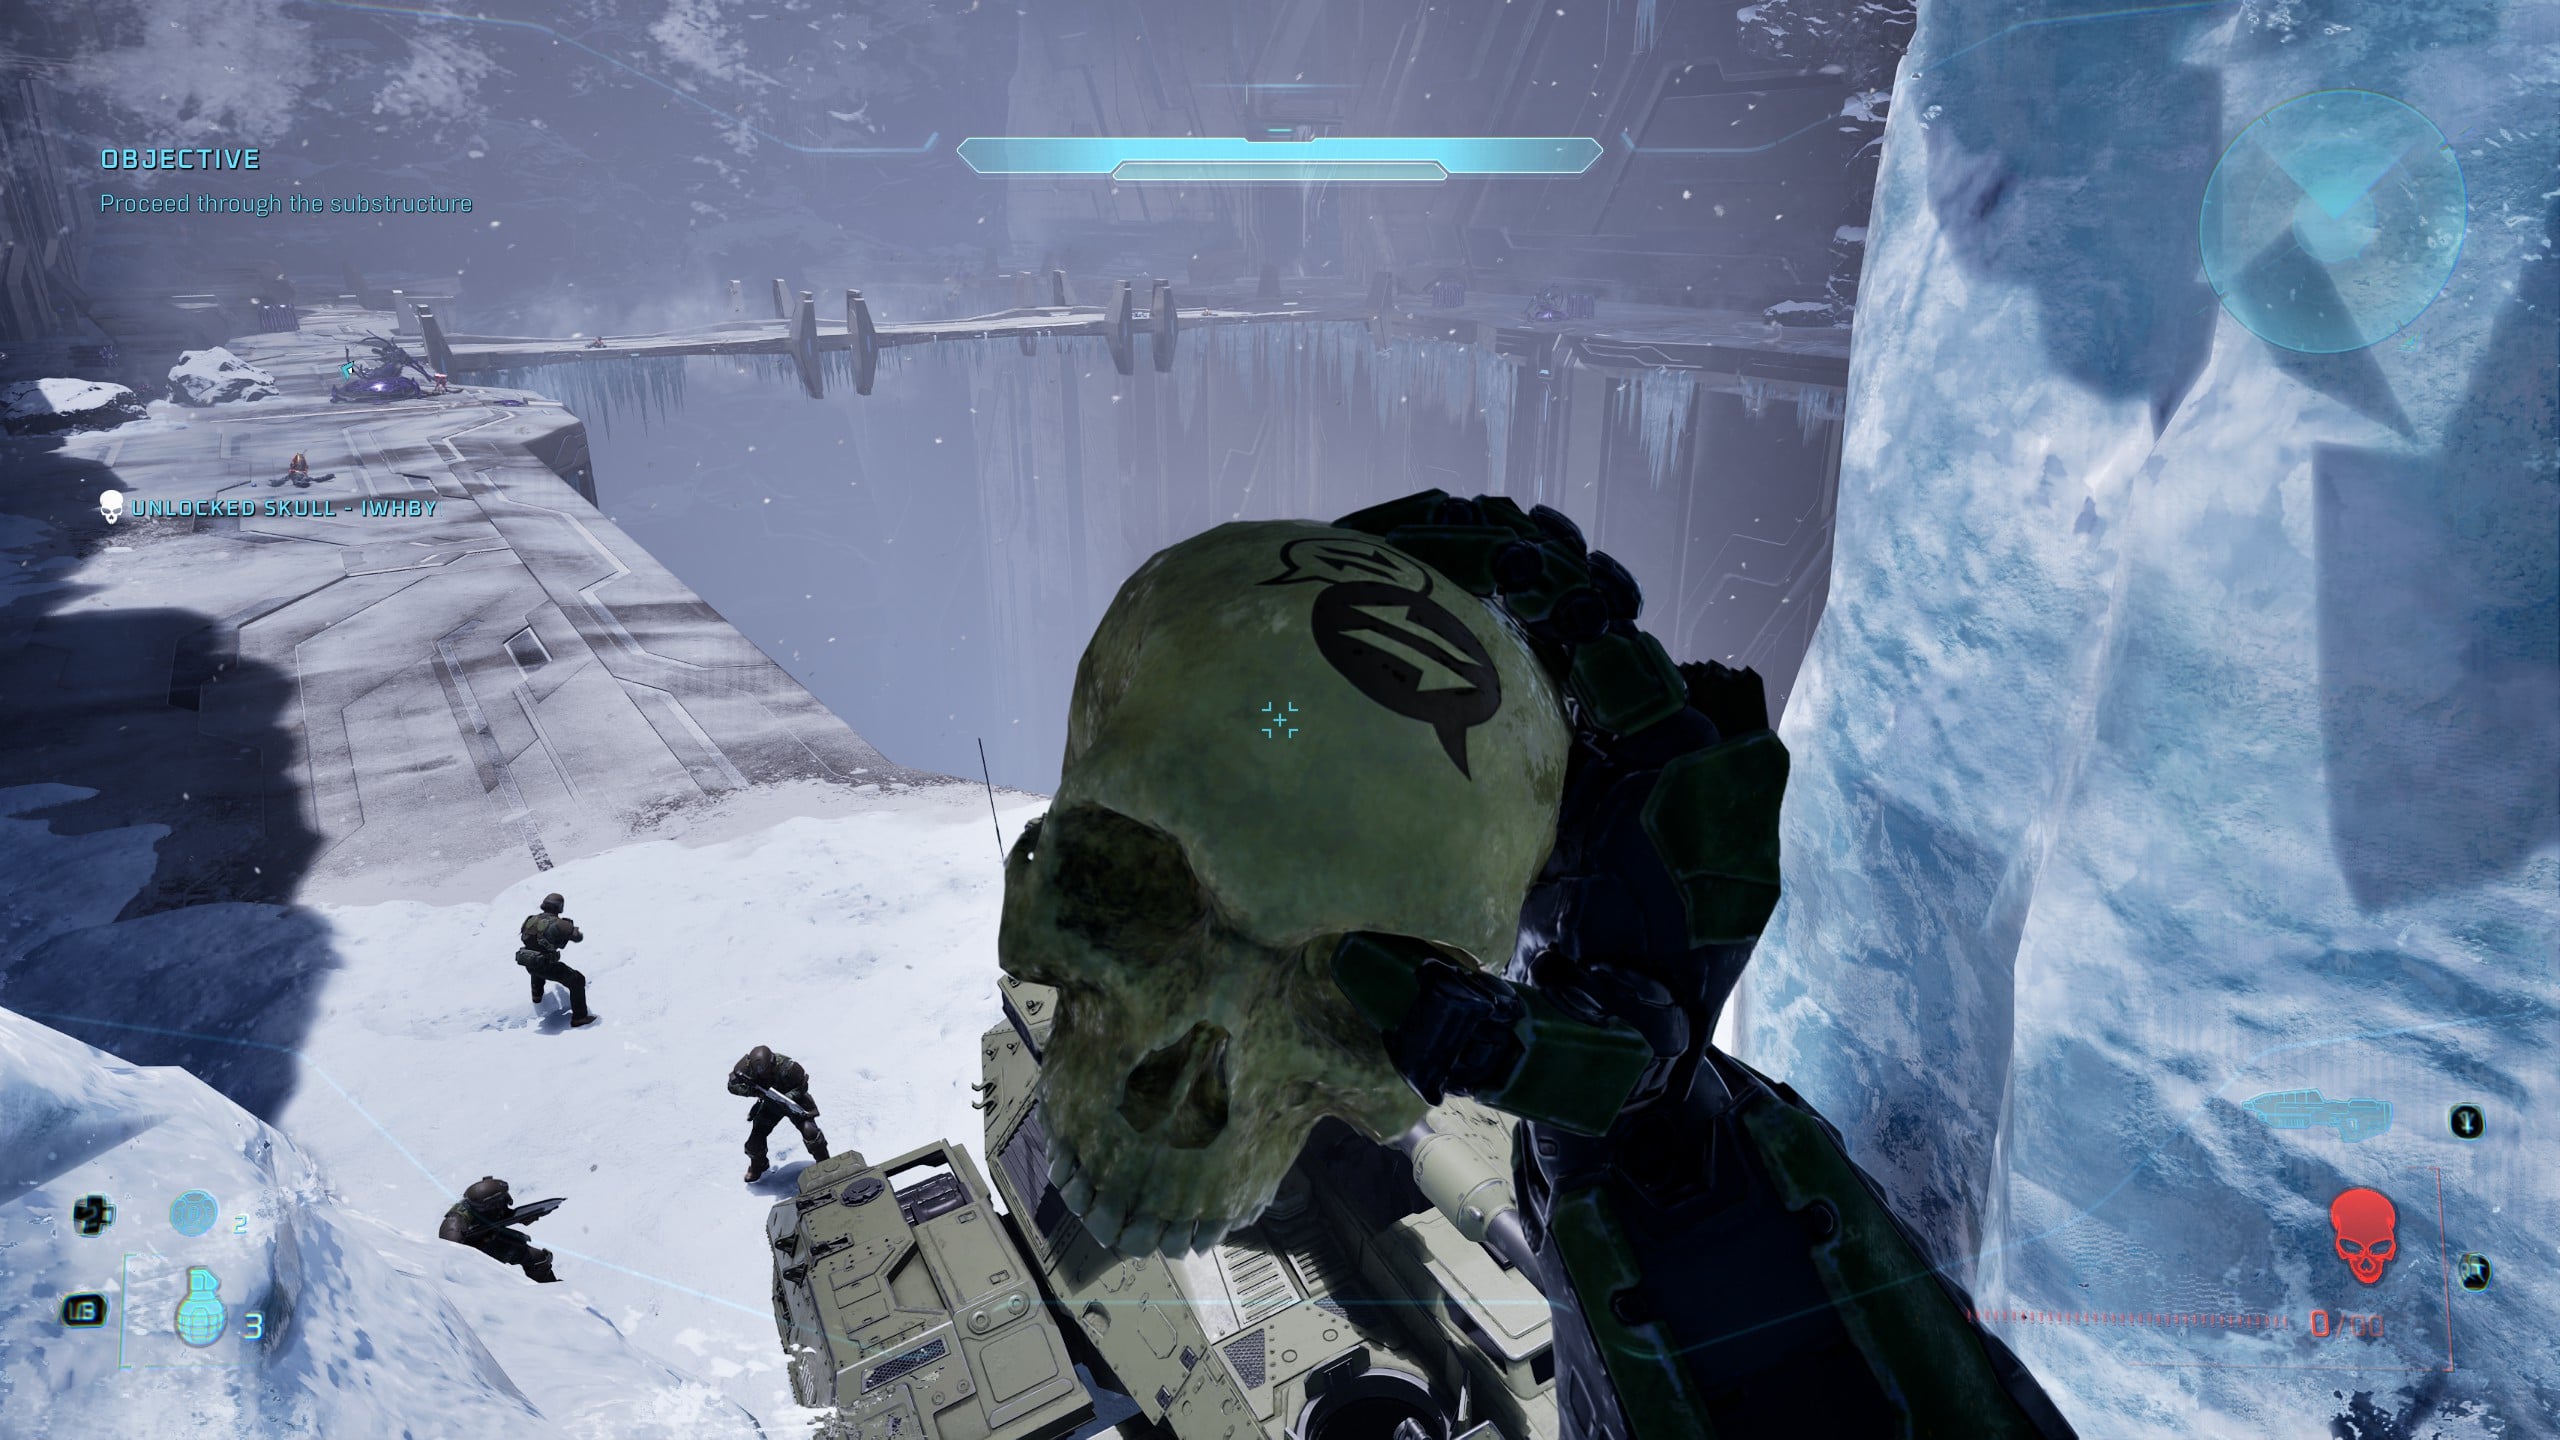
Skull 13 – IWHBYD
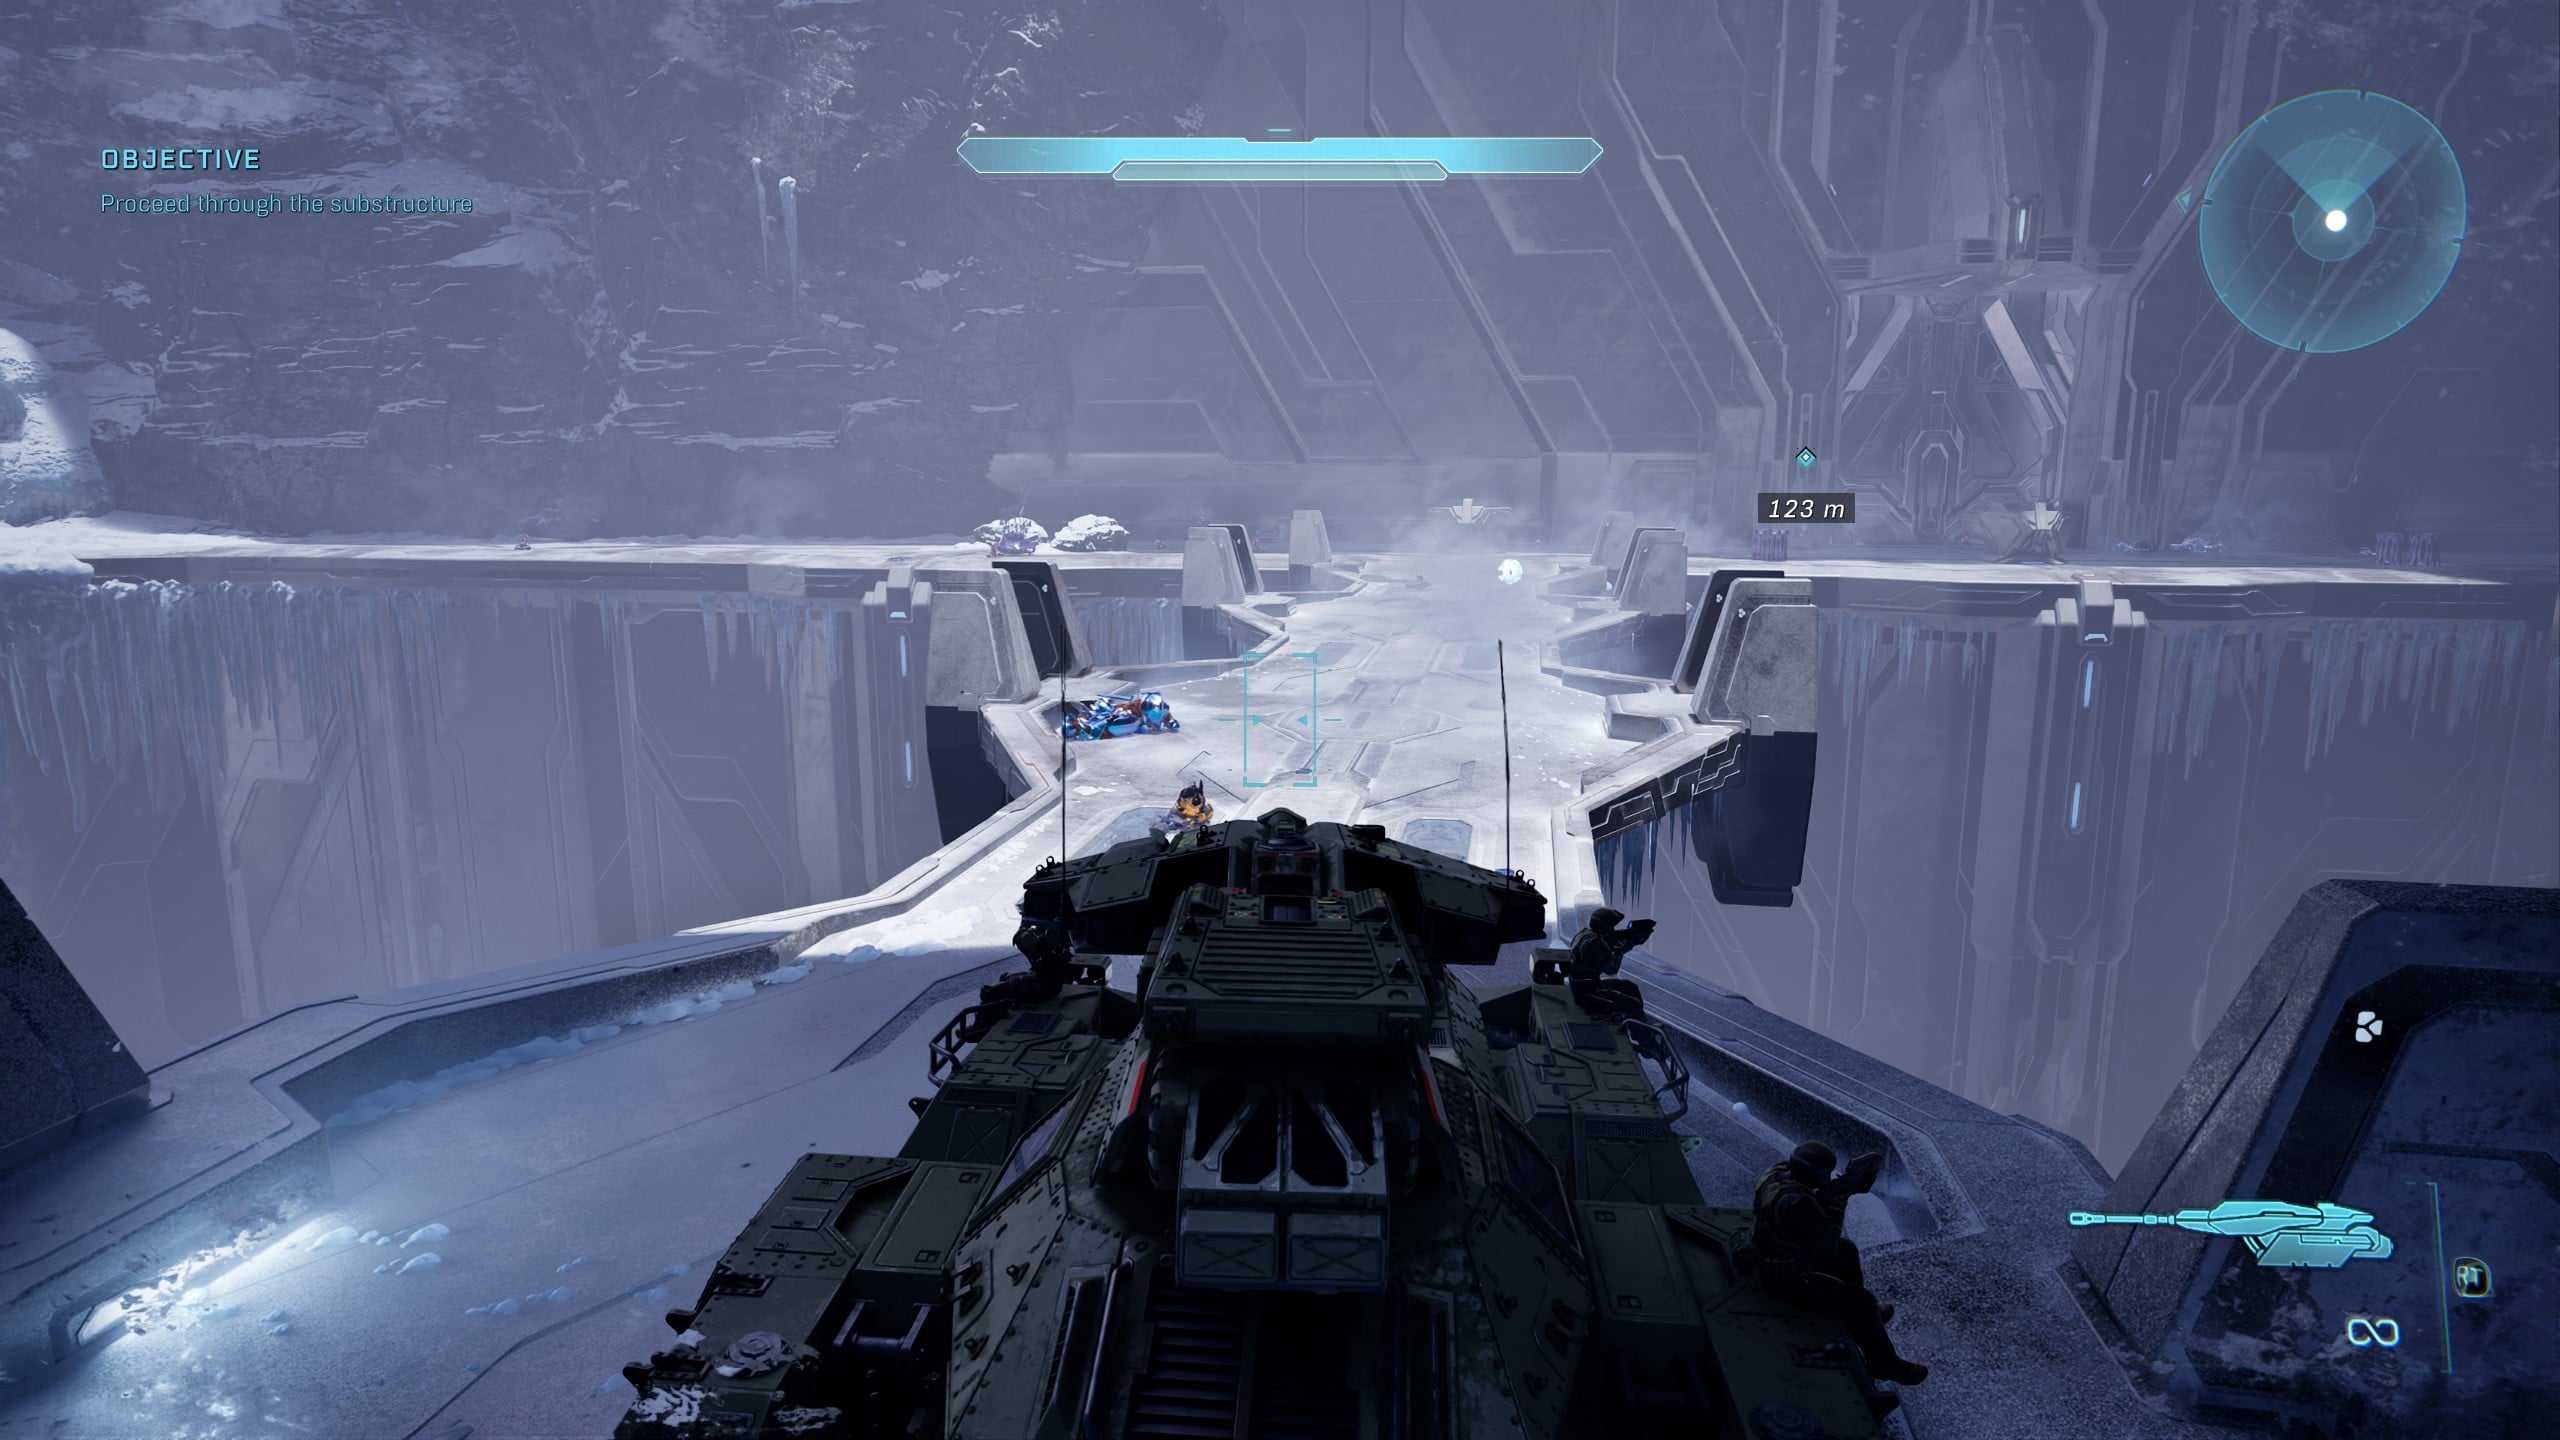
Grab the Scorpion tank from the start of Rally Point Bravo, and hold onto it as you move forward. Follow the objectives until you’re crossing a bridge over a chasm with the tank. Wipe out the enemies here, move the Scorpion across the bridge, and then move it over to the far left.
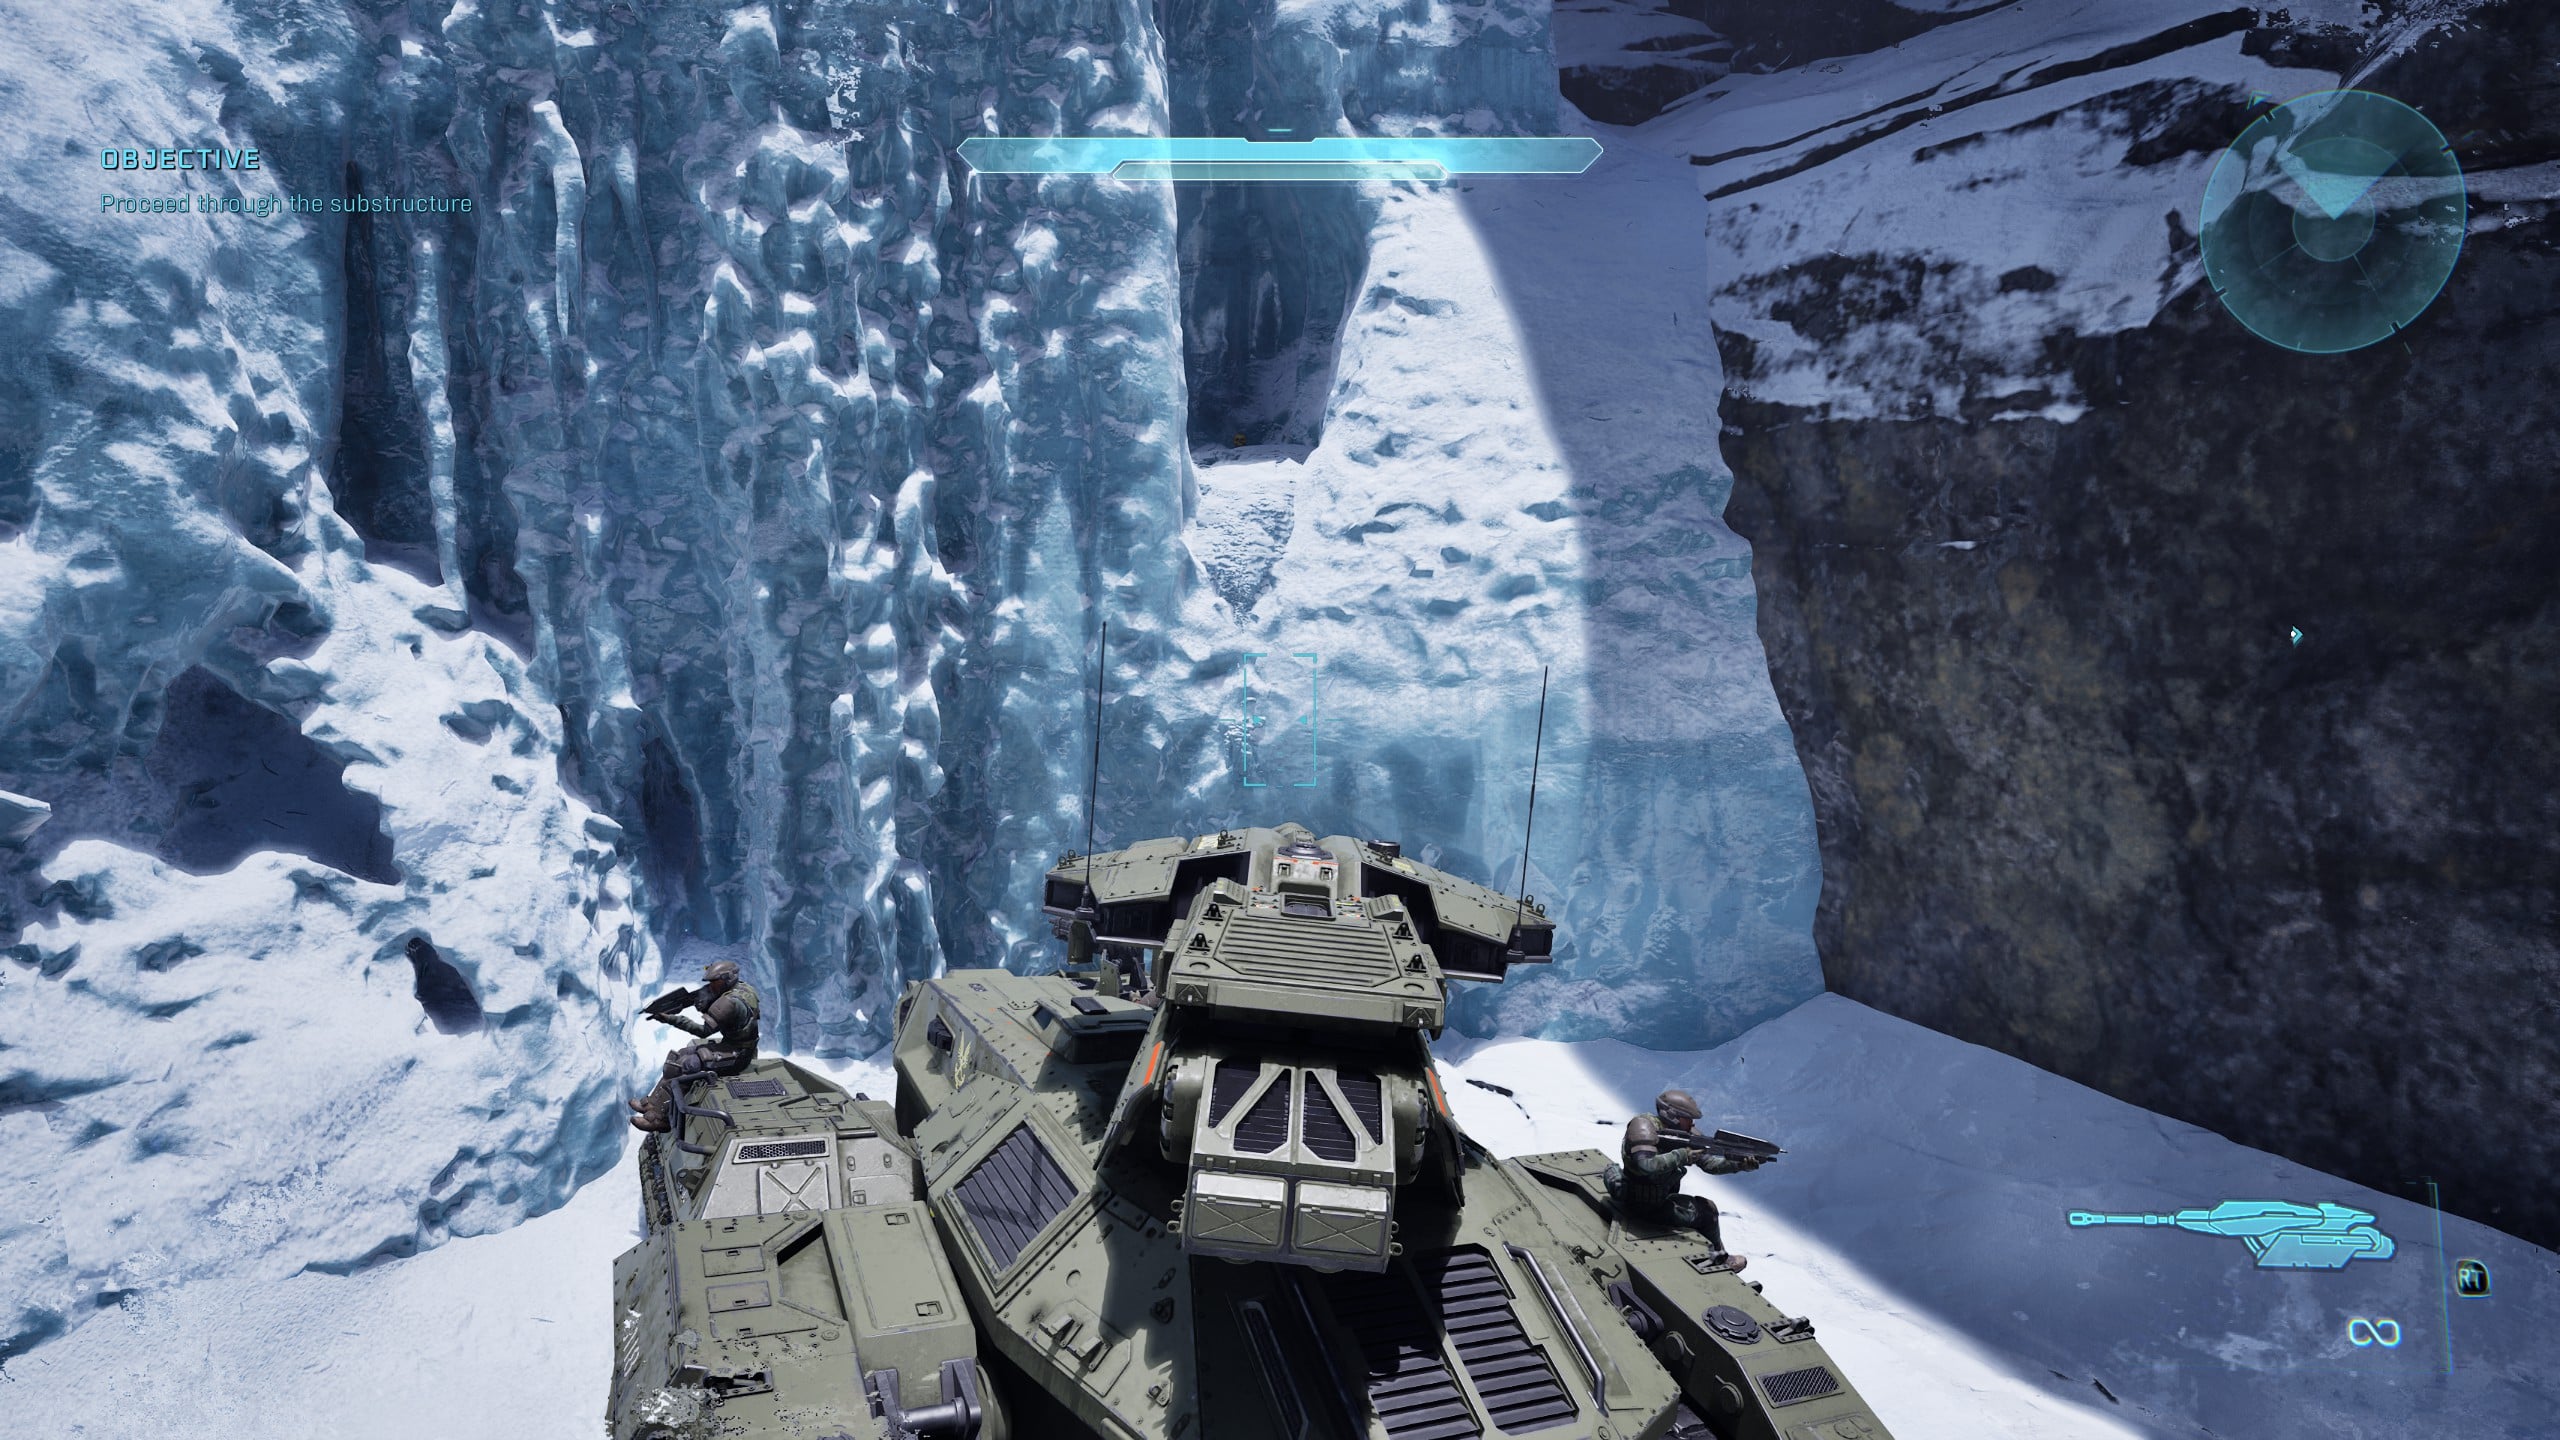
You’ll need to use the Scorpion as a platform to reach the IWHBYD Skull, which is on the icy rocks. You might need to crouch-jump to get up to it. The Skull’s acronym famously stands for “I Would Have Been Your Daddy.”
Rally Point Charlie
Terminal 5 – Tangent I
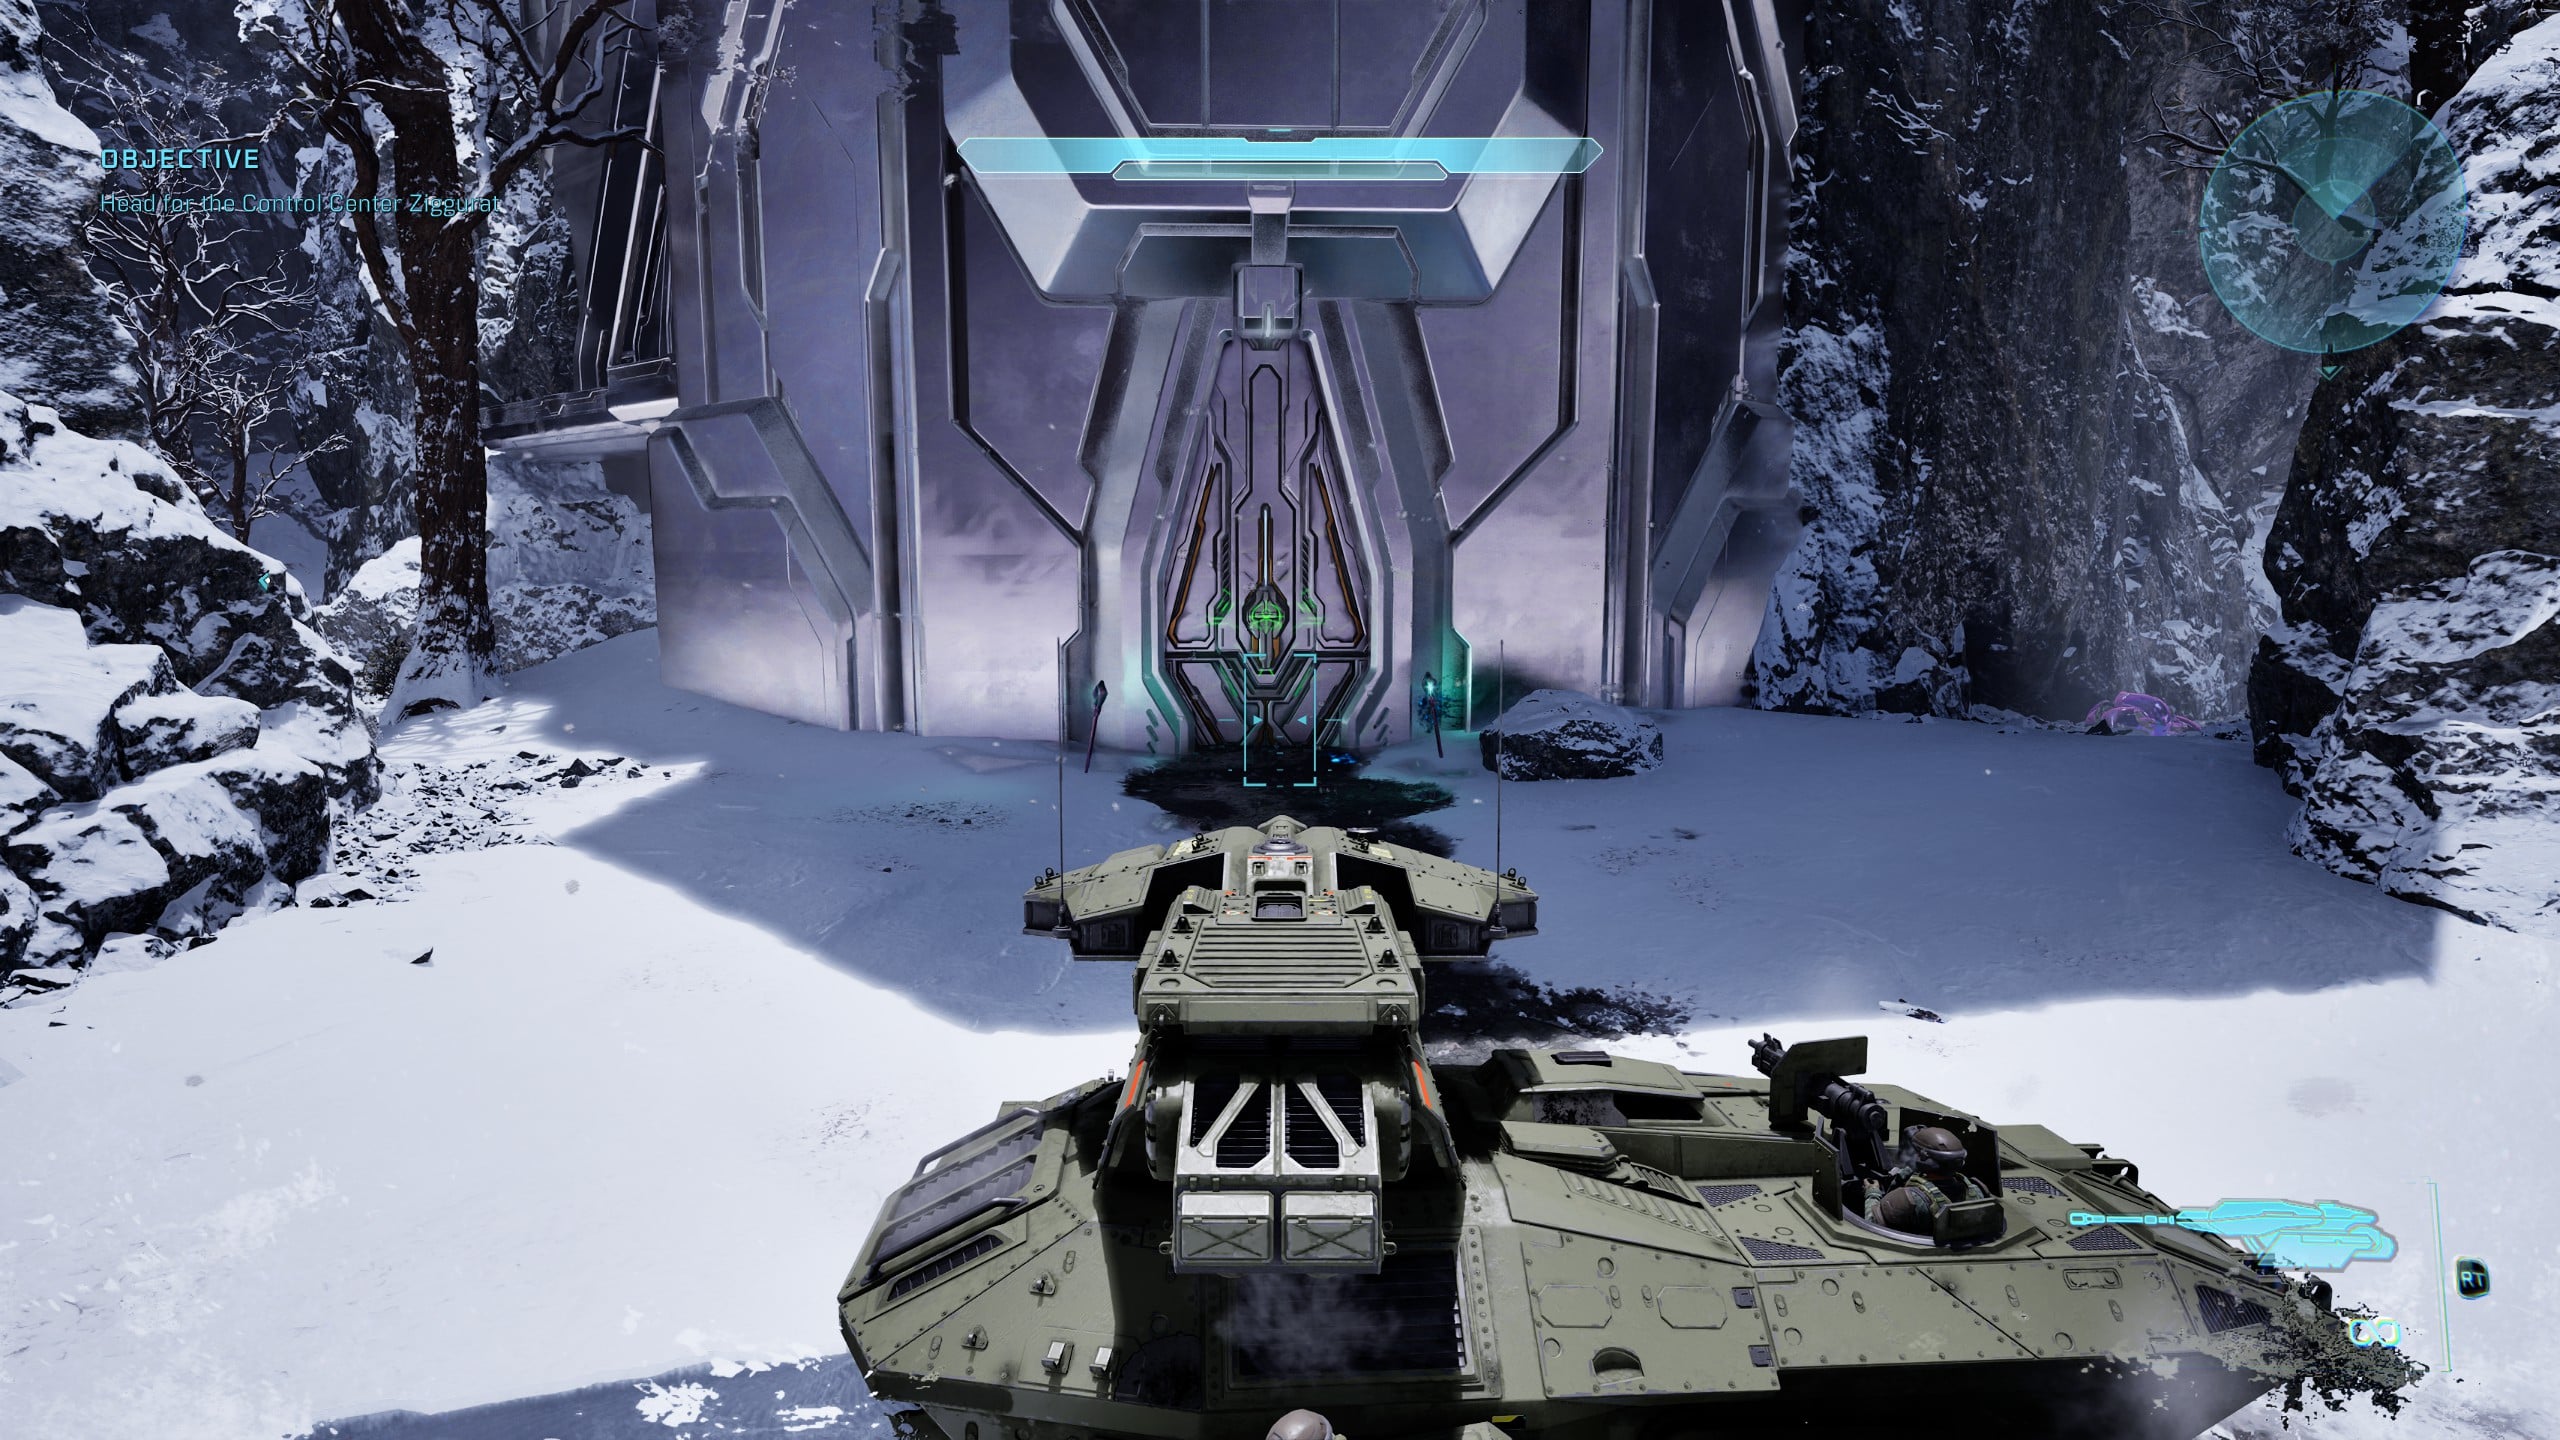
Shortly after crossing the bridge and moving through a short tunnel, you’ll begin to climb an incline ice tunnel to get outside. As you emerge, a Covenant dropship will bring down some foes.
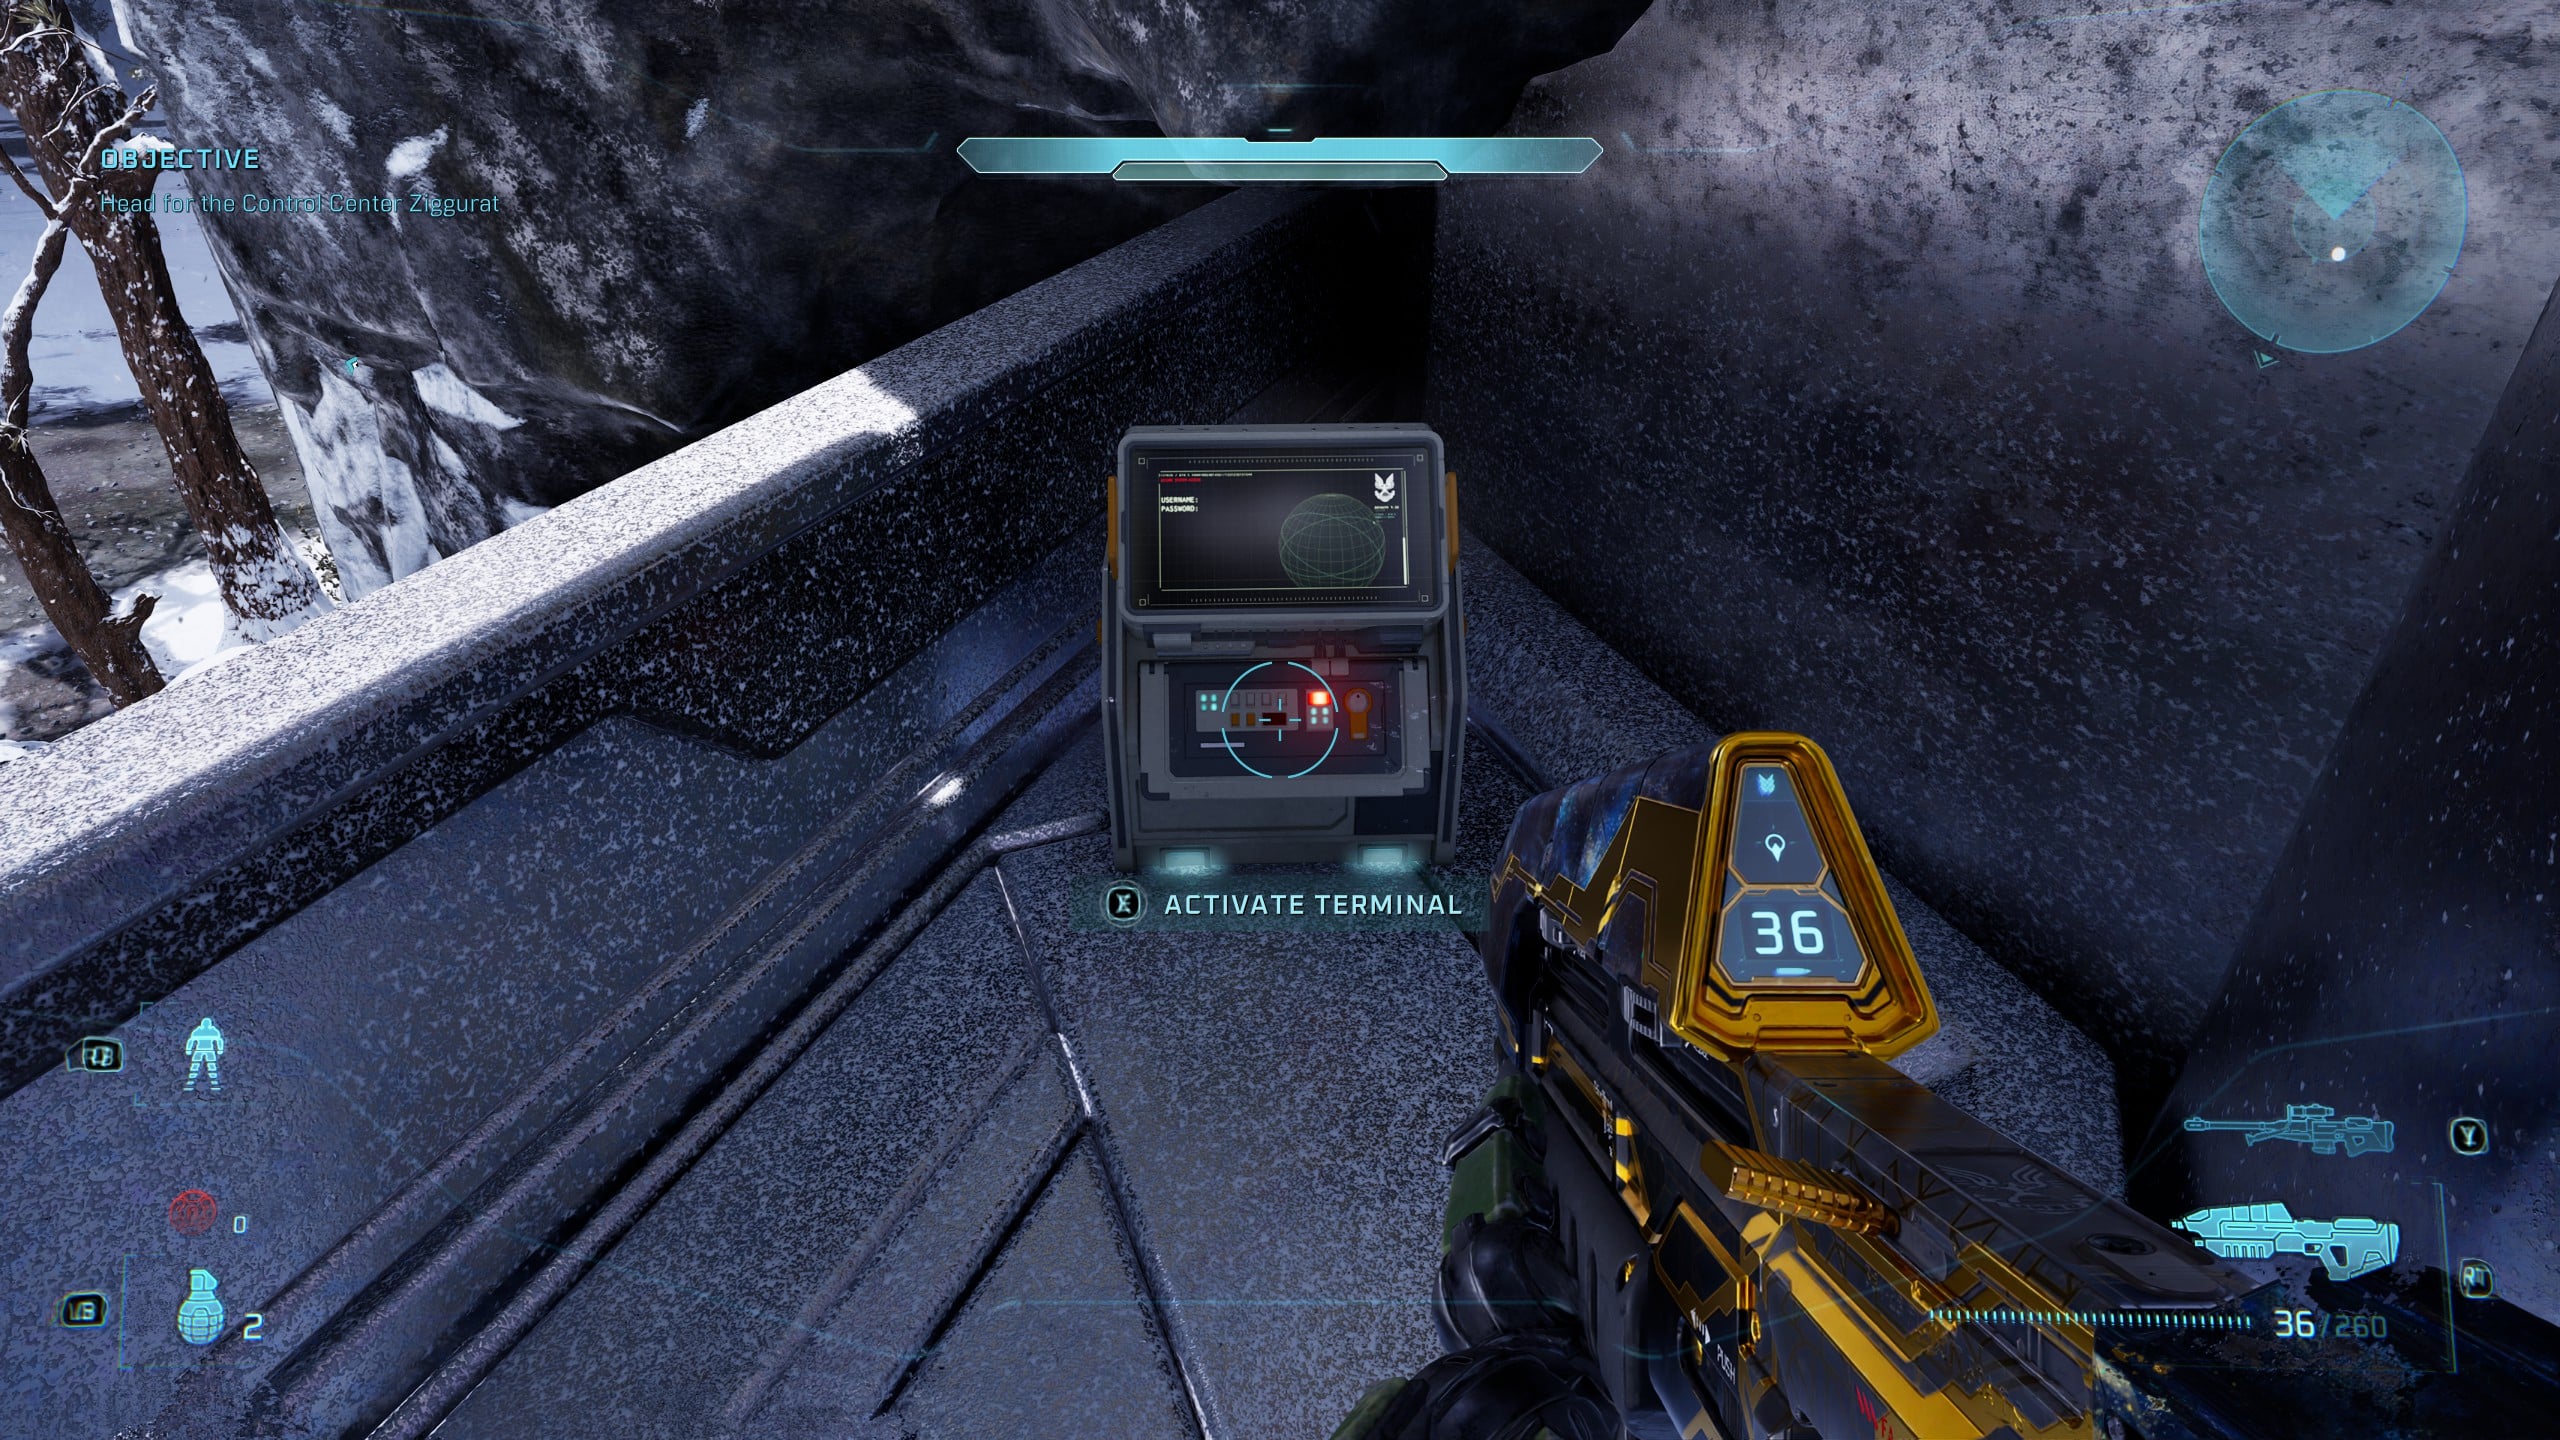
Move around to the left, and you’ll see the tower-like structure in this area actually has a door you can enter through. Go inside and head left to emerge onto a balcony. In the corner of this balcony, you’ll find the Tangent I Terminal.
Skull 14 – Angry
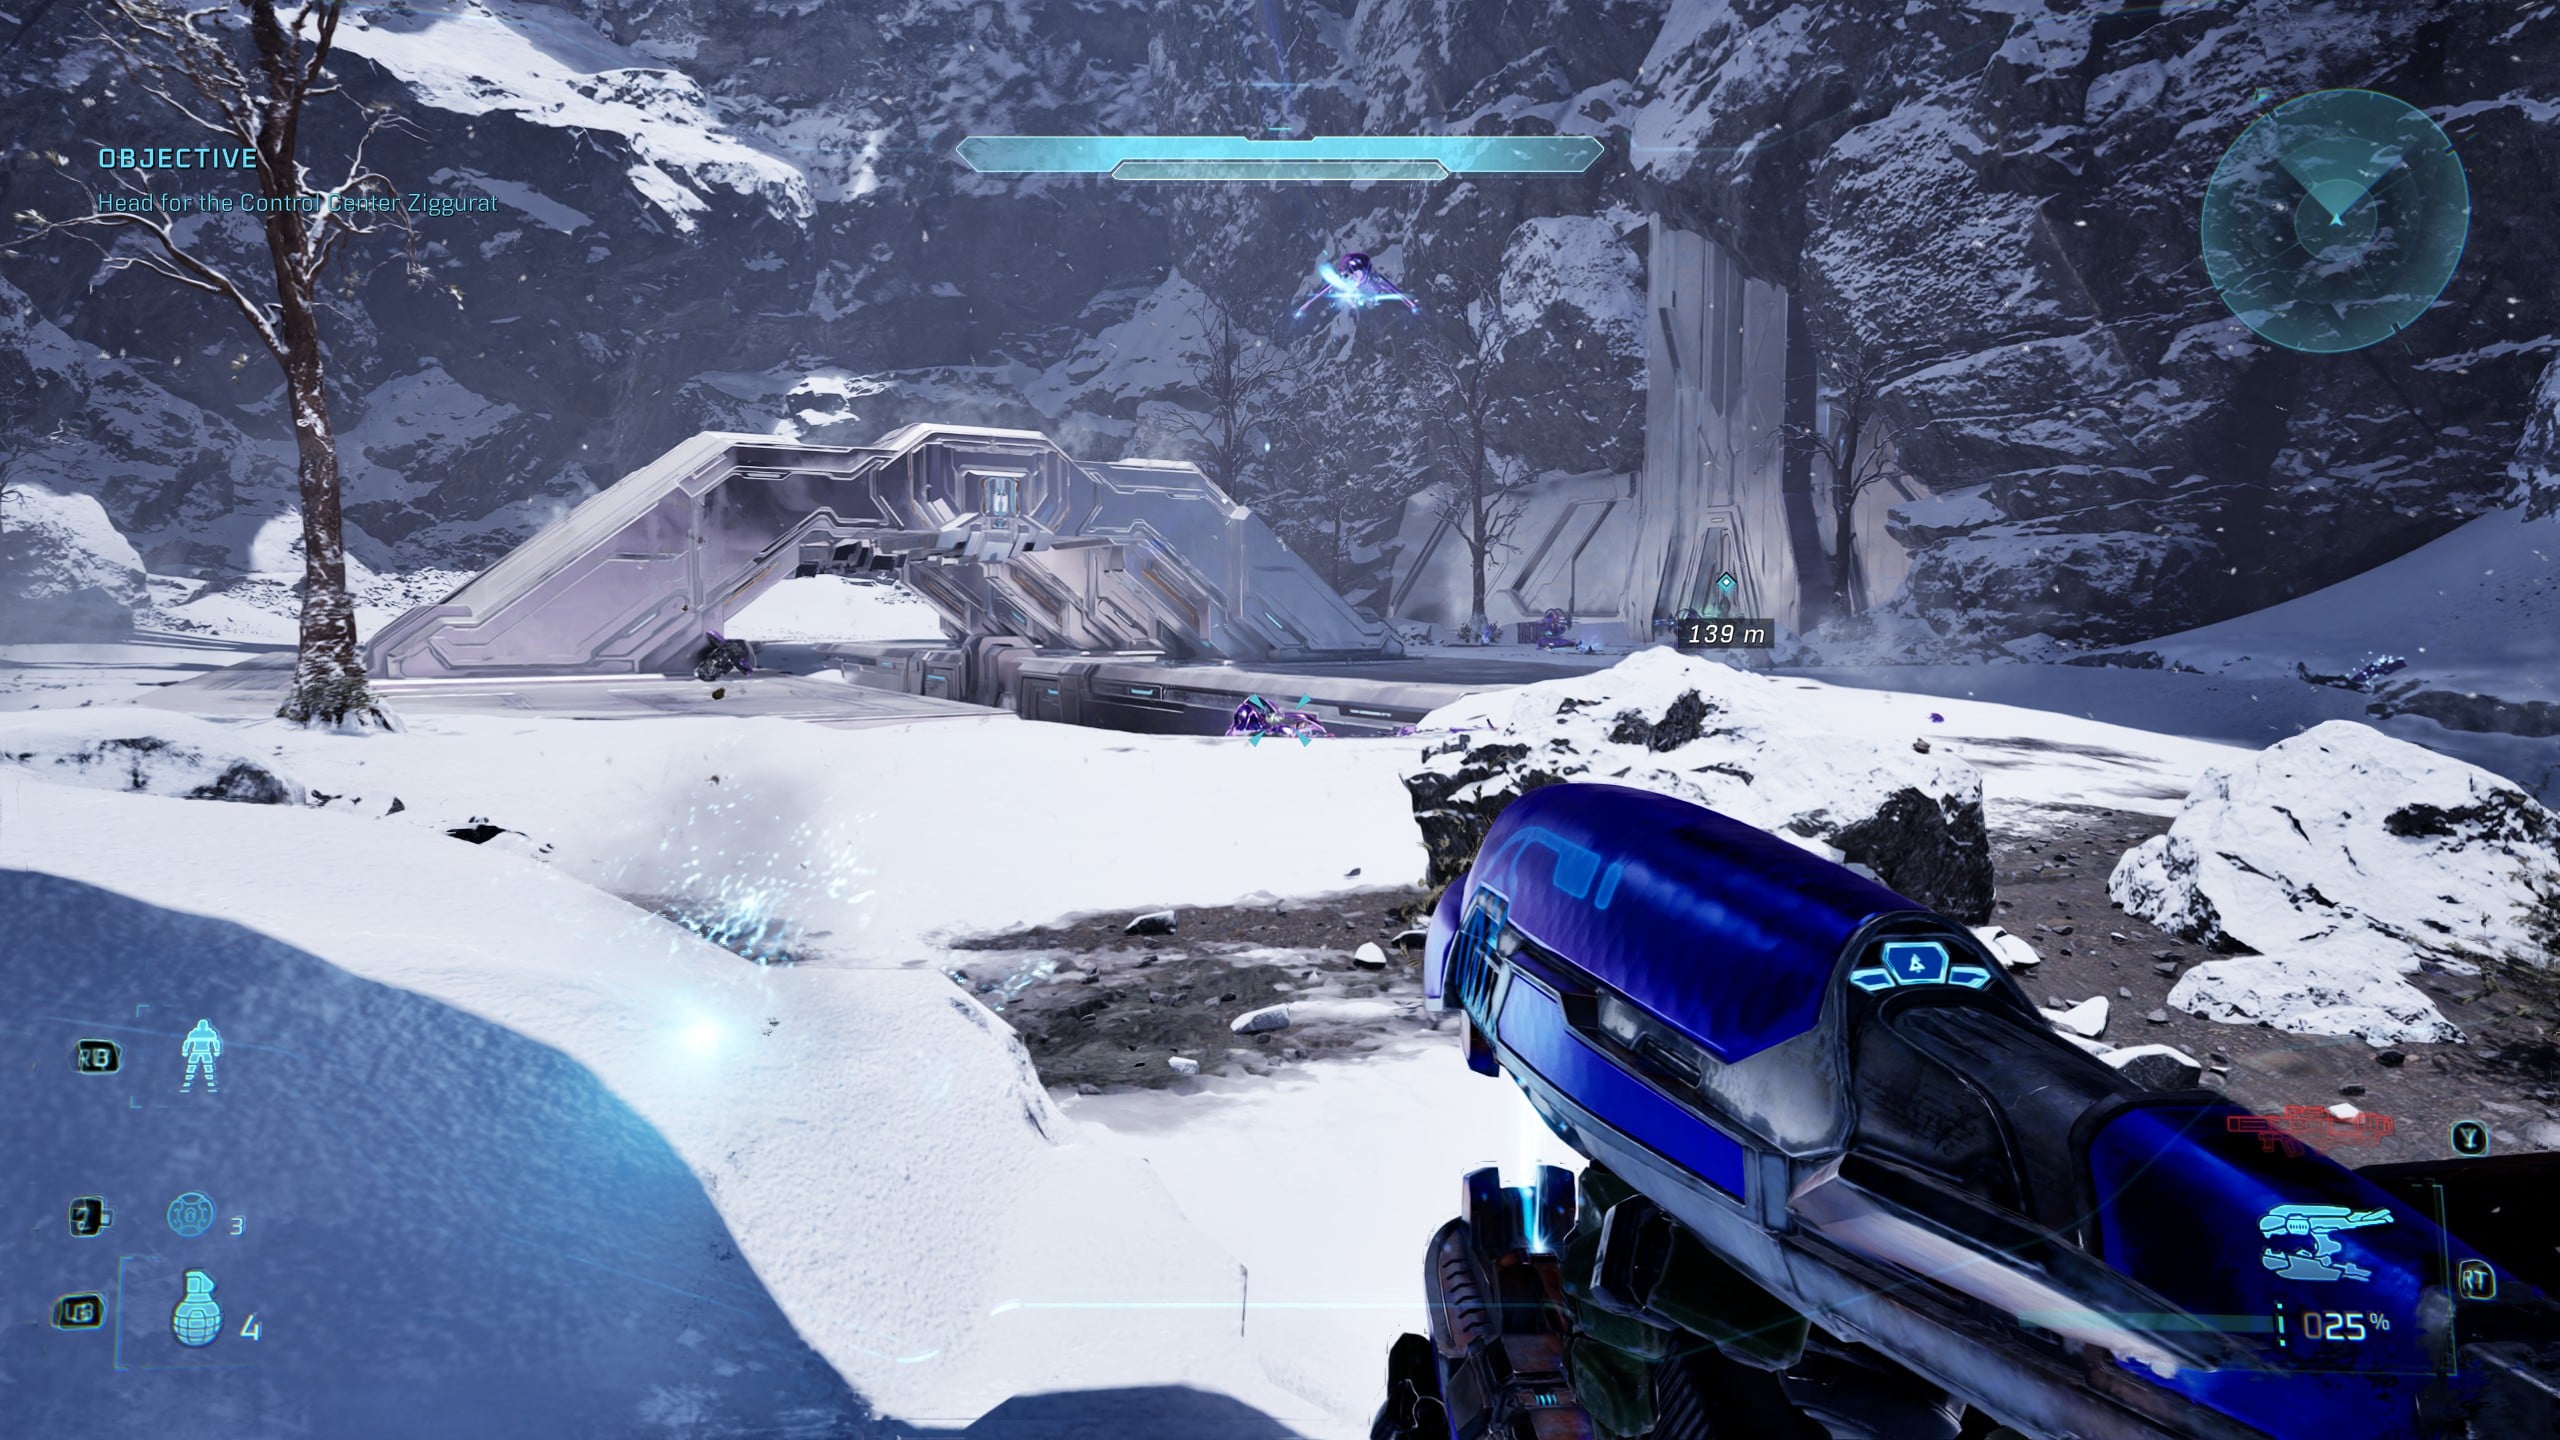
This Skull isn’t too far past the last Terminal. Keep moving forward, and you’ll eventually come to a narrow cave that the Scorpion can’t pass through. On the other side are three arched structures, and your main objective, which will be on your right.
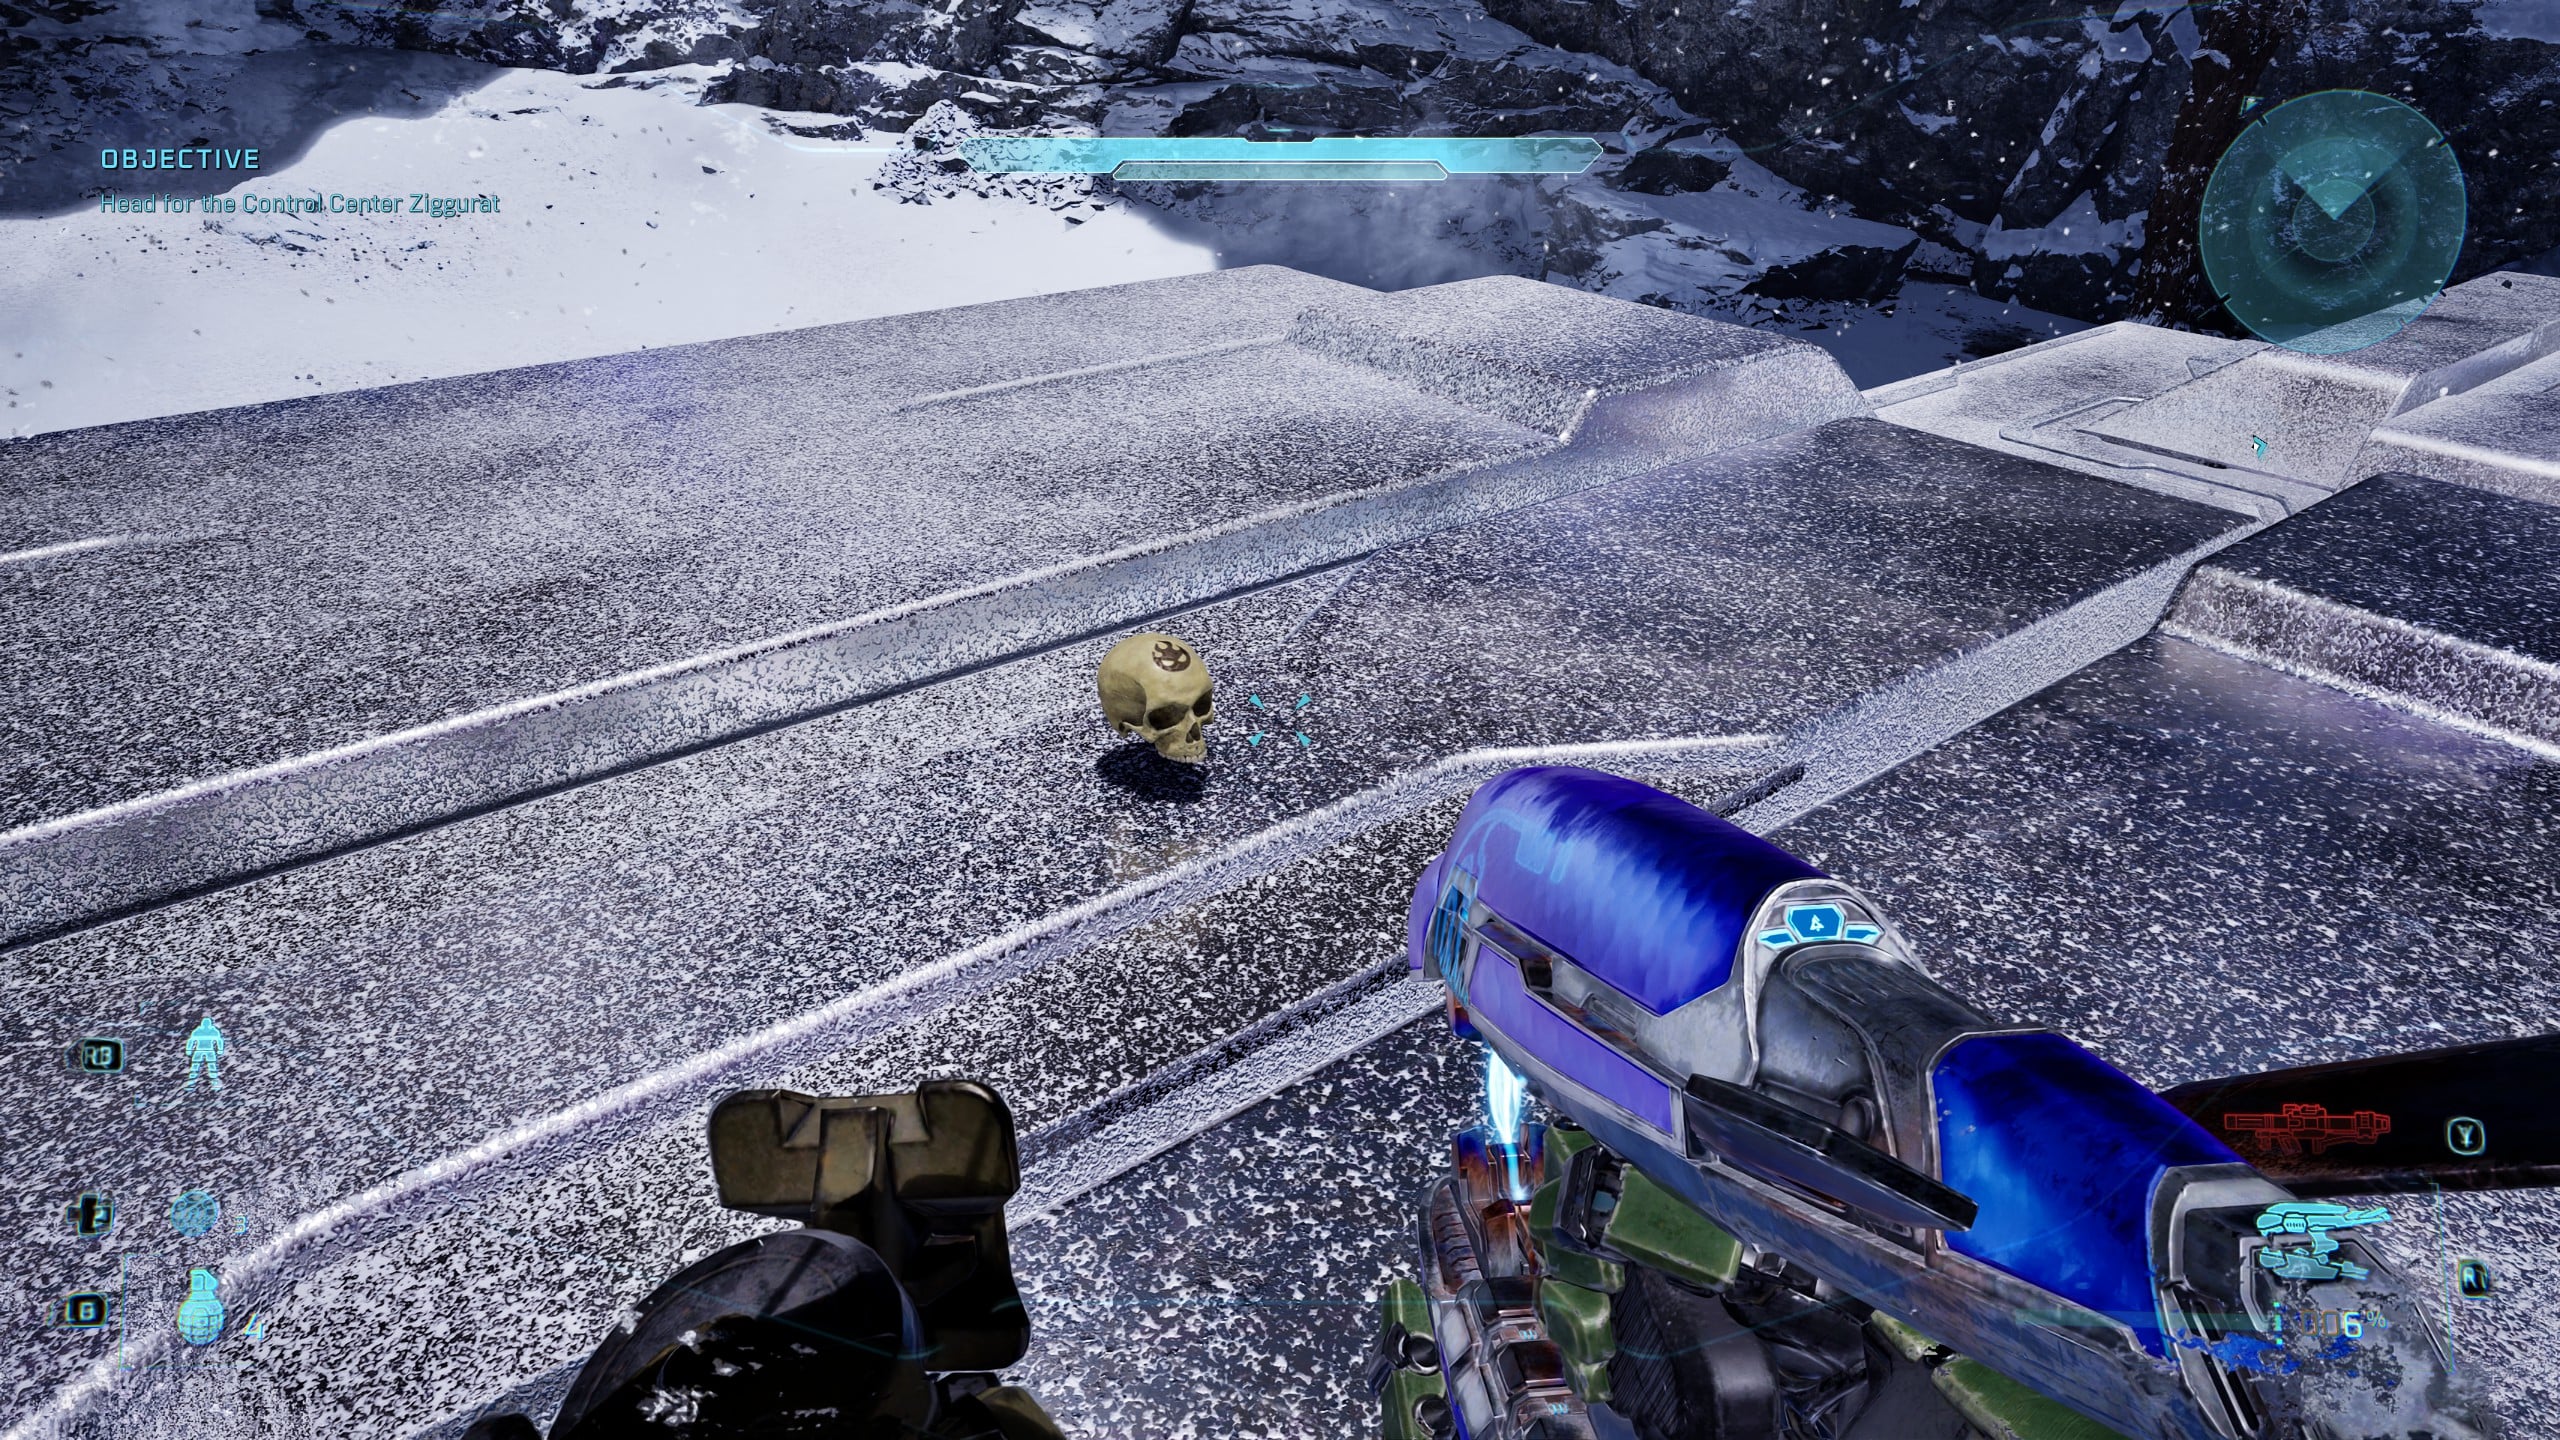
Ignore the main objective and focus on the arches. Go to the rear arch, and climb on top. You will find the Angry Skull in the middle on top of the third arch.
Rally Point Echo
Skull 15 – Cowbell
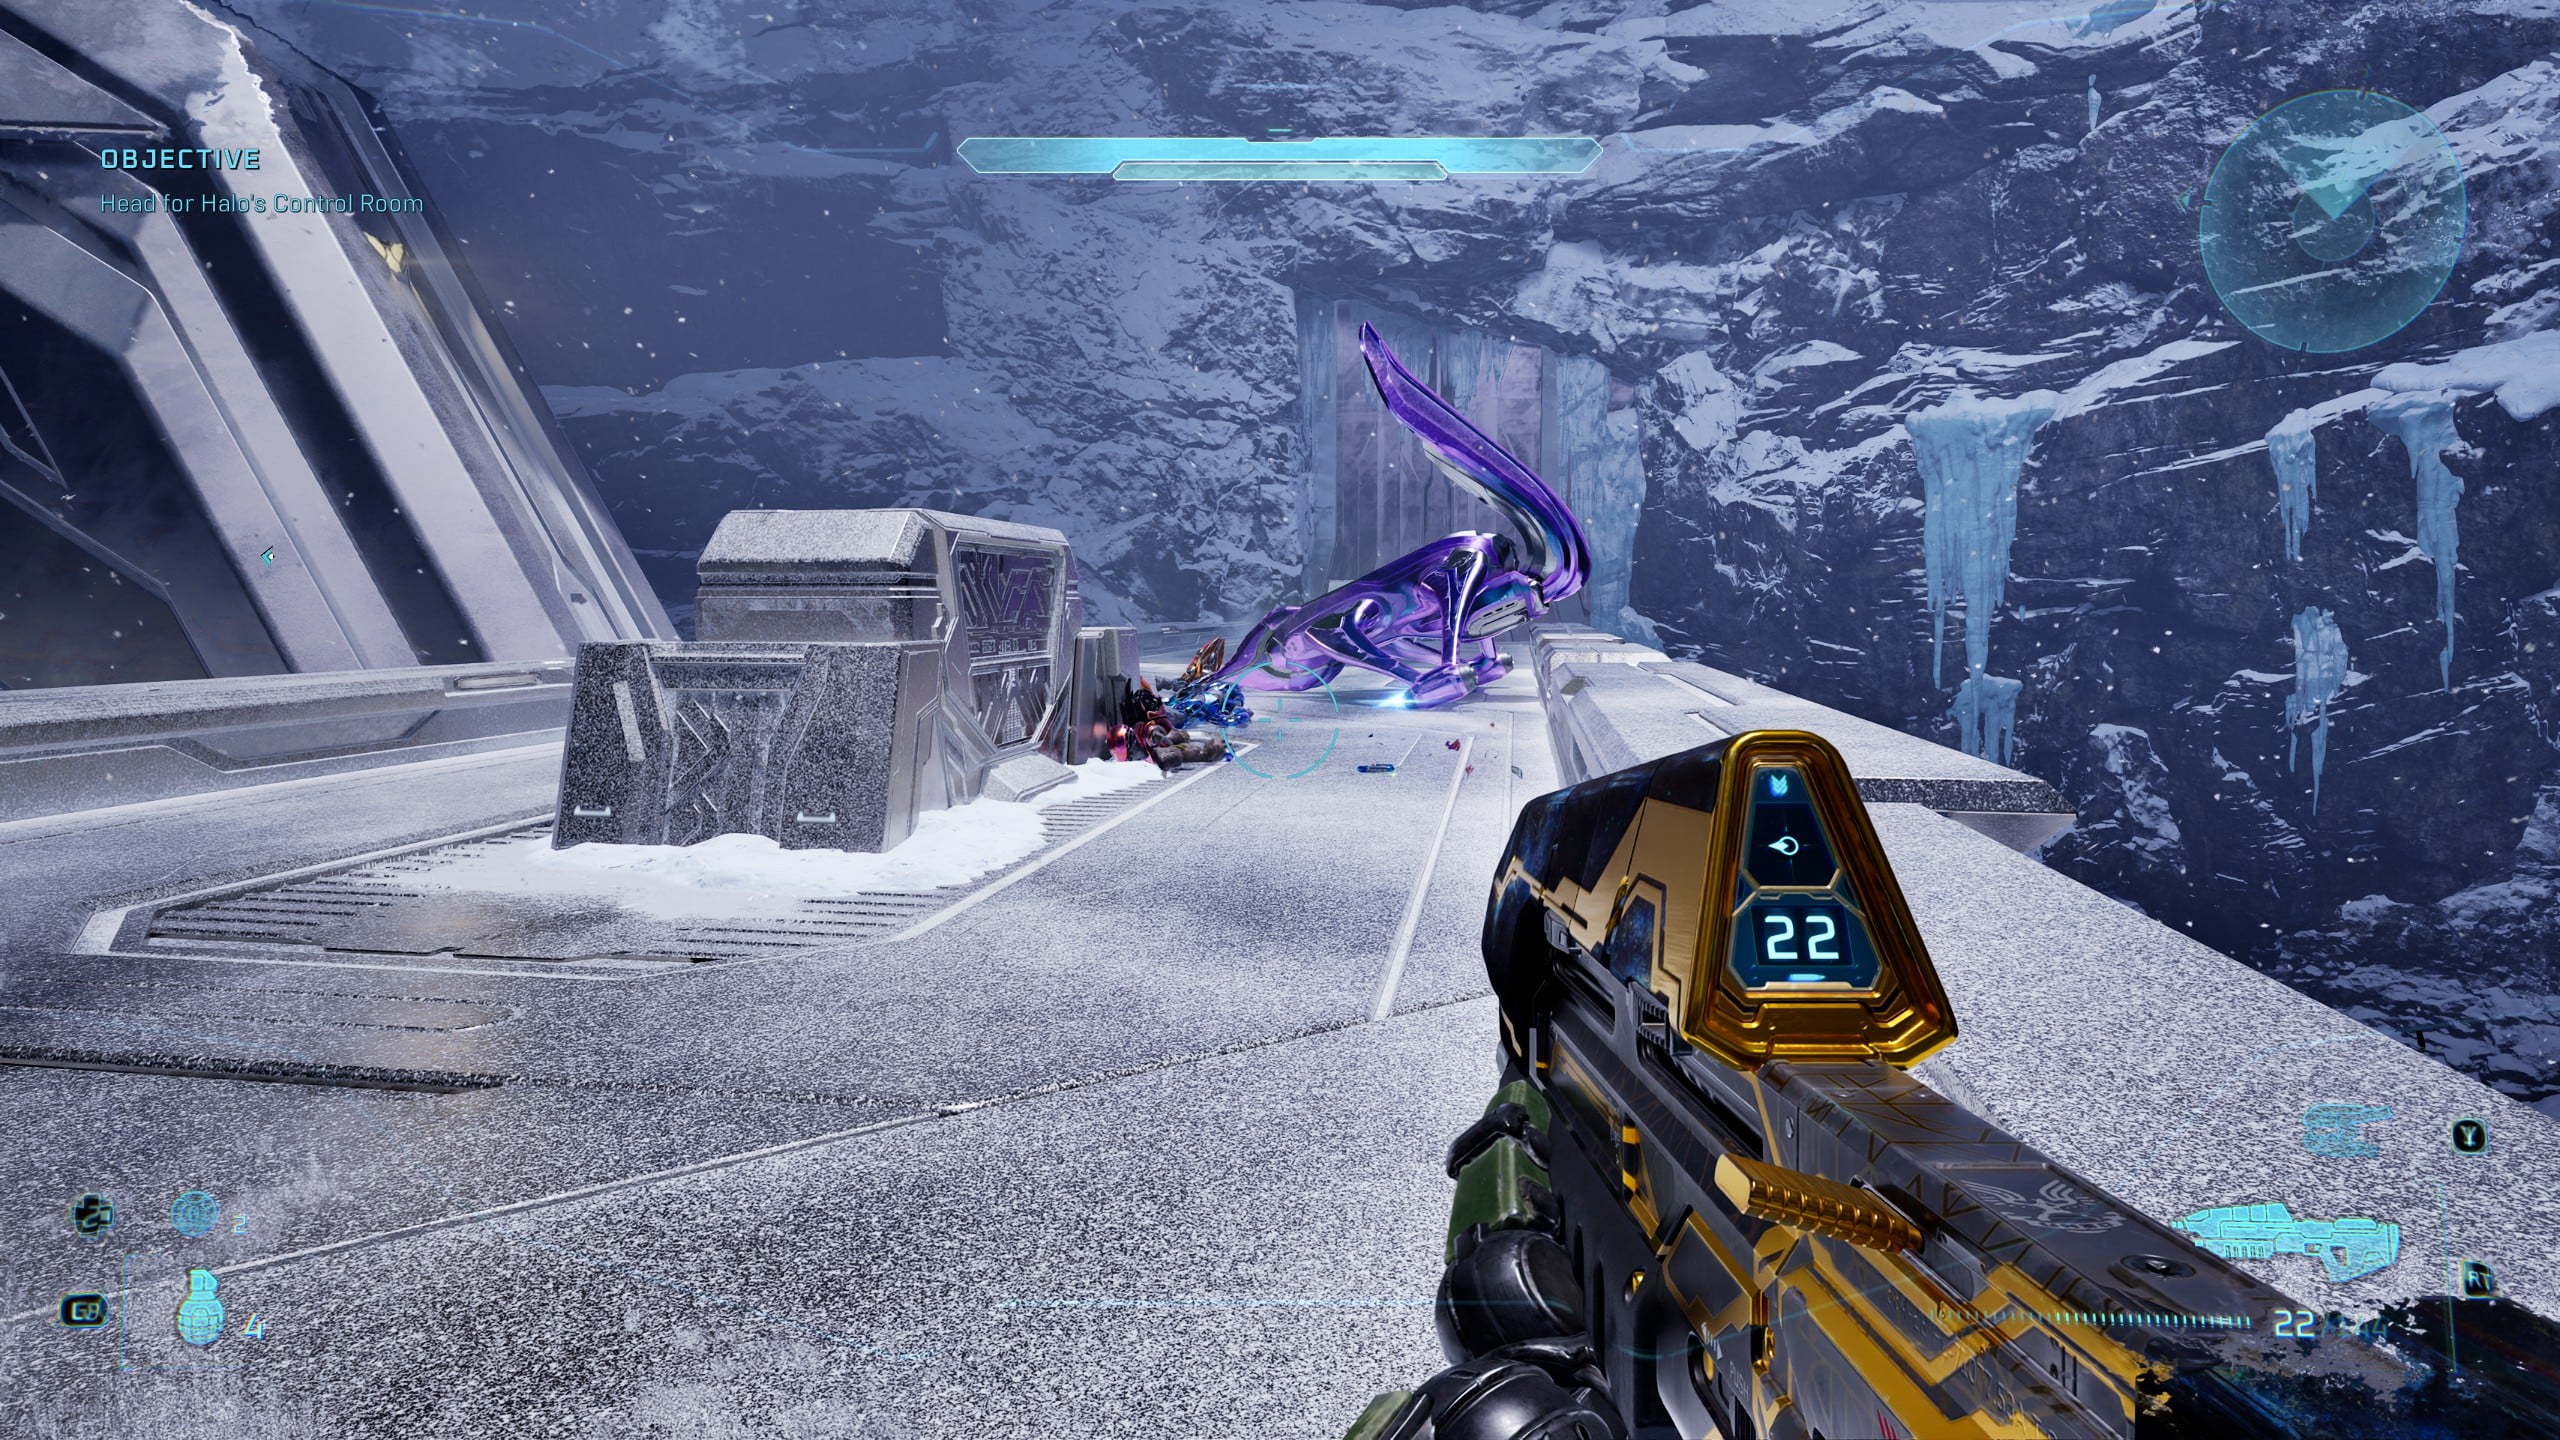
As soon as you start from Rally Point Echo, you’ll be on a bridge with the objective being to take one of the two Banshees to reach the next objective. Ignore the Banshees for now, and instead look directly behind and under them.
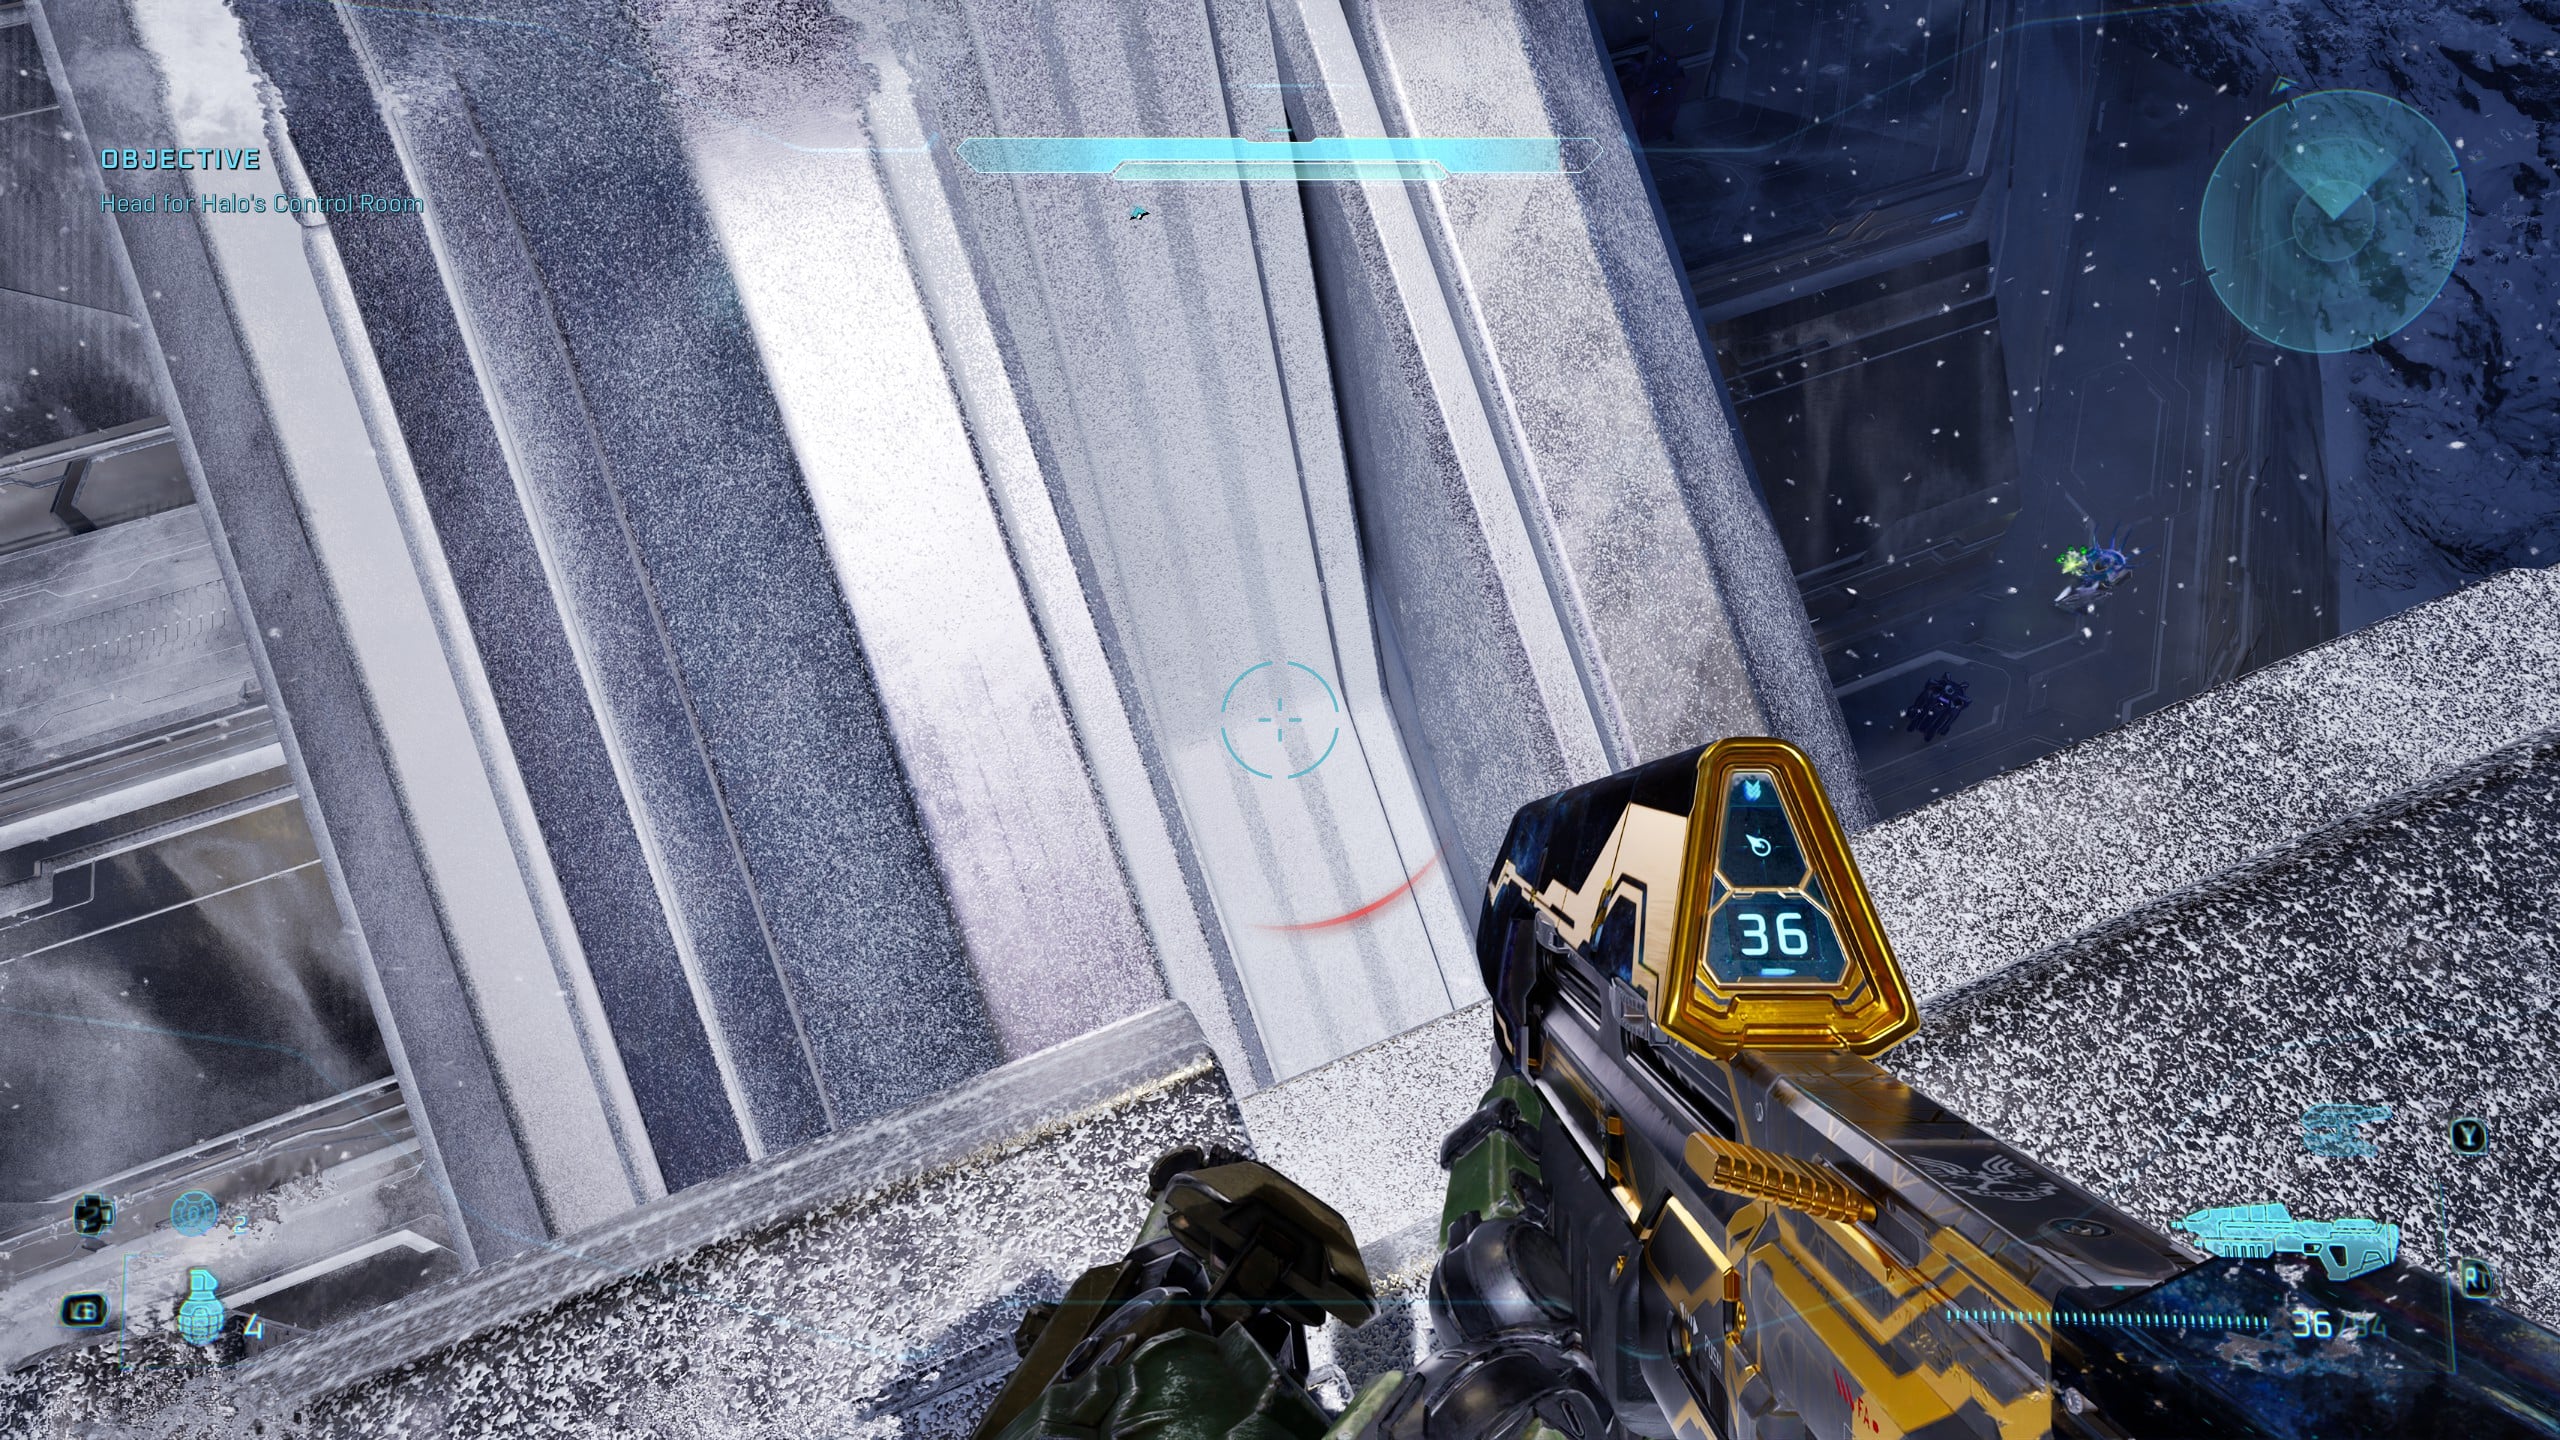
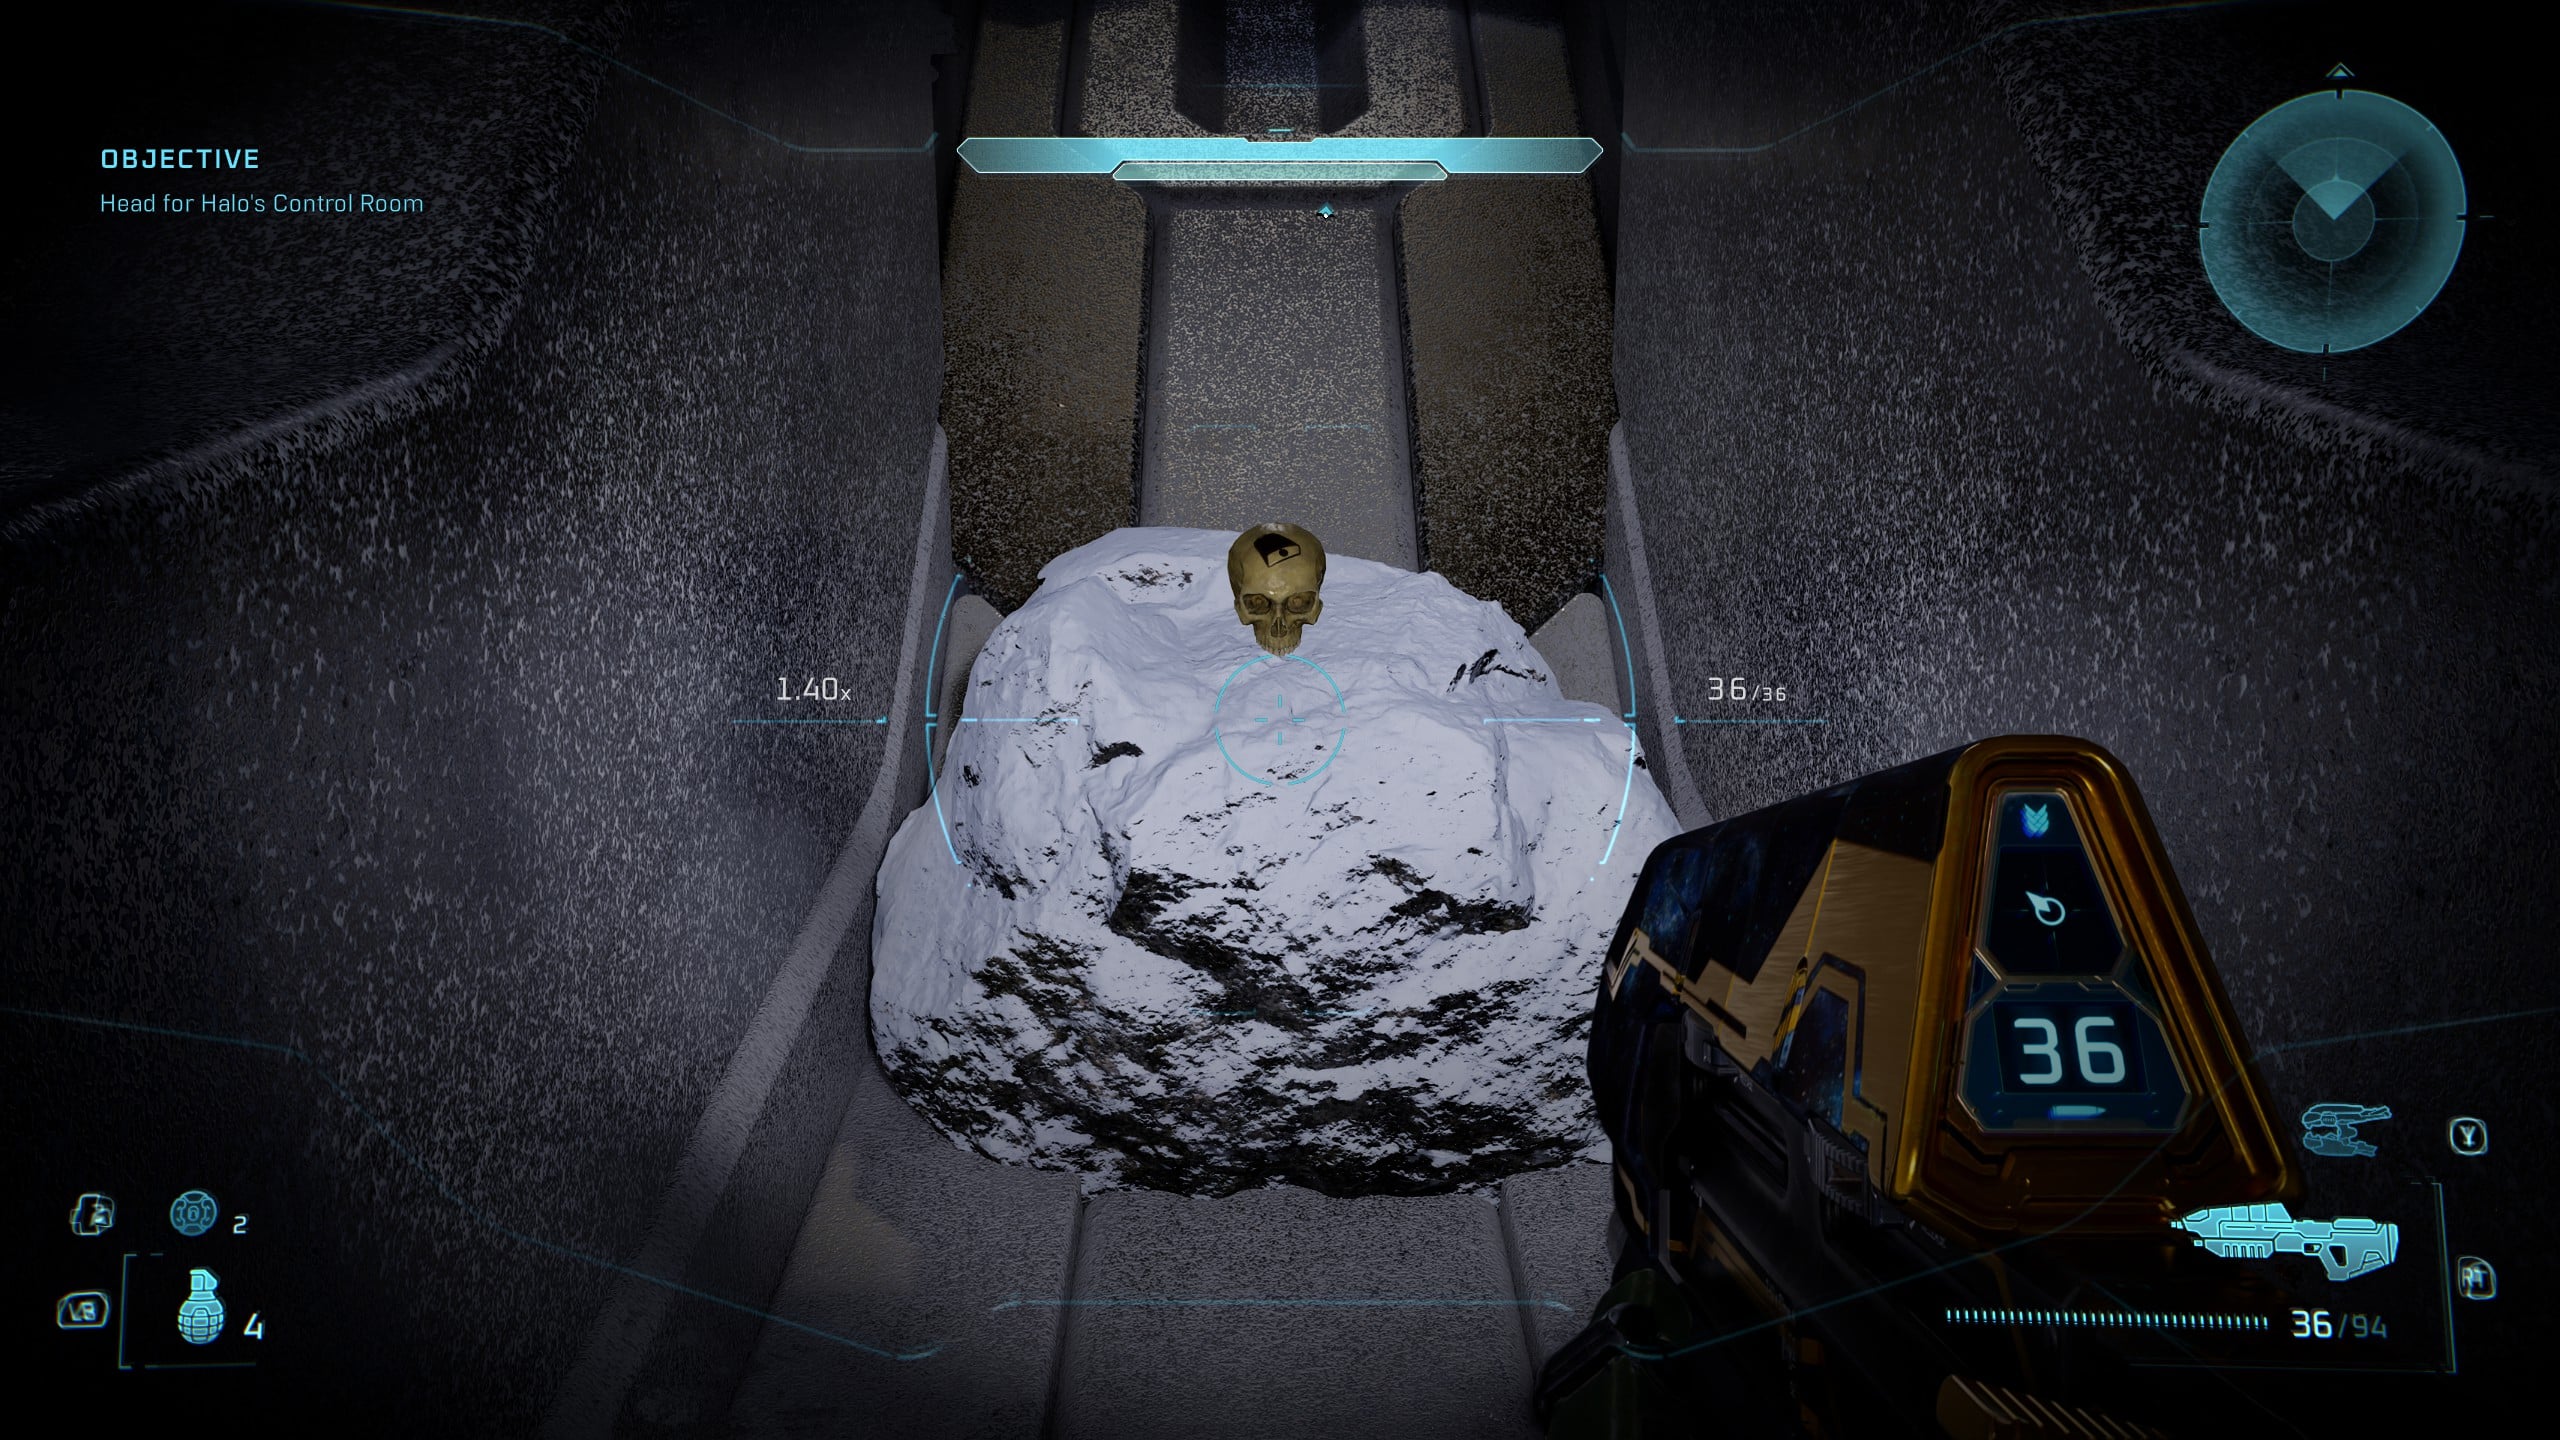
Jump onto the roof of the structure behind the Banshees and drop just underneath the bridge, directly beneath the Banshees. You’ll find the Cowbell Skull here.
343 Guilty Spark Skull and Terminal locations
You’ll earn the Proto Gravemind trophy and achievement for finding these optional items in the 343 Guilty Spark mission.
Rally Point Alpha
Skull 16 – Fog
This Skull is very close to the start of the level, but weirdly hidden. As you turn the first corner, you’ll meet your first load of Grunts and see a crashed Covenant dropship in the tree.
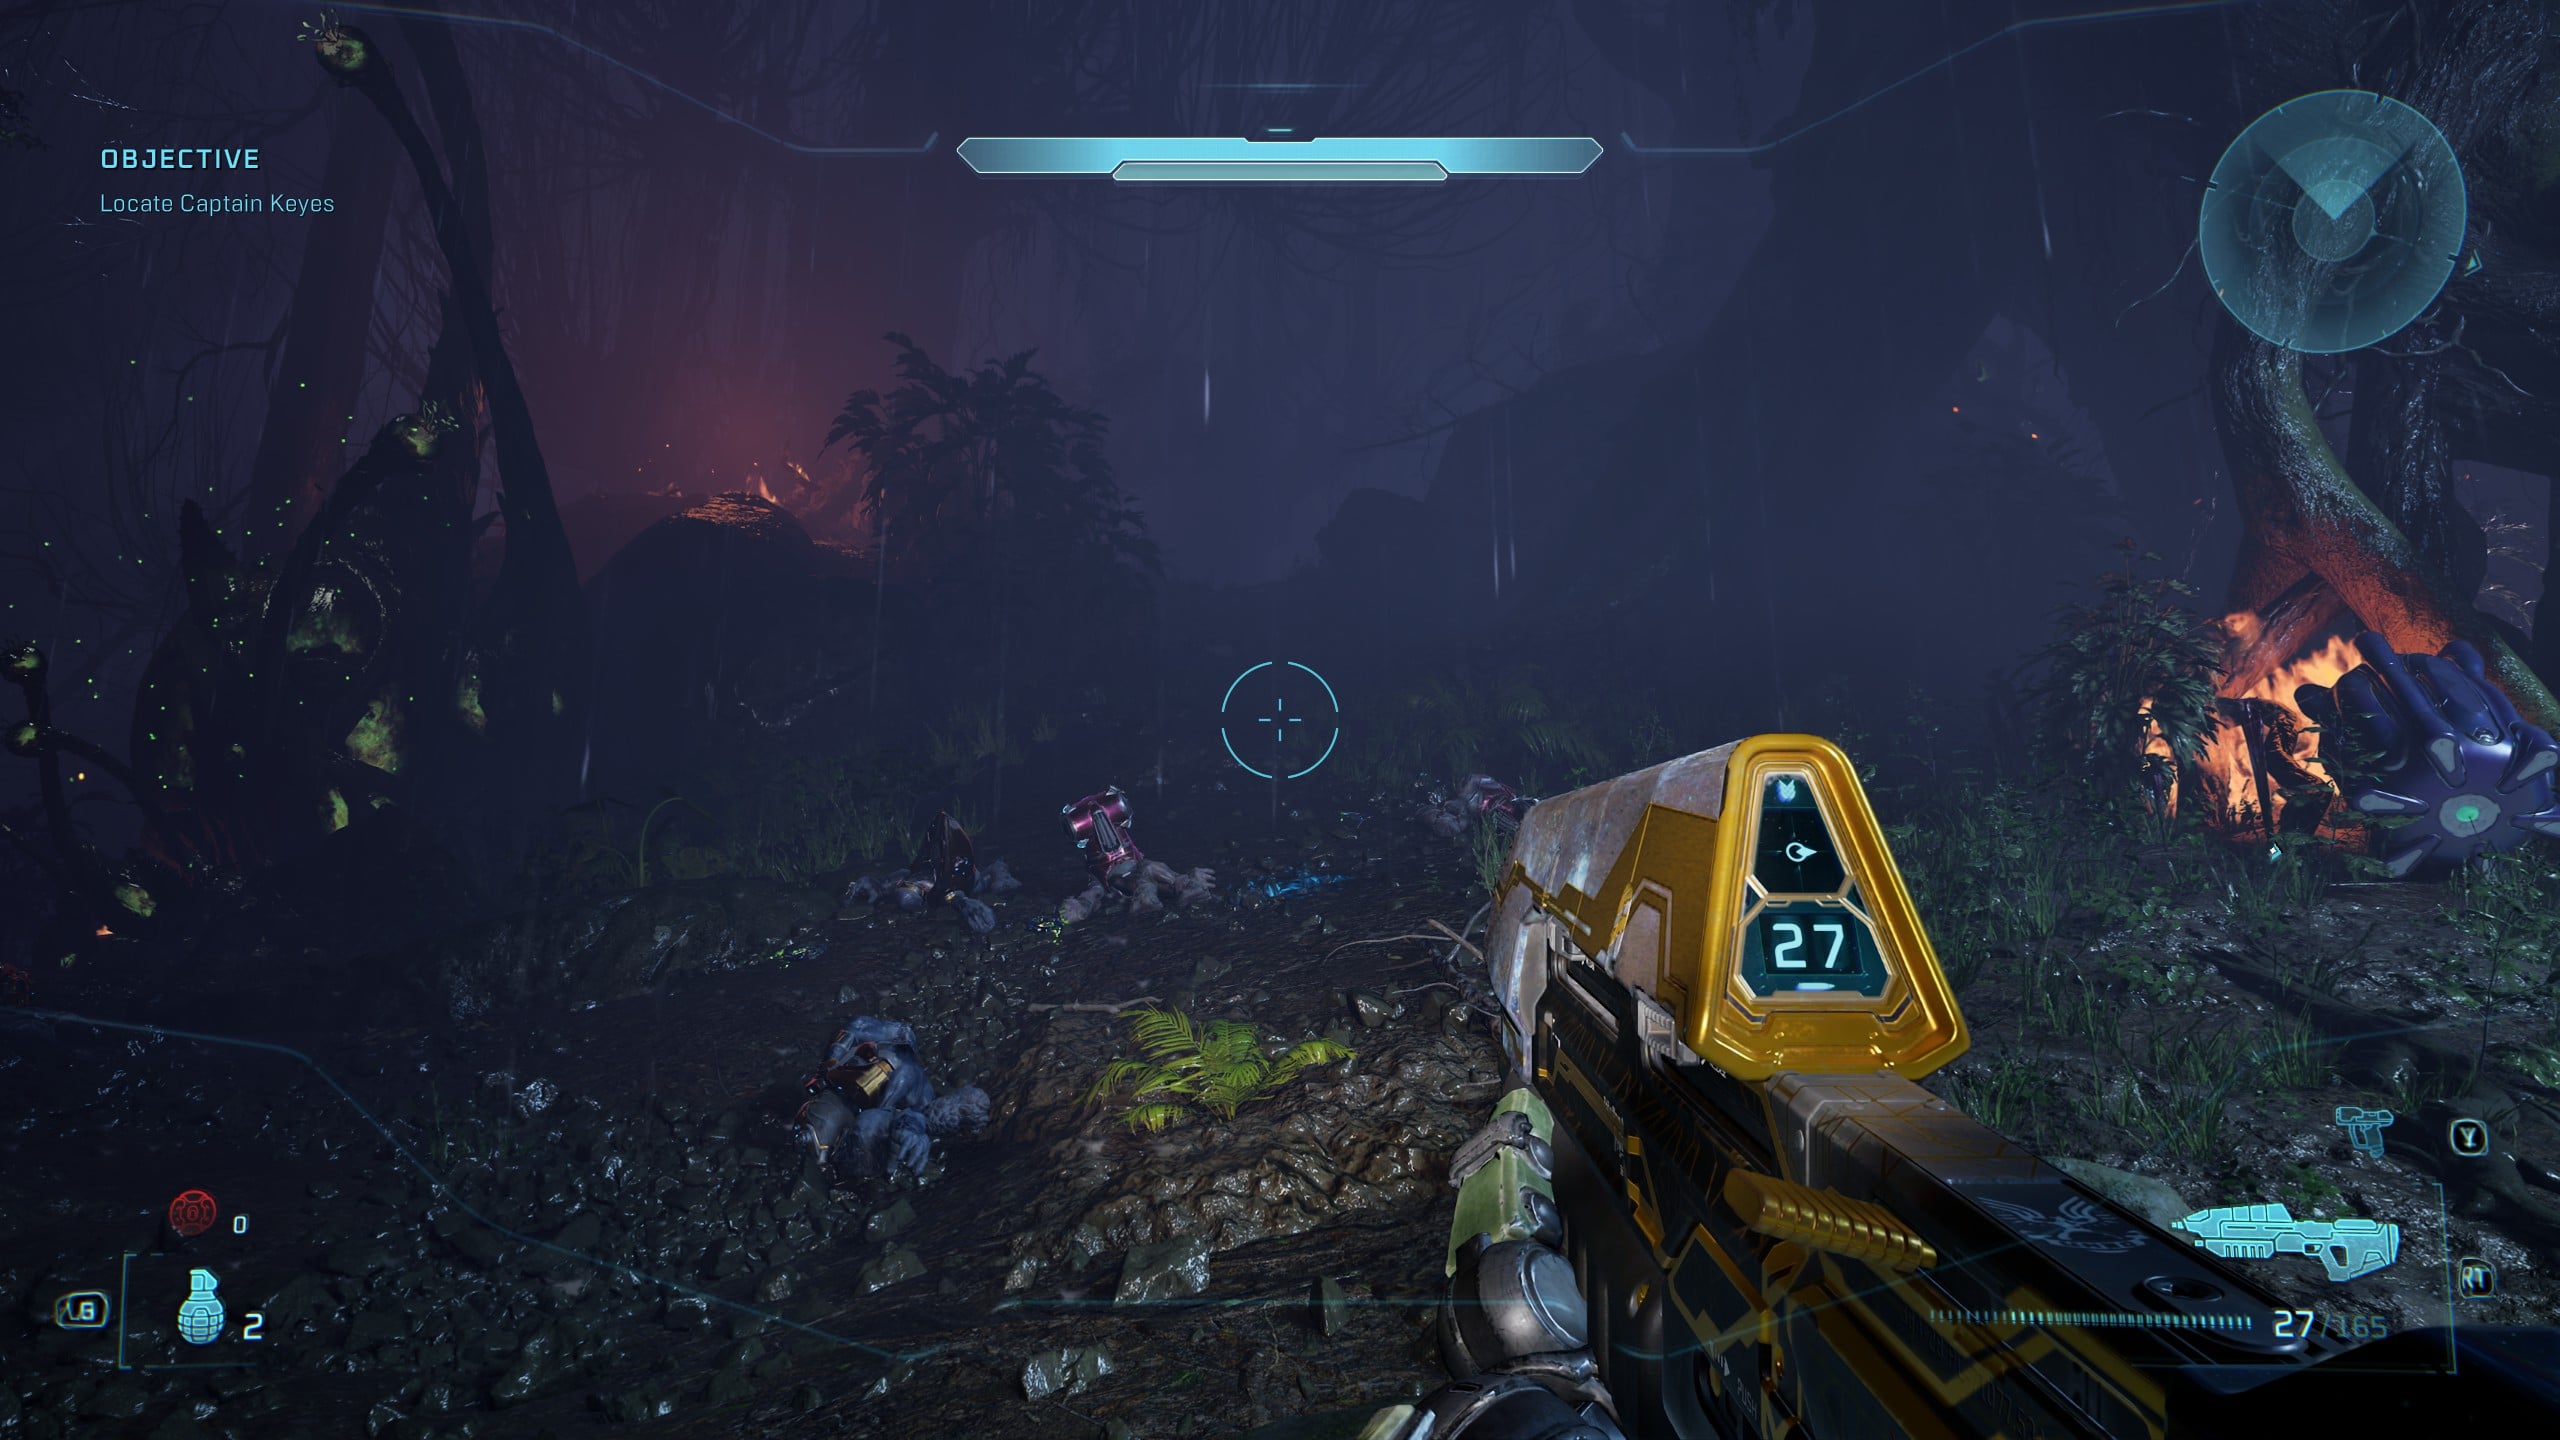
Wipe the foes out, turn back to where you came from while standing under the dropship, and you’ll see a path leading up a small hill.
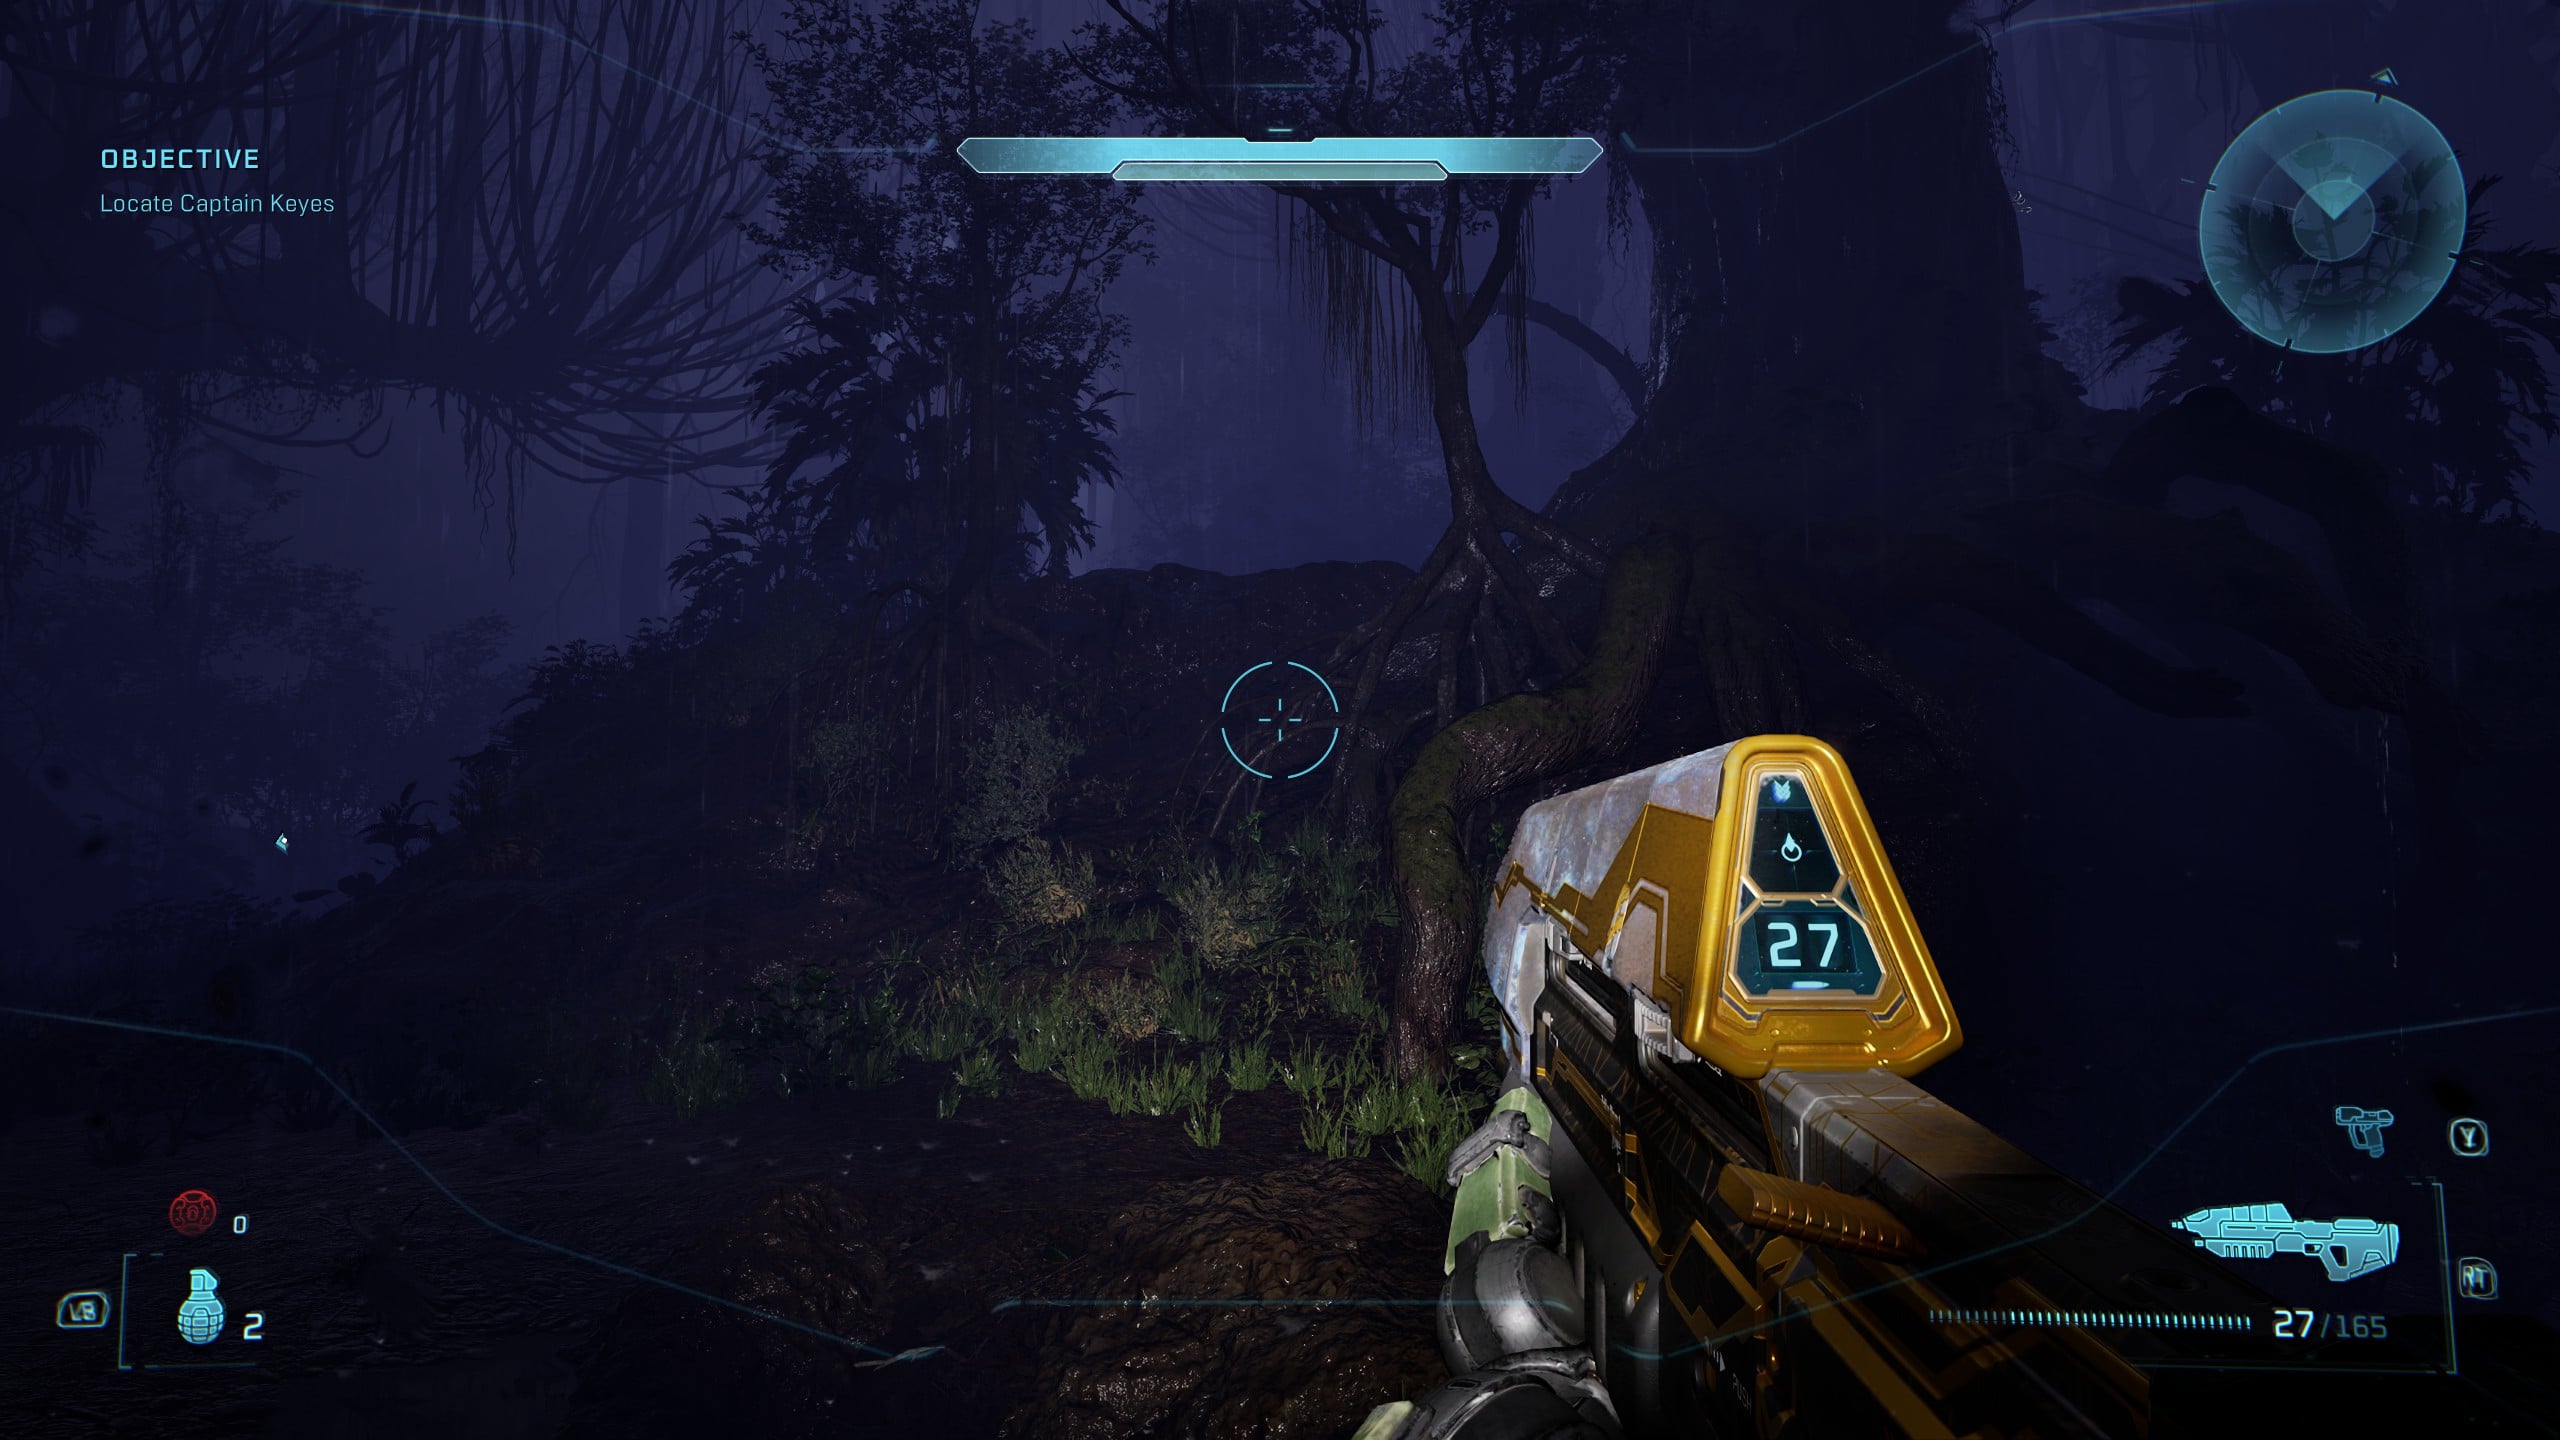
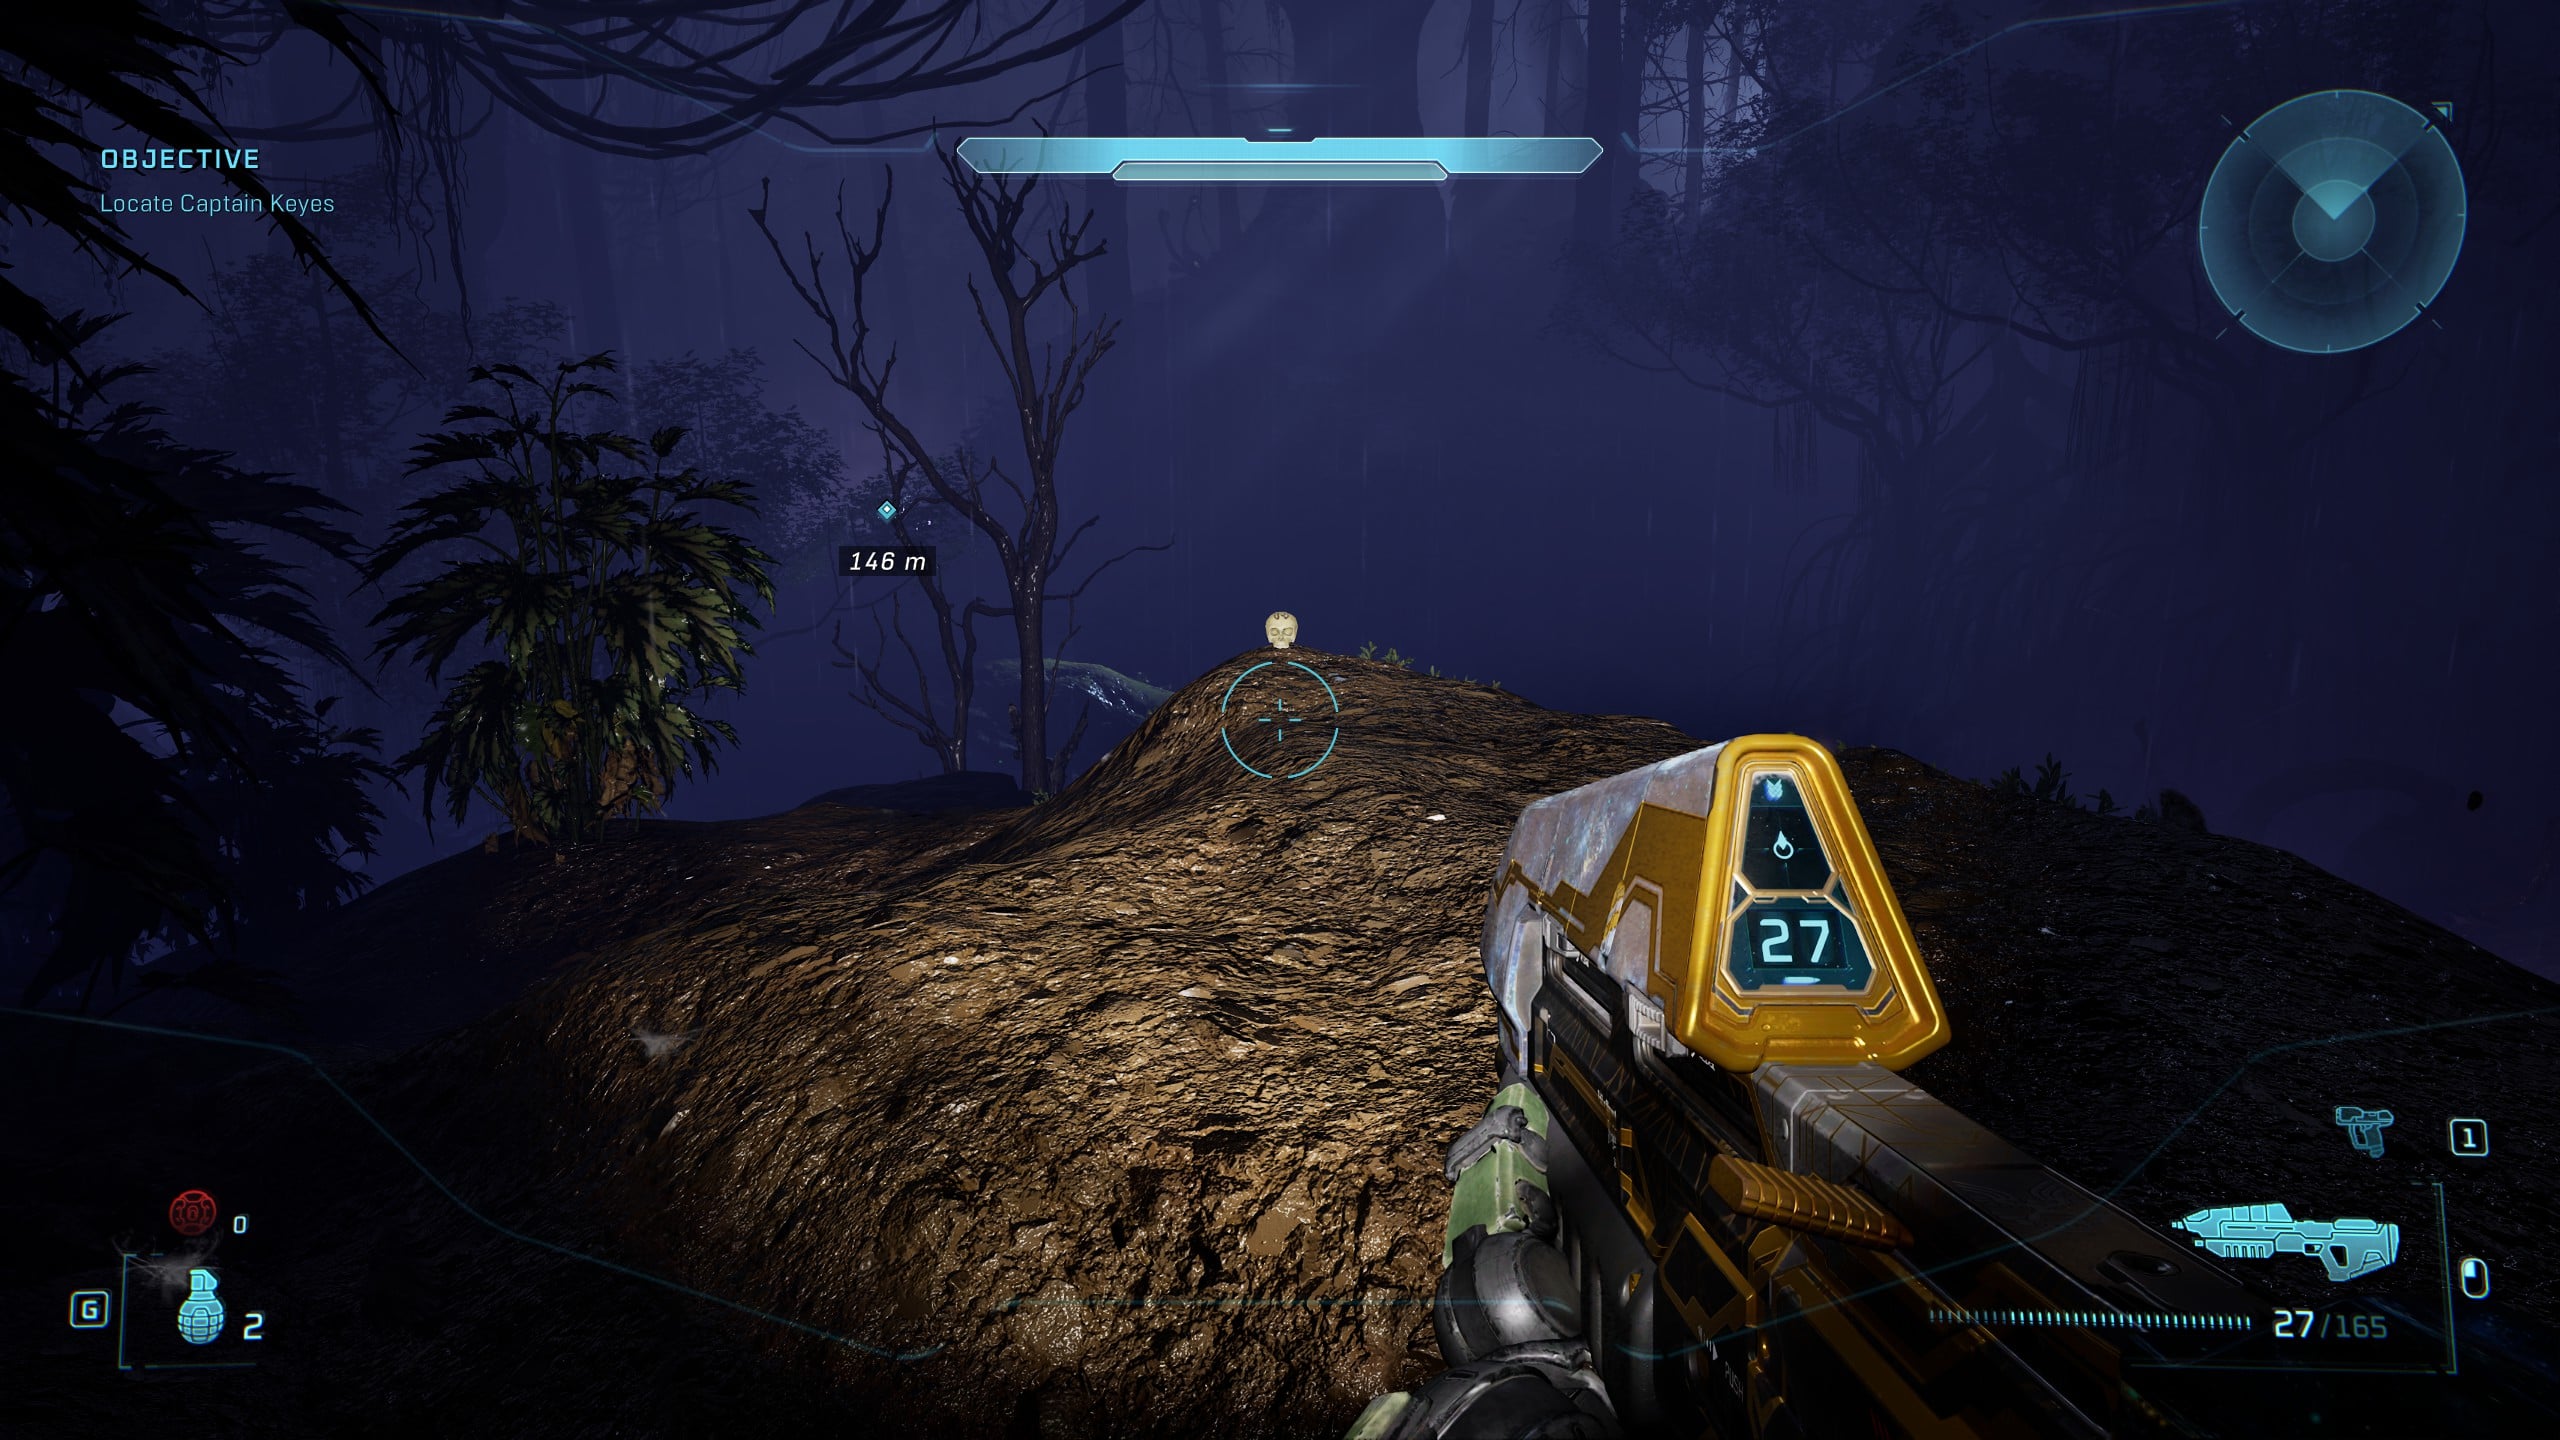
Climb the hill and at the top turn right and climb up the bank of mud and tree roots. Just at the top of the bank, you’ll see the Fog Skull.
Rally Point Bravo
Skull 17 – That’s Just… Wrong
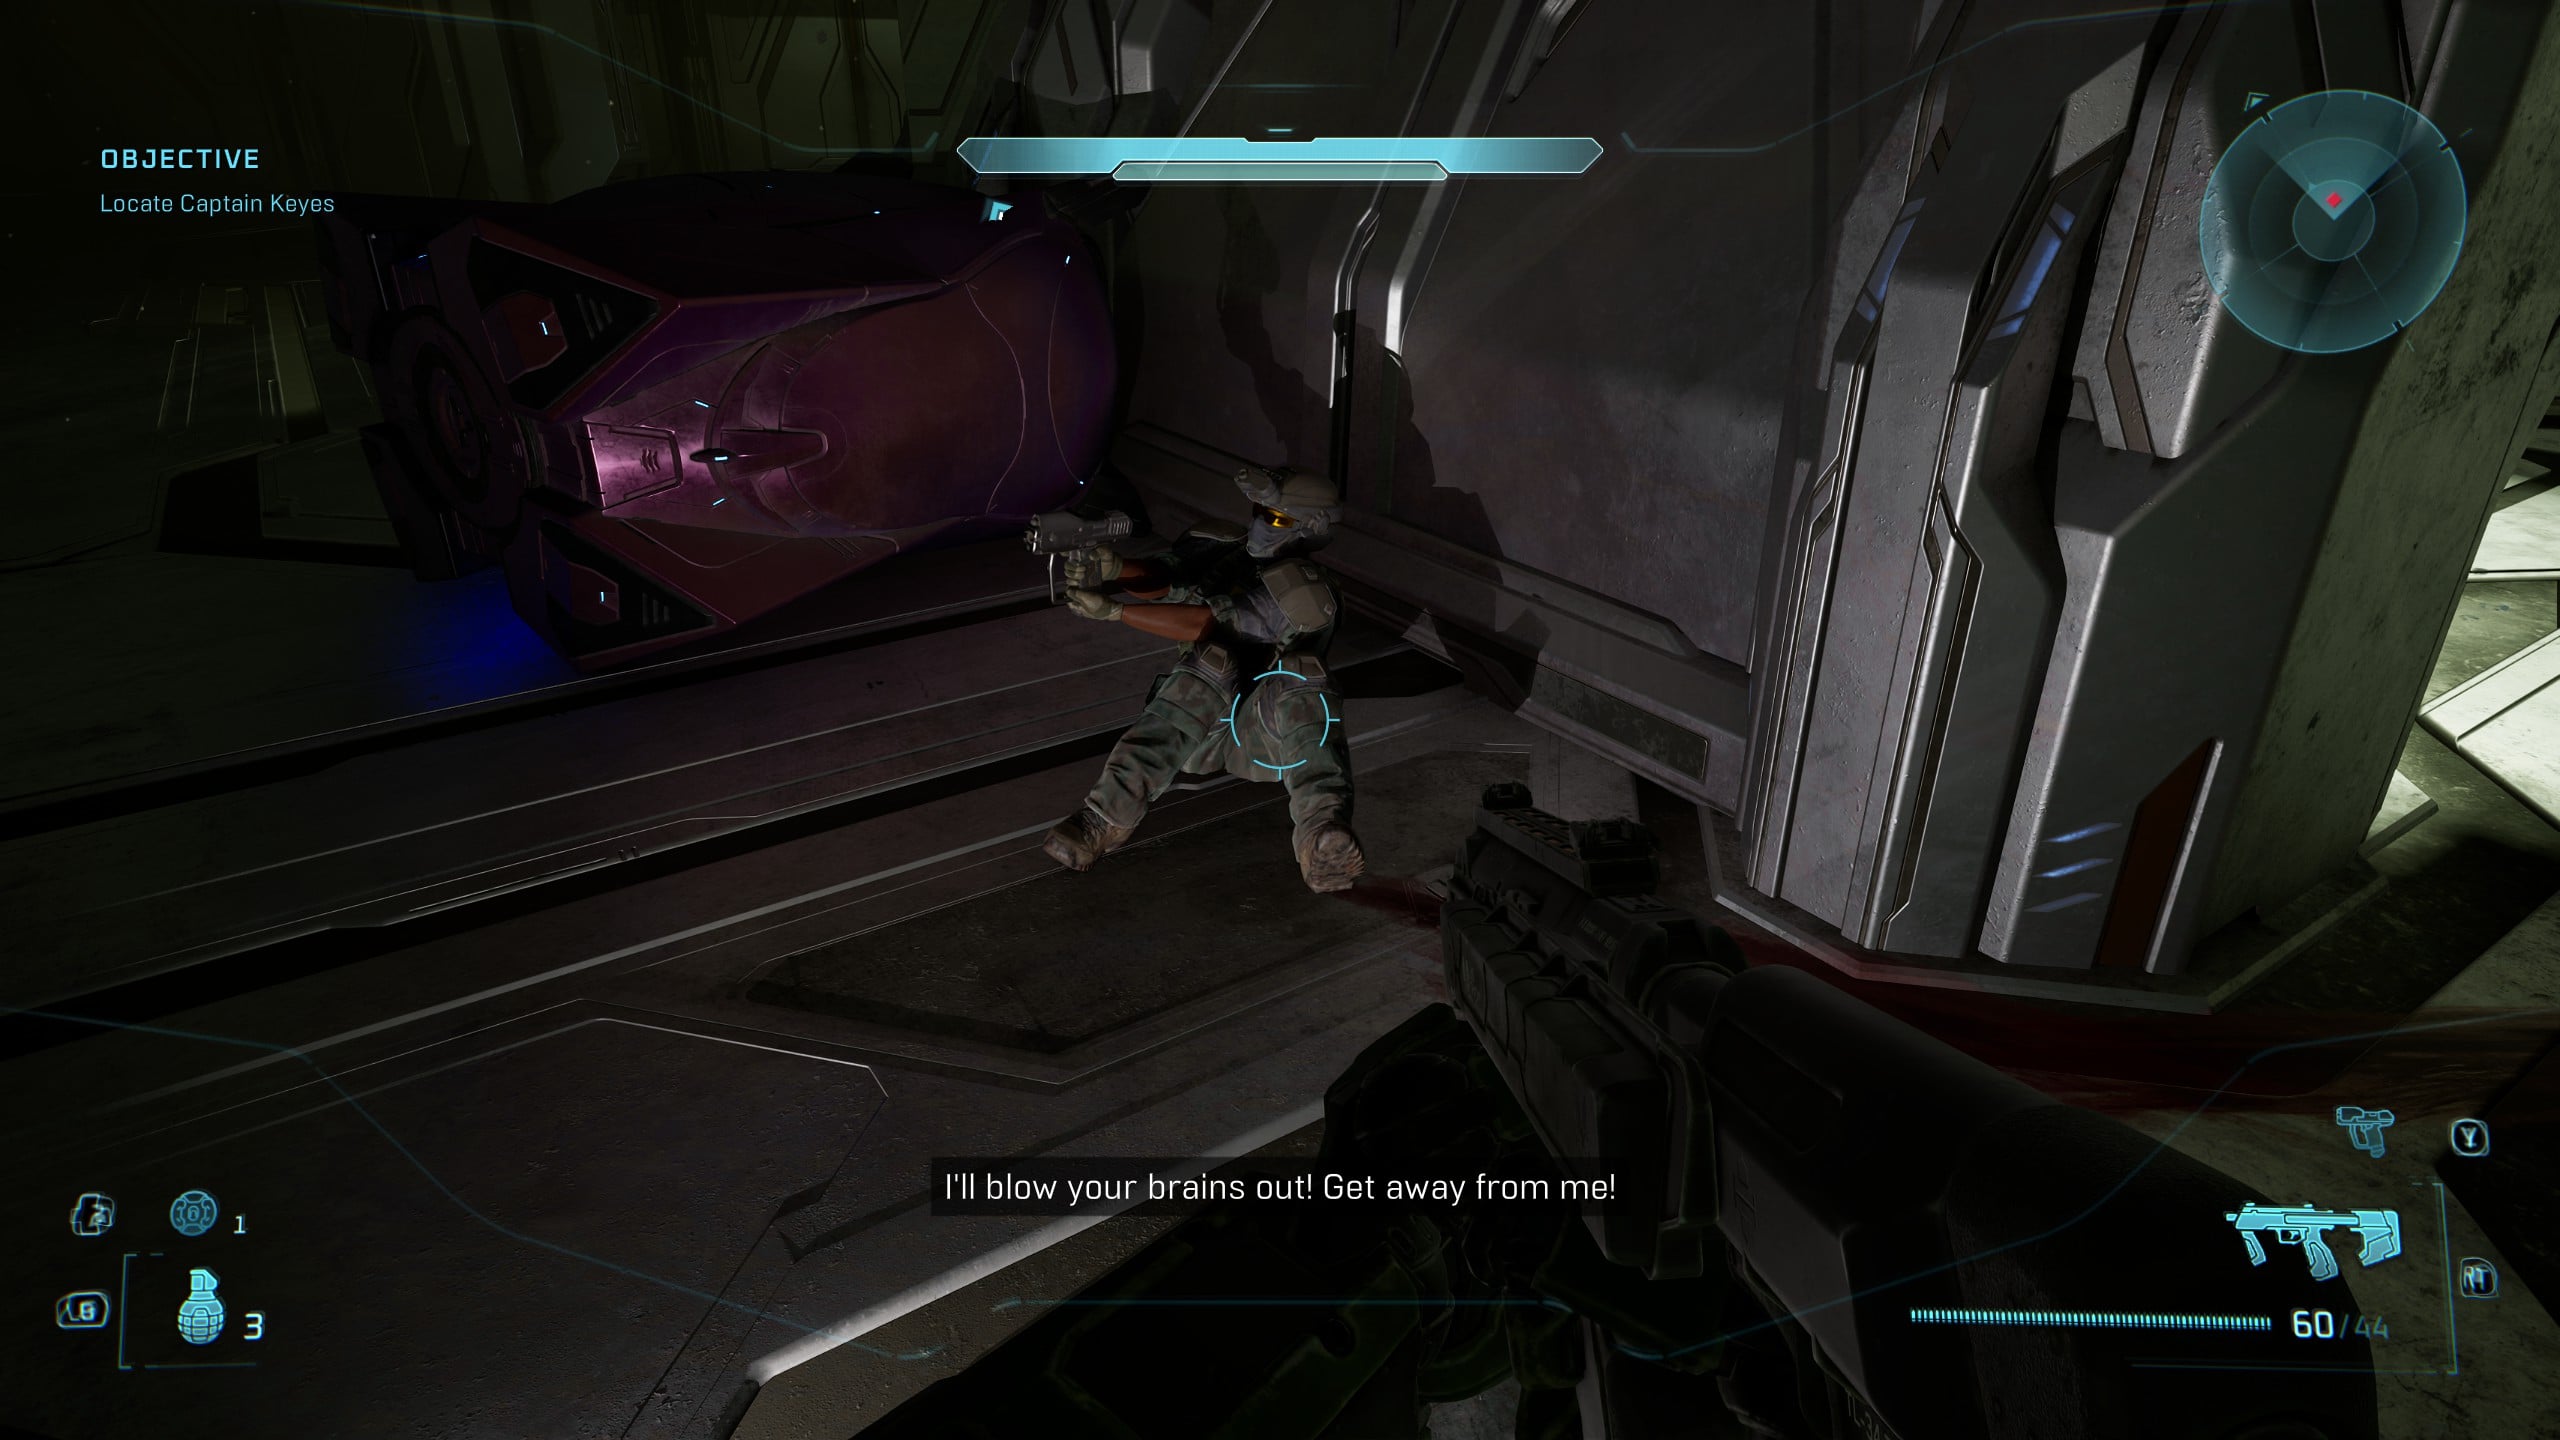
This is a very easy Skull to get, and if you missed it the first time around, that just means you’re incredibly thoughtful. Follow the objective markers until you find the confused Marine that begins to shoot at you regardless of what you do.
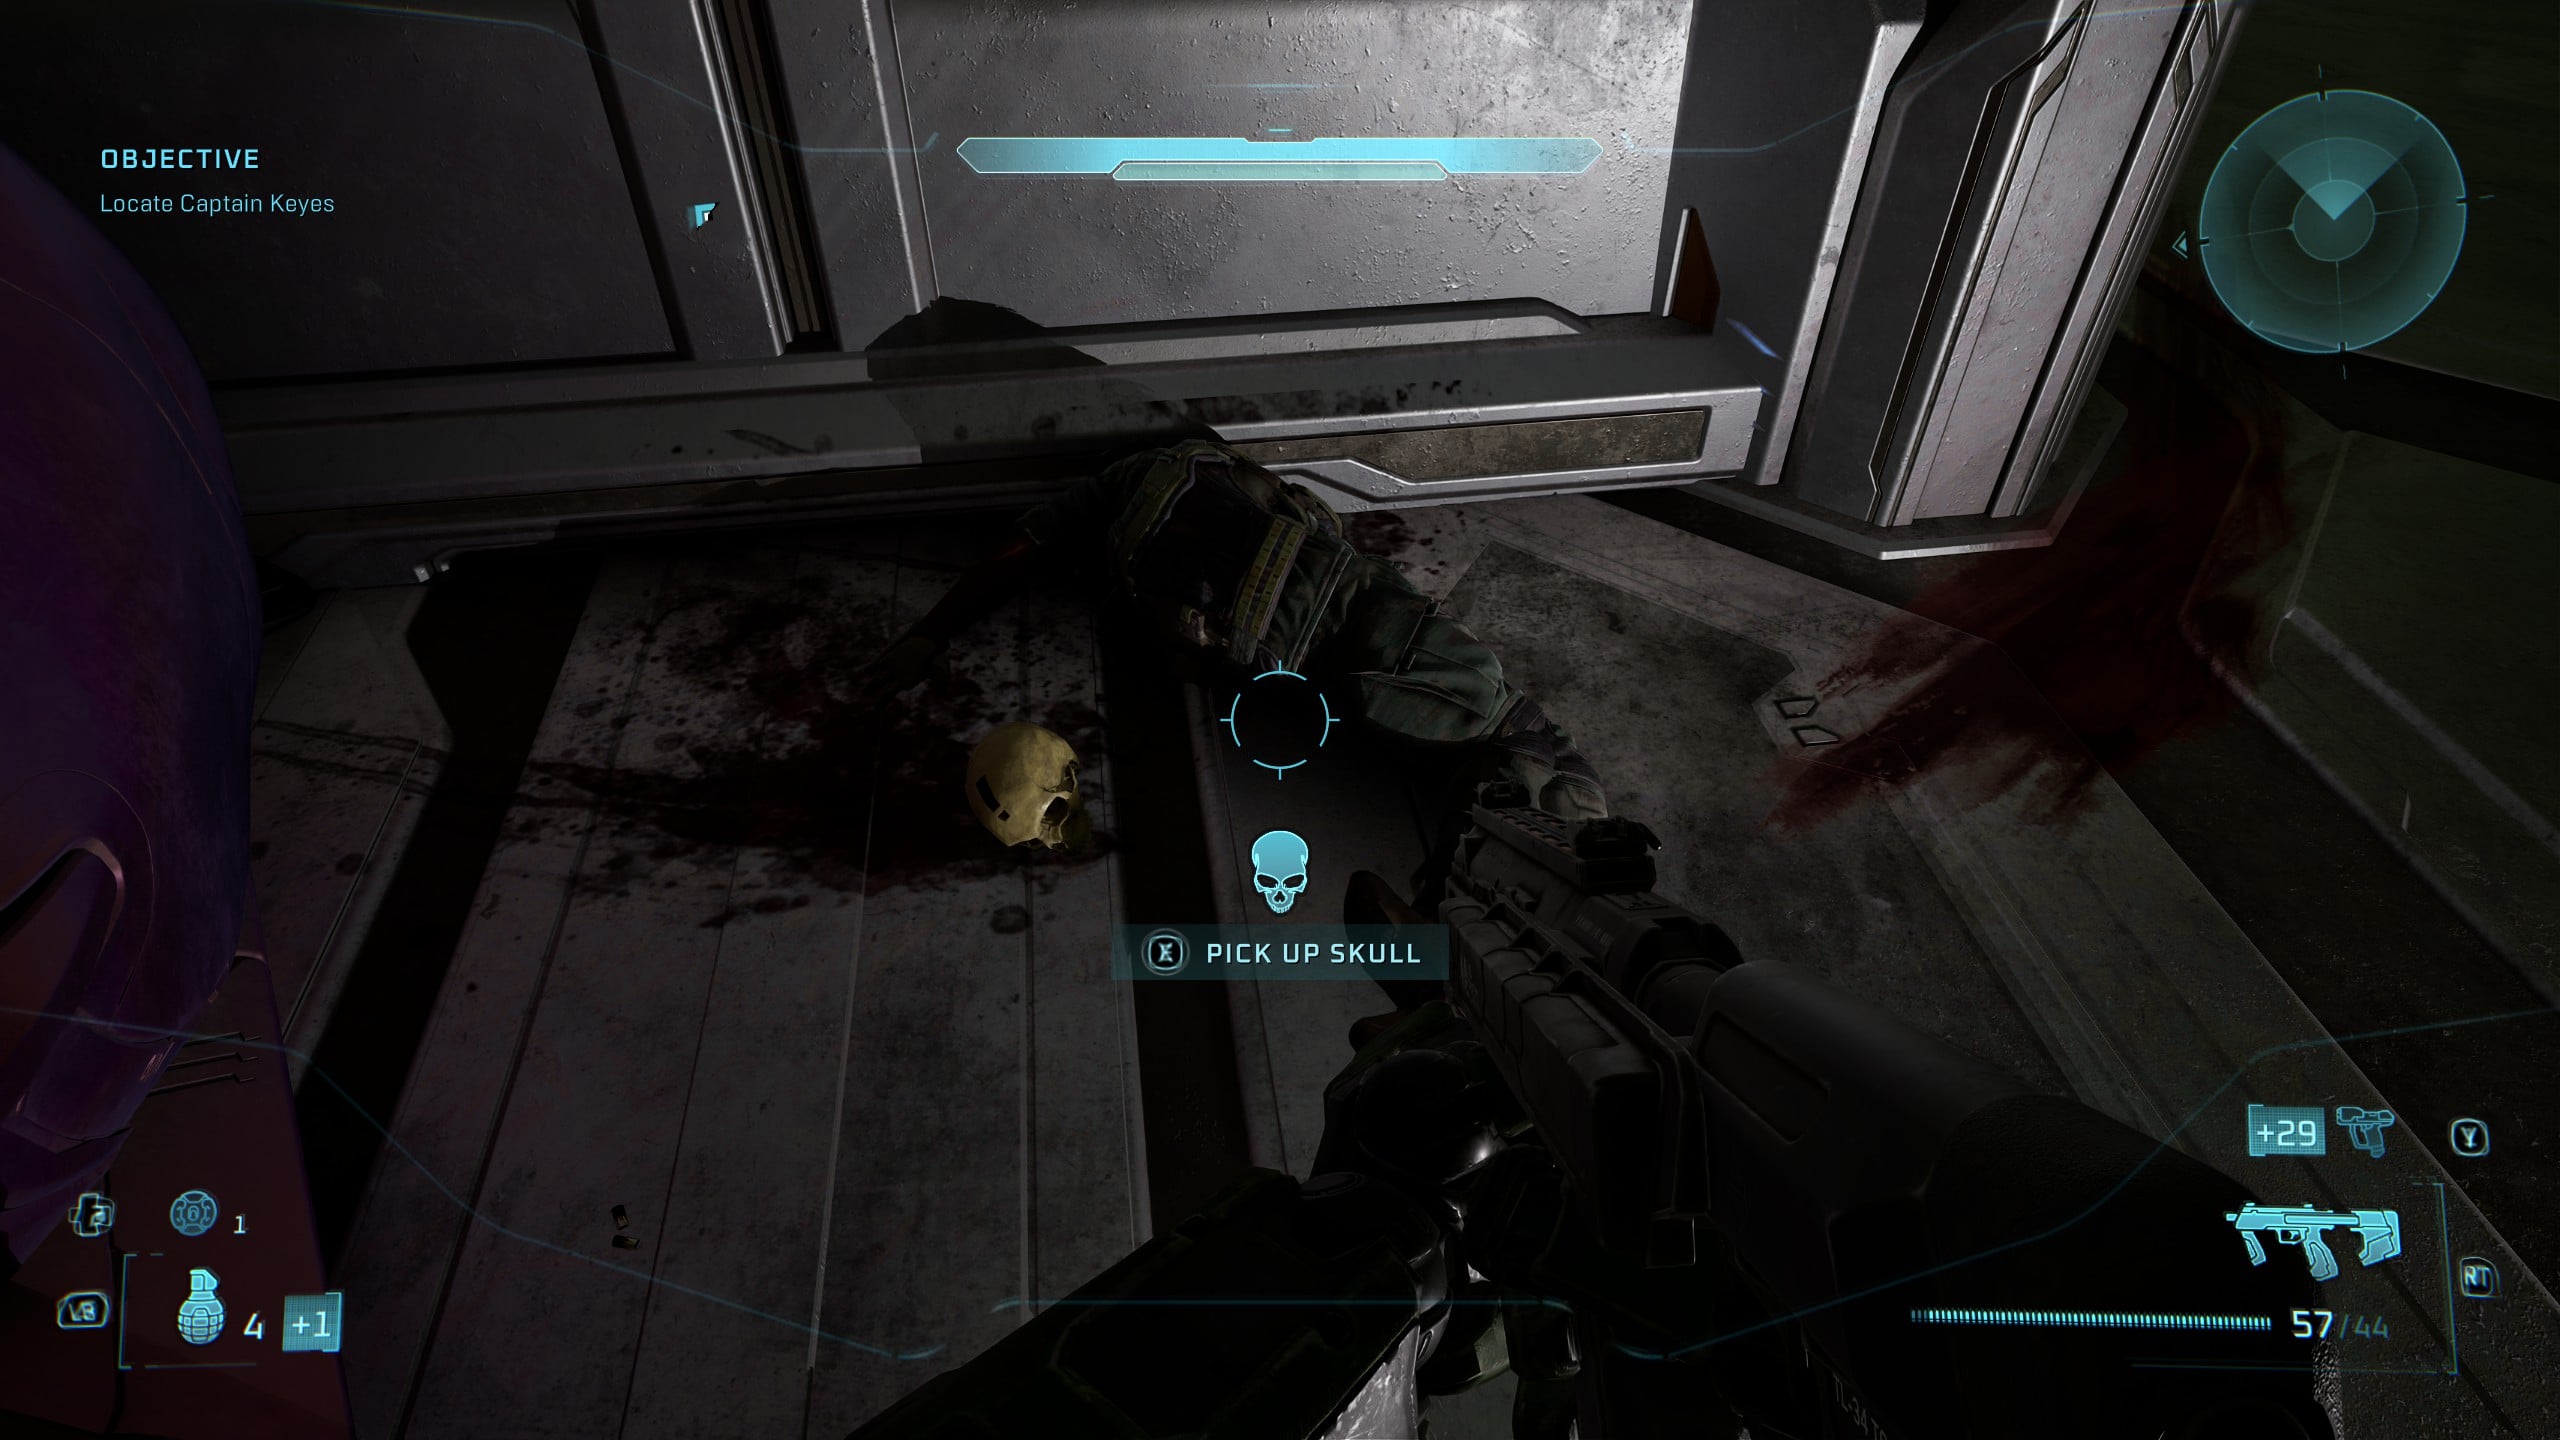
All you need to do is kill him, and he’ll drop the That’s Just… Wrong Skull. And, yeah, it is wrong to kill your fellow human Marines. Try not to do that in the future.
Terminal 6 – Tangent II
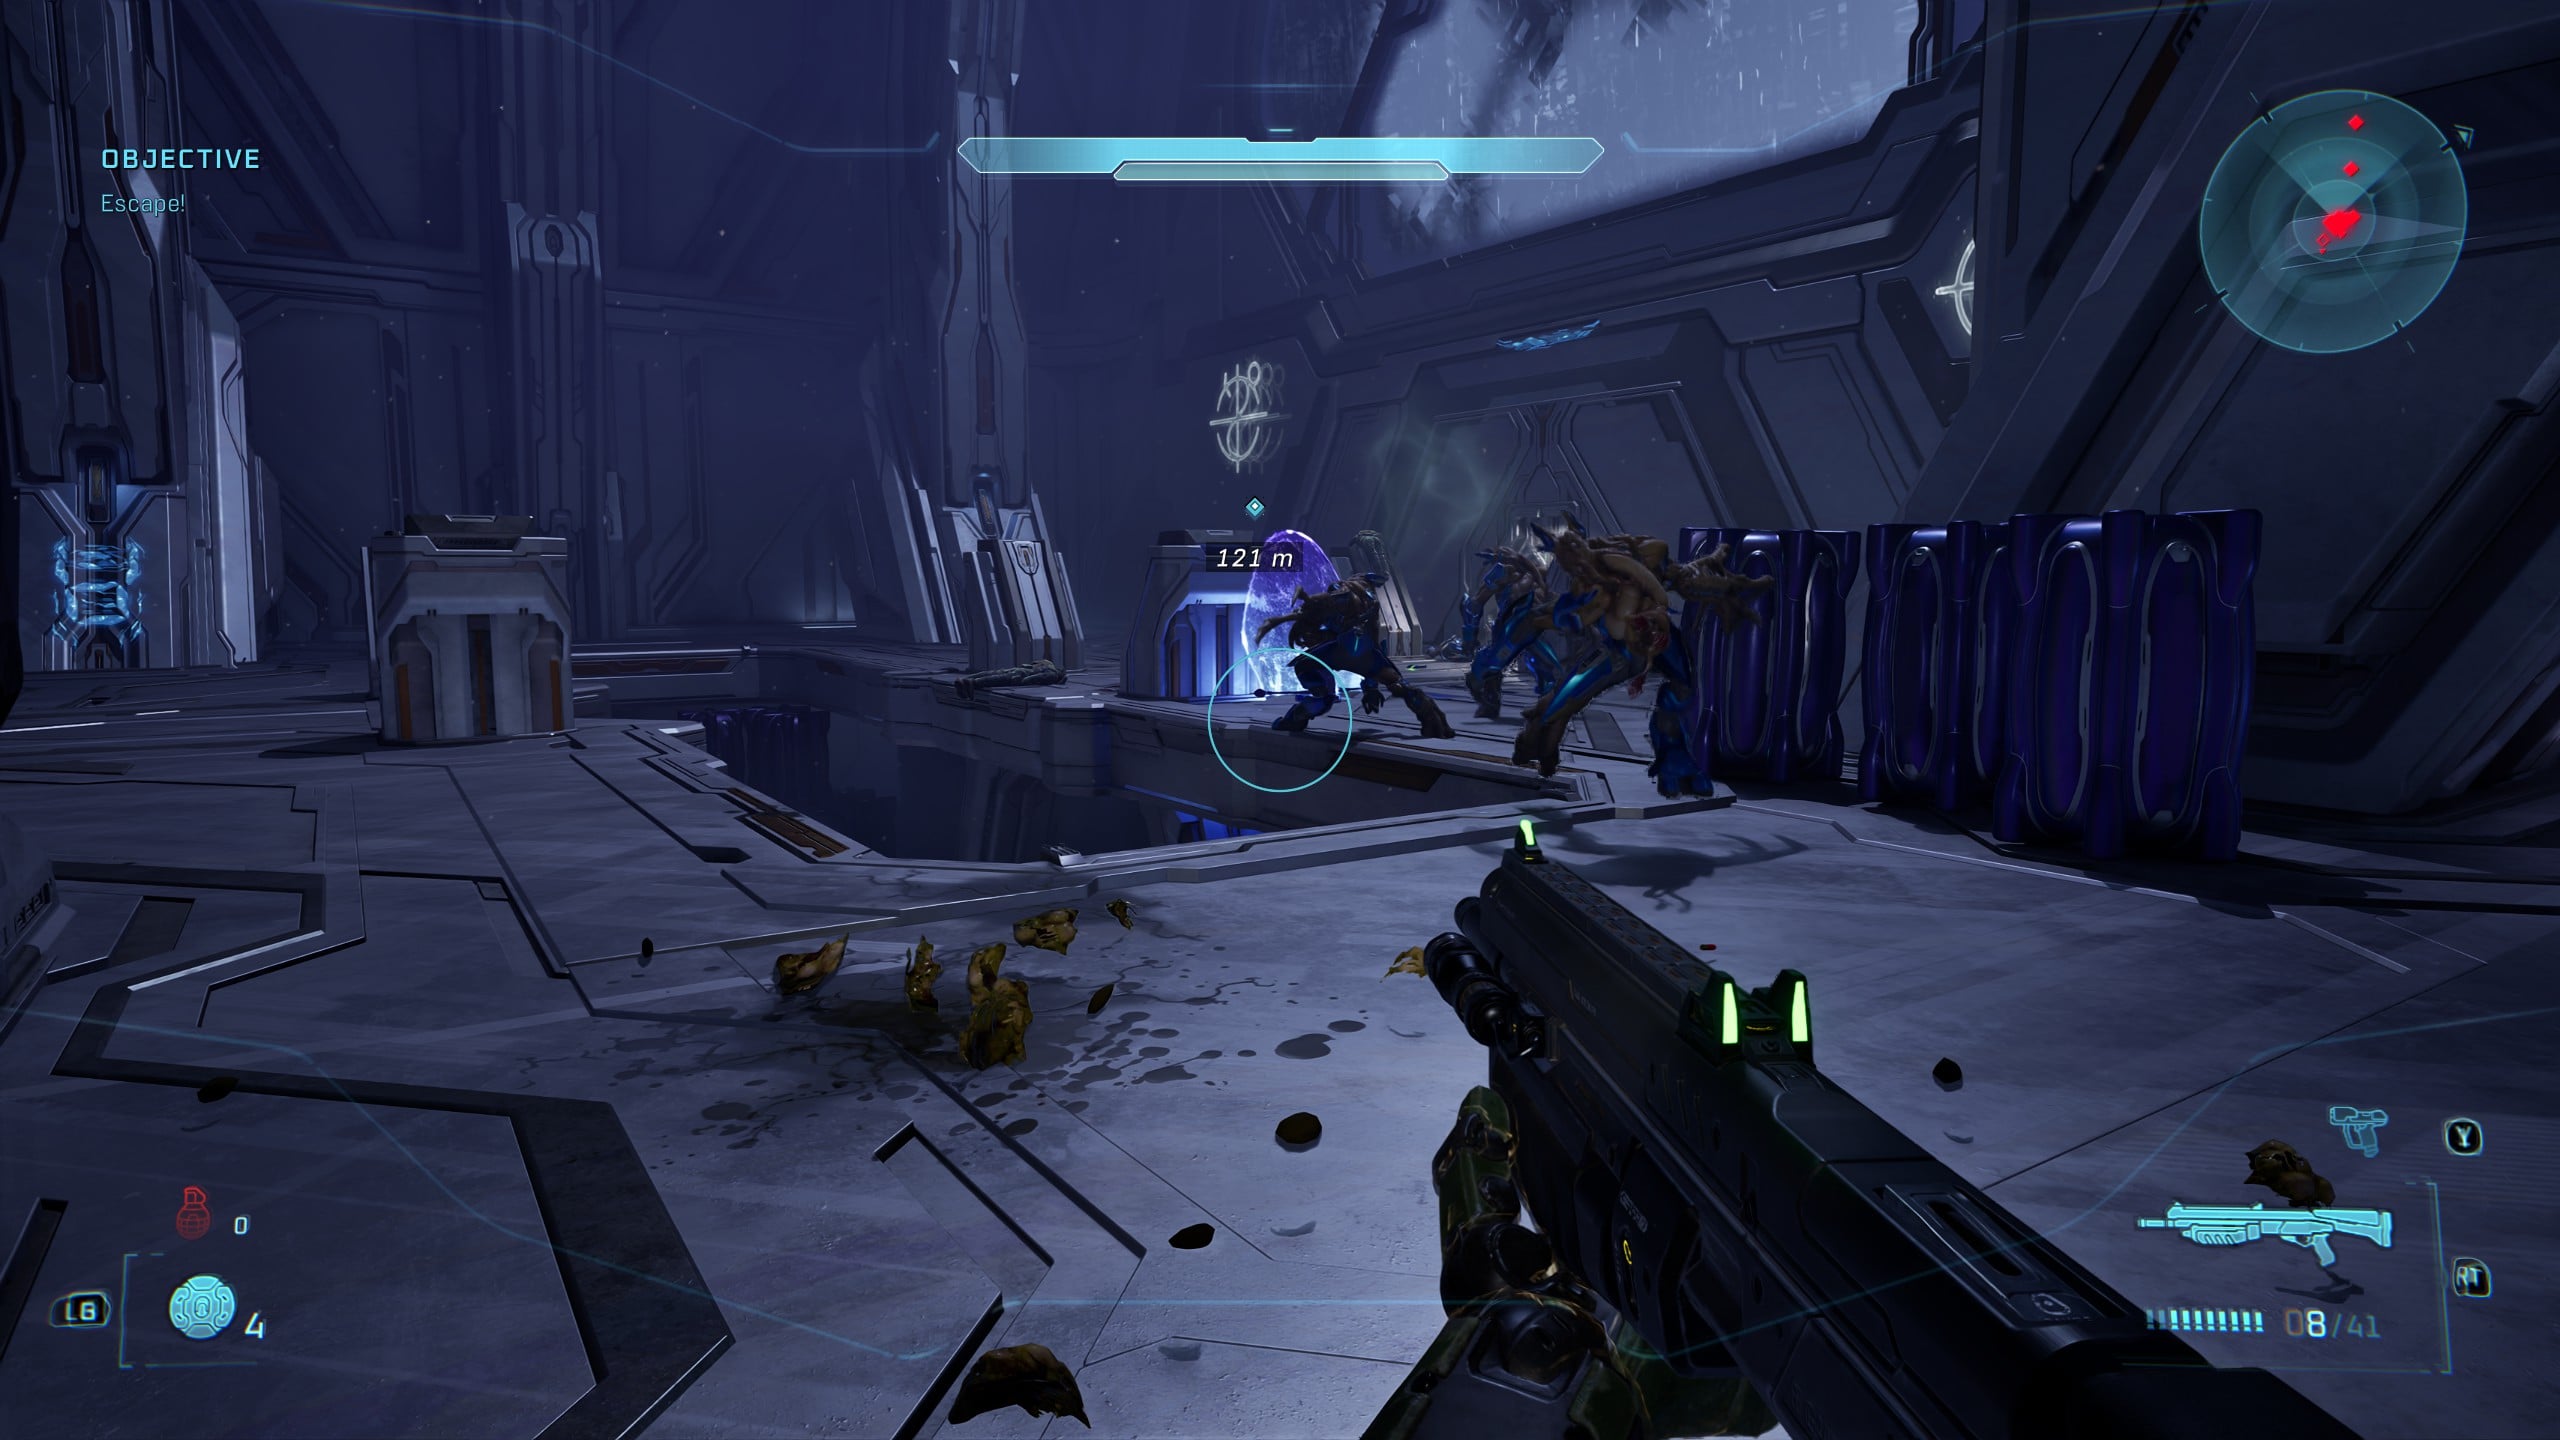
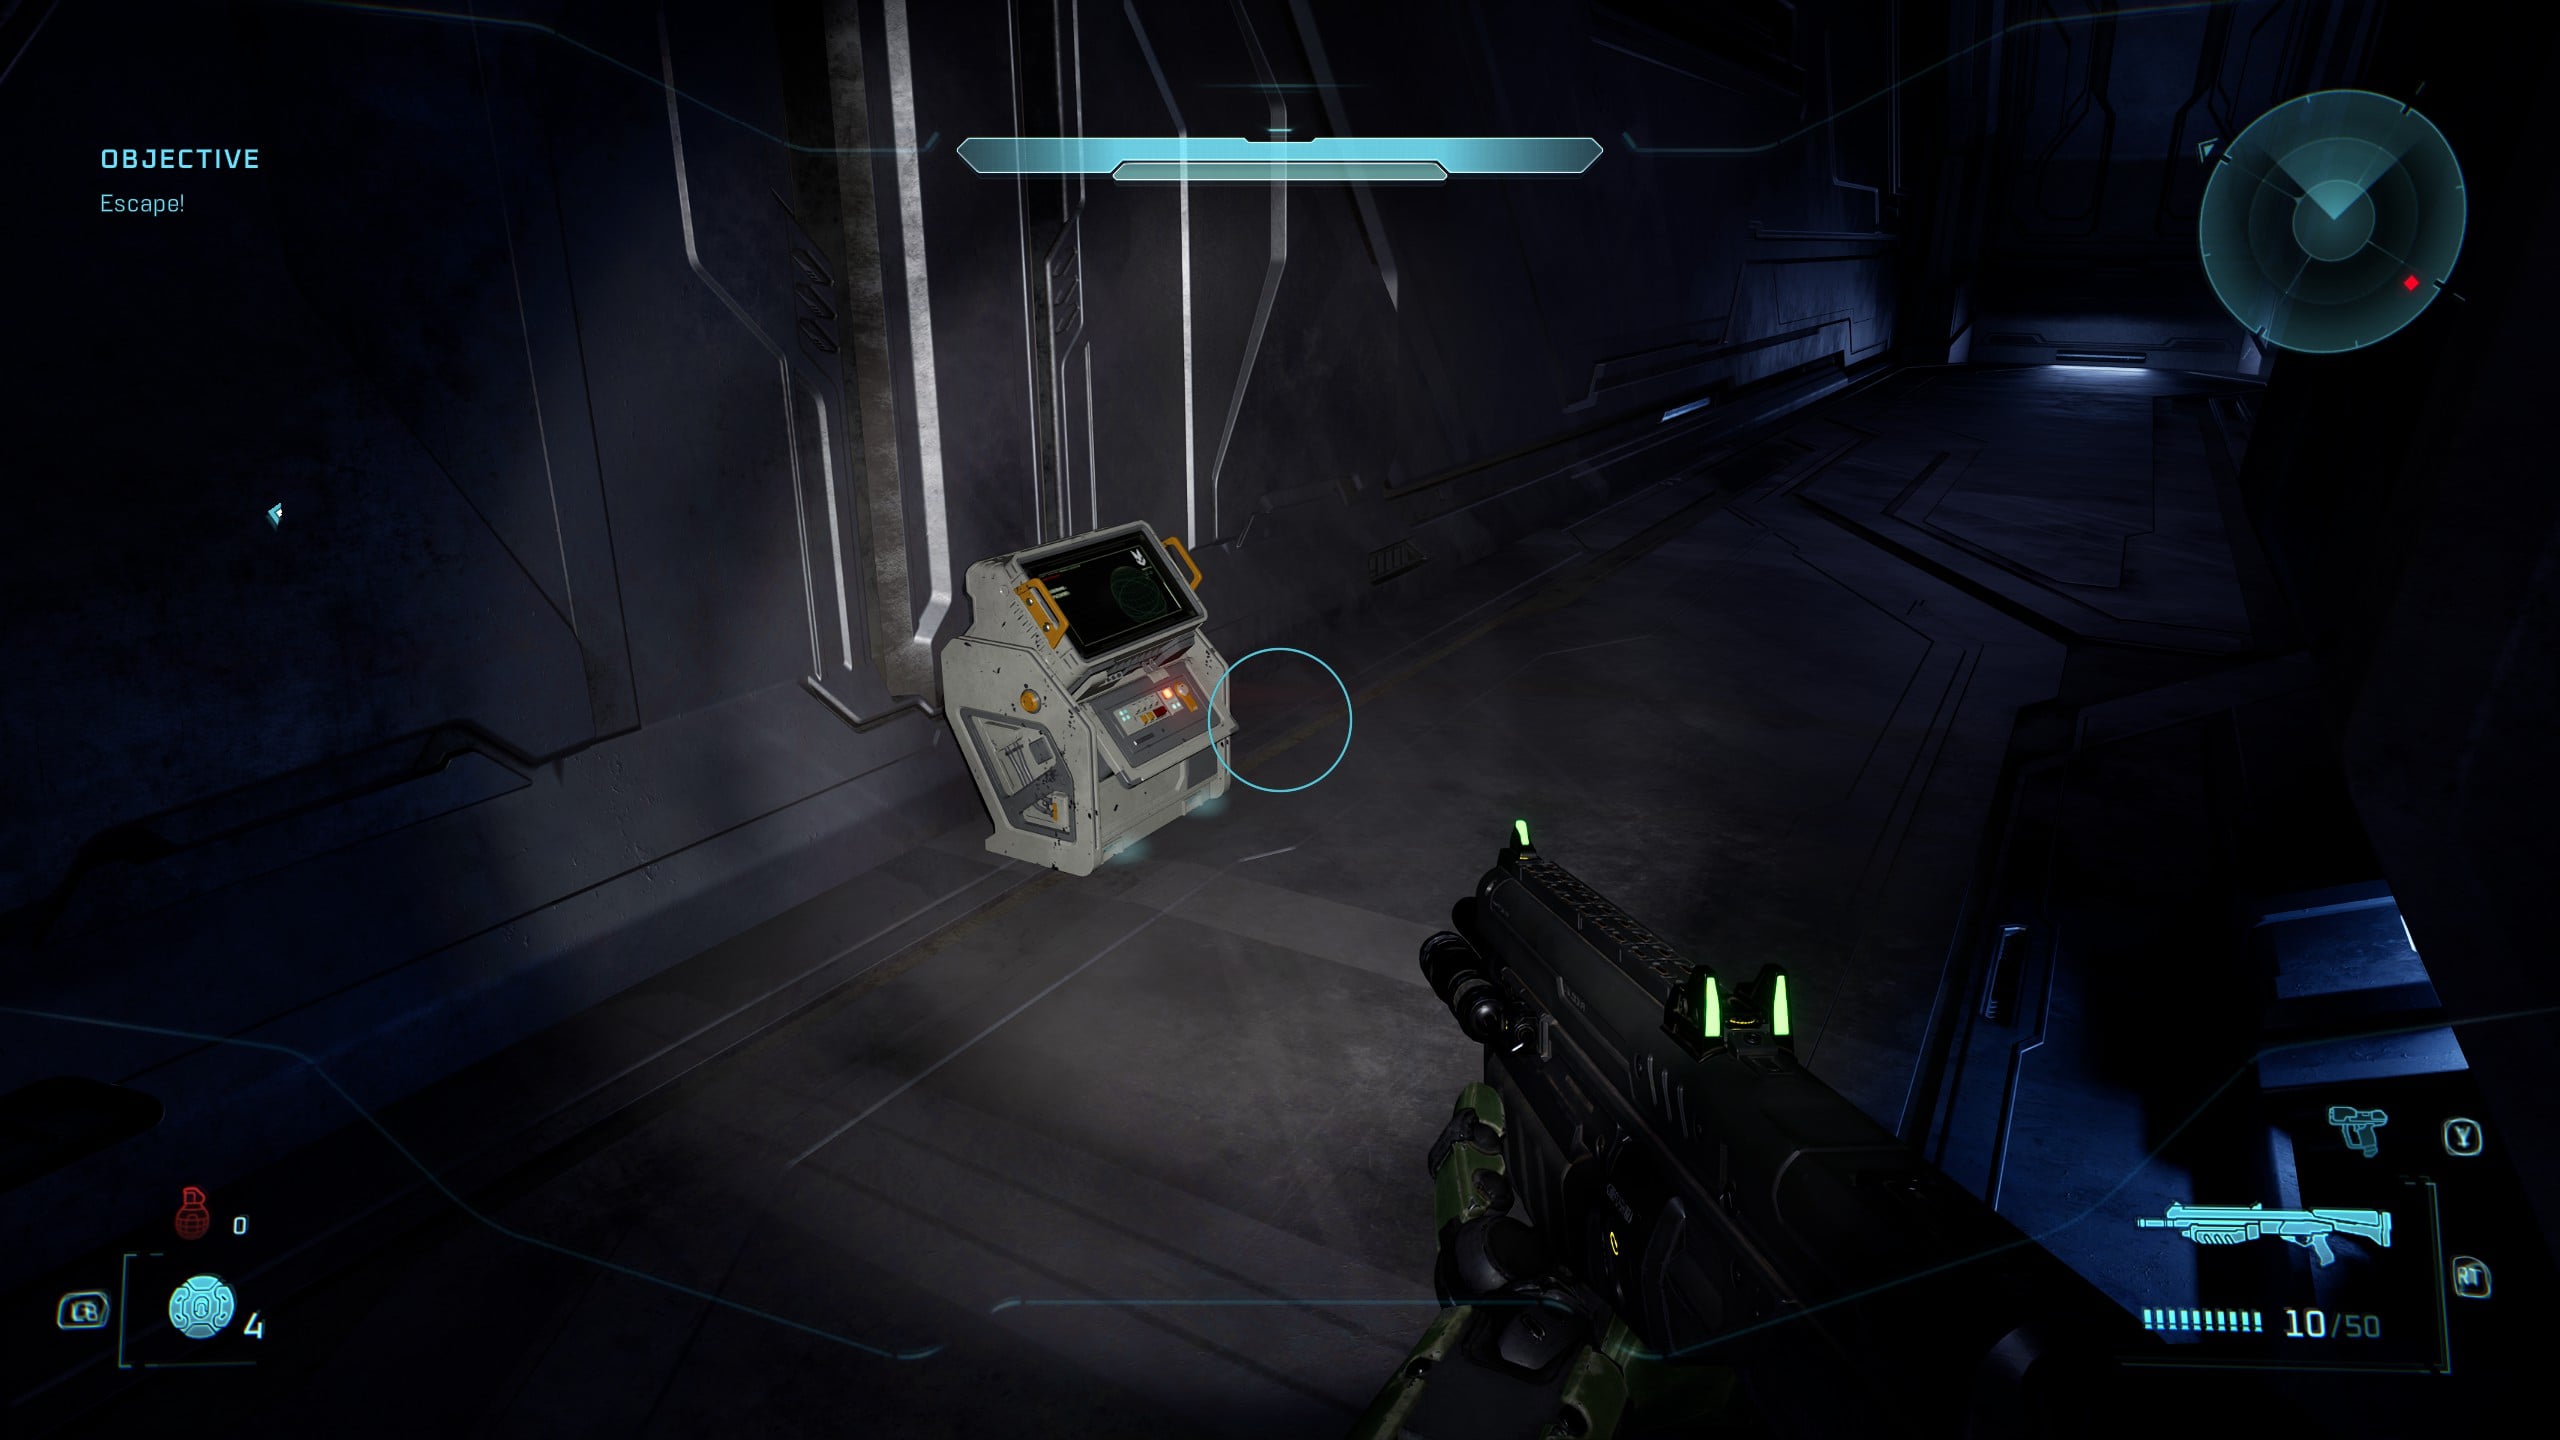
If you’ve played Halo before, you know what comes next. While searching for Captain Keyes, your objective will switch to ‘Escape!’ after a certain cutscene. You’ll now need to evacuate the area, moving back to where you began, Rally Point Bravo.
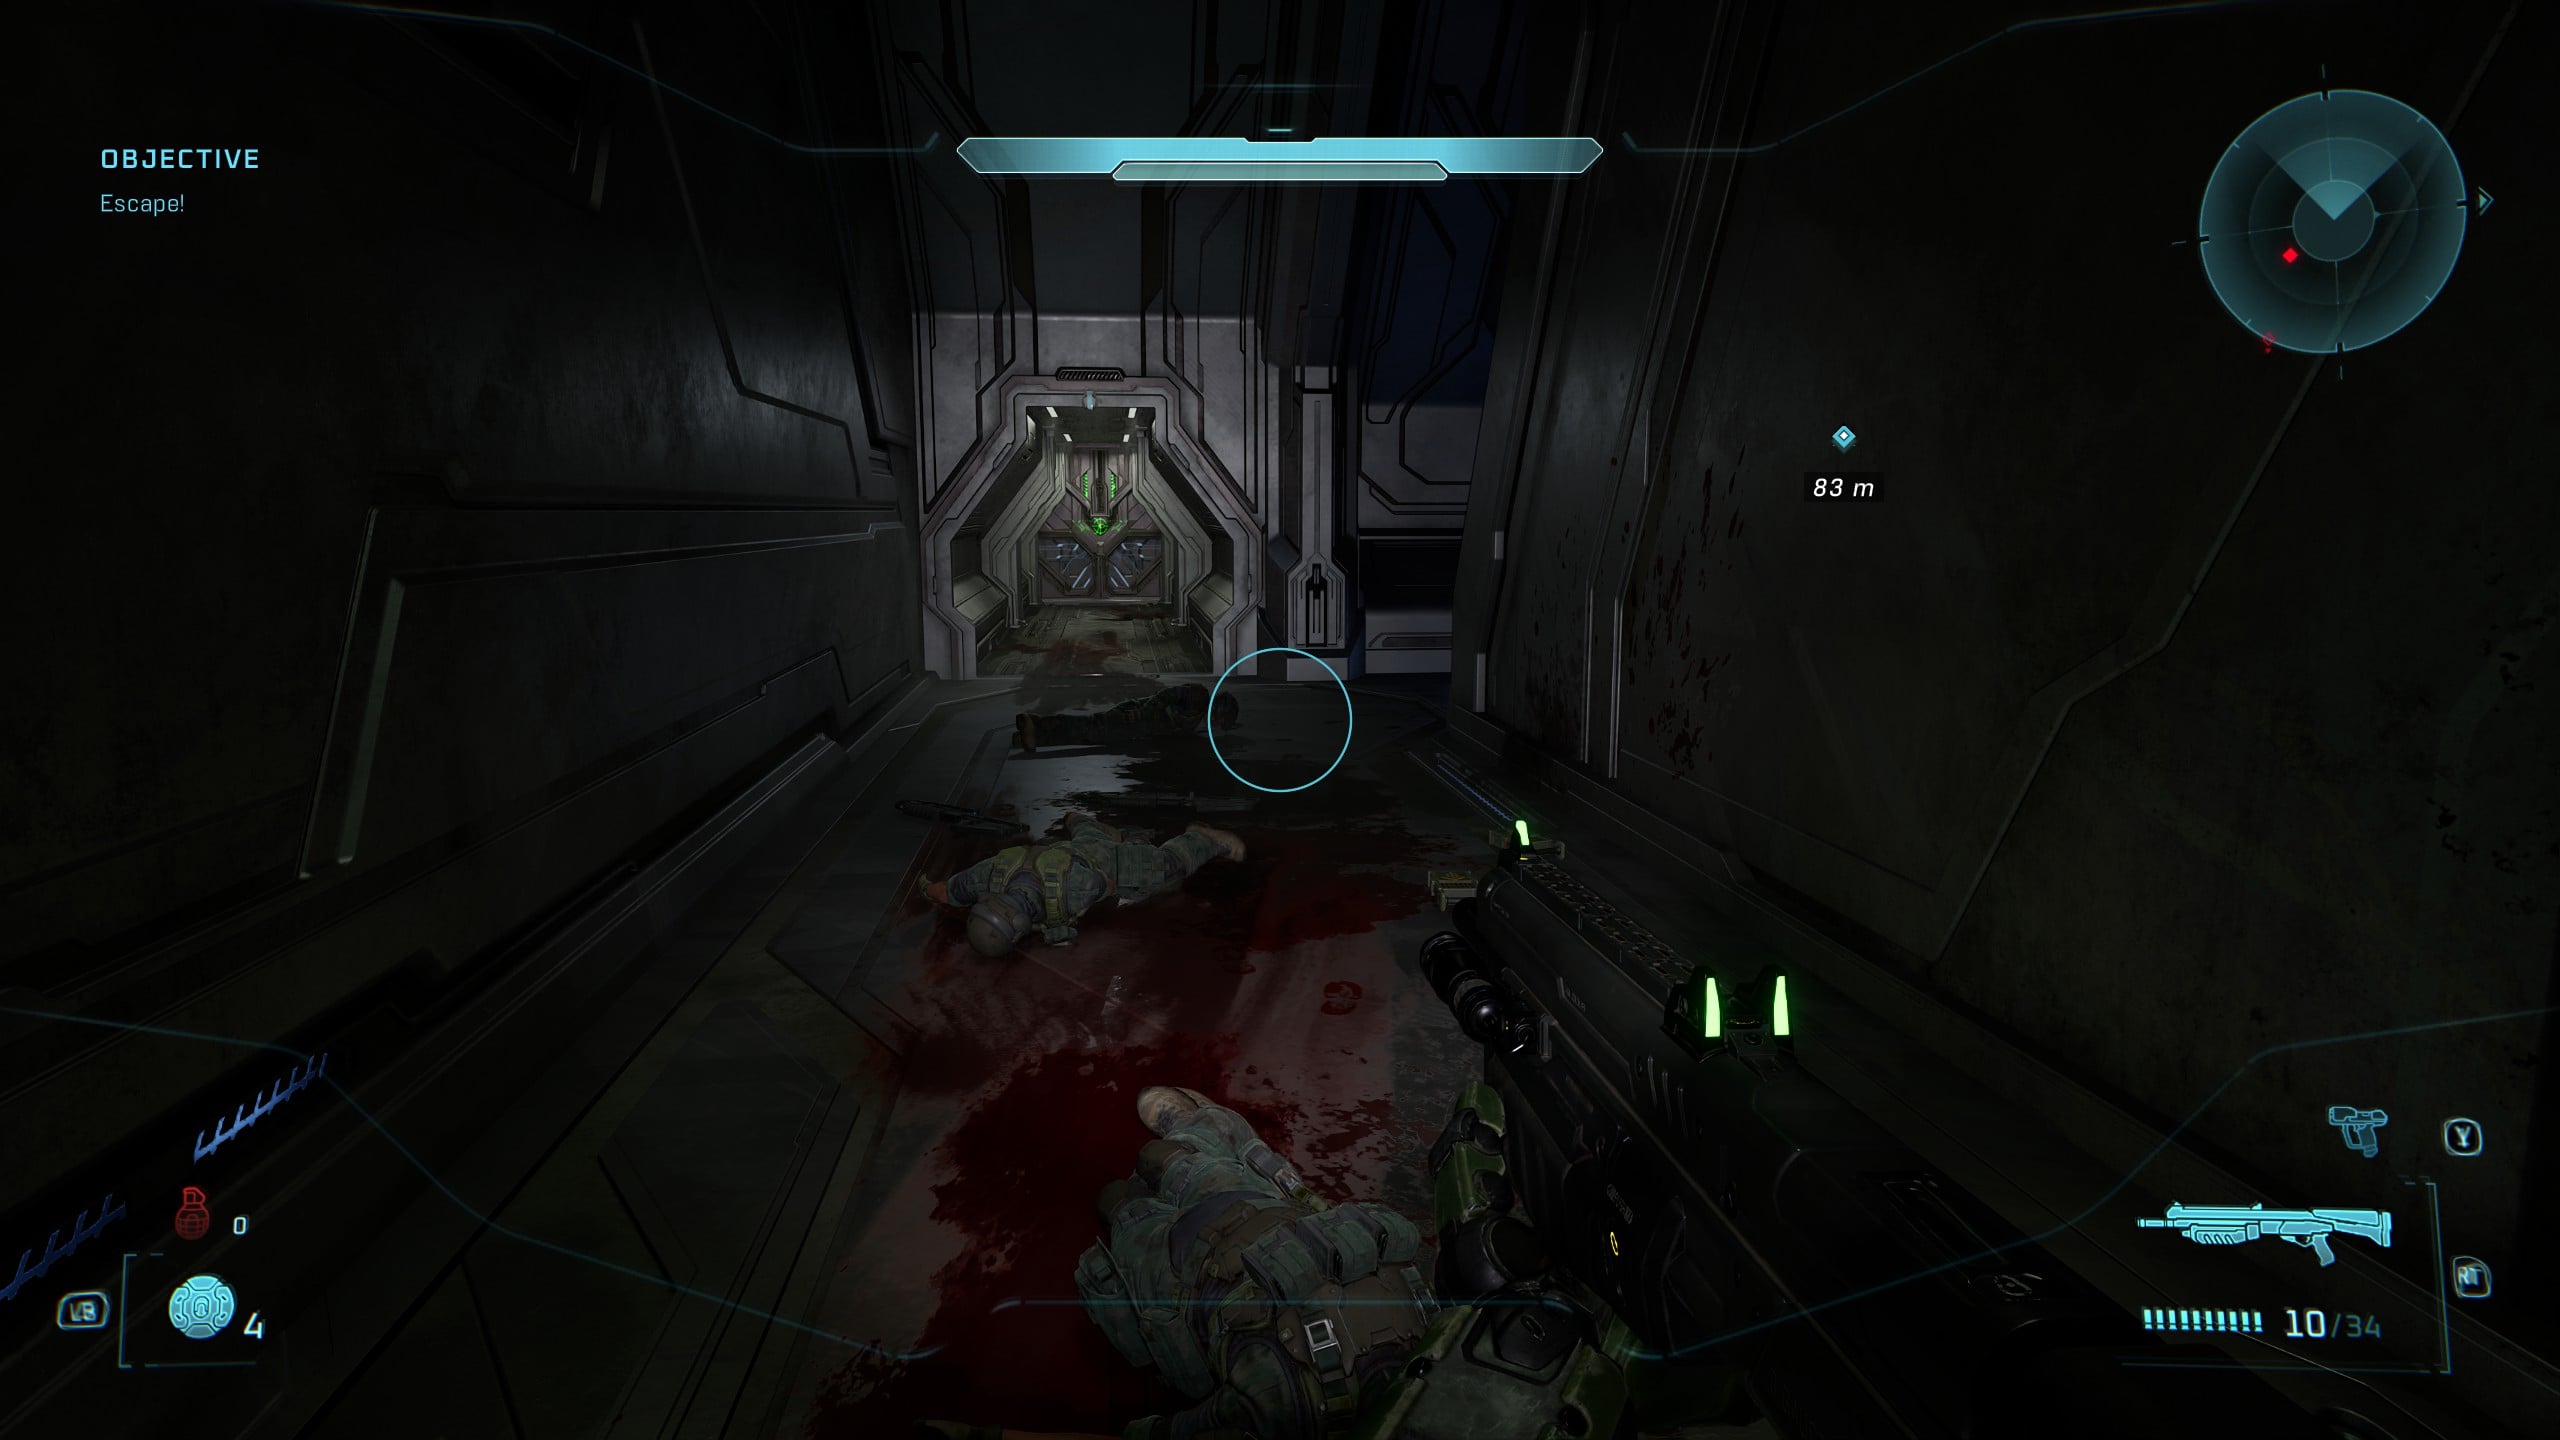
On the way back, you might notice that one of the rooms has a new light bridge in it that you can use to escape. Instead of crossing the light bridge, look to your right to see enemies spawn from a new room. Go inside the dark room, and if you circle around this room you’ll find the Tangent II Terminal.
Rally Point Charlie
Skull 18 – They Come Back
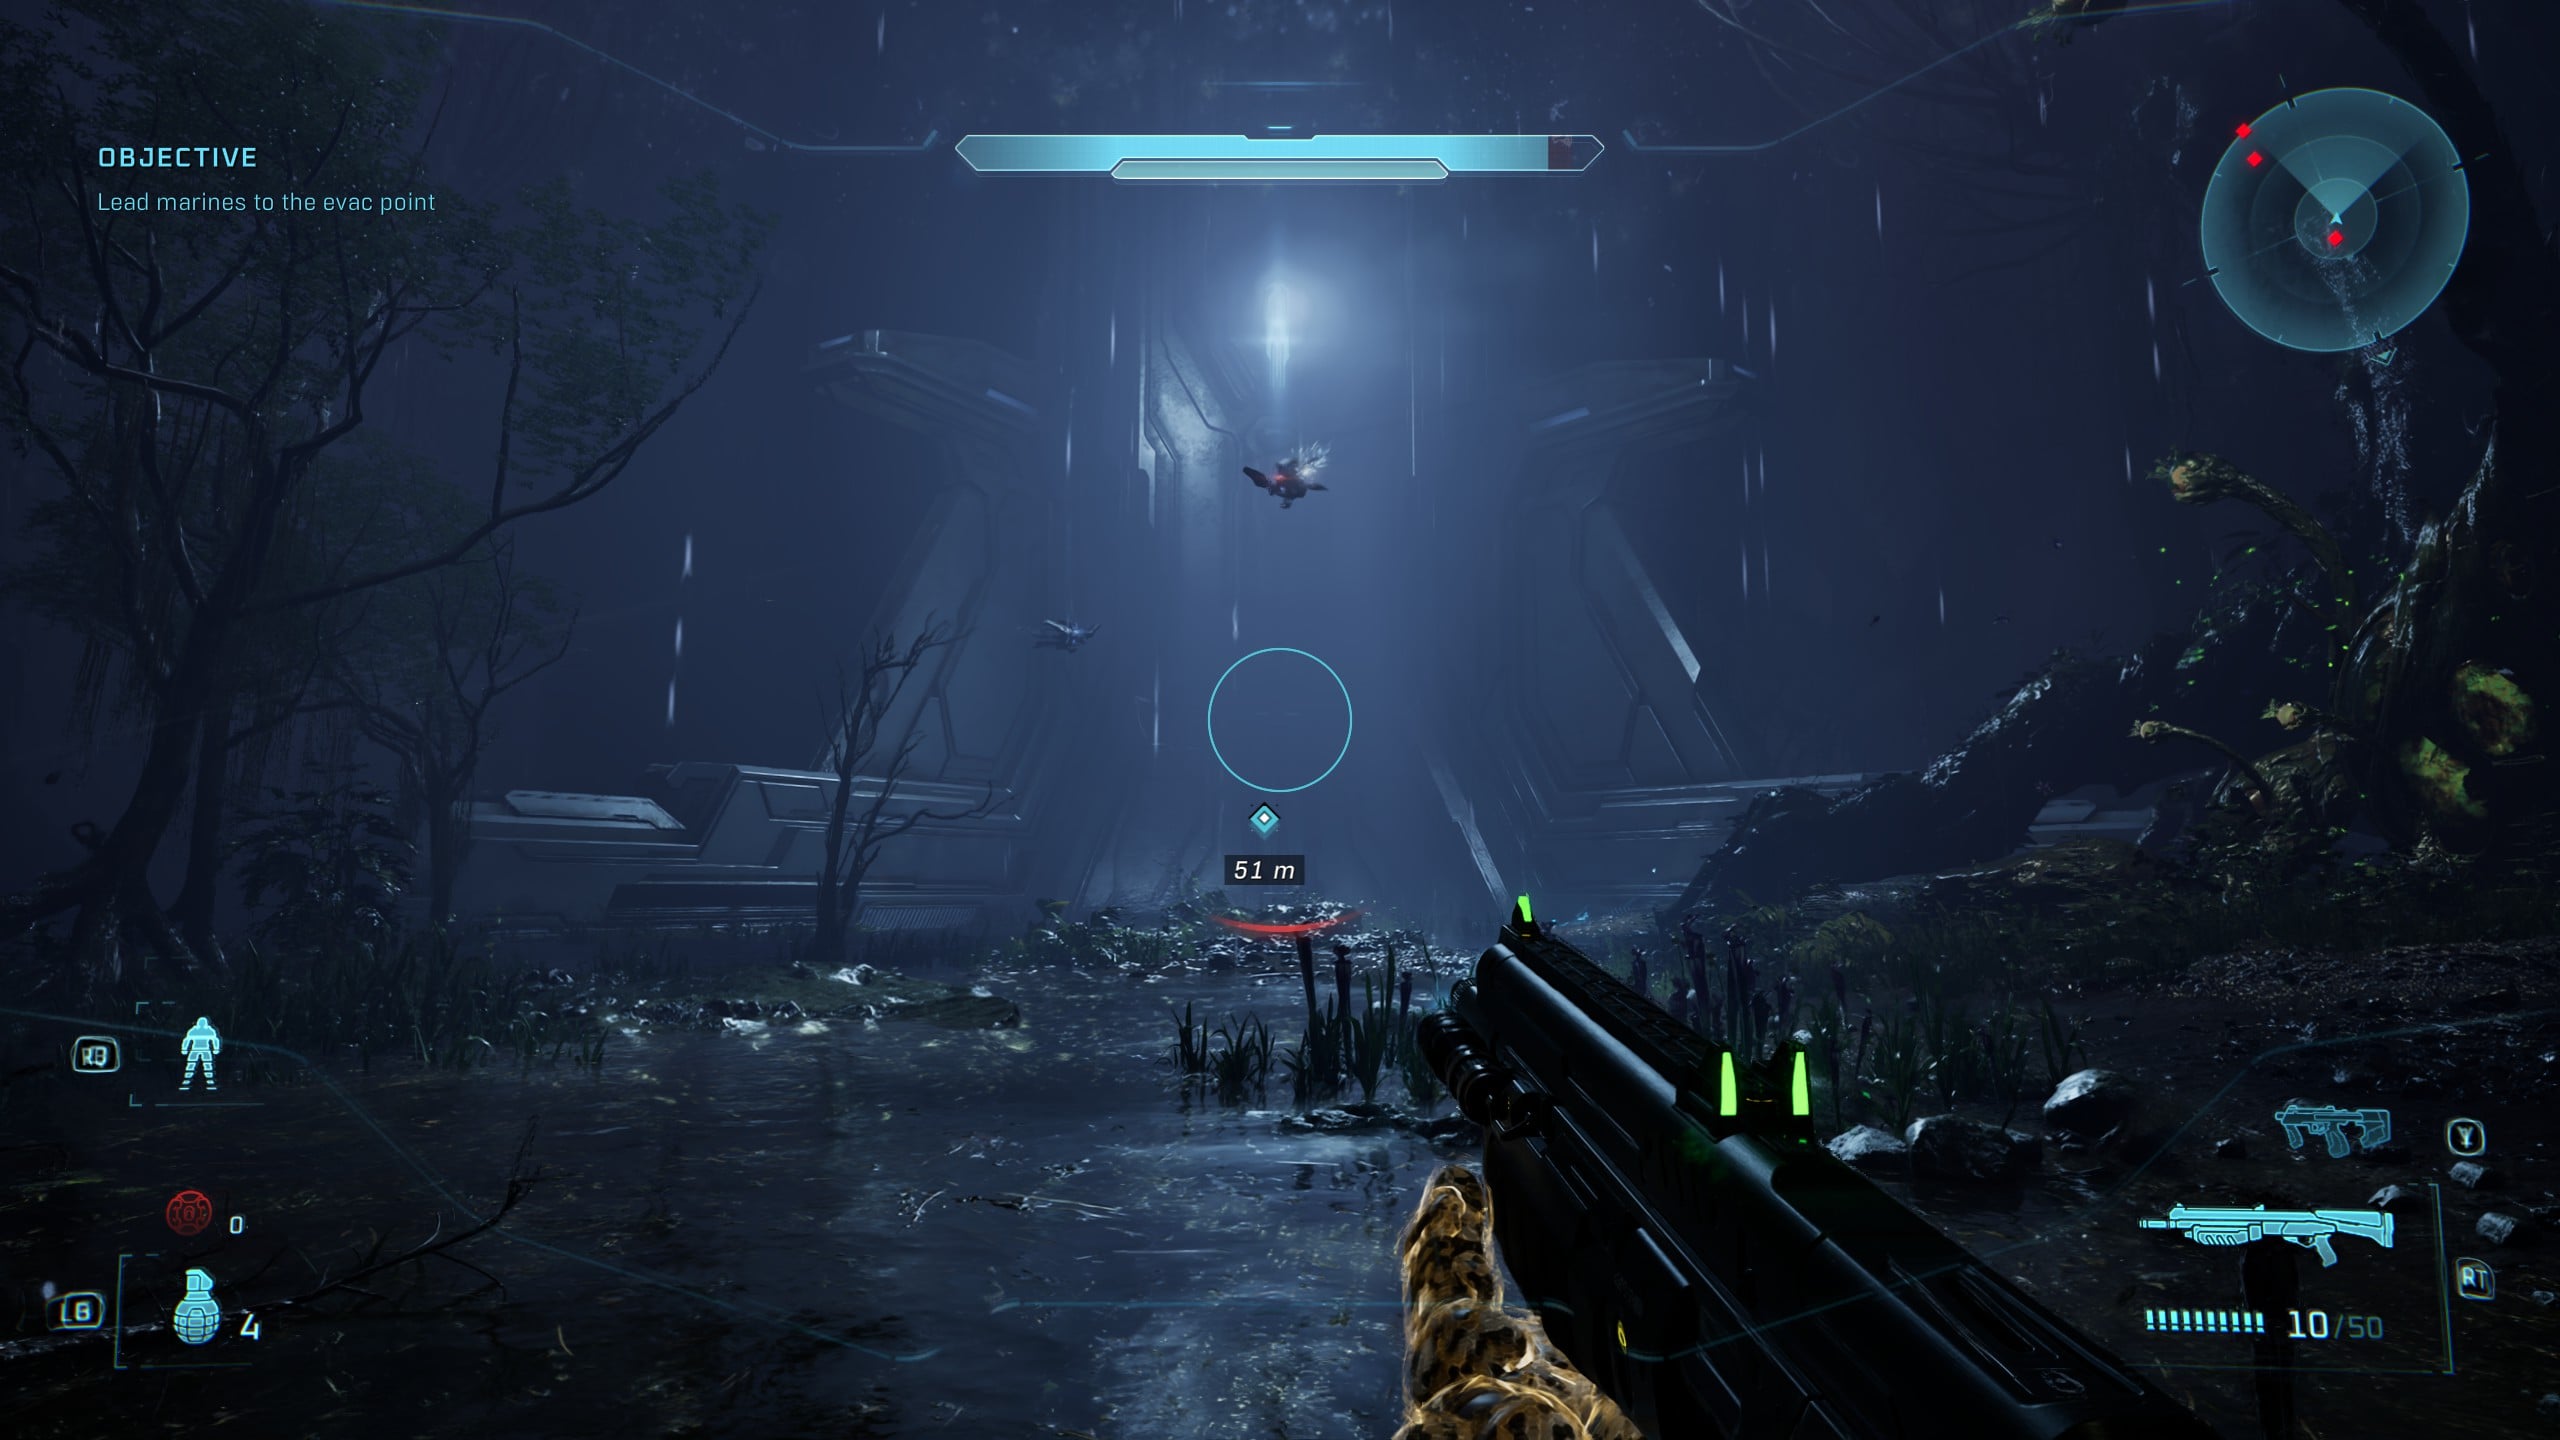
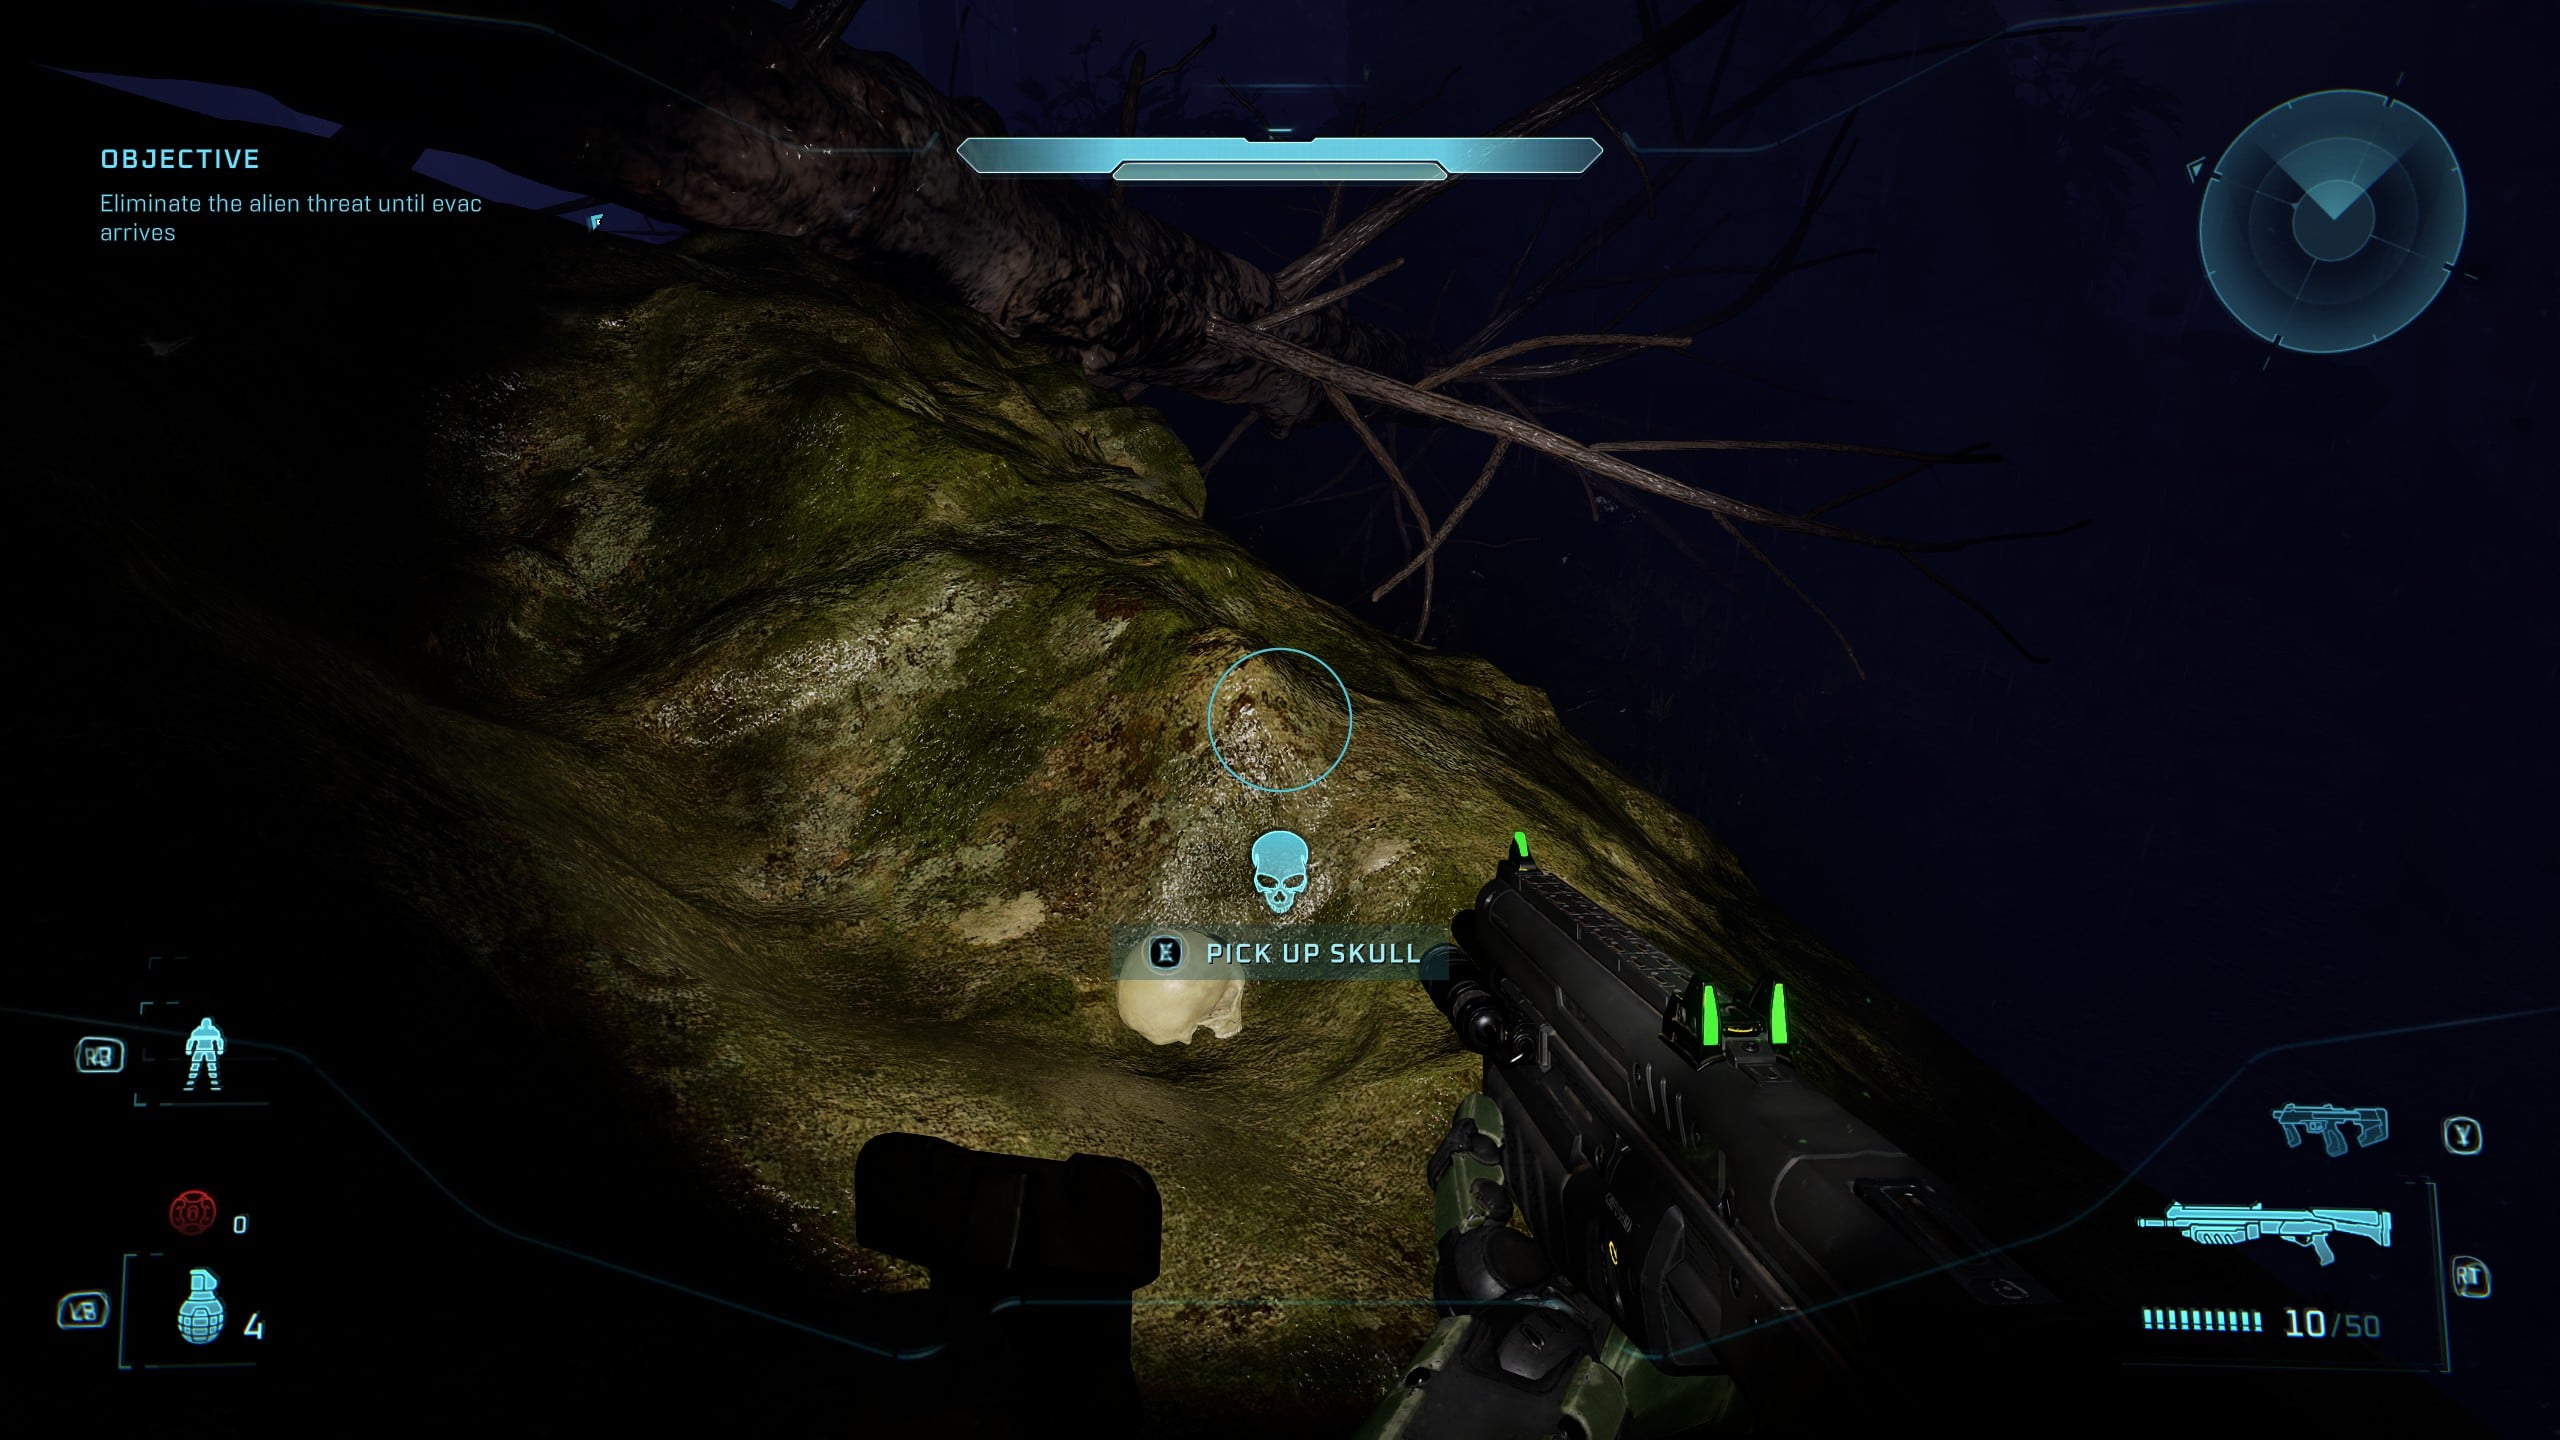
At the very end of the mission, the Objective will be ‘Eliminate the alien threat until evac arrives.’ Once you arrive at the large tower, you’ll be fending off alien attacks for several minutes, so instead of waiting, it’s best to move fast.
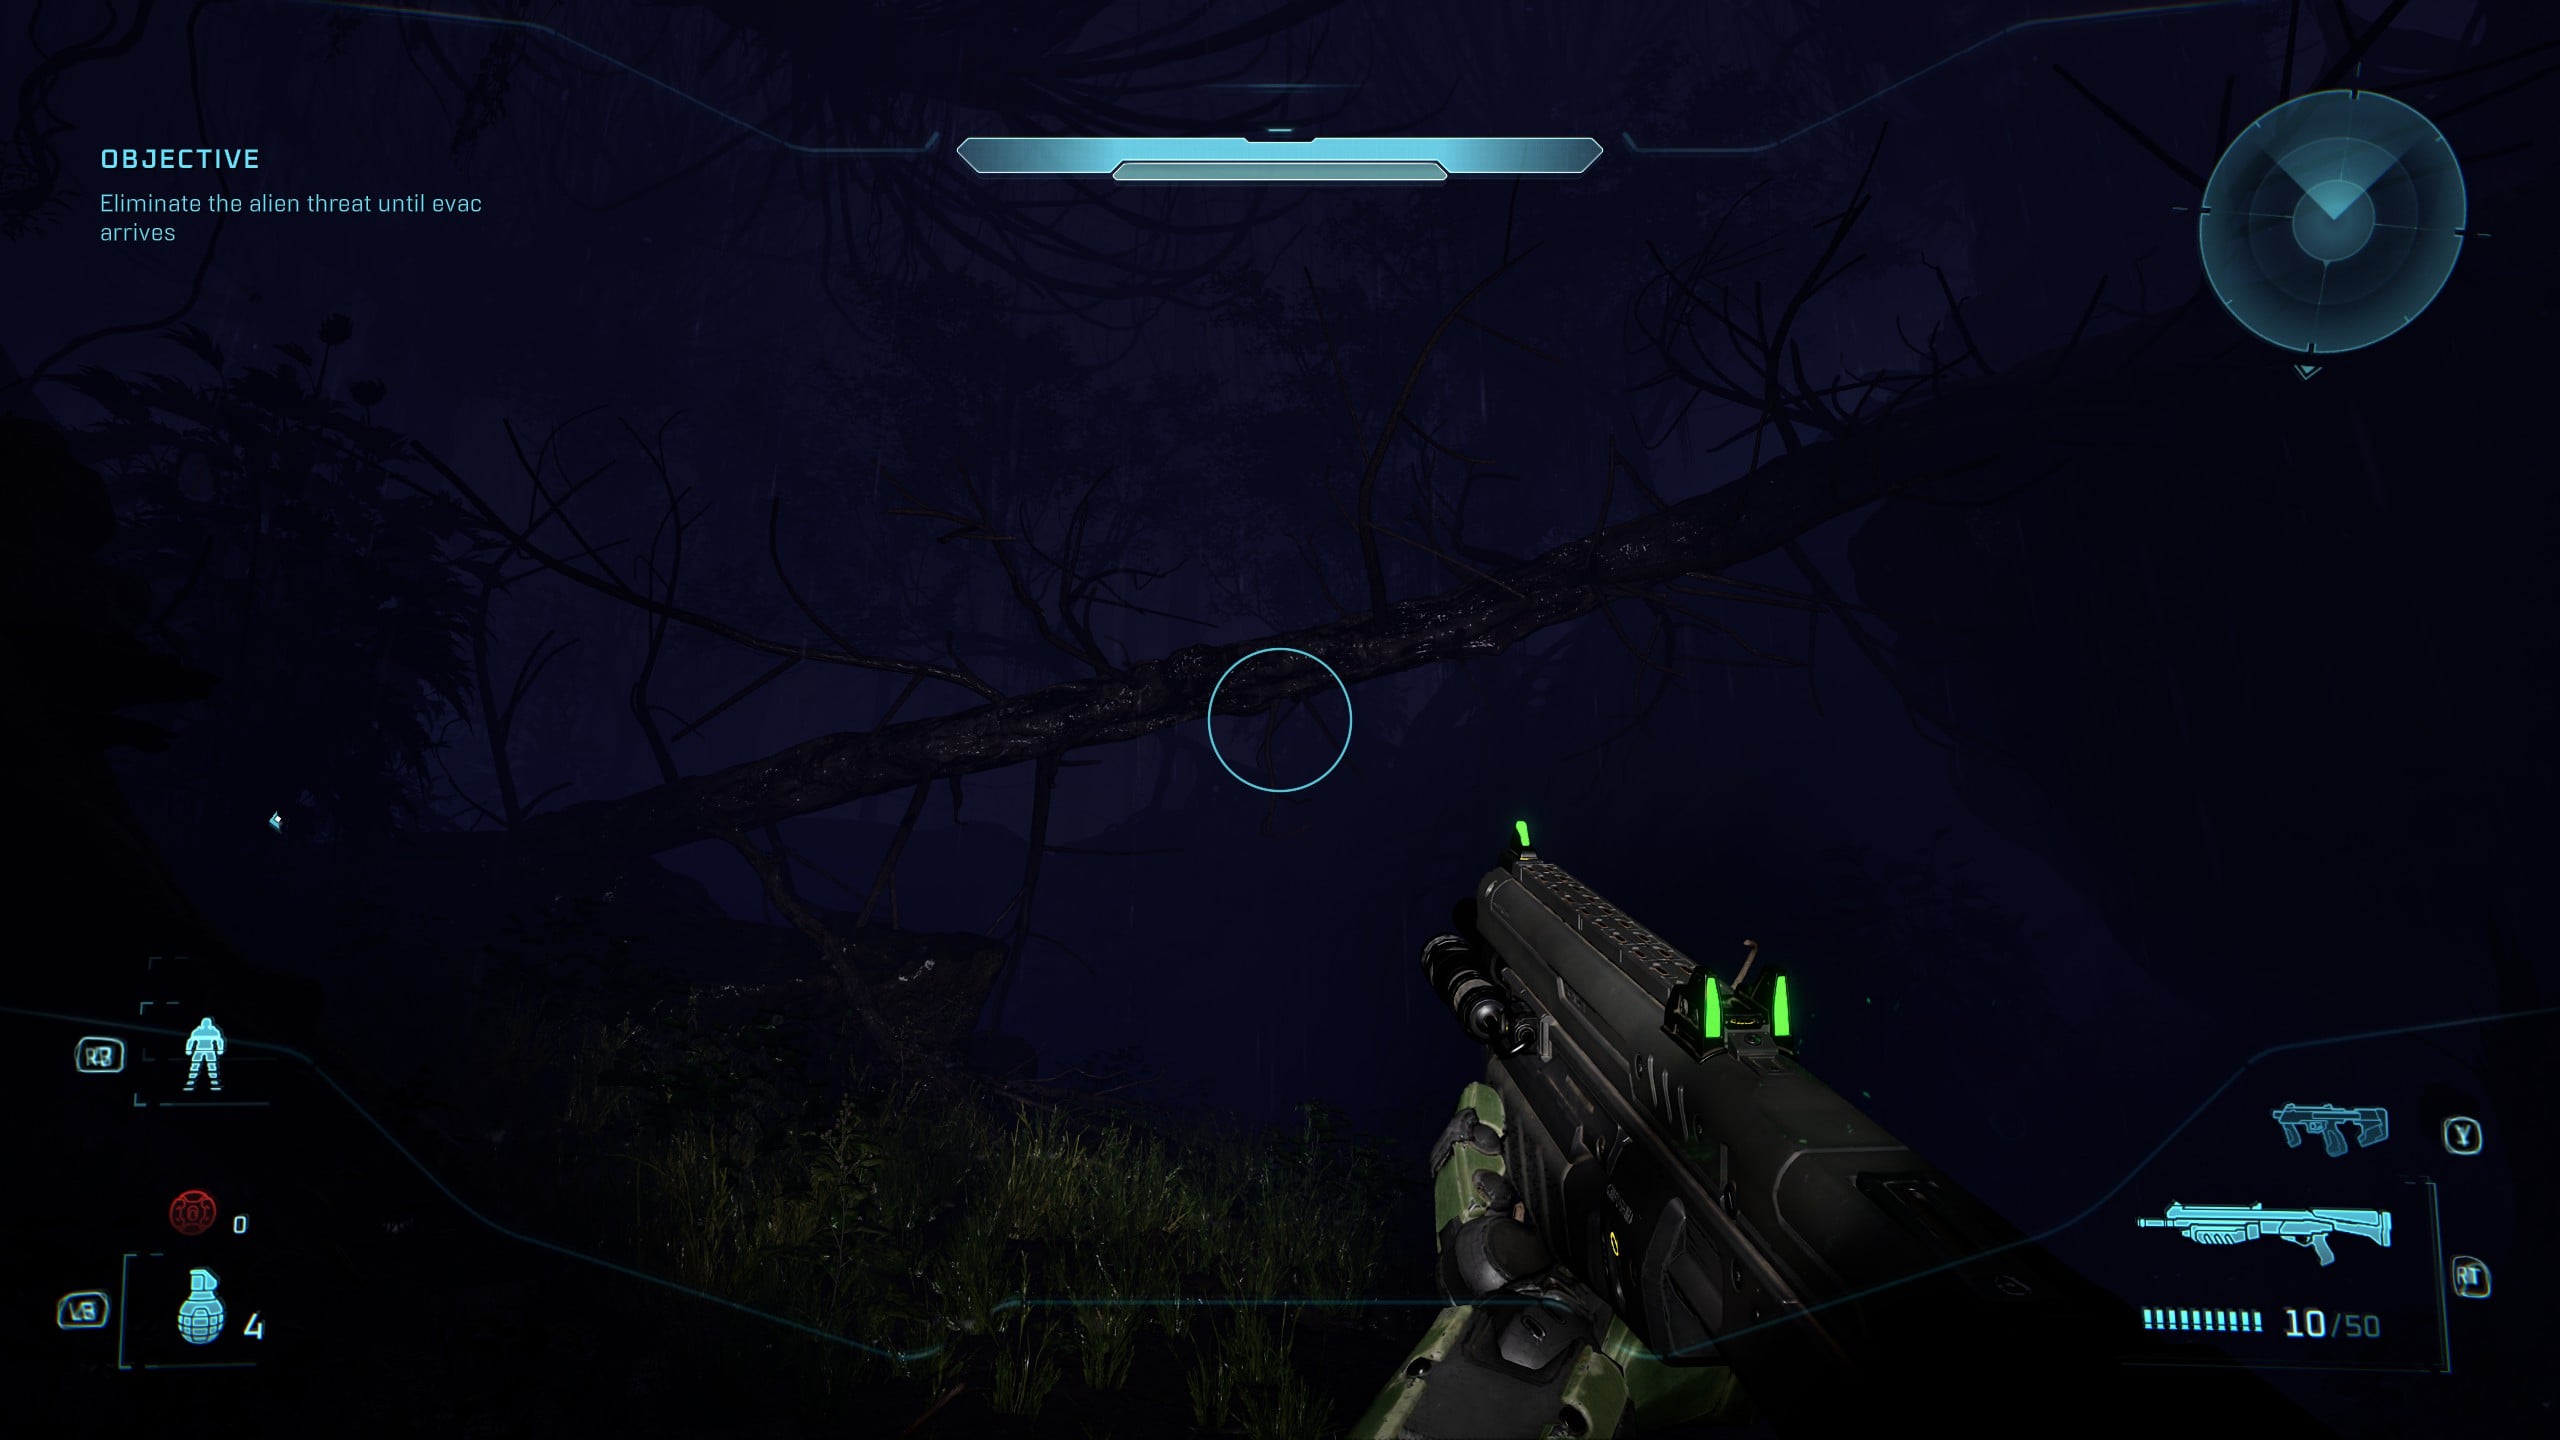
As soon as the tower is in sight, turn to the right of it and keep moving through the woods.
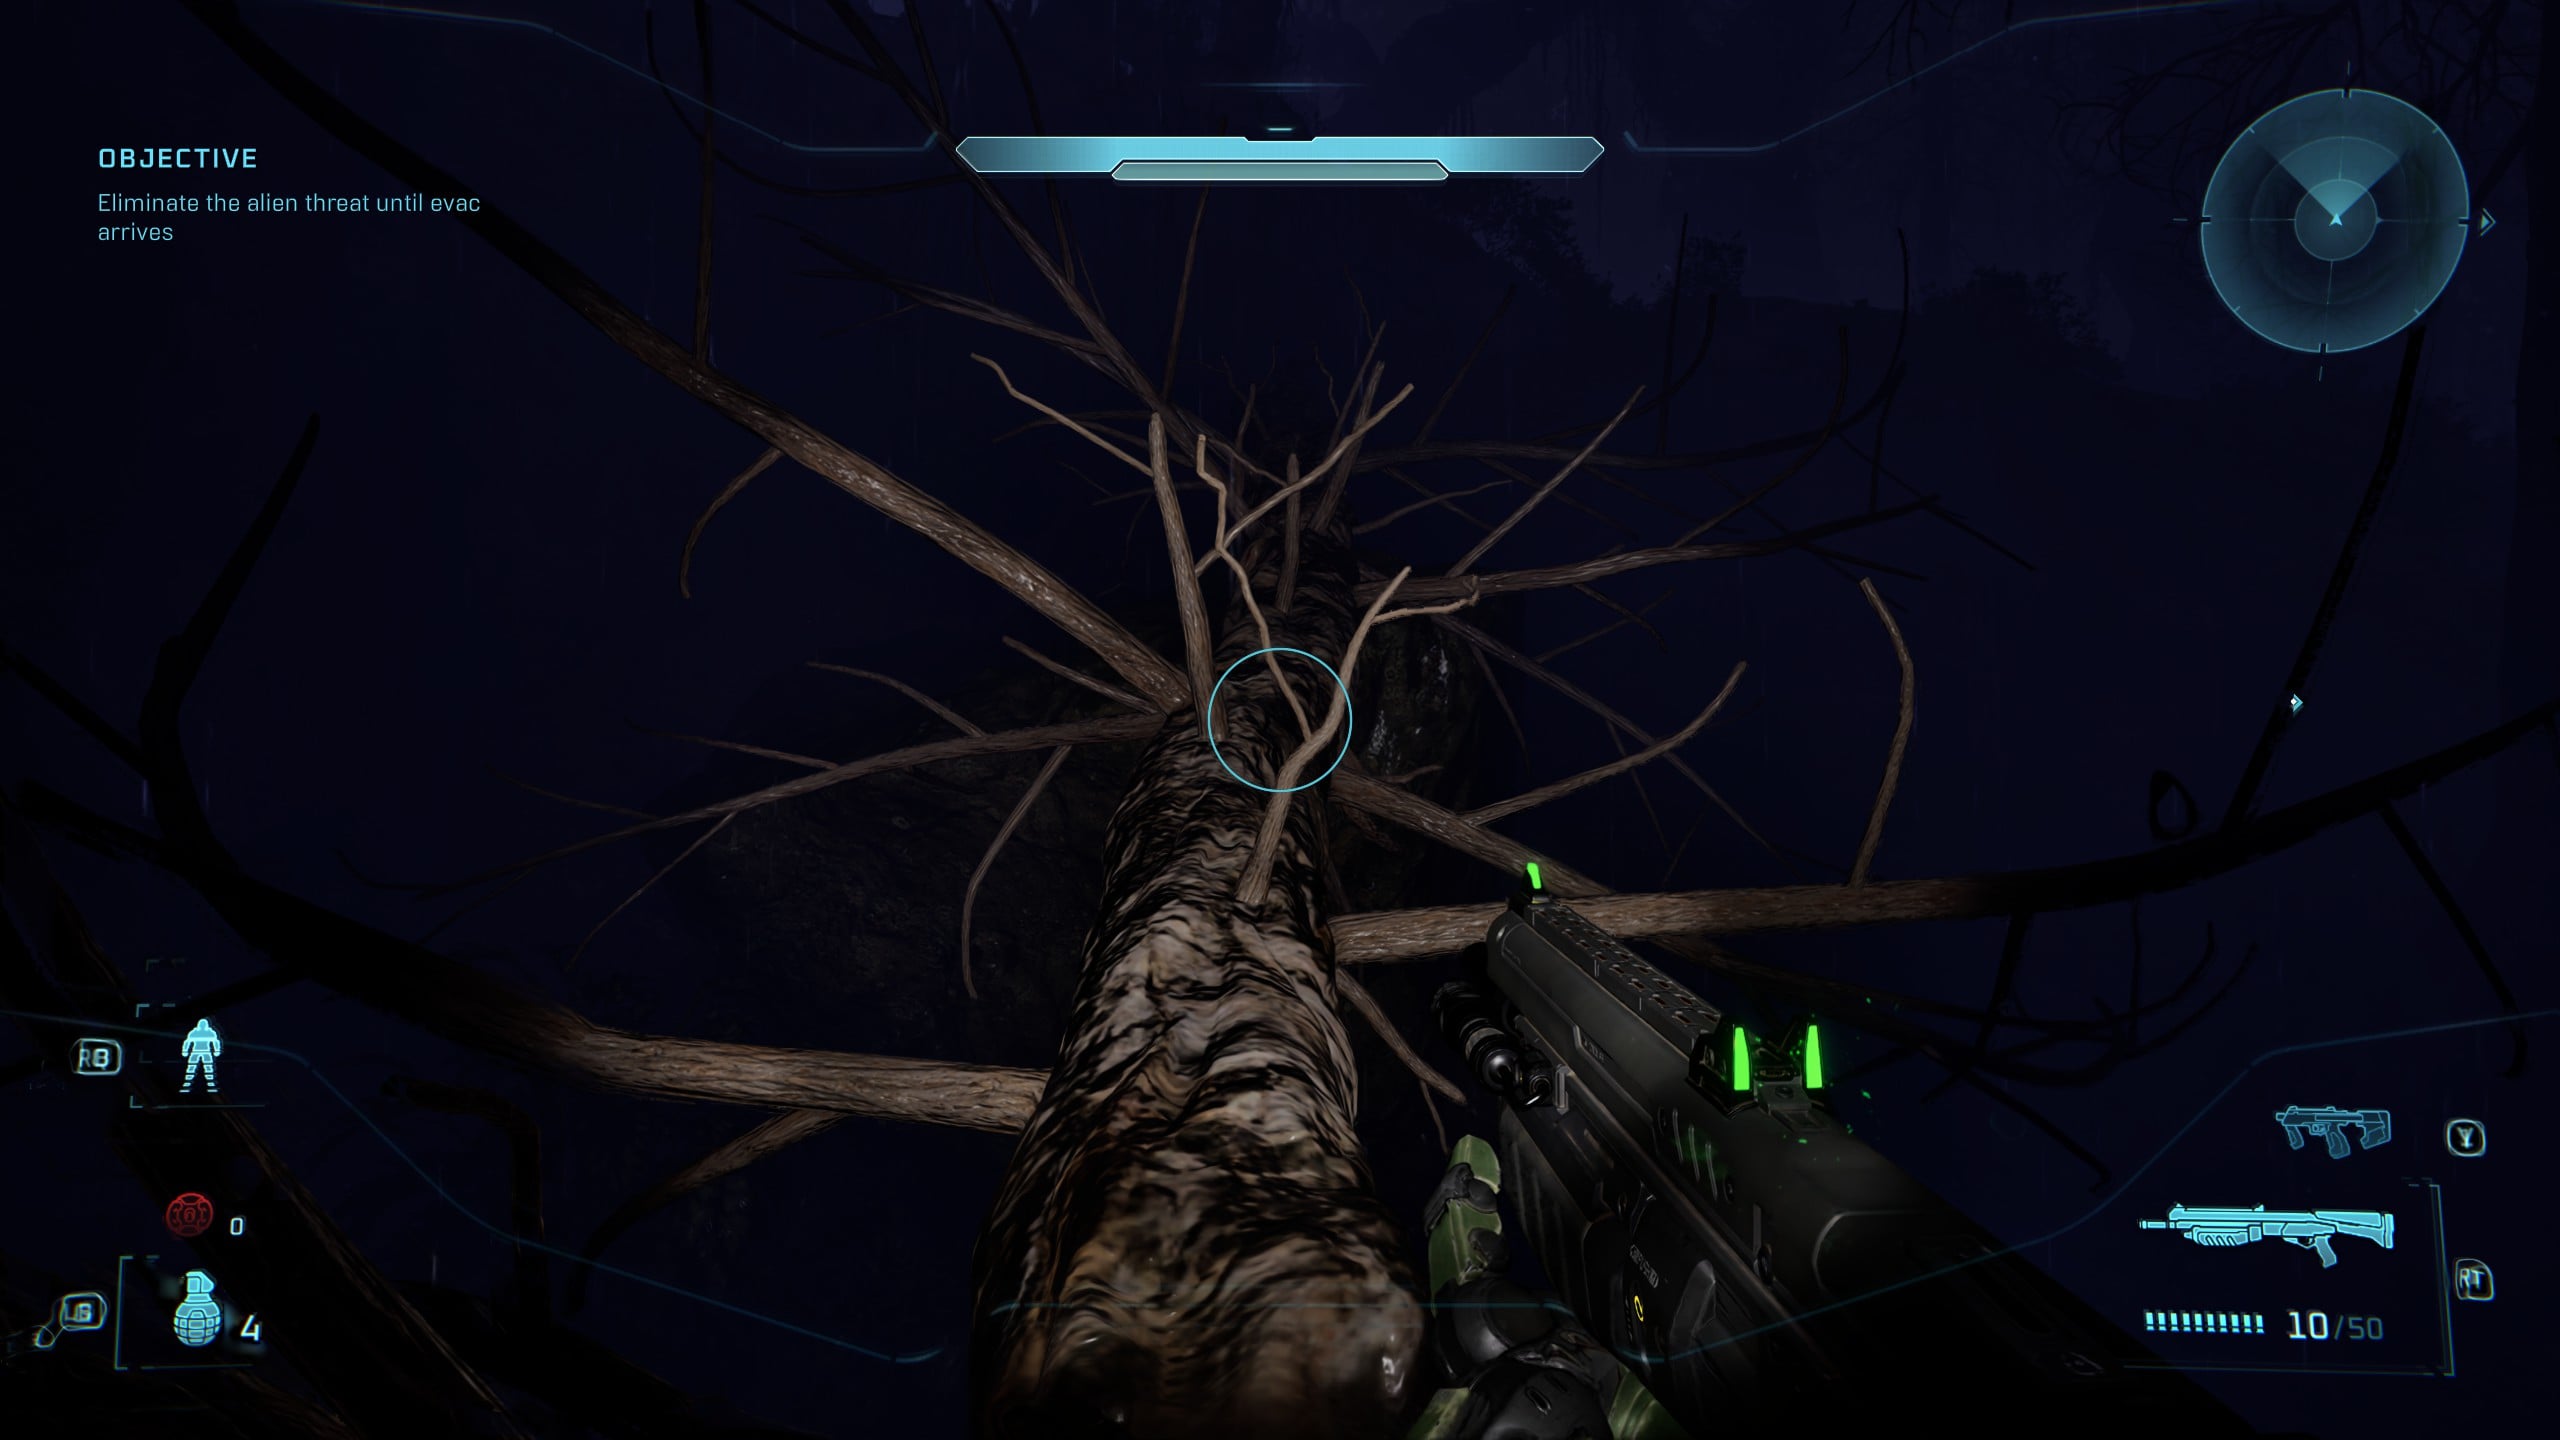
Eventually you’ll find a felled tree across the path. Use it as a bridge to cross from the left to the right, and you’ll find the They Come Back Skull on a rock on the other side of the tree.
The Library Skull and Terminal locations
You’ll earn the Timeless Tomes trophy and achievement for finding these optional items in The Library mission.
Rally Point Alpha
Skull 19 – Tilt
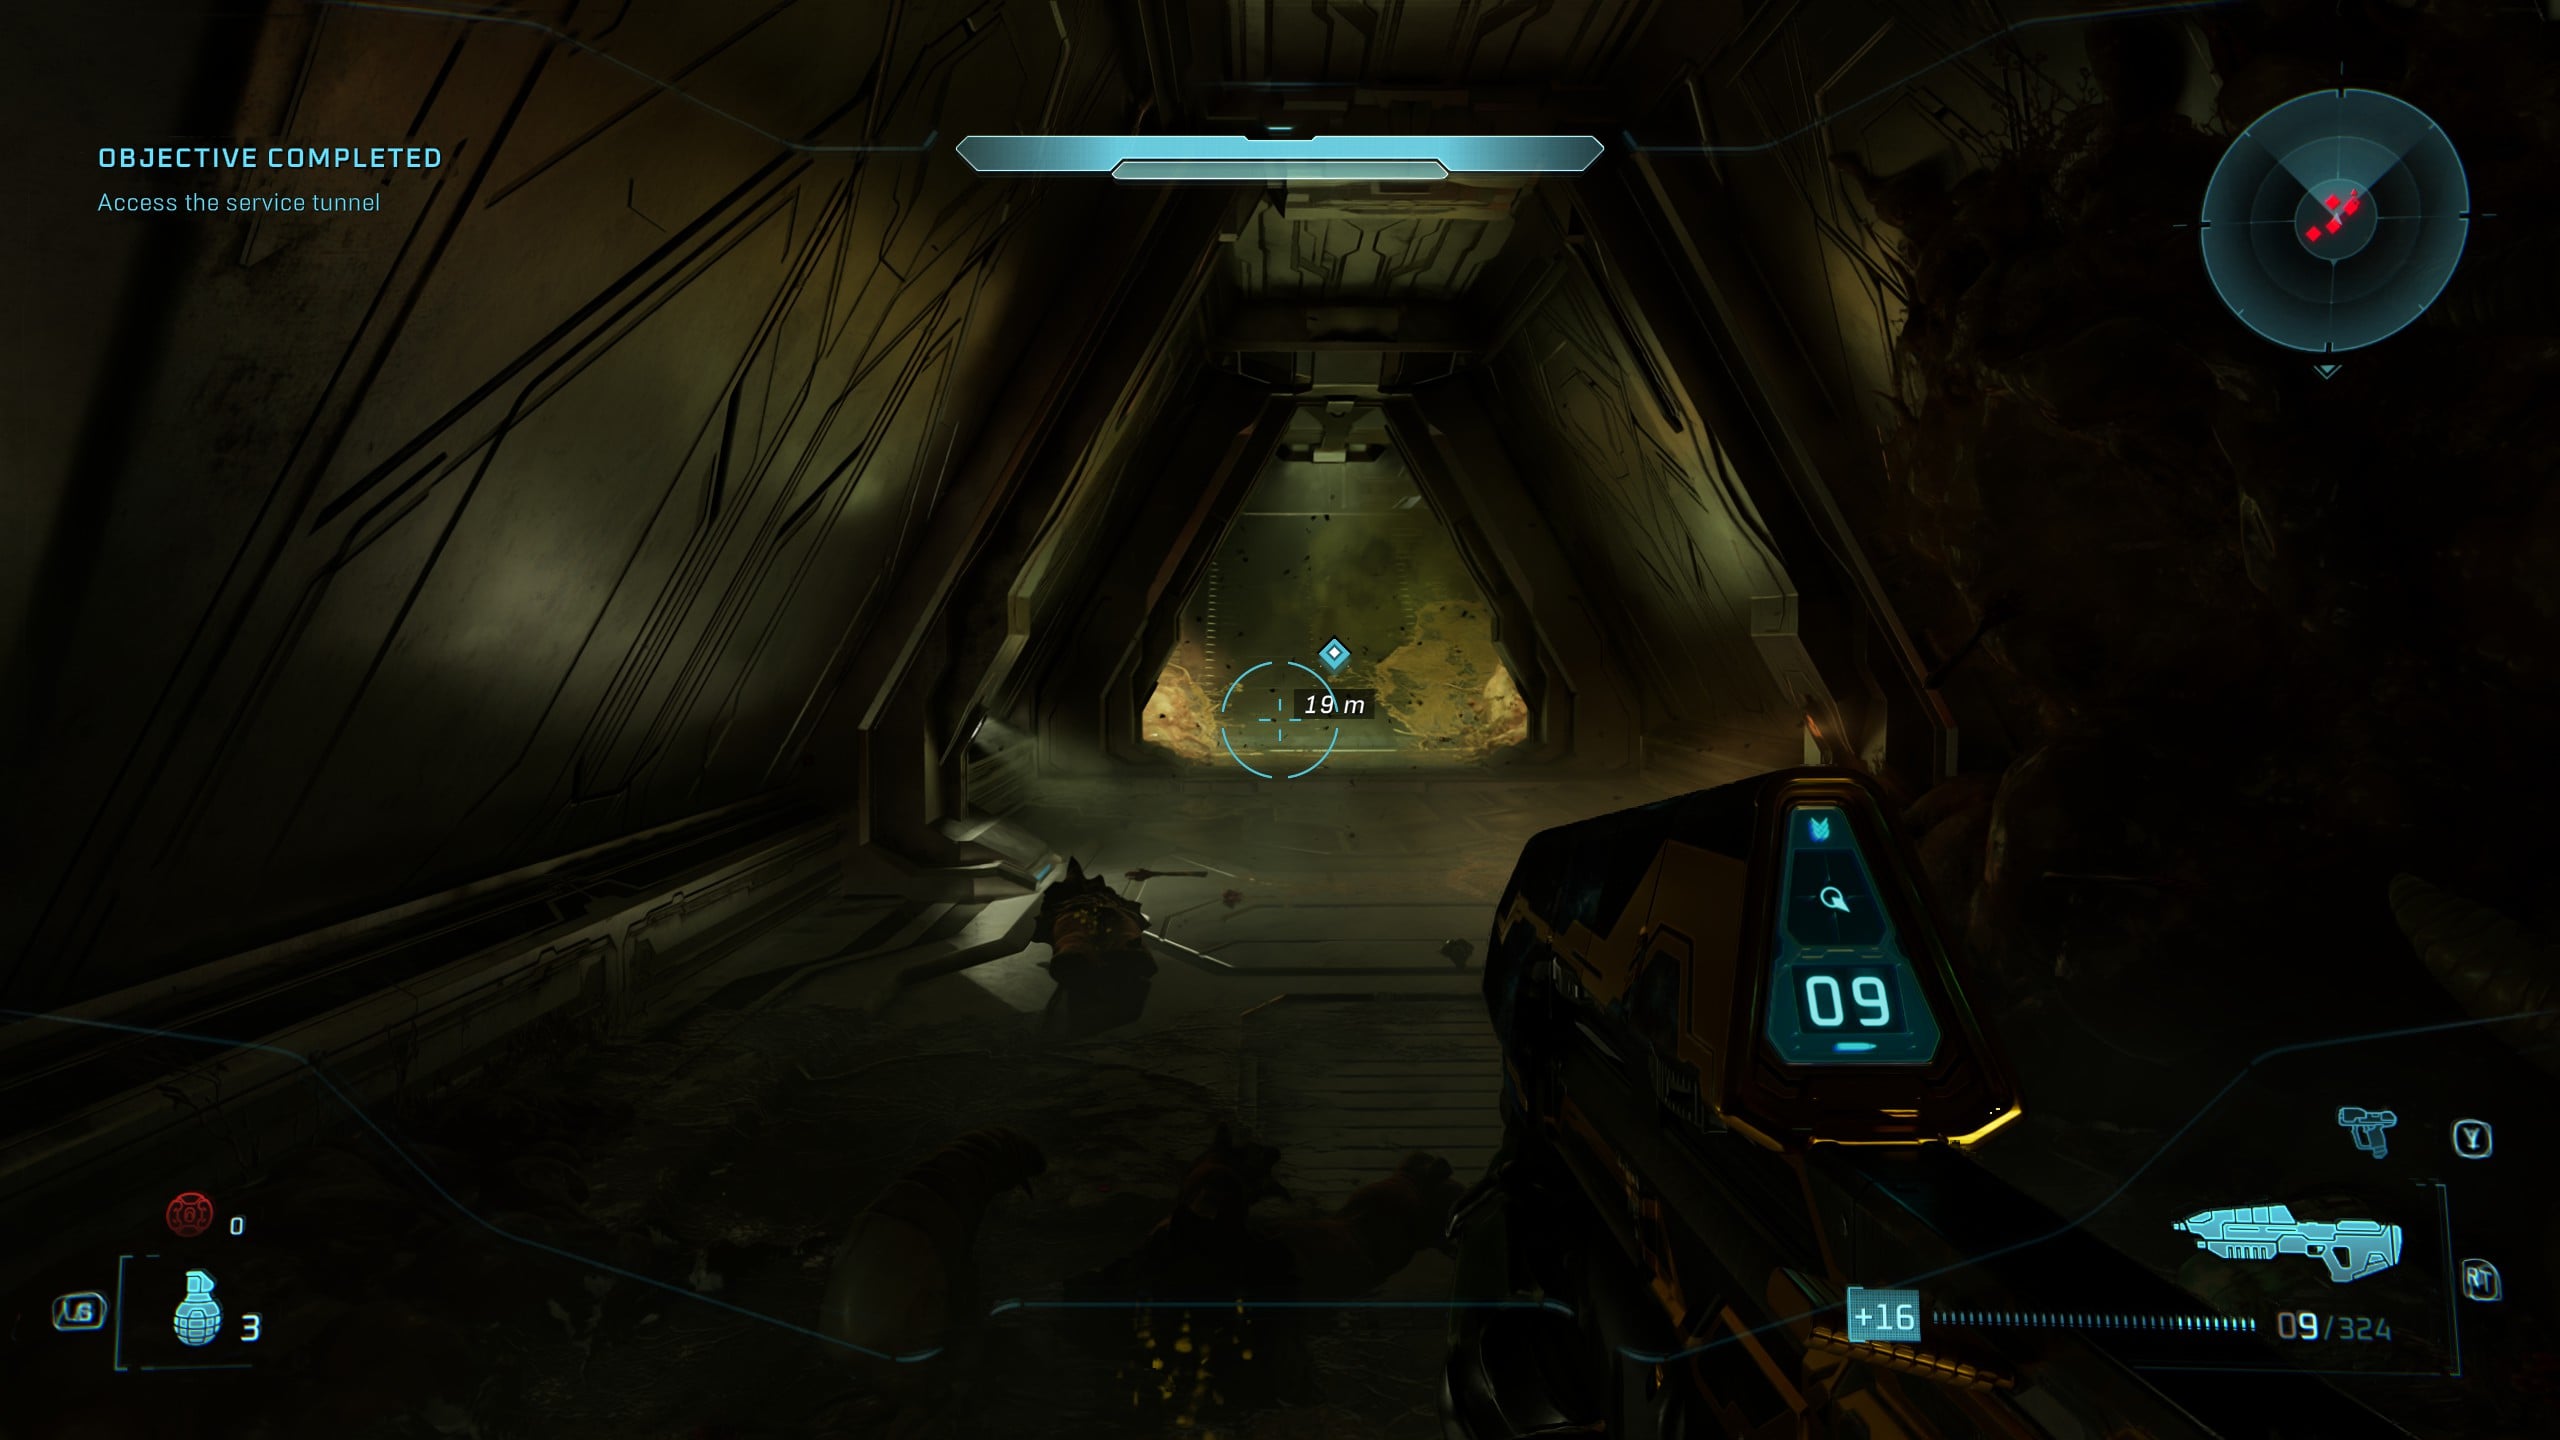
First, you must follow the Monitor (AKA 343 Guilty Spark) through The Library for several minutes from the start of the mission. After accessing and passing through the service tunnel, you’ll emerge from the tunnel and see 343 moving through with several automated Sentinel drones, clearing out flood.
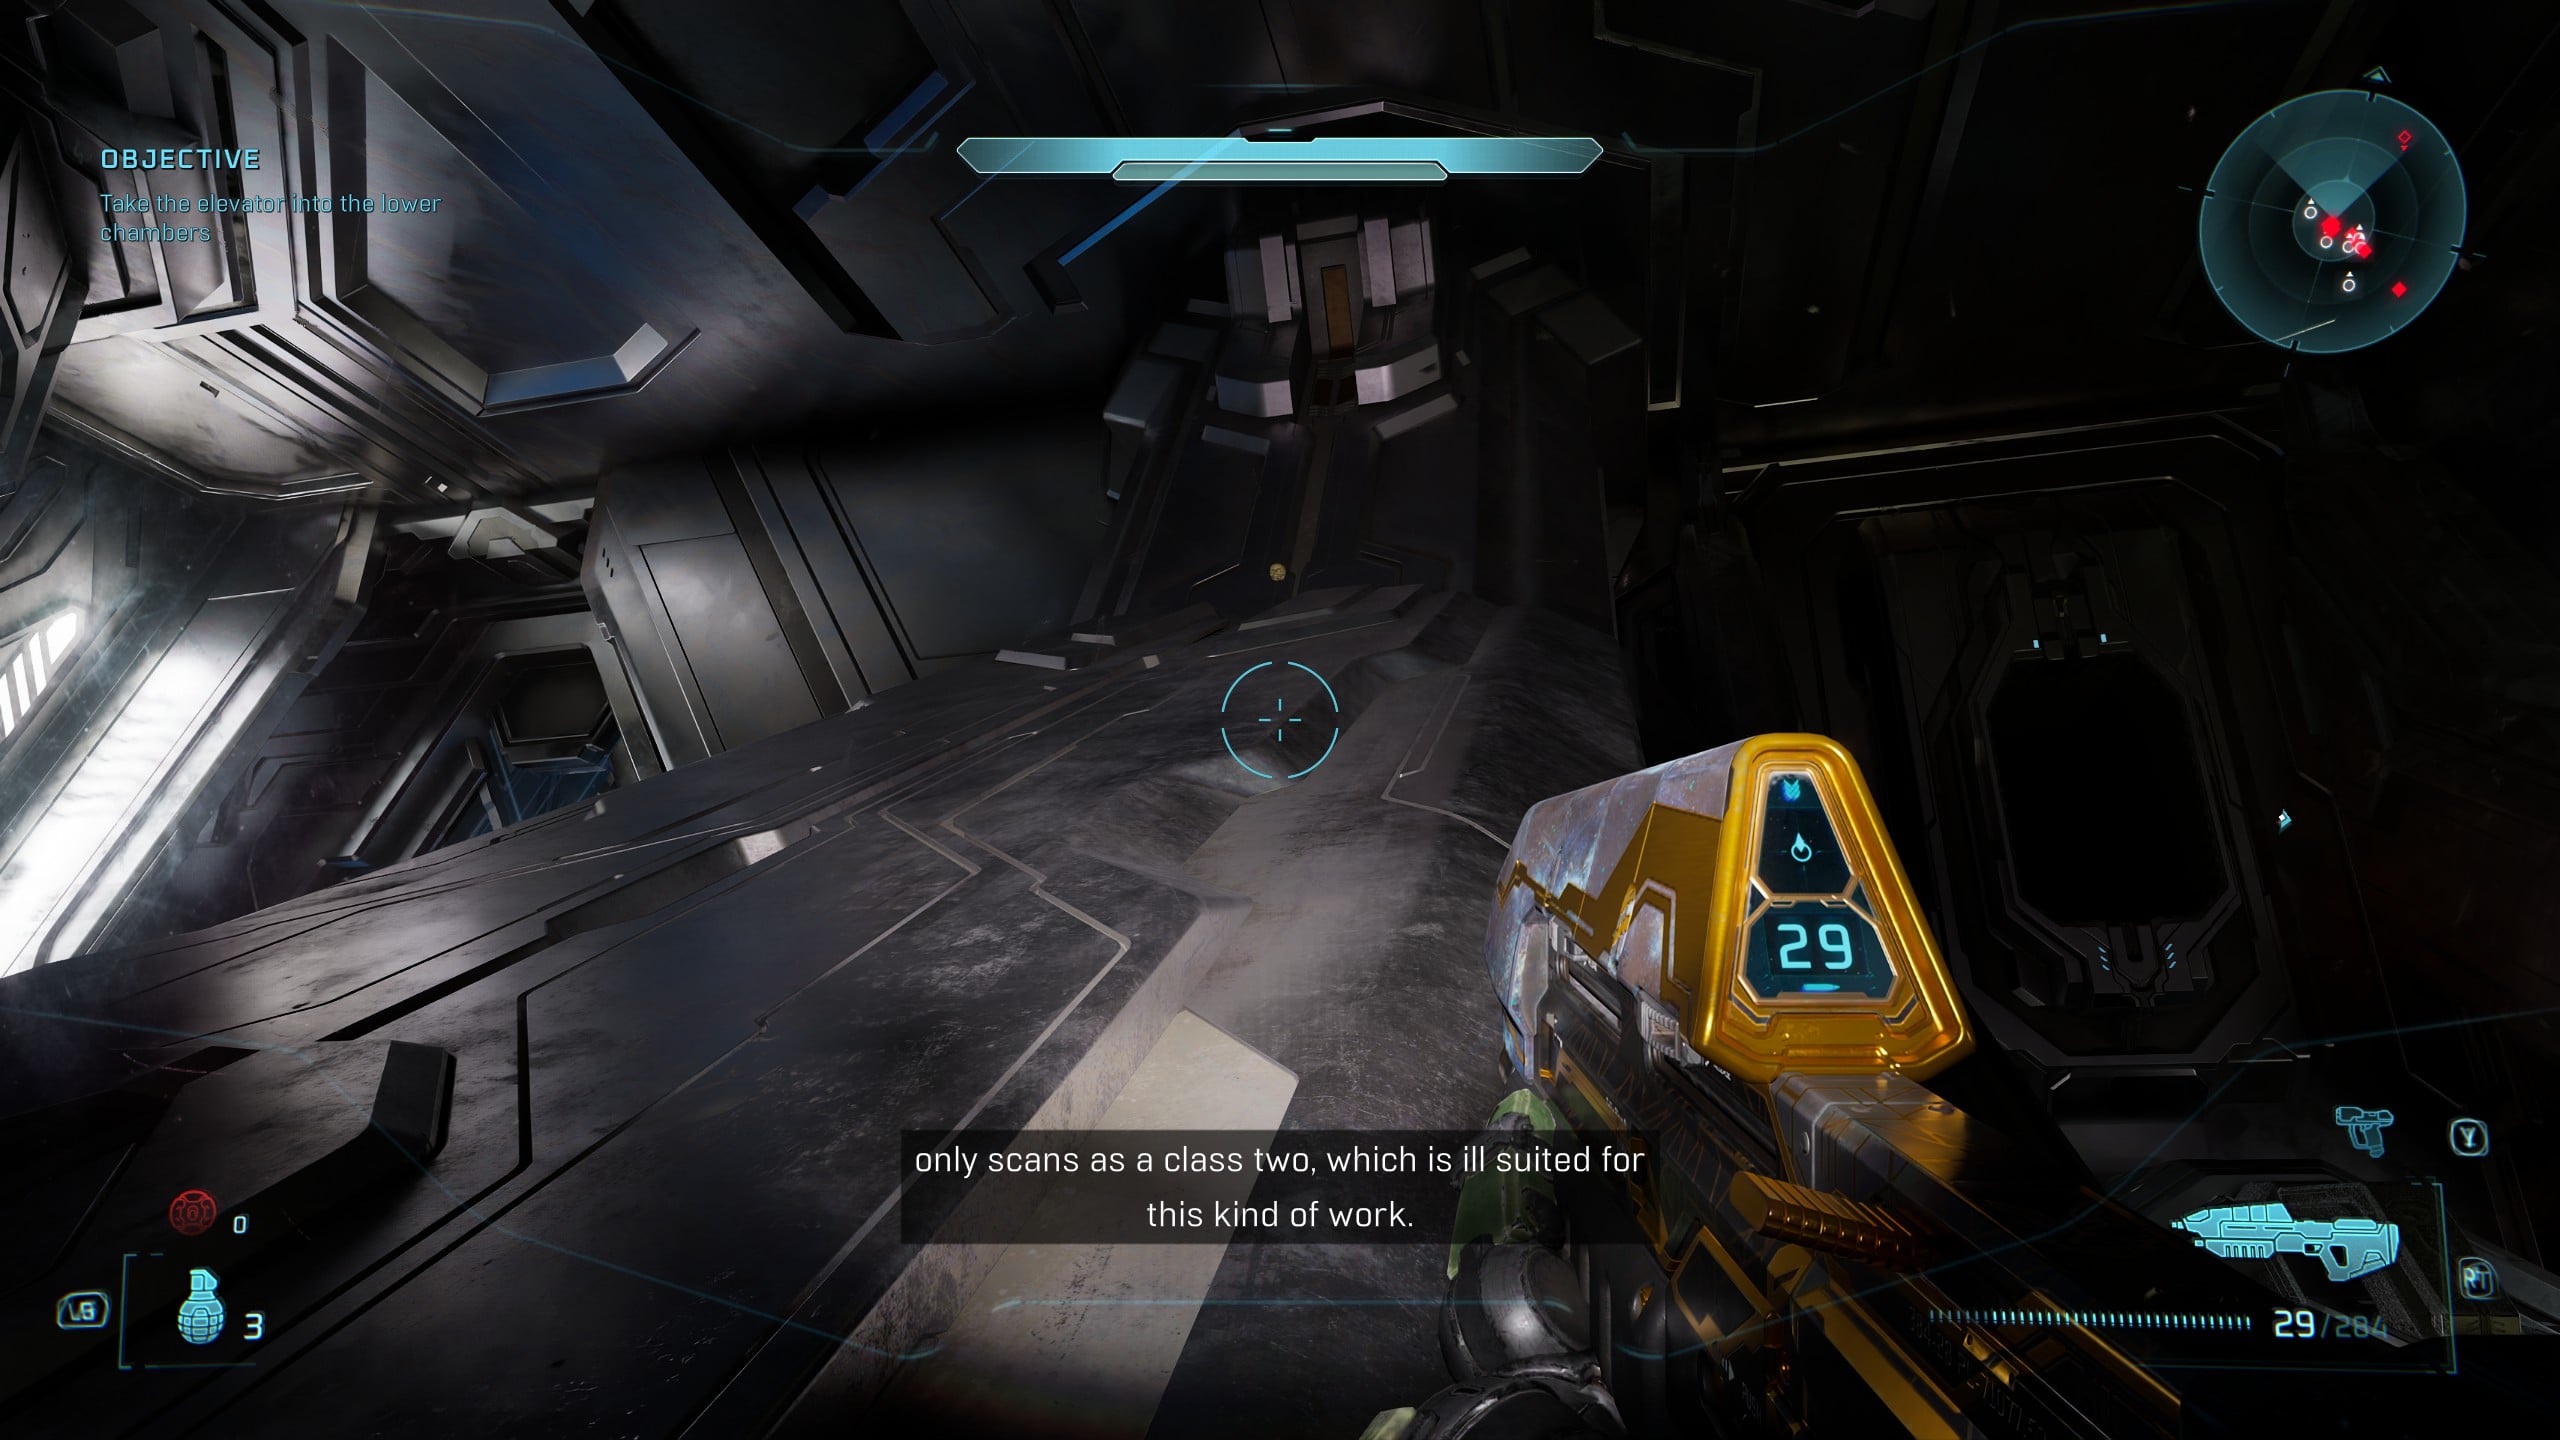
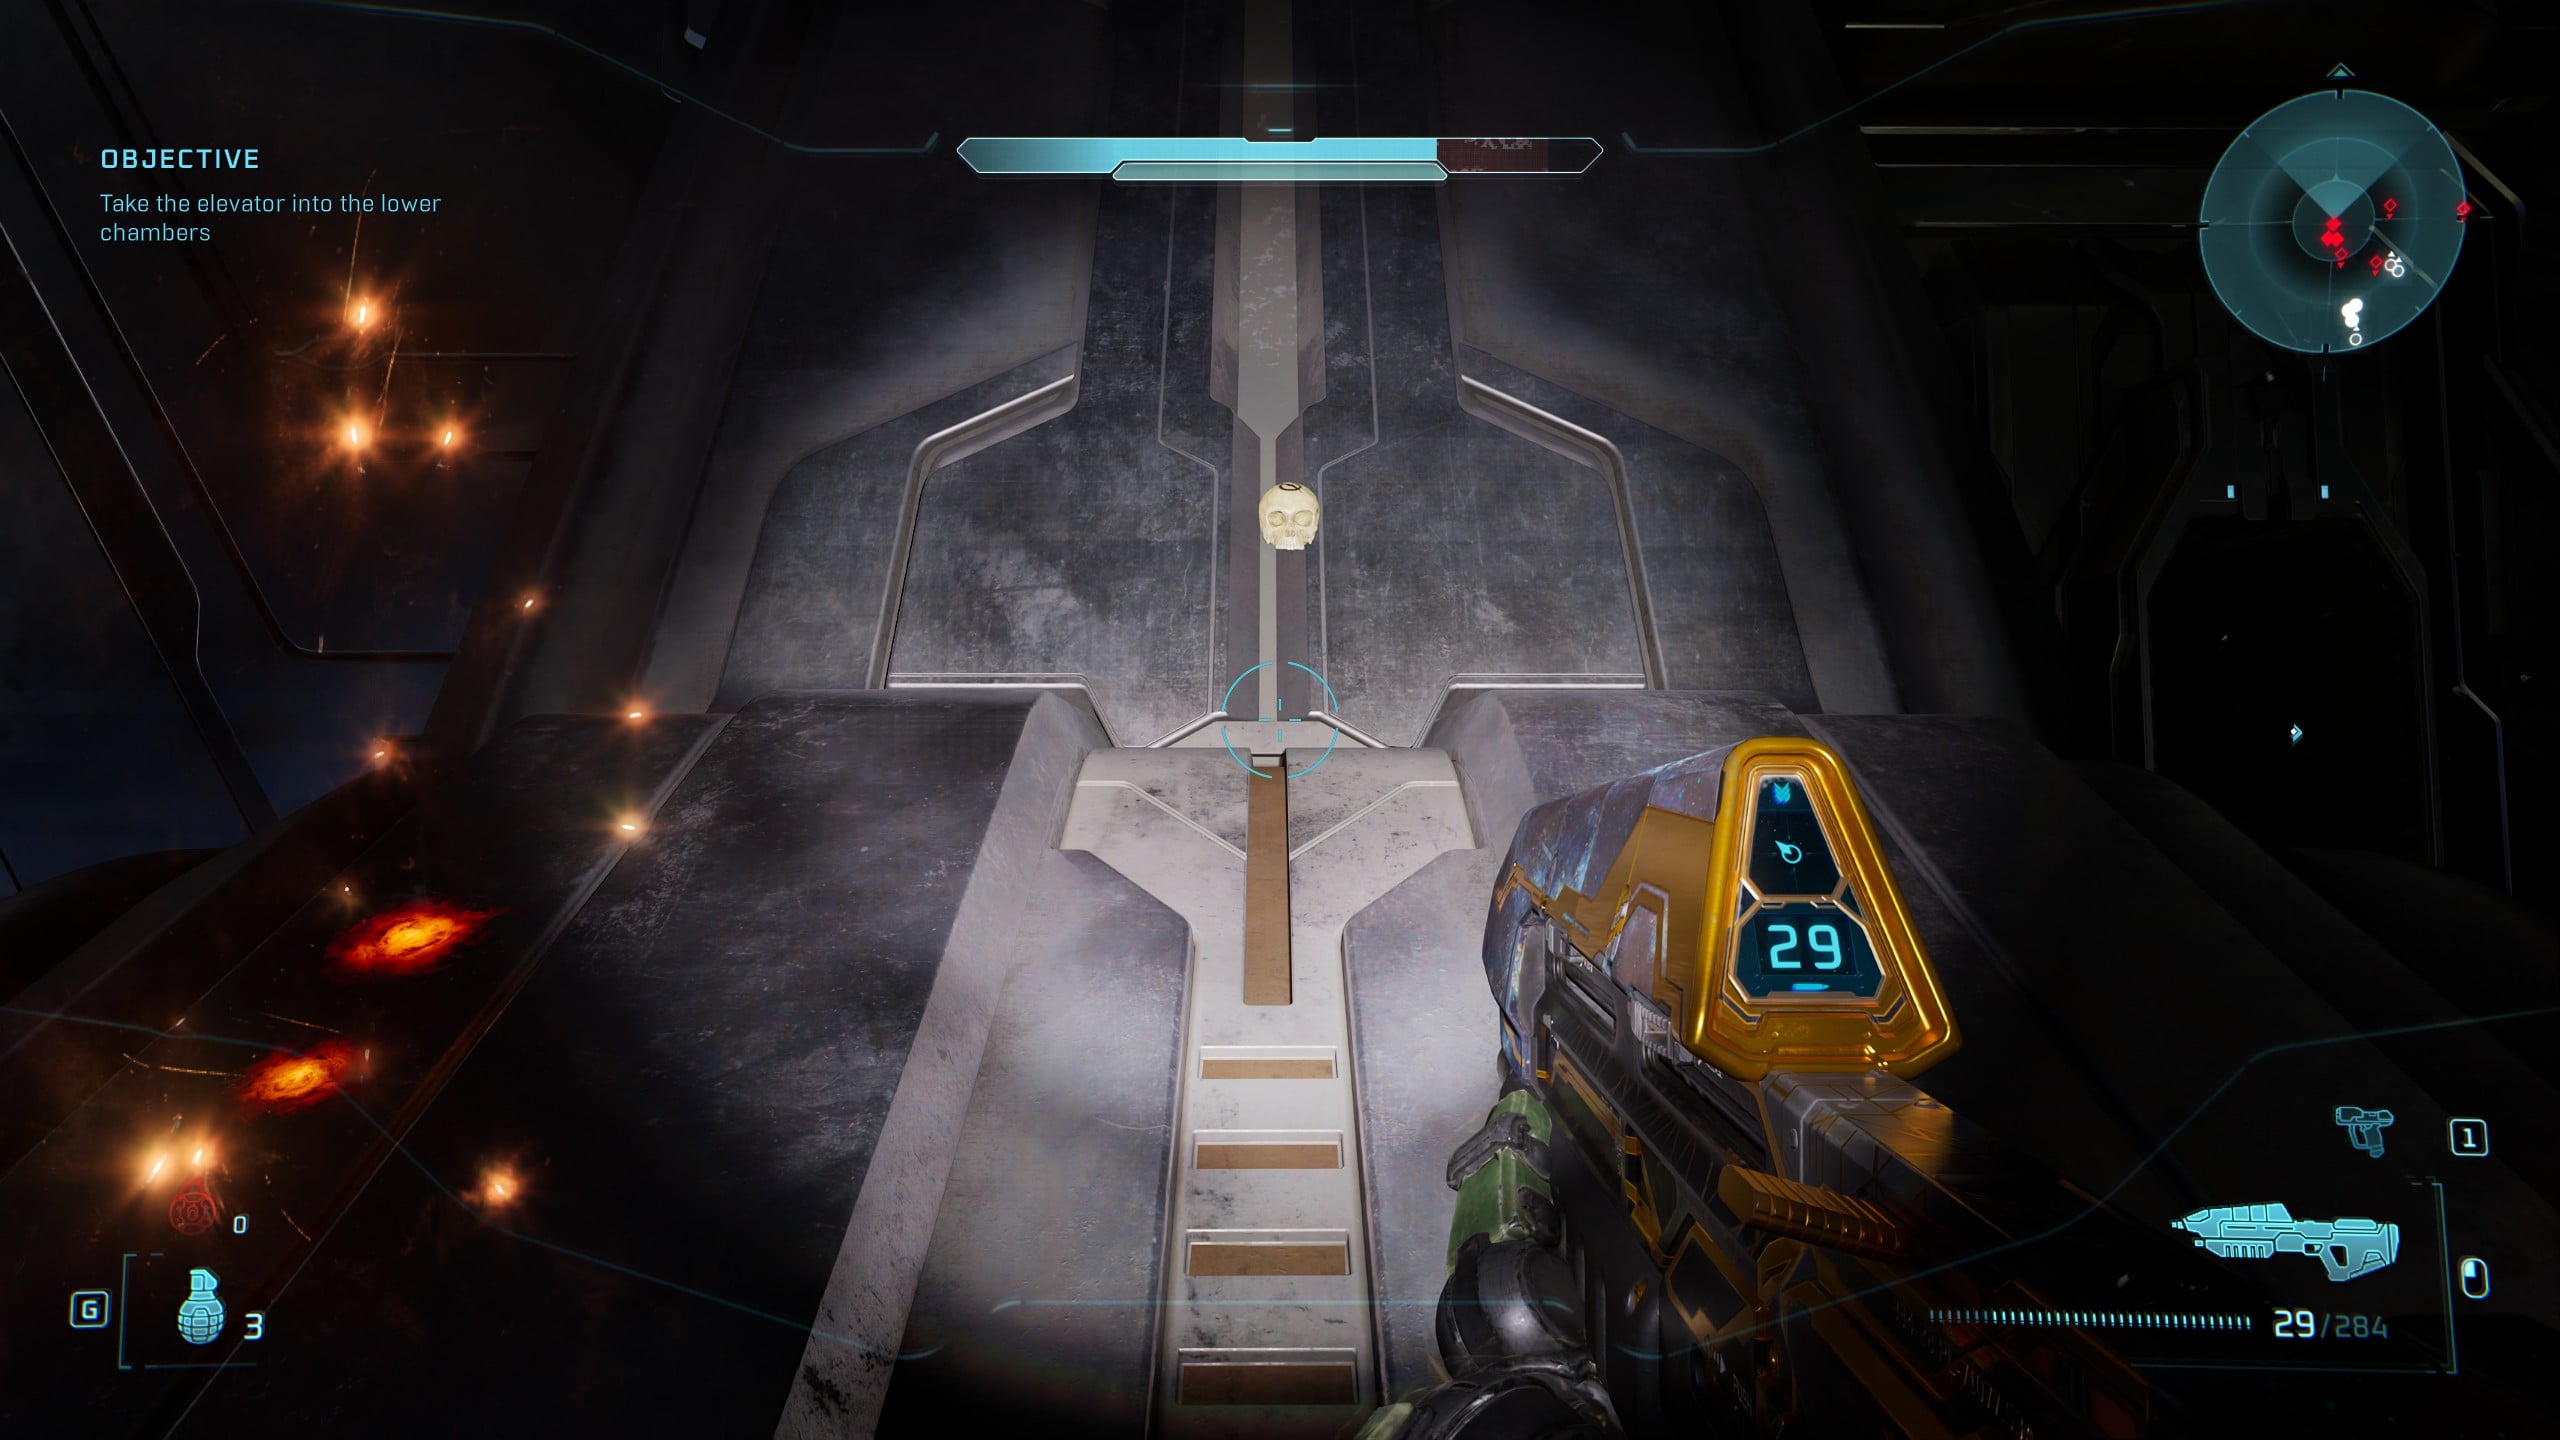
Immediately after exiting the service tunnel, turn right and climb up the inclined arch next to the service tunnel. The Tilt Skull is at the top.
Rally Point Bravo
Skull 20 – Pop

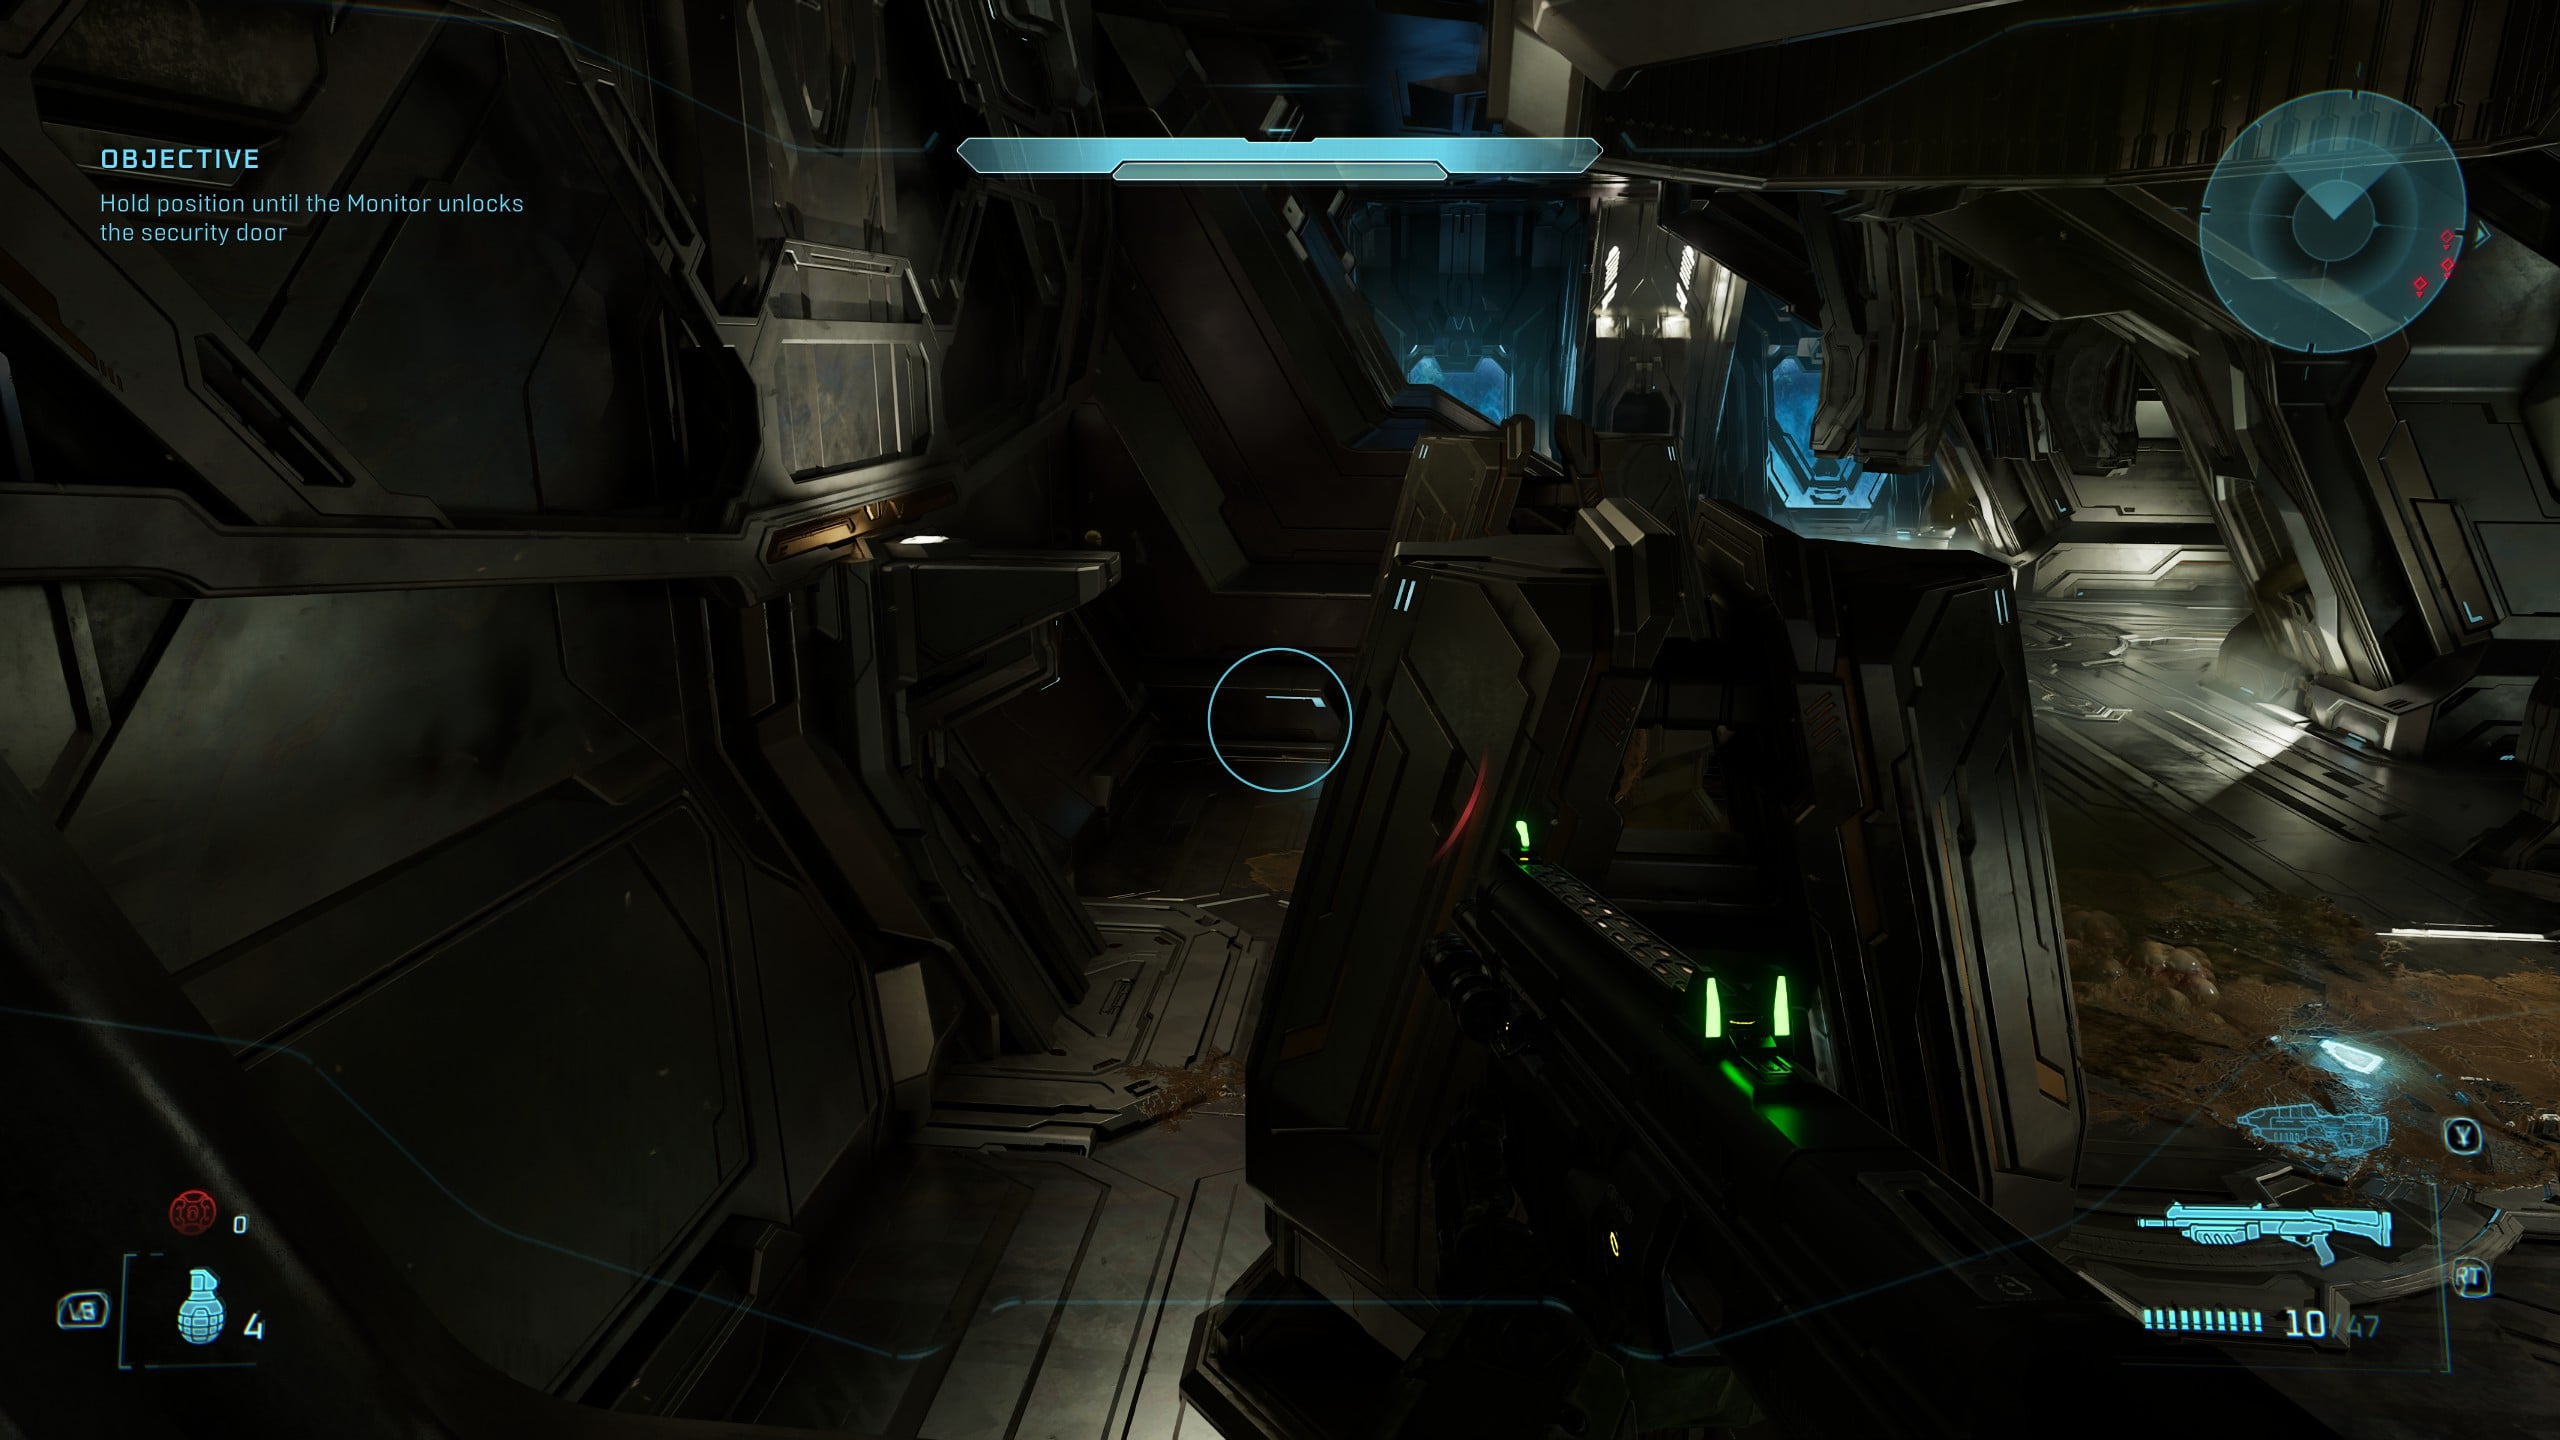
When the Objective changes from ‘Explore the library’ to ‘Hold position until the Monitor unlocks the security door,’ face the Monitor near the door, and then turn around 180 degrees, and you should be able to see the Skull lit up on a platform opposite the door.
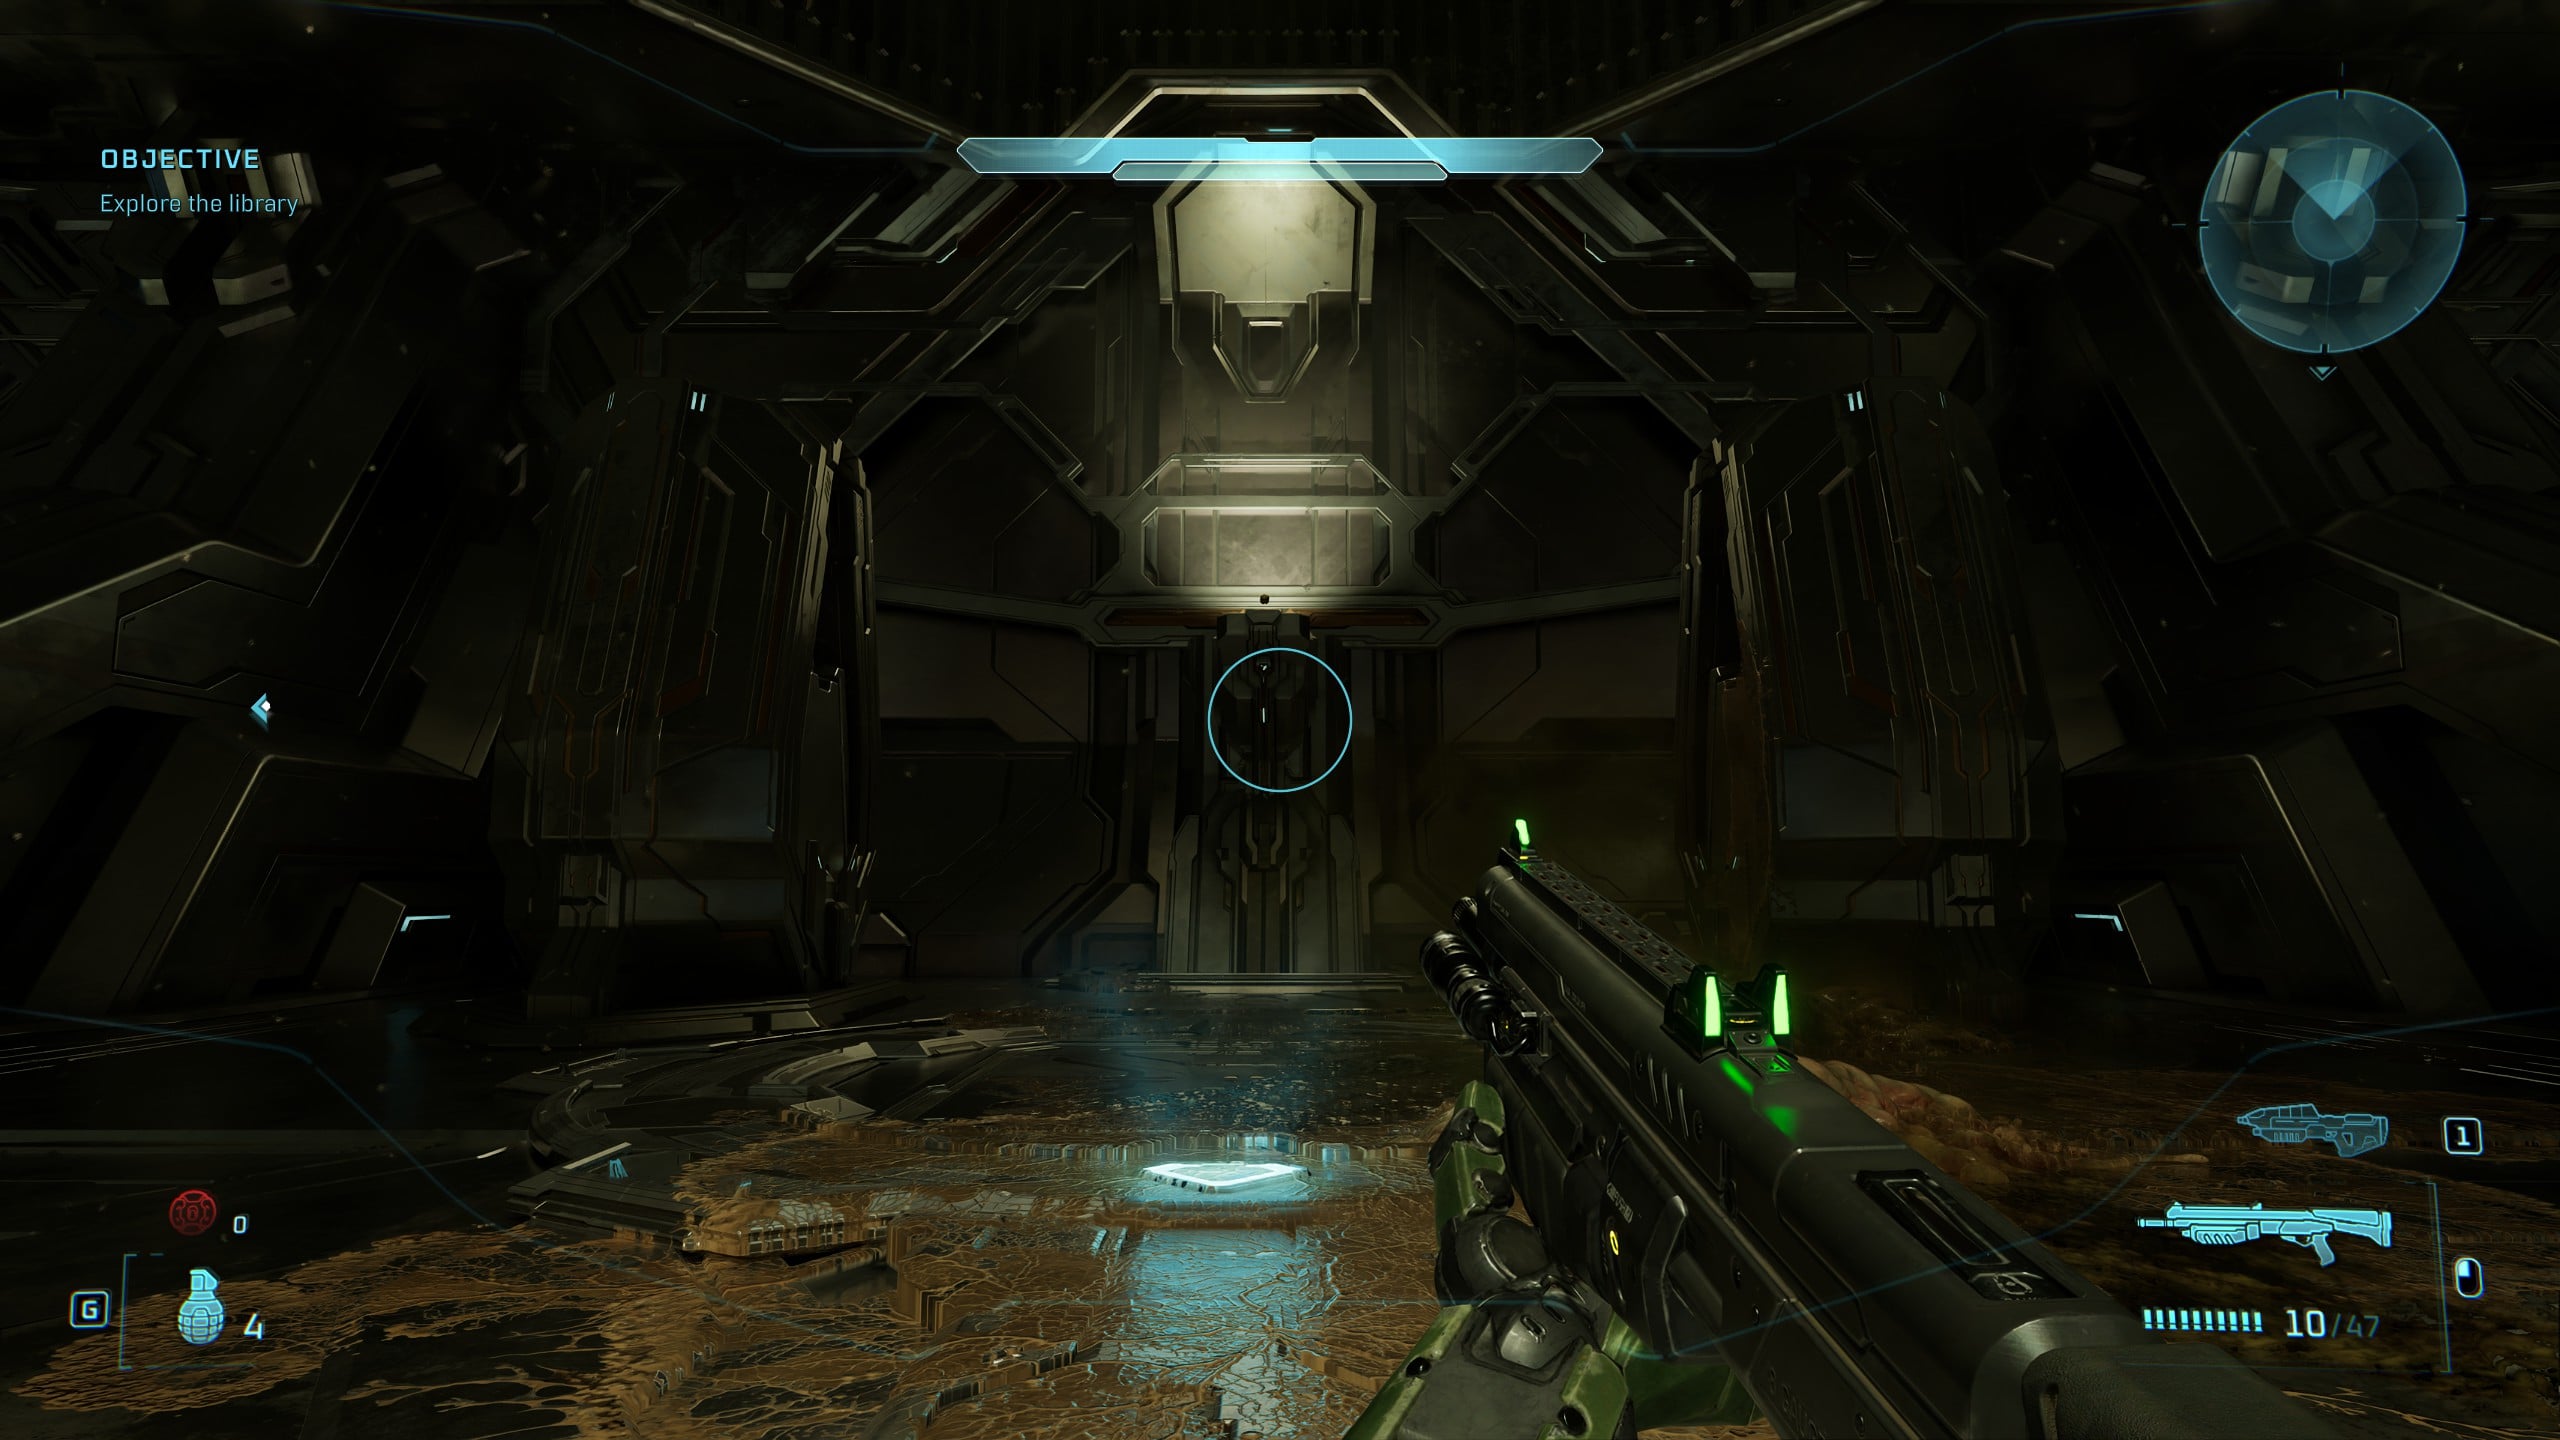
You’ll need to climb the incline on either side of it and crouch-jump between two platforms in order to reach the Pop Skull.
Terminal 7 – Tangent III
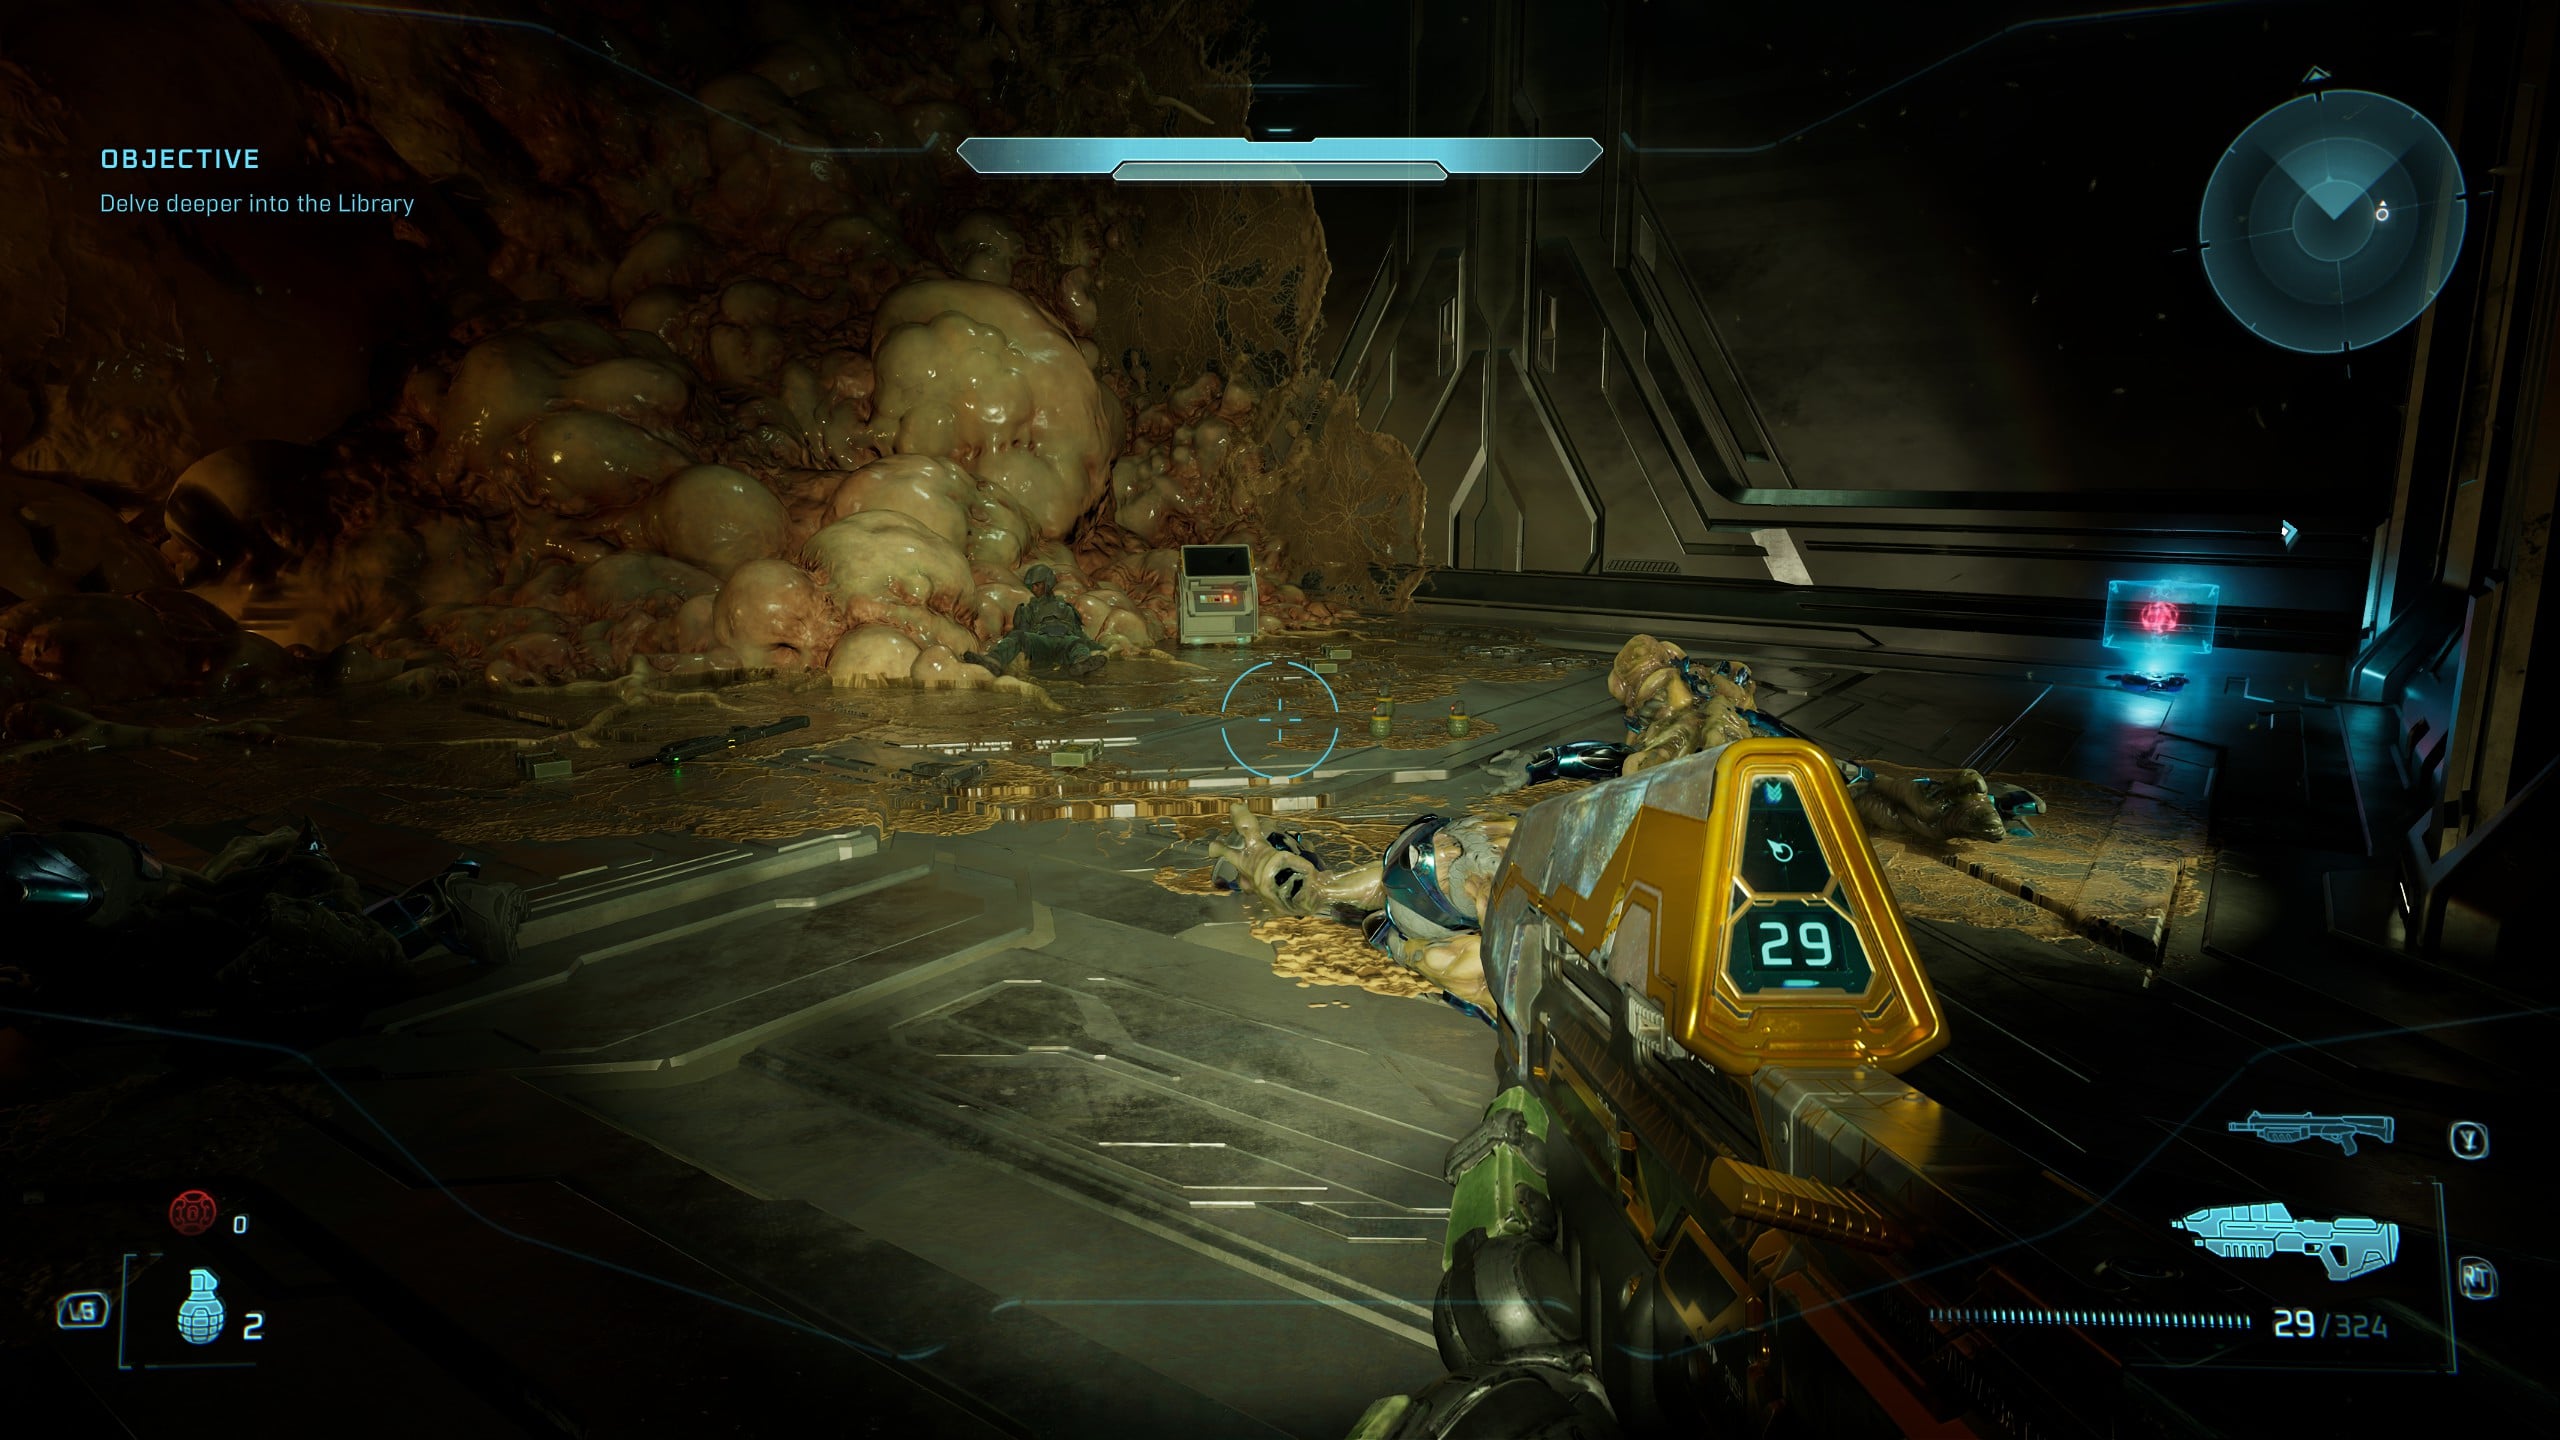
Immediately after opening the door from the Pop Skull, the objective marker will tell you to interact with the panel on the right. Use the one on the left instead, and move through to the next room.
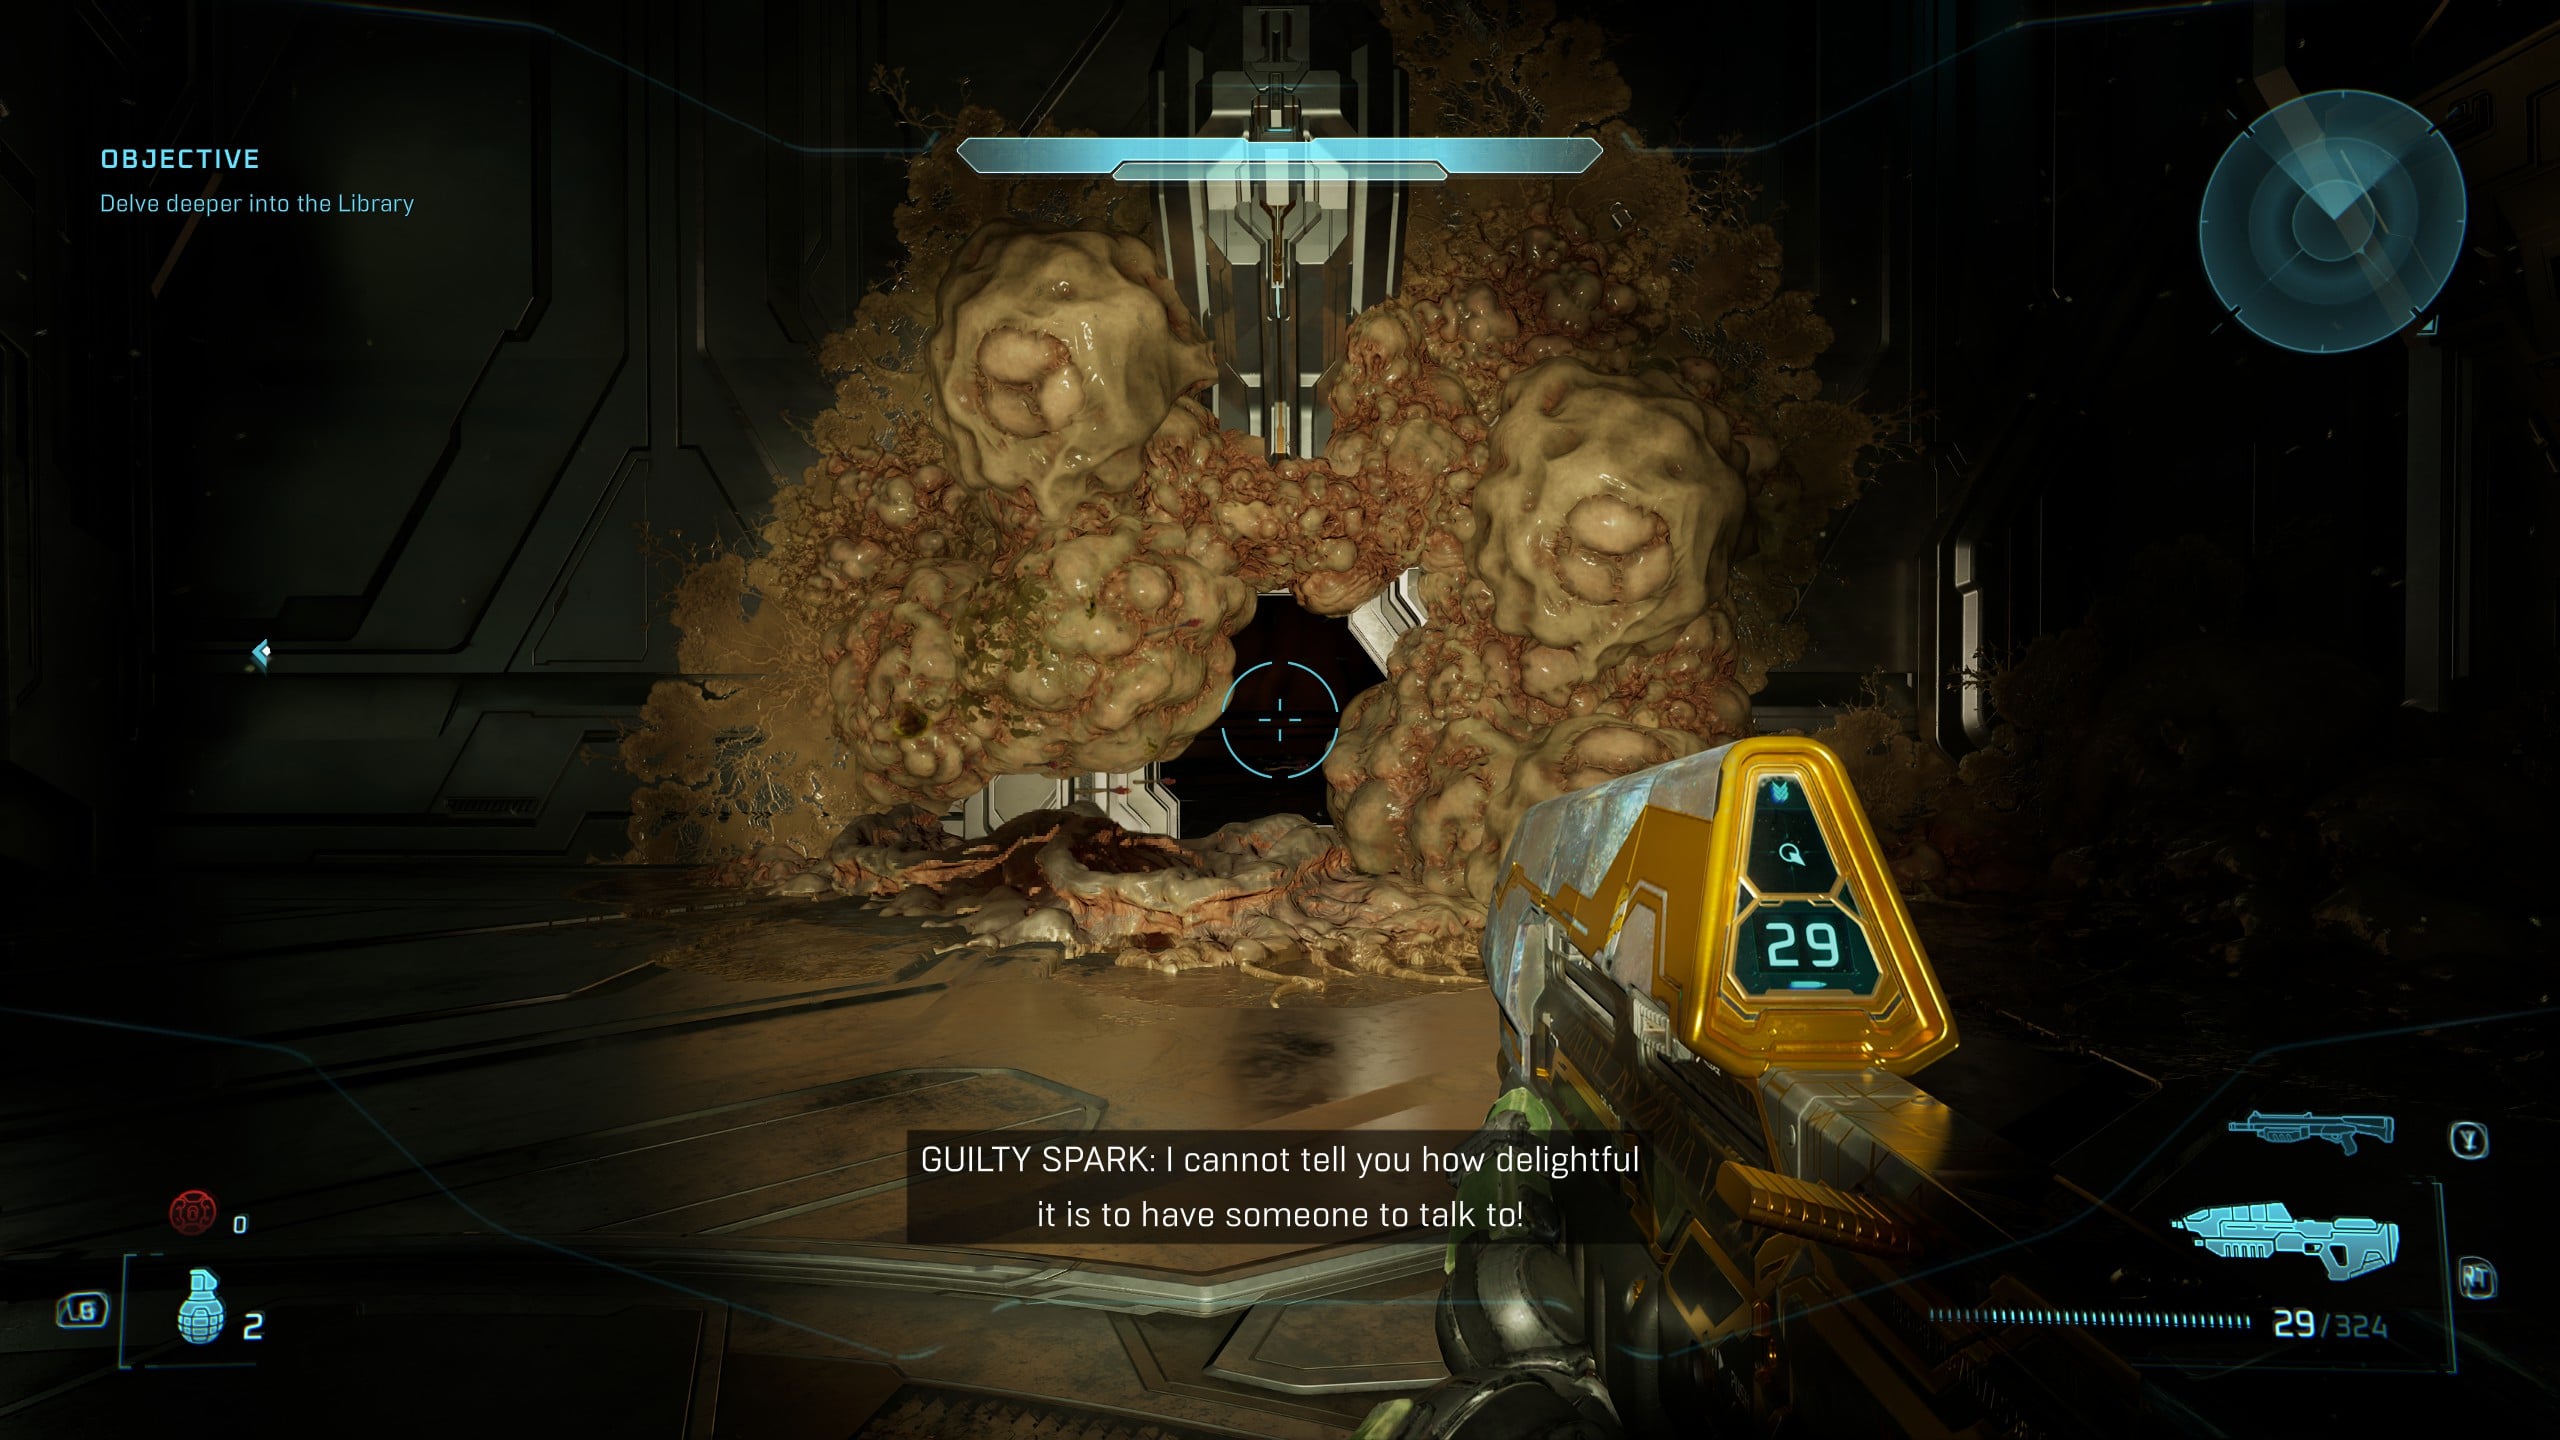
A door will be blocked by Flood sacks, which you remove with a grenade. In the next room, you’ll find the Tangent III Terminal, alongside some environmental storytelling. No prizes for guessing what happened here.
Rally Point Charlie
Skull 21 – Famine
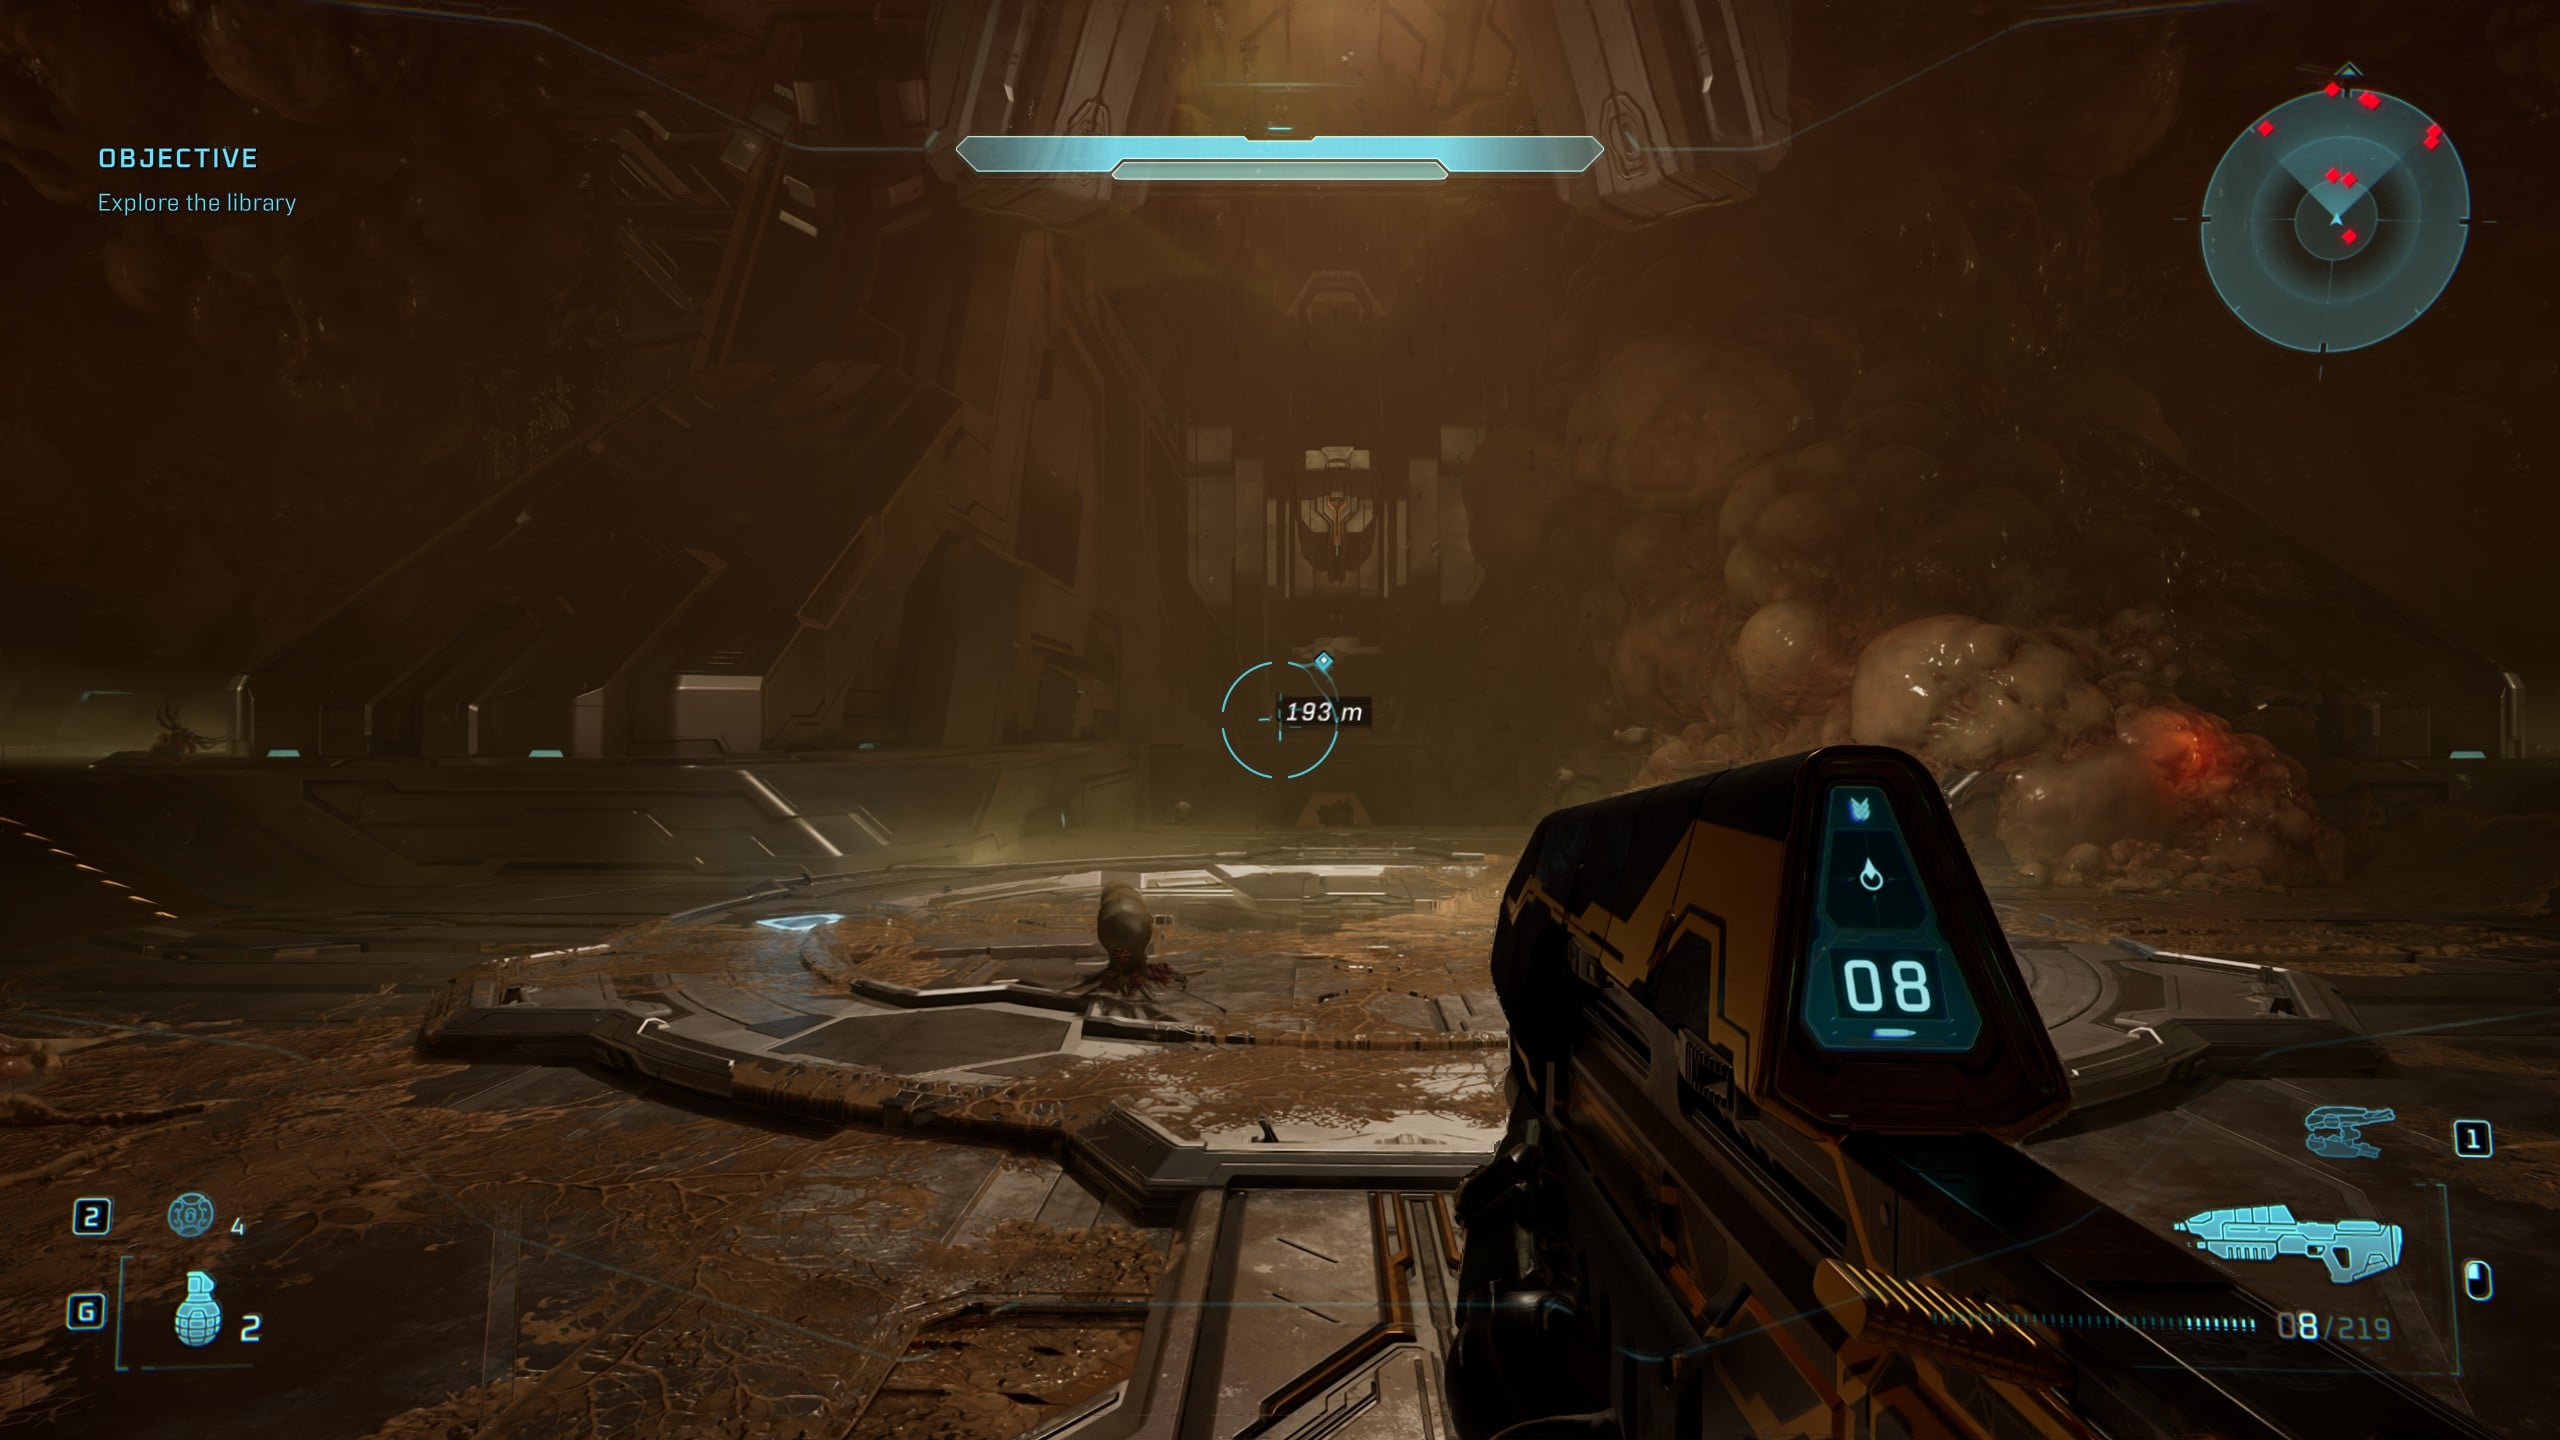
When you descend down the elevator with the Monitor, your screen will go widescreen for a moment and the title ‘Fourth Floor: Tools, Guns, Keys To Super Weapons’ will appear. The Objective marker will lead you straight forward through some Flood.
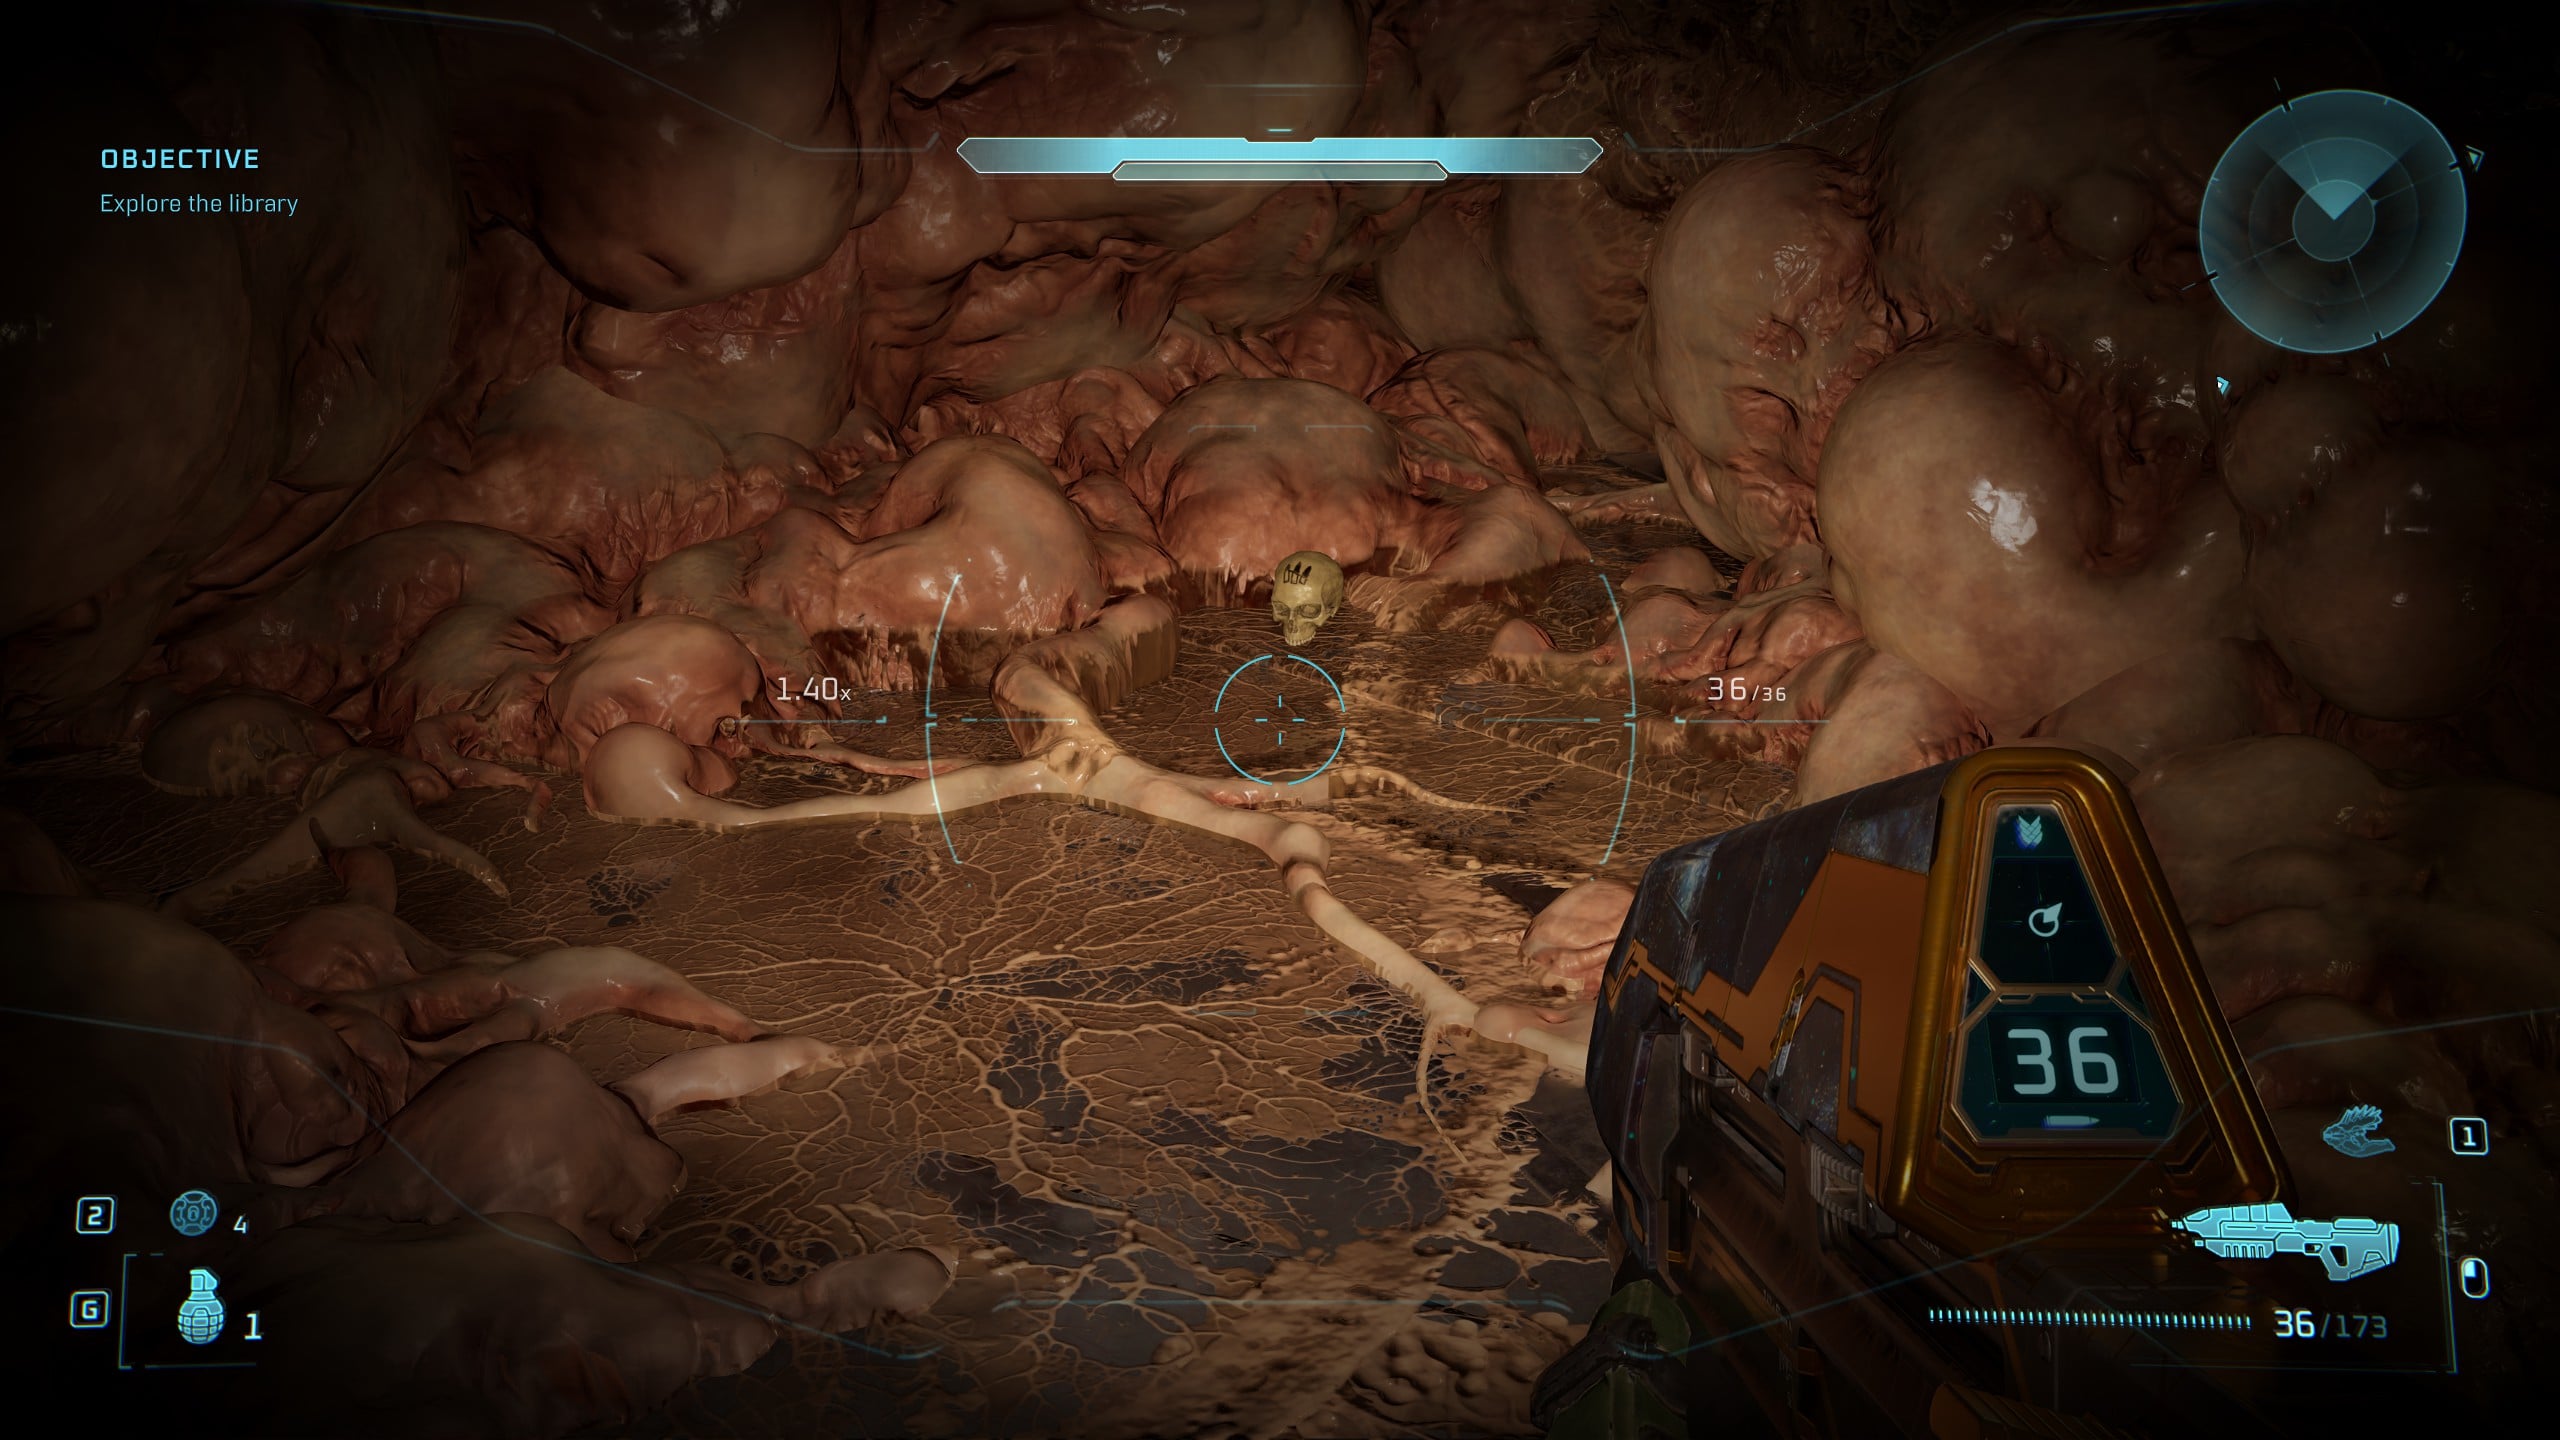
As soon as you descend down the ramp after exiting the elevator, search the floor in the corner on your left, and you’ll find the Famine Skull. Very easy to find, but very easy to miss.